As avid fans of the transformative power of lighting, we understand the allure of LED strip lights in enriching the ambiance and aesthetic of any space. Whether you’re dabbling in a DIY LED light strips cutting project or considering lighting enhancements for your home or business, the question often arises: “Can I cut LED light strips?” The answer is a resounding yes, with the stipulation that one must employ the proper cutting techniques for LED light strips and adhere to safety measures to ensure flawless results.
Learning how to cut LED light strips is a straightforward endeavor that opens up endless possibilities for customization and creativity. But before you dive into the world of LED light strip modification, we’re here to guide you through the process, from locating safe cutting points to selecting the right tools for the task, guaranteeing that your project shines bright.
Key Takeaways
- Verify if LED light strips can be cut by checking manufacturer’s instructions.
- Use designated cutting points to maintain LED strips’ functionality and safety.
- Select appropriate tools like sharp scissors or a utility knife for clean cuts.
- Ensure all cutting takes place with the power source safely disconnected.
- Follow precise measurements for a custom fit and professional finish.
- Remember, incorrect cutting techniques can damage LED strips and void warranties.
Understanding LED Light Strips and Their Versatility
LED light strips have revolutionized the way we illuminate spaces. Their flexibility and customization options allow us to enrich environments with personalized touches of light. As pioneers in the realm of adaptive lighting, we often turn to LED light strips for their vast possibilities and energy-efficient LED lighting solutions.
What Are LED Light Strips?
At their core, LED light strips consist of a series of light-emitting diodes (LEDs) on a flexible circuit board. Protected by a clear or colored silicone cover, they offer reliability and durability for both indoor and outdoor use. One of the most compelling features of LED light strips is their versatility. With the presence of cut marks along the strips, they can be separated and joined with ease, making customizable LED light strip applications a reality in virtually any setting.
The Benefits of Customizing LED Light Strips
Customization stands at the forefront of LED light strip design. Users can tailor lighting to their space’s specific requirements, adjusting color, brightness, and pattern. This line of products champions LED light strips versatility, integrating seamlessly into architectural detailing, cove lighting, signage, and beyond. The adaptability extends to their length, which can often be modified without damaging the surrounding diodes or compromising the strip’s integrity.
| Application | Benefits | Customization Level |
|---|---|---|
| Home Decoration | Energy efficiency, ambiance improvement | Cut to fit, color-changeable |
| Commercial Signage | High visibility, durability | Shape to logo, varied brightness |
| Event Lighting | Portable, vibrant color options | Dynamic modes, length adjustment |
Our continued innovation and dedication to LED light strips versatility offer endless possibilities for domestic and commercial use, highlighting why these solutions remain a top choice for energy-efficient LED lighting. We take pride in our ability to customize lighting solutions that cater not only to aesthetic preference but also to the functional demands of the spaces they occupy.
Can I Cut LED Light Strips?
For those who are considering LED strip light customization, you may ponder the question, “Can I cut LED light strips?” The straightforward answer is yes, you can indeed tailor these strips to your specific length requirements. However, when it comes to the process of cutting LED light strips, precision is paramount. The manufacturers typically denote the safe zones for cutting with unique icons like scissors or dash lines, ensuring that you can clip your strips without hindering their operation.
- Initial visual indicators for safe cutting zones
- Understanding the importance of cutting at designated marks
- Preserving the strip’s functionality and aesthetics
To successfully conduct this customization, one must understand the need for the appropriate tools for cutting LED light strips. Using the right tools ensures a clean cut that maintains the integrity of the LED light strip’s design and technical structure.
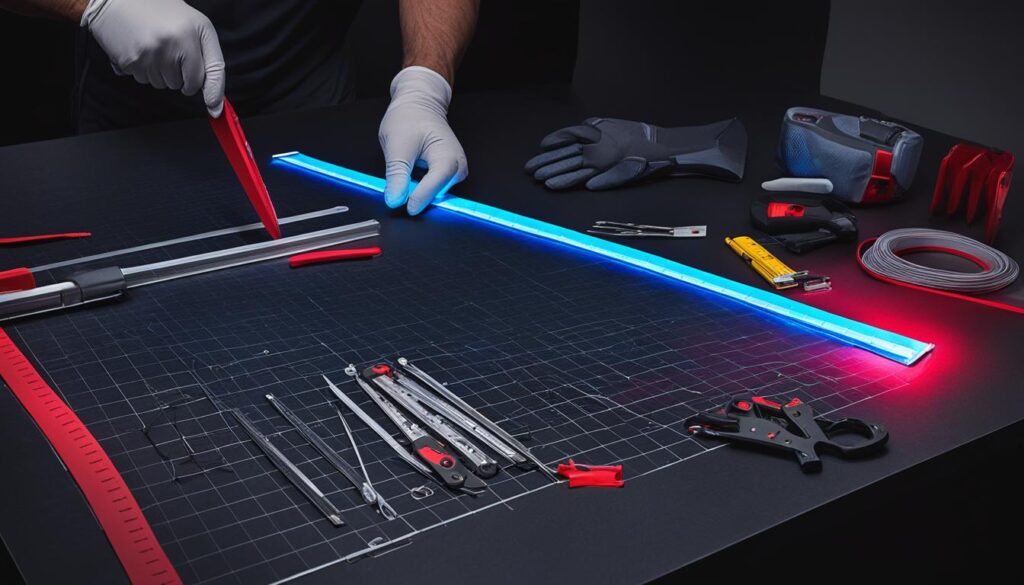
| Tool | Usage |
|---|---|
| Scissors | Best for quick, straight cuts at marked intervals |
| Utility Knife | Offers precision for more intricate cutting requirements |
| Measuring Tape/Ruler | For accurate measurements before making a cut |
| Luminescent Indicators | To identify the exact points when working under low light conditions |
As you delve into cutting your LED light strips, remember that the act is not simply about reducing the length but about customizing your lighting to fit your personal or professional space perfectly. With the right approach and tools in your hands, you can ensure that your lighting vision becomes a brightly lit reality, all while preserving the seamless look and functionality of your LED light strips. There’s a special kind of satisfaction in watching your space come alive with perfectly tailored illumination that meets the exact demands of your design aspirations.
Identifying Cut Points on LED Light Strips
When we delve into the task of LED strip customization, it’s crucial that we recognize the importance of locating the cutting points for LED light strips to ensure we don’t compromise their functionality. These cutting points act as the GPS for tailoring your lighting, guiding us to the precise locations where alterations can be made safely and effectively.
Finding the right spots to trim your flexible lighting solution, specifically when cutting LED tape lights, requires a keen eye. The manufacturers generously mark these areas with clear identifiers—a small image of scissors or a dashed line—to signal it’s safe to make the cut. Let’s explore these elements in further detail:
- Inspect your LED light strip: Before anything else, take a close look to identify the scissors icon or dashed lines that mark the cutting points.
- Measure and plan: Determine the length you need and correlate it with the nearest cutting point to ensure the remaining strip functions properly.
Here’s a table that can serve as a quick-reference guide for identifying these cutting points:
| Strip Type | Typical Cutting Intervals | Marks Presented |
|---|---|---|
| Standard LED Tape Light | Every 1-2 inches (3-6 cm) | Scissors icon and/or dashed line |
| High-Density LED Strip | Every 1 inch (2.5 cm) | Dashed line |
| Color-Changing LED Tape (RGB) | Every 4 inches (10 cm) | Scissors icon |
| Waterproof LED Light Strips | Varies, consult manual | Emphasized cut-line |
Remember, each type of LED light strip may have unique cutting intervals. It always pays off to read the manual specific to your model to get accurate information on where to divide the strip. This essential step ensures that you’re upholding not just the vibrancy in your spaces through LED strip customization, but also the integrity and longevity of your LED light strips.
Tools for Cutting LED Light Strips
When customizing LED light strips for that perfect fit, we rely on a variety of tools to ensure precision cutting of LED light strips. Identifying the right tools for cutting LED light strips not only simplifies the process but also affects the outcome of your lighting project. A fine balance between sharpness and control is essential, as precision is key when dealing with delicate LED circuitry.
The Essentials: Scissors and Utility Knives
The go-to tools in our LED strip cutting technique arsenal are undoubtedly sharp scissors and a reliable utility knife. Both of these instruments lend themselves excellently to making neat and precise cuts along the designated cut points of your LED light strips.
Measuring for Accuracy
We can’t stress enough the importance of measuring the LED strip to the exact length you need before making any cuts. Using a ruler or tape measure, we carefully mark the strip, ensuring that our cuts will be made at the appropriate points, as accuracy here is the cornerstone of functionality and aesthetics.
Considering Additional Equipment
In cases where we need to reattach sections of LED light strips, additional tools come into play. A high-quality soldering iron and safety gear such as gloves and protective eyewear are indispensable. They allow us to securely reconnect the LED segments and maintain their seamless glow post-cutting.
Below is a table that briefly outlines the critical tools and their purposes for successful LED strip customization:
| Tool | Purpose | Use Case |
|---|---|---|
| Scissors or Utility Knife | For making clean cuts on LED strips | Cutting strips to length at designated points |
| Ruler or Tape Measure | For precise measurement before cutting | Ensuring the light strip fits the intended space |
| Soldering Iron | For reattaching cut sections | When custom lengths require rejoining segments |
| Safety Gear | For protection during the soldering process | Preventing injuries when working with hot equipment |
These tools are indispensable in our toolkit and by utilizing them with care, we achieve the best results—a seamlessly lit space adorned with perfectly cut LED light strips.
Preparing to Cut Your LED Light Strips
Embarking on the journey of personalizing your space with LED light strips involves a critical step – cutting them accurately. As we navigate through the process, it’s vital to comprehend the steps to cut LED light strips with precision to avoid any mishaps. Proper preparation is the key to a flawless customization that brightens up your space exactly how you envisage it.
Measuring and Marking Your LED Strips
Measuring LED strips for customization is a task that requires meticulousness. We’ll start by laying out the LED strip along the intended surface to determine the length needed. Once you have the measurement, mark it directly on the strip. This marking signifies where you will align your cutting tool, ensuring you cut the strip at the recommended points. Remember, precision here prevents the loss of functionality and avoids wastage of valuable lighting.
Ensuring Strips are Powered Down
Prior to preparing LED light strips for cutting, let us remind you to ensure that the strips are fully disconnected from any power source. This safety measure not only protects you from potential electrical hazards but also prevents any damage to the LED components. With power securely off, we can then isolate the segment to be cut, clearly marking the designated cut lines and providing a focus point that ensures an accurate and safe modification.
- Layout the LED strip along the intended surface.
- Use a tape measure to find the desired length for your project.
- Mark the cutting point on the strip carefully by aligning with the cut-line indicators provided by the manufacturer.
- Double-check your measurements and markings for accuracy.
- Ensure the strip is disconnected from any power sources to avoid electrical hazards.
- Proceed with the cutting process with the right tools and techniques.
In embracing these steps to cut LED light strips efficiently, we’re setting the stage for a beautifully illuminated space that reflects our personal touch and ensures a customized fit that’s uniquely ours.
Executing the Cut
When it comes to cutting LED strip lights safely, precision is key. We must approach this task with care to ensure clean cuts on LED light strips, which are crucial for both appearance and function. Here’s our step-by-step process:
- Holding the strip flat and steady to prevent any slippage.
- Identifying the manufacturer’s marked cutting points to avoid damaging circuits.
- Using a utility knife or scissors, apply consistent pressure for a straight-through cut.
- Making sure that the cutting tool is sharp enough for a clean trim with no frayed edges.
Trimming LED tape lights with caution preserves their longevity and keeps the aesthetic appeal of your lighting project intact. Remember to double-check the length before cutting, as this step will define the final look and functionality of your LED setup.
Safety Tips for Handling LED Light Strips
When it comes to enhancing your space with LED light strips, safety is paramount during the installation process. It’s essential to follow safety precautions for cutting LED light strips to mitigate risks and ensure a successful outcome. Below, we outline crucial steps for handling LED strip lights carefully and making modifications without risk. By adhering to these guidelines, you can achieve a professionally tailored lighting setup with peace of mind.
Avoiding Electrical Hazards
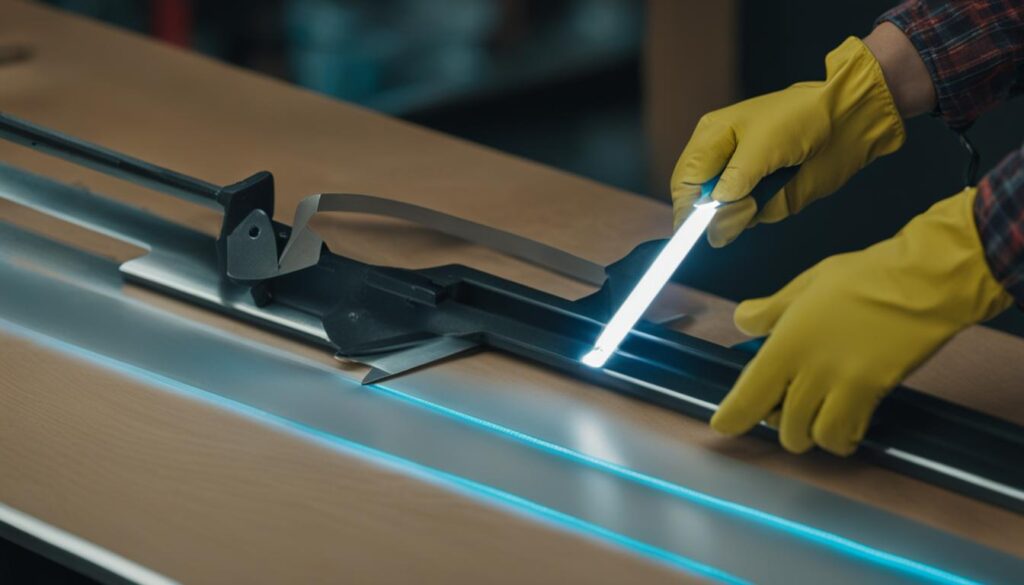
The possibility of electrical hazards looms when cutting and customizing LED light strips. To avoid such perils, always disconnect the power source before attempting any cuts. This eliminates the risk of electrical shock and protects both you and your equipment. Double-check that the LED strips are completely powered down and that you understand the layout of wires and circuitry before proceeding.
Proper Handling of Cutting Tools
When modifying LED strip lights, the tools you use are critical. Ensure that your scissors or utility knife is sharp and in good condition—dull tools can cause imprecise cuts and may damage the LED strip. Approach the cutting process with focus and care, using steady hands and applying gentle but firm pressure to achieve a clean and safe trim.
| Precaution | Why It’s Important | Safety Tip |
|---|---|---|
| Disconnect from power | Prevents electrical shock and strip damage | Check multiple times to ensure there is no power supply to the lights |
| Use appropriate tools | Creates a clean, straight cut without damaging the LEDs | Utilize sharp scissors or a utility knife designed for precision |
| Wear protective gear | Guards against injuries from sharp tools or electrical components | Always wear safety goggles and gloves when cutting LED strips |
When engaging in a project involving LED light strips, remember that taking the necessary safety precautions for cutting LED light strips is not just about following a set of steps; it’s about cultivating a mindset of safety that permeates every aspect of the task at hand. Don’t rush or take shortcuts—safety is the bedrock upon which successful DIY projects are built.
Best Practices for a Clean and Safe Trim
When it comes to customizing LED light strips, ensuring you achieve a clean and safe trim is paramount for both aesthetic appeal and functionality. We understand the importance of maintaining the quality and longevity of your LED light strip, which is why we’ve compiled the most dependable tips for cutting LED light strips. By adhering to these practices, not only will you preserve the LED light strip quality, but you’ll also extend the vibrant life of your lighting project.
Maintaining Clean Cut Lines
To begin, you must ensure that you’re equipped with the sharpest of tools, be it scissors or a utility knife, to deliver those crisp, clean cut lines. Remember, precision is key—measure twice and cut once. This golden rule of cutting ensures you avoid any unnecessary waste and keep your project looking sharp and professional.
Preventing Damage to LED Circuitry
Moreover, careful attention must be paid to the LED strip’s marked cutting points. These indicators are there to guide you, helping avoid damage to the circuitry. A cut made in the wrong area can lead to a malfunctioning strip, wasting not only material but also your time and effort. Implementing these best practices for cutting LED light strips will safeguard your lighting’s integrity.
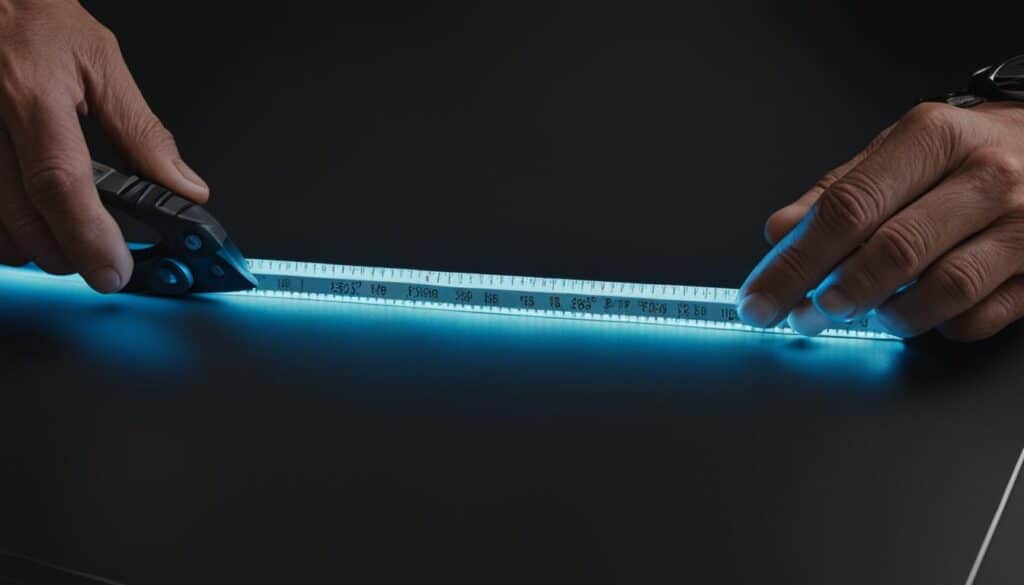
Remember, taking the time to understand and follow the cutting process is pivotal in preserving LED light strip quality. With these tips for cutting LED light strips in mind, you’re ready to enhance your space with the perfect custom lighting solution. If ever in doubt, refer back to the manufacturer’s instructions or consult a professional to ensure your project shines bright with success.
Common Missteps When Cutting LED Light Strips
When customizing LED light strips for any space, one must carefully avoid common mistakes cutting LED light strips that can significantly impact both performance and safety. Understanding incorrect LED strip cutting techniques helps us to prevent making avoidable LED light strip cutting errors. Here are pitfalls to steer clear of:
- Using Dull Tools: It leads to uneven and jagged cuts, potentially damaging the delicate LEDs.
- Cutting Outside Designated Points: This mistake disrupts the internal circuitry, potentially rendering part of the strip inoperative.
- Excessive Bending or Twisting: Extreme manipulation of the LED strip can break internal connections.
- Applying Too Much Pressure: Overzealous force during cutting can crush the LEDs themselves.
- Neglecting Safety Precautions: Not following safety procedures can result in injuries or electrical hazards.
We’ve put together a comprehensive table of do’s and don’ts to help you cut LED light strips the right way:
| Step | Correct Method | Common Mistake | Consequence of Mistake |
|---|---|---|---|
| Tool Selection | Sharp scissors or a precise utility knife | Using dull or inappropriate cutting tools | Jagged cuts, potential damage to LEDs |
| Cutting Position | At marked cutting points along the strip | Cutting at random points along the strip | Disrupted circuitry, partial strip failure |
| Handling | Gentle bending to position for cut | Bending or twisting the strip excessively | Broken internal connections, loss of flexibility |
| Cutting Pressure | Gentle, controlled pressure | Exerting force or heavy pressure | Crushed LEDs, broken strip |
| Safety | Disconnect power; use protective gear | Ignoring safety norms; cutting while powered | Injuries, electrical hazards |
Remember, precision and attention to detail are crucial when cutting your LED light strips. By following these guidelines, you ensure a successful customization of your LED lighting while maintaining their functionality and your safety.

Connecting and Reconnecting Cut LED Strip Sections
When customizing lighting for varied projects, the ability to reconnect cut LED strip lights is crucial. There are multiple options for joining these sections, ranging from simple solutions suitable for beginners to more advanced techniques that promise a seamless and durable connection. Below, we explore the effective methods and accessories available for reestablishing the functionality and aesthetic of cut LED light strips.
Using Connectors and Accessories
For a quick and straightforward approach, LED light strip connectors are the go-to choice. These handy accessories come in various forms to suit different types of connections, such as strip-to-strip or strip-to-power source links. The process is typically tool-free, requiring only the insertion of the trimmed LED strip into the connector clip, ensuring a secure fit. Here’s how these connectors simplify the task:
- **Gapless connectors:** Ideal for creating an uninterrupted light flow between two cut LED strip sections.
- **Flexible connectors:** Provide the flexibility to join strips at corners or irregular angles.
- **Extension connectors:** Useful when bridging two strips across a short distance with added cabling.
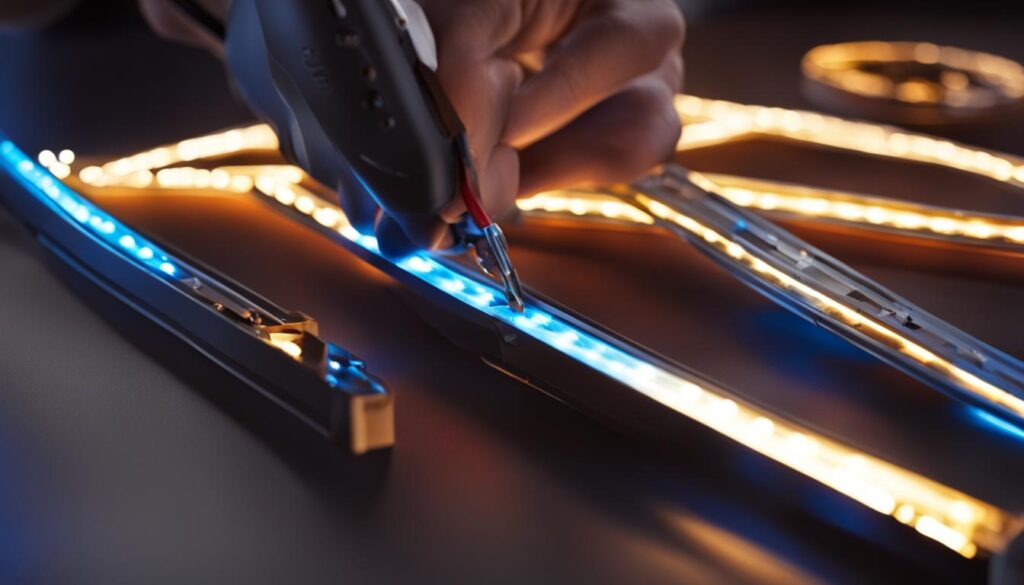
When working with waterproof LED strips, keep in mind that special waterproof connectors or end caps may be needed to maintain the strip’s integrity against moisture.
The Role of Soldering in LED Strip Connection
For those with a knack for precision and hands-on electrical tasks, soldering cut LED light strips offers a more permanent solution. Soldering creates a highly secure bond between the copper pads of LED strip sections and wires. It’s an ideal method to customize lengths for a tailor-made lighting design or to repair a strip. However, it is imperative for us to handle the soldering iron and the tiny components with care to avoid mishaps.
Becoming proficient at soldering takes practice, but it ensures a reliable connection tailored for longevity and resilience.
| Connection Type | Use Case | Difficulty Level |
|---|---|---|
| Direct solder | Directly joining two strips together | High |
| Solder with wires | Connecting strips with a flexible wire bridge | Medium |
| Solder to power supply | Attaching strips to a power source | Medium |
Whether opting for the simplicity of quick connectors or the sturdiness of soldered joints, we have the means to effectively bring cut LED light strips back together. With the right approach, the reconnection can look as seamless as the original strip, ensuring the continuity of your lighting vision.
Conclusion
Through meticulous planning and the proper execution of cuts, we have explored how LED light strips offer versatility to suit both our aesthetic and functional needs. The process of customizing LED light strips is not only fulfilling but when done correctly, ensures that the end result is both visually compelling and efficient. We have underscored the importance of effective trimming techniques for LED strips as the cornerstone of any DIY LED light strip adjustments. By emphasizing safety, precision, and the paramount need to follow manufacturer’s guidelines, we enable enthusiasts and professionals alike to achieve a custom fit LED light strips that enhance any environment.
As we wrap up this discussion, it’s clear that the innovation behind LED light strip technology has paved the way for endless creative opportunities. The adaptability inherent in these lighting solutions has facilitated their use in numerous settings, from cozy living rooms to expansive commercial spaces. With techniques and tools at our disposal, achieving a tailored lighting experience is within reach. Therefore, as we continue to shape our spaces, let’s remember the breadth of possibility that DIY LED light strip modifications present.
Ultimately, our foray into the world of LED light strips serves as a testament to their utility and transformative nature. Our deep dive into DIY adjustments reiterates that with attention to detail and a commitment to safety, achieving a personalized ambiance is not only possible but also rewarding. We trust that our guidance has illuminated the path for you to confidently modify and enjoy the ambient brilliance of LED light strips in your next project.
FAQ
Can I cut LED light strips?
Yes, you can generally cut LED light strips at specific intervals indicated by the manufacturer, usually marked by scissors icons or dashed lines.
How do I identify where to cut LED light strips?
Look for markings on the LED light strip that denote safe cutting points. These are typically in the form of lines, scissors icons, or other indicators provided by the manufacturer.
What tools do I need to cut LED light strips?
The essential tools for cutting LED light strips are a pair of sharp scissors or a utility knife, and a ruler or tape measure. Additional equipment might be necessary if you plan to reattach the strips.
What are the steps to cut LED light strips safely?
To cut LED light strips safely, measure and mark the strip at the desired length, ensure the strip is powered down, and then execute the cut with precision at the indicated cut points.
What are some tips for cutting LED light strips?
Use sharp cutting tools to maintain clean cut lines, follow the manufacturer’s cutting points, apply steady pressure during cutting, and avoid bending or twisting the strip excessively.
Can cutting LED light strips wrong damage them?
Yes, cutting LED light strips improperly, such as outside of the prescribed cutting points or with dull tools, can damage the LEDs or disrupt the circuitry.
How do I handle the cut end of an LED light strip?
After cutting, you can use connectors, extensions, or soldering techniques to reconnect the LED strip sections. For waterproof LED strips, ensure to apply end caps to maintain their integrity.
What should I do if I need to cut waterproof LED light strips?
When cutting waterproof LED light strips, it’s essential to reseal the ends with appropriate end caps or sealing compounds to preserve the water resistance of the strip.
Are there different cutting techniques for LED light strips?
The cutting technique generally involves cutting at designated points; however, the specific method may vary depending on whether you’re trimming flexible strips, rigid bars, or using connectors for reattachment.
Do I need to take any safety precautions when cutting LED light strips?
Yes, always ensure the strips are not connected to a power source before cutting. Use protective gear if necessary, and handle sharp cutting tools with care to avoid injury.
Why is it important to cut only at designated points on LED light strips?
Cutting only at designated points ensures you do not interrupt the electrical circuits within the strip, which allows the remaining sections to function properly after the cut.
How can I ensure a clean cut on my LED light strip?
To ensure a clean cut, use a sharp utility knife or scissors and apply steady pressure without squeezing the strip. A straight edge, like a ruler, can help guide your cut.

