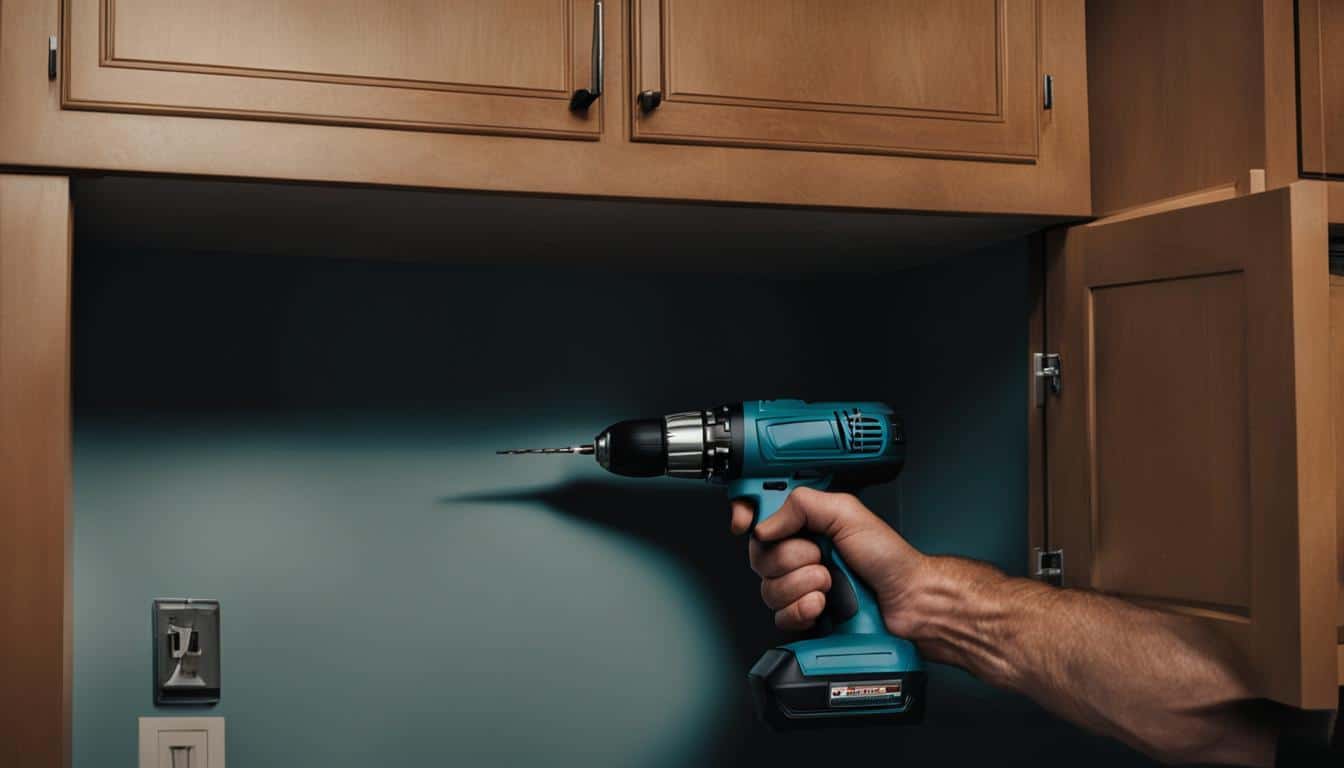
Have you ever found yourself wondering, “How do I install under cabinet lighting?” You’re in luck! This under cabinet lighting installation guide will walk you through the process with easy-to-follow instructions. Install DIY under cabinet lighting and transform your kitchen into a well-lit, functional space with ease. Say goodbye to cooking in the shadows and let’s dive into this step-by-step guide for under cabinet lighting installation.
Key Takeaways
- Under cabinet lighting significantly enhances kitchen functionality and aesthetics.
- Choosing the right lighting fixtures is crucial for a seamless installation.
- Carefully plan the layout and prepare safety measures before beginning the process.
- Install under cabinet lighting with the right tools for a swift and secure result.
- Proper cable management ensures a neat and visually appealing workspace.
- Self-adhesive, battery-operated options are available for a simpler process.
- Avoid common mistakes to ensure a safe and successful under cabinet lighting installation.
Introduction to Under Cabinet Lighting Installation
A well-lit kitchen space is essential for both practicality and ambiance. Installing under cabinet lighting can significantly enhance the functionality of your cooking area while also adding a touch of elegance. This guide offers tips for installing under cabinet lighting, providing insight into the under cabinet lighting installation process to make it as quick and easy as possible. Before you embark on your installation journey, it’s essential to prioritize safety, use the correct tools, and understand the various types of lighting fixtures available.
Under cabinet lighting installation involves several key steps, from selecting the right fixtures to securing the cables. If you take the time to understand these steps and prepare accordingly, you can effectively improve your kitchen’s lighting while avoiding common mistakes that could jeopardize the final outcome.
“An investment in proper under cabinet lighting is an investment in a beautiful and functional kitchen.”
Throughout this guide, we’ll provide helpful advice and suggestions that will ensure you can successfully complete the installation process with ease. As you follow these guidelines, remember that a beautiful and functional kitchen is well worth the investment of your time and effort.
Choosing the Right Lighting Fixture for Your Cabinets
When it comes to under cabinet lighting installation, choosing the correct lighting fixture is crucial for the best results. This process involves evaluating cabinet dimensions, selecting the right lighting type and finish, and considering professional installation services if needed. In this section, we will guide you through these aspects, so you can make an informed decision for your kitchen’s under cabinet lighting.

Evaluating Cabinet Dimensions and Location
Before selecting a lighting fixture, it’s essential to measure the width of the cabinets, the distance from the countertop to the cabinet bottom, and the depth of the recess where you plan to install the lighting. The fixtures you choose should be slightly shorter and less deep than the cabinet’s dimensions to fit appropriately.
Considerations for Lighting Type and Finish
When choosing under cabinet lighting, consider energy-efficient options like LED or fluorescent lighting, as they offer longevity and energy savings. To complement your kitchen’s aesthetic, select a finish that matches the overall design, such as white, bronze, black, nickel, or silver. Additionally, consider whether you need dimmable features for adjustable lighting levels to enhance your kitchen’s ambiance.
| Lighting Type | Energy Efficiency | Longevity | Finishes Available |
|---|---|---|---|
| LED | High | Long-lasting | White, Bronze, Black, Nickel, Silver |
| Fluorescent | Medium | Long-lasting | White, Bronze, Black, Nickel, Silver |
Taking the time to consider the proper light type and finish ensures your kitchen will have a seamless and functional under cabinet lighting installation. Remember, evaluating cabinet dimensions for lighting and making the best choice for your space will significantly impact the overall appearance and functionality of your kitchen.
Essential Tools for Installing Under Cabinet Lighting
For a successful under cabinet lighting installation, it is crucial to have the right tools at hand. These tools not only make the process smoother but also ensure the safety and durability of your installation.
The following is a list of essential tools that you would need for under cabinet lighting installation:
- Drills – For drilling holes required to secure the lighting fixtures and switchboxes.
- Screwdrivers – To tighten or loosen screws throughout the installation process.
- Pliers – These come in handy for gripping, bending, and cutting wires.
- Wire strippers/cutters – For stripping insulation from electrical wires and cutting them to the desired length.
- Saws – For cutting through drywall when installing switchboxes or running cables.
- Voltage testers – To ensure safety by checking the absence of electrical current before beginning installation work.
- Goggles – Wearing eye protection helps prevent debris or dust from damaging your eyes during installation.
By having these tools readily available, the under cabinet lighting installation process will be more efficient, and you can ensure a professional-looking result. Remember to always follow safety precautions and consult a professional if you’re unsure about any steps in the process.
Preparation: Safety Steps and Turning Off Power

As you prepare for your under cabinet lighting installation, it’s crucial to prioritize safety. Start by taking necessary precautions, such as turning off power for installation. Shut off power at the breaker box and use a voltage tester to ensure no electrical current is running through the wires. This guarantees a safe installation environment free from the risk of accidental electrocution.
Eye protection is also essential during the installation process. Utilize goggles while operating power tools to protect your eyes from debris and damage. This safety gear is especially important when drilling or cutting materials, as fine particles can fly into your eyes, causing potential harm.
Remember, safety is paramount during the installation process! Always follow these key safety steps – turning off power, using a voltage tester, and wearing goggles – to ensure a successful and hazard-free under cabinet lighting installation.
Planning the Layout and Preparing the Cabinets
When it comes to planning the layout for lighting and preparing the cabinets, it’s crucial to map out your under cabinet lighting scheme prior to installation. This process ensures a smooth workflow and results in optimal lighting distribution. The planning phase should encompass aspects such as location of transformers, routing of wires, and drilling necessary holes.
Mapping Out Your Under Cabinet Lighting Scheme
First, visualize the layout based on the dimensions and design of your kitchen cabinets. It’s important to determine the location of transformers, outlets, and switches, keeping in mind the visibility of wires and accessibility to connections.
For LED installations, it’s essential to understand how various components connect and the appropriate spacing of fixtures to ensure even illumination without creating shadows. Here are some points to consider when mapping out your under cabinet lighting scheme:
- Transformer placement: Opt for concealed areas such as the top or far end of cabinets to maintain a polished appearance.
- Wire routing: Aim to minimize the visibility of wires by running them through the cabinet backboards, inside the walls, or under the cabinet moldings.
- Drilling holes: Allocate specific locations for drilling holes based on the intended wire routes and fixture positioning.
- Spacing considerations: Install fixtures at equal intervals for uniform lighting coverage, avoiding any dark spots on the countertop.
By carefully planning and preparing your cabinets for under cabinet lighting, you can enhance the overall functionality and ambience of your kitchen space while making the installation process seamless.
Running the Cable: Inside and Under the Cabinet
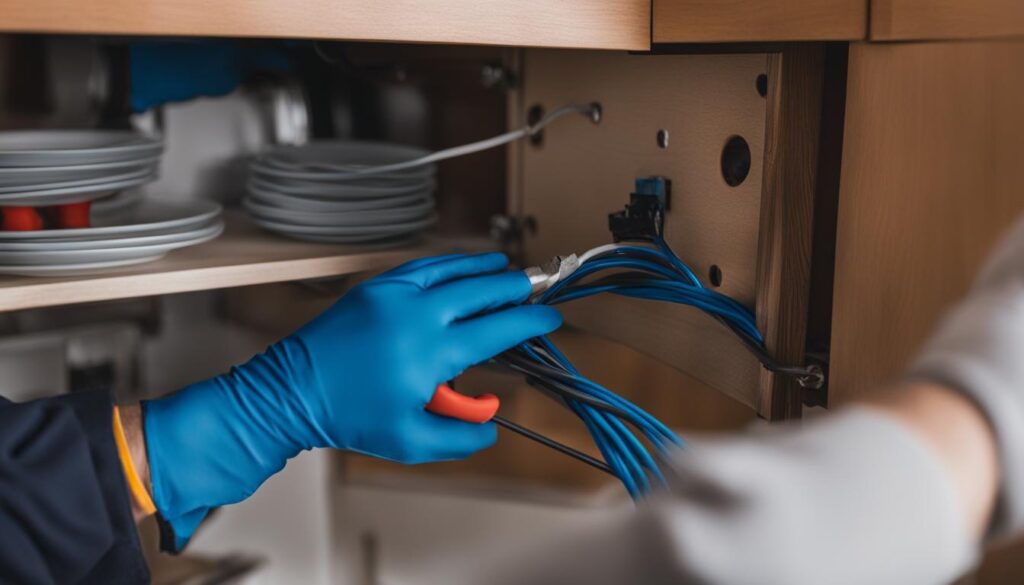
When it comes to running cable for lighting in an under cabinet lighting installation project, both options—inside or under the cabinet—are viable. Regardless of your choice, you must adhere to local building codes to ensure a safe and compliant installation.
- Measure the cable paths: Accurate measurements will minimize the waste of materials and ensure that your cables are the right length for connecting all of the necessary components.
- Cut holes precisely: Holes should be cut to the proper size for clean and secure cable routing. As a best practice, begin by drilling pilot holes before enlarging them.
- Clamp cables securely: To prevent unsightly and potentially dangerous cable runs, it’s important to use cable clamps or other appropriate cable management tools.
When under cabinet lighting cable installation is taking place, it’s crucial to have sleek wiring along with the bottoms and insides of cabinets. This will prevent any visual disruptions in your kitchen design.
Installing the Light Switch for Your Under Cabinet Lighting
Properly installing the light switch plays a key role in the smooth operation of your under cabinet lighting. Careful attention to each step of the process ensures an efficient and safe switch installation.
To begin, cut a hole for the switch box using a saw or drill. This hole should be appropriately sized to firmly hold the switch box in place. Next, clamp the cables entering the switch box; this will keep the cables secure and prevent them from being accidentally pulled out.
- Wire the switch with appropriate splices, ensuring that you connect the wires in accordance with the provided instructions and standards.
- Connect the ground wires to the switch and box. Ground wires are crucial for preventing electrical shocks and other hazards.
- After you’ve wired the switch, check receptacles and junction boxes for proper safety measures. The completed setup should adhere to local electrical codes.
It is highly recommended that you have a professional inspect the finished work. This step gives you confidence that your under cabinet lighting switch installation is secure and operating safely. Conducting a thorough installation guarantees a well-functioning and visually appealing lighting setup in your kitchen.
Attaching and Wiring the Light Fixtures
Once you have planned the layout and installed the light switch, the next step is to attach and wire the light fixtures. This process involves disassembling the lights, securing cables with fittings, aligning holes, and using screws or adhesive alternatives. You will also need to make electrical connections by carefully wire splicing, aligning the fixture base, and ensuring wires do not interfere with the ballasts or fixture components.
Securing the Fixtures and Making Electrical Connections
To attach the fixtures, disassemble the lights and secure the cables with appropriate fittings. Align the holes on the fixture with the pre-drilled holes on the underside of the cabinet. You can use screws for a more secure fit or adhesive alternatives for a less invasive installation.
When making electrical connections, follow these steps:
- Cut and strip the wires to the appropriate length.
- Use a wire connector to splice the wires together, ensuring a secure connection.
- Align the fixture base with the pre-drilled holes or adhesive surface under the cabinet.
- Secure the fixture with screws or adhesive alternatives, depending on your chosen installation method.
- Ensure that wires are neatly tucked away and do not interfere with the ballasts or other fixture components for a clean and safe installation.
In conclusion, by carefully attaching light fixtures and making electrical connections for lighting, you’ll be able to enhance the functionality and aesthetics of your kitchen with under cabinet lighting. Remember to follow safety guidelines and consult a professional if needed.
Opting for Self-Adhesive Under Cabinet Lighting
When it comes to a simpler alternative for under cabinet lighting installation, battery-operated self-adhesive LED fixtures are a popular choice. Not only do they require fewer tools, but they also involve less electrical work, making them an excellent option for the DIY enthusiast or those looking for a quick kitchen upgrade.
Tip: Self-adhesive under cabinet lighting installation is perfect for renters who want to improve their kitchen lighting without making permanent changes.
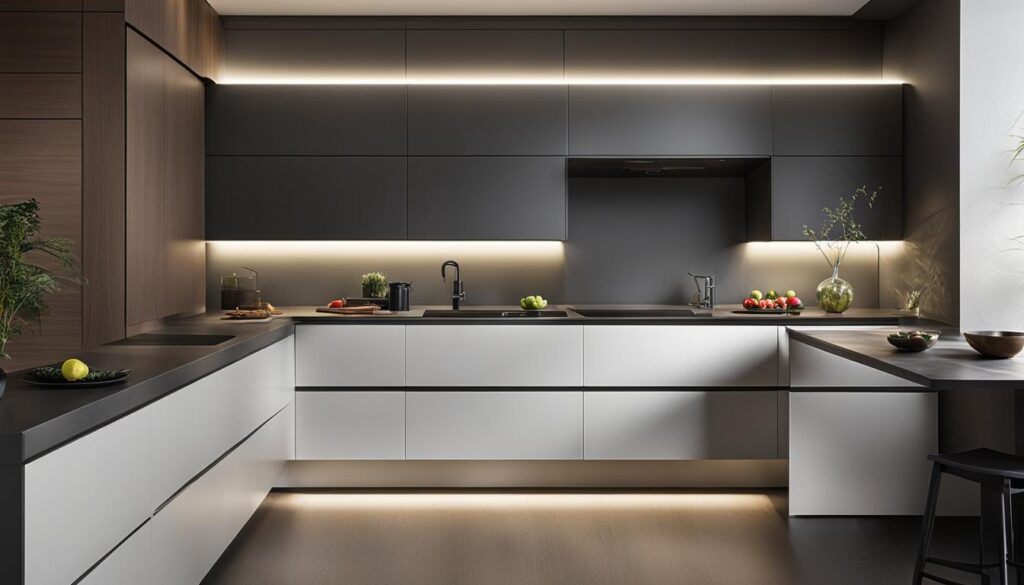
Follow these easy steps for a successful self-adhesive under cabinet lighting installation:
- Measure and mark the center point: Start by measuring the length of your cabinet and finding the center point. Mark this spot with a pencil, as it will serve as a guide for positioning your self-adhesive LED fixture.
- Prepare the surface: Clean the underside of the cabinet with a damp cloth, removing any dust or grease to ensure proper adhesion.
- Peel and stick the LED fixture: Peel off the backing from the adhesive strip and carefully align the fixture with the center point you marked. Press firmly to ensure proper attachment. Some models may also include mounting screws for added security.
- Test your new lighting: Once the fixture is secured, insert batteries, and turn on the light to ensure proper illumination and function.
Self-adhesive under cabinet lighting is a user-friendly, non-permanent solution that dramatically enhances the look and functionality of any kitchen space. By following these simple installation steps, you can enjoy the benefits of improved lighting without significant effort or expense.
Finishing Touches: Testing and Cleaning Up Your Workspace
After completing the under cabinet lighting installation, it’s important to perform the necessary tests and clean up your workspace. In this final stage, we will discuss how to test the lighting for proper operation and what steps need to be taken for a thorough clean-up.

Testing Your Under Cabinet Lighting Installation
First and foremost, you need to test your under cabinet lighting to ensure everything is working correctly. To do this, make sure you have restored power to the circuit by turning it back on at the breaker box. Next, turn the light switch on to see if the lights illuminate as intended. Check for any flickering, dimness or uneven lighting that might indicate a problem with the fixtures or their wiring.
If everything appears to be working properly, you can move on to the cleaning process. However, if you encounter any issues, retrace your steps and double-check all connections and components before moving forward.
Cleaning Up After Installation
Once the testing phase is complete and you’re satisfied with the outcome, it’s time to clean up your workspace. Keep the following steps in mind during the clean-up process:
- Dispose of materials: Collect any unused materials, packaging, and debris created during the installation process. Be sure to safely dispose of any sharp objects, such as screws or wire fragments, to avoid injuries.
- Patch unnecessary holes: If you’ve accidentally drilled any holes that are not needed for the installation, take the time to patch and repair these areas for a clean, professional finish.
- Organize tools: Put away all tools and equipment used during the installation, ensuring they’re stored safely for future use.
- Wipe down surfaces: Using a damp cloth, clean any dust or debris from the countertop, cabinets, and surrounding areas.
With your under cabinet lighting successfully installed and your workspace cleaned up, you can now enjoy the enhanced functionality and ambiance that this addition brings to your kitchen.
Common Mistakes to Avoid During Under Cabinet Lighting Installation
Proper under cabinet lighting installation can enhance the functionality and aesthetics of your kitchen. However, it’s crucial to avoid some common mistakes that could lead to malfunction and safety hazards. Let’s delve into the most frequent installation missteps and learn how to sidestep them.
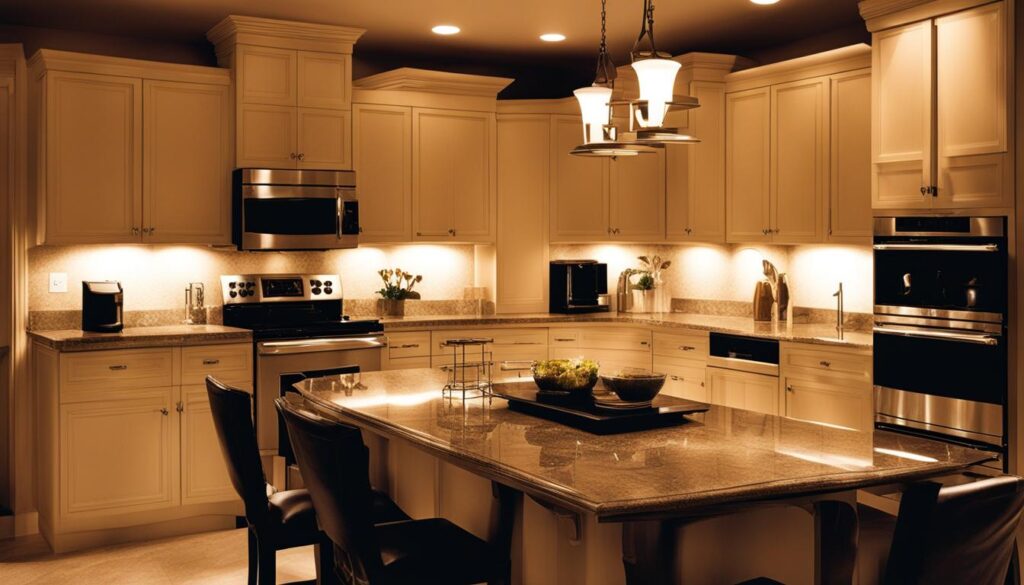
- Inadequate measuring: Accurate measurements are critical for selecting the right size of lighting fixtures and ensuring proper placement. Ensure you’ve accurately measured the cabinet dimensions and the space between the cabinet bottom and the countertop.
- Disregarding local electrical codes: Always check and adhere to local building and electrical codes during installation. Noncompliance may result in fines or safety hazards.
- Poor wire management: Properly secure and route wires to avoid visible cables and maintain a clean look. Invest in wire management solutions like cable clips, raceways, or adhesive mounts to keep cables out of sight.
- Incorrect bulb handling: Handle bulbs carefully during installation to avoid breakage or damaging interior components. Use gloves or a soft cloth when handling bulbs to prevent fingerprints or oil residue.
- Failing to connect the correct wires: Precise wiring ensures proper functionality and safety. Be sure to follow the manufacturer’s instructions when connecting wires, and double-check all connections before restoring power.
- Using mismatched components: Using components not designed to work together can cause safety hazards or compromised lighting performance. Stick to the manufacturer’s recommendations, or consult a professional if in doubt.
- Leaving wires exposed: Exposed wires are not only unsightly but can also cause hazards. Ensure all wires are properly concealed and secured to prevent accidents.
By avoiding these common mistakes in under cabinet lighting installation, you can ensure a safe and visually appealing result that enhances the functionality and ambiance of your kitchen space.
Conclusion
In summary, finishing under cabinet lighting installation successfully depends on several factors. Careful planning, the right tools and fixtures, adherence to safety protocols, and keen attention to detail play significant roles in enhancing kitchen functionality and ambiance. With the option of expert or DIY installation, under cabinet lighting creates a wonderful environment for both practical use and entertaining purposes.
To ensure a safe and aesthetically pleasing outcome, one must avoid common installation mistakes such as inadequate measuring, poor wire management, and disregarding local electrical codes. It is essential to take the time necessary to choose appropriate fixtures, plan the layout, and verify safety throughout the process.
As you complete your under cabinet lighting installation, take pride in the hard work and effort that went into it. A well-lit kitchen enhances the overall feel and functionality of your space, making it a pleasure to work and relax in. Upon completion, you will appreciate the beauty and utility that this project has brought into your home, making it worthwhile in the end.
FAQ
What factors should I consider when choosing an under cabinet lighting fixture?
Focus on the cabinet dimensions, dampness ratings, lighting type (LED or fluorescent), finish (white, bronze, black, nickel, or silver), and personal preferences such as dimmable features for adjustable lighting levels.
What tools will I need for under cabinet lighting installation?
You will need drills, screwdrivers, pliers, wire strippers/cutters, saws for cutting through drywall, voltage testers, and goggles for eye protection.
What safety precautions should I take during under cabinet lighting installation?
Always begin by shutting off the power at the breaker box and using a voltage tester to ensure no current runs through the wires. Use goggles when operating power tools to protect your eyes from debris and damage.
What is a self-adhesive under cabinet lighting option?
Self-adhesive under cabinet lighting, like battery-operated LED fixtures, can be installed by marking center points, aligning the fixture, pressing it into place, and sometimes using additional mounting screws for security. This method requires fewer tools and less electrical work.
What are some common mistakes to avoid during under cabinet lighting installation?
Avoid inadequate measuring, disregarding local electrical codes, poor wire management, incorrect bulb handling, failing to connect the correct wires, using mismatched components, or leaving wires exposed.

