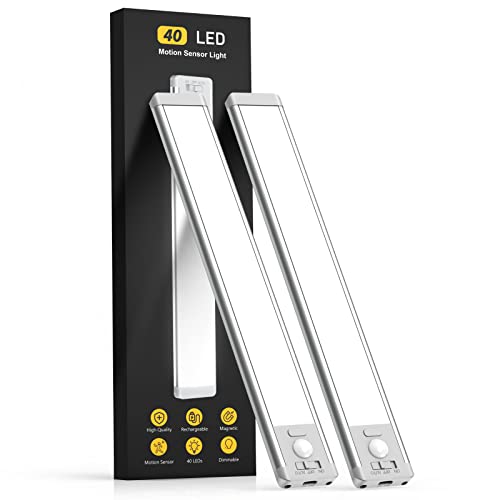
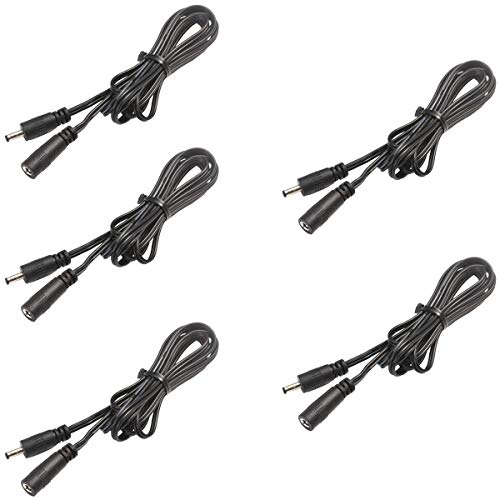
In this step-by-step guide, I will explain how to replace under cabinet LED lights. Whether you want to upgrade your kitchen’s lighting or need to fix a broken fixture, I’ve got you covered. Let’s get started!
Top Picks for Under Cabinet LED Lights
My Guide to Installing Under Cabinet Lighting
Gather the necessary tools and materials
Before you start the installation process, it’s important to gather all the necessary tools and materials. In order to successfully install your new LED lights, make sure you have the following items on hand:
- New LED lights: Ensure that you have the lights you plan to install. For example, you might have purchased a set of recessed LED lights or LED strip lights.
- Screwdriver: You will need a screwdriver to remove any existing light fixtures or to secure the new LED lights in place. A Phillips head screwdriver is commonly used for this task.
- Wire cutters: These tools will come in handy when you need to trim or cut any excess wires. For instance, you may need to shorten the wires on the LED strip lights to fit your specific installation location.
- Wire connectors: These connectors are essential for joining and securing the electrical wires together. They ensure a reliable and safe connection between the wires. Different types of wire connectors exist, such as twist-on wire connectors or push-in connectors.
- Voltage tester: It is crucial to check the voltage to ensure the safety of the electrical circuit you’ll be working on. A non-contact voltage tester or a multimeter can be used to test for the presence of electrical voltage.
By ensuring you have these tools and materials upfront, you’ll be well-prepared to tackle the installation process efficiently and safely.
Turn off the power
To ensure safety when working on a circuit, follow these steps to turn off the power. First, locate your electrical panel and open it. Next, identify the correct breaker for the circuit you’ll be working on, usually labeled with a corresponding number or description. Finally, switch the breaker to the “off” position. This will effectively turn off the power to the circuit, providing a safe environment for your work.
Remove the old lights
To remove the old lights, start by using a screwdriver to unscrew the screws that are holding them in place. Be careful when handling the wires and disconnect them from the old lights, setting them aside for later.
Prepare the new lights
To prepare your new LED lights for installation, refer to the provided instructions. Follow the steps outlined to attach any required mounting brackets or connect the necessary wires. It’s important to carefully follow these instructions to ensure proper installation and avoid any potential issues.
Connect the wires
To connect the wires from the new lights to the wires in your electrical box, start by using wire connectors. Match the corresponding wires together, making sure to connect the appropriate colors. Before making any connections, it is essential to use a voltage tester to ensure that the power is switched off. This step will help minimize the risk of accidents or electrical shock.
Mount the new lights
To position the new lights, first, make sure you have the necessary tools. Grab a screwdriver and carefully place the lights in the desired location. Use the screwdriver to secure them firmly to the surface. Remember to double-check that they are securely attached and level, as this will ensure proper functionality and an aesthetically pleasing look. For example, if you’re mounting outdoor lights on a fence, position them at equal distances apart and at a suitable height for optimal illumination.
Restore power
To restore power, first check that all connections are securely in place. Then, flip the switch back on at the electrical panel. Finally, test the new lights to make sure they are working correctly.
Clean up and dispose
To clean up and dispose of properly after installation, follow these steps:
- Remove any debris or packaging materials: Clear the area of any leftover packaging materials, such as cardboard boxes, plastic wrap, or Styrofoam. Dispose of these materials in the appropriate waste containers, such as recycling bins or trash bags.
- Dispose of the old lights: If you are replacing old lights, make sure to dispose of them responsibly. Check with your local waste management guidelines to determine the best way to discard old lights. In many cases, they can be recycled or taken to designated drop-off locations.
- Recycle other waste: Separate any other waste generated during the installation process, such as wiring, connectors, or electrical components. Check if these items can be recycled or if there are designated collection points for electronic waste in your area.
- Clean the installation area: Use a broom or vacuum cleaner to remove any dust or debris from the installation area. Wipe down surfaces with a damp cloth or cleaning solution if necessary.
Remember, proper clean-up and disposal help protect the environment and keep your space tidy. Follow local guidelines and regulations for waste management to ensure responsible disposal practices.
Enjoy your new lights
Step back and admire your newly installed under cabinet LED lights. See how the lights illuminate your countertop with a bright, focused beam, enhancing both the functionality and aesthetics of your kitchen space. Notice how the warm white color temperature creates a welcoming and cozy atmosphere. Take a moment to appreciate the energy efficiency of these lights, knowing that you are not only saving on your electricity bill but also reducing your carbon footprint. Enjoy the benefits of your new lights and let them enhance your overall lighting experience in your home.
Wrapping it up
In conclusion, replacing under cabinet LED lights is a straightforward process that can greatly enhance the lighting in your environment. By following the simple steps outlined in this blog post, you’ll be able to complete this task with ease. However, it’s essential to prioritize safety and seek professional assistance if you have any uncertainties or concerns. So go ahead and start enjoying the benefits of brighter, more efficient under cabinet lighting!
Essential Equipment
Illuminating Solutions for Success!
Step-by-Step Guide to Using Under Cabinet LED Lights
- Start by planning the layout: Measure the length of the cabinets where you want to install the LED lights. Identify where you want the lights to be placed and the best locations for power outlets or switches
- Choose the right LED lights: Consider factors such as brightness, color temperature, and functionality. LED strip lights are commonly used for under cabinet lighting. Make sure to select lights that are specifically designed for this purpose
- Install the lights: Clean the surface of the cabinets thoroughly before installing the lights. Remove the adhesive backing from the LED strip lights and stick them along the underside of the cabinets. Alternatively, some models come with clips or brackets that can be used for installation
- Connect the lights: Most LED strip lights come with connectors that allow you to connect multiple strips together. Use these connectors to join the sections of the LED lights if needed. Follow the manufacturer’s instructions on connecting the lights to power
- Test and adjust: Once the lights are installed, test them to ensure they work properly. Adjust the placement, angle, or brightness if needed. Some LED lights come with dimmer switches, which allow you to adjust the light intensity according to your preference
- Remember to always follow the instructions provided by the manufacturer for your specific under cabinet LED lights. Enjoy your new illuminated kitchen!
Answers to Common Questions About Under Cabinet LED Lights
What are the benefits of using under cabinet LED lights?
There are several benefits to using under cabinet LED lights! First of all, LED lights are highly energy-efficient, using much less electricity compared to traditional lighting options. This means lower energy bills and reduced environmental impact.
Another advantage is their long lifespan. LED lights can last up to 25 times longer than incandescent bulbs, saving you money on replacements and reducing maintenance efforts. Additionally, LED lights produce very little heat, which makes them safer to use and minimizes the risk of fire hazards.
LED lights also provide excellent illumination. They emit a bright and focused light that evenly illuminates the countertop space, making it easier to see while prepping meals or working in the kitchen. Many LED lights also come with dimmable options, allowing you to adjust the brightness according to your needs and create different ambiance settings.
Furthermore, LED lights are available in a variety of colors, allowing you to customize the lighting to match your kitchen decor or personal preferences. Some LED lights even offer color-changing options, giving you the flexibility to create different moods or lighting effects.
Lastly, under cabinet LED lights are easy to install and come in various shapes and sizes to fit different cabinet designs. They are also low-profile and discreet, ensuring they blend seamlessly with your kitchen aesthetics.
Overall, under cabinet LED lights offer energy efficiency, durability, safety, excellent illumination, customization options, and easy installation. They are a fantastic choice for enhancing your kitchen lighting while enjoying numerous benefits.


