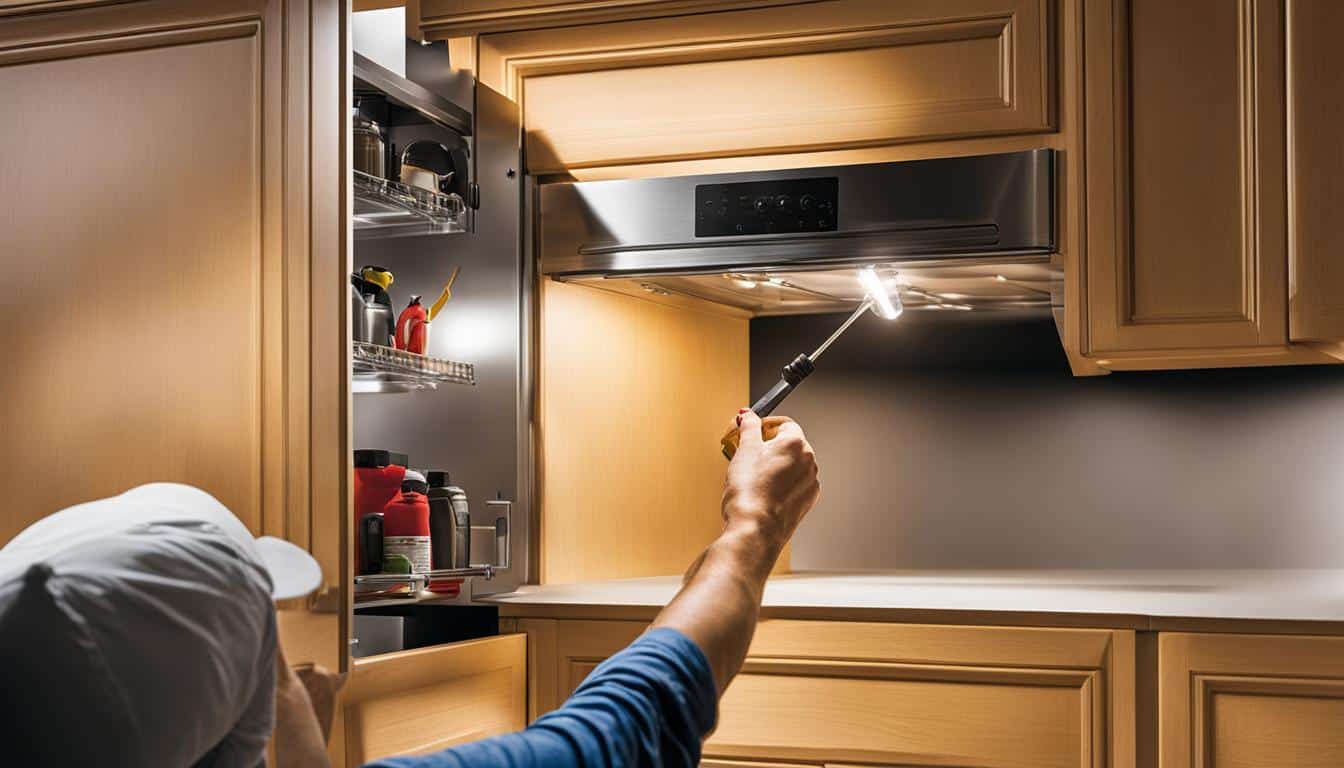
Installing cabinet lighting can dramatically enhance the ambiance and functionality of your home. As a DIY project, it can seem daunting, but with the right tools and instructions, it’s a manageable task. To ensure proper lighting and seamless integration, preparatory measures such as selecting the right fixtures, turning off the power, and planning the wiring are vital steps. Using this guide, you can safely and efficiently light up your cabinets, giving your kitchen, bathroom, or any space with cabinets, custom lighting that suits your needs.
Key Takeaways
- Cabinet lighting installation can be a manageable DIY project with the proper guidance and tools
- Selecting appropriate fixtures and understanding dampness ratings are critical for long-lasting results
- Safety precautions like turning off power and wearing protective gear are essential during installation
- Strategizing wire placement and cable management will ensure a professional-looking finish
- Understanding and practicing techniques such as wire splicing and grounding are vital for successful electrical connections
- Battery-operated, self-adhesive LED fixtures provide an alternative for simple cabinet lighting installations
Choosing the Appropriate Cabinet Lighting Fixture
As you embark on your DIY cabinet lighting installation journey, selecting the right cabinet lighting fixture is crucial. This decision can impact both the aesthetics and functionality of your space. In this section, we will explore the best practices for cabinet lighting installation to help you make an informed choice.
Measuring Cabinet Dimensions
Begin the process by measuring the overall width of your cabinets and the distance between the countertop and cabinet bottom. Ensure the fixtures you choose are at least 2 inches shorter than the cabinet width to achieve a snug fit and maintain a neat appearance.
Understanding Dampness Ratings for Fixture Selection
Take note of the dampness ratings when selecting fixtures, as they will influence your choice depending on the area where they will be installed. Opt for dry-rated fixtures in the kitchen, and consider damp-rated fixtures for more humid areas like bathrooms.
Selecting the Right Finish and Color
Consider the overall style of your space when choosing the finish and color of your cabinet lighting fixtures. Popular options include white, bronze, black, nickel, and silver. Selecting a finish and color that complements your existing décor can enhance the visual appeal of your space.
Comparing LED and Fluorescent Lighting Types
The choice between LED and fluorescent lighting types can be determined by factors such as energy efficiency, longevity, and cost-effectiveness. LEDs are known for being energy-efficient and long-lasting, whereas fluorescents may offer a more cost-effective solution. Remember to consider the installation codes and check if the fixtures are compatible with dimmable lighting for adjustable ambiance.
Considering Dimmable Lighting Options
Dimmable lighting can serve as an excellent addition to your cabinet lighting setup, as it offers the ability to adjust the brightness according to your preference or mood. This feature can create a welcoming and customizable atmosphere in your kitchen or bathroom. Ensure that your fixtures are designed to work with dimmer switches and that they adhere to local installation codes.
Safety First: Preparing for Your Installation
Before diving into the cabinet lighting installation, prioritizing safety is essential. By following a few key steps, you can minimize risks and smoothly proceed through the installation.
Shutting Off Power to the Area
The first crucial cabinet lighting installation tip is to shut off all power to the cabinet location via your home’s fuse or breaker box. Make sure to also unplug any appliances or devices that might be connected to the circuit you’re working on, ensuring you’re free from the risks associated with electrical work.
Testing with a Voltage Tester
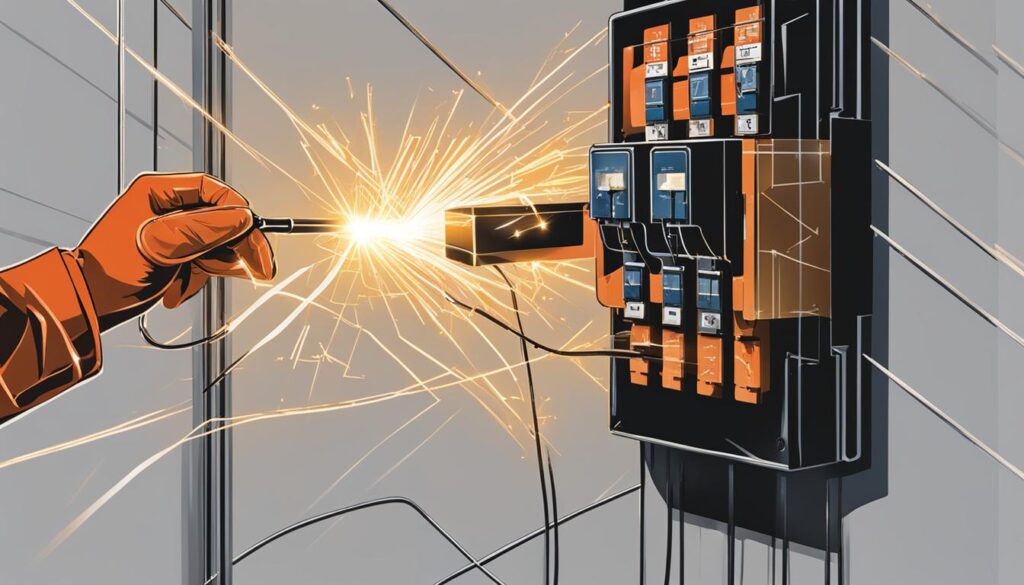
Next, utilize a voltage tester to confirm that the power has been successfully turned off. Touch the tester to all wires in the electrical box area to make sure there is no live current. It’s of paramount importance as you’ll be dealing with electrical wiring during the installation.
Donning Protective Gear for Installation
Finally, protect yourself by wearing appropriate safety equipment. This includes safety goggles, particularly when drilling or cutting to avoid injury from debris. Gloves can also be useful to help prevent cuts or scrapes as you work on your cabinet lighting installation.
In addition to these essential safety steps, having a comprehensive cabinet lighting installation checklist will further ensure that you’re well-prepared. By gathering all the required tools, materials, and information ahead of time, you can maximize productivity and efficiency throughout the installation process.
Prepping the Wall and Cabinet for Installation
Proper preparation of the wall and cabinet is essential to ensure a seamless and professional-looking cabinet lighting installation. This involves strategically planning the wiring route, handling the backsplash, and creating neat cable entries for each light fixture. By implementing these steps, you will be well on your way to a successful cabinet lighting project.
Strategizing Wire Placement for Aesthetic and Function
When planning the wiring route, aim to minimize visibility and avoid clutter. Determine the optimal path for your wires to run, taking into account factors such as cabinet layout and electrical connections. It’s essential to strike a balance between effective wiring and maintaining an aesthetically pleasing appearance.
Handling the Backsplash During Lighting Installation
The backsplash plays a crucial role in concealing wires and maintaining a clean look. Consider removing and then replacing the backsplash if possible to create a neat channel for the cabling. This process enables you to hide wires behind the backsplash, ensuring a polished and professional finish.
Creating Neat Cable Entries for Each Light
To ensure a clean look once lights are installed, create precise openings for cable entry. Drill holes within cabinet studs to route cables, and cut openings where the cable enters the lights. Once the lights are installed, consider covering the holes and cuts with tiles or other backsplash materials for a polished finish.
By following this step-by-step cabinet lighting installation guide, you are now ready to move forward with the installation process and create a beautifully lit space in your home.
How to Install Under Cabinet Lighting: Essential Power Connections
One of the most crucial components of a successful DIY cabinet lighting installation is making the right power connections. This involves a few important steps to ensure a tidy and functional setup:
- Place a switch box in the desired location.
- Run the cable from a power source to the switch box, making sure the power remains disconnected during the process.
- Manage the cable length effectively to maintain a neat appearance when making connections.

It’s essential to take into consideration the local codes when choosing your cabinet lighting type. If you opt for fluorescent lighting, be aware that the codes may allow them to function as junction boxes, enabling you to daisy-chain wiring from one light to another. This feature can simplify the process and provide a clean look by reducing the need for separate junction boxes.
By following these best practices for cabinet lighting installation, you can successfully create a well-lit and visually appealing space, with all the essential power connections in place for a safe and functional lighting setup.
Attaching and Positioning Your Cabinet Lights
Once you have selected the appropriate cabinet lighting fixtures and prepared the installation area, it’s time to position and secure the lights. This process involves disassembling the fixtures, adhering them to the cabinet undersides, and ensuring proper placement for the best illumination. Follow these tips for an easy cabinet lighting installation.
Disassembling Light Fixtures
Begin by disassembling the lighting fixtures, removing any lenses or bulbs to make room for installation. This will make it easier to position and secure the lights, as well as prevent any accidental damage during the process. Familiarize yourself with your chosen lighting fixtures to understand how to safely and effectively disassemble and reassemble them as needed.
Securing Lights to the Cabinet Underside
Position the lights against the rear wall underneath the cabinet, ensuring they are evenly spaced and lined up with the cabinet edges. Fasten them by driving screws through the fixture into the cabinet underside. Double-check that the screws won’t penetrate the inside of the cabinets, as this could cause damage to the contents or the cabinet itself.
Alternatively, adhesive or hook-and-loop strips might be used for fixtures compatible with these methods, simplifying the installation. Be sure to clean the cabinet surfaces thoroughly before applying adhesive or hook-and-loop strips to ensure a strong bond. No matter which method you choose, a well-executed installation will result in a seamless blend of cabinet lights that enhance your space’s ambiance and functionality.
Now that your cabinet lights are securely positioned, refer to the cabinet lighting installation tutorial for further guidance on connecting the lights and completing the installation. By following these cabinet lighting installation tips, you’ll have a beautiful and functional addition to your home in no time.
Electrical Wiring Basics: Connecting Your Cabinet Lights
Once you have attached your cabinet lights, it’s time to work on connecting the wiring. This step requires careful attention to wire splicing techniques and ensuring secure and proper fixture bases. By following these guidelines, you’ll have a safe and functional cabinet lighting system.
Wire Splicing Techniques
Splicing is the process of connecting wires within each light fixture. To splice wires, begin by matching the wire colors according to the manufacturer’s instructions. Use wire connectors to join wires, ensuring a secure connection. During this process, it’s essential to keep wires flat and unobtrusive to allow the fixture base to fit seamlessly.
Ensuring Secure and Proper Fixture Bases
Now that your wires are spliced, carefully attach the bottom portion of the light. Be sure to align it with the fixture base properly. If you notice any misalignment, realign as necessary for a secure and snug fit. Double-check the connections to the fixture base, ensuring everything is tightly connected and safe.
By paying close attention to wire splicing and secure fixture bases, you’ll have completed the electrical wiring for your cabinet lighting installation. With these steps, you’re one step closer to enjoying your new, well-lit cabinets.
Switch Wiring for Your Cabinet Lighting System
As a crucial step in your cabinet lighting installation, properly wiring the switch ensures a safe and functional lighting system. This section will provide a guide on installing a switch box, connecting wires to the switch, and grounding your light switch, helping you complete a successful cabinet lighting installation.
Installing a Switch Box
To start, install the switch box in a location that is both convenient and accessible. Clamp the cables securely to the box, making sure they are neatly arranged and organized. This adds stability to the installation and prevents potential issues caused by loose wires.
Splicing and Attaching Wires to the Switch
Wire splicing is an essential technique for safe and effective switch wiring. Begin by attaching the black wires from the cables to a single-pole switch, unless your light fixtures are dimmable. In that case, follow the manufacturer’s guidelines for the appropriate switch. Next, connect the white wires from each cable together, ensuring a secure and stable connection. It is crucial for these wires to be properly joined so that the current can flow without disruption.
Grounding Your Light Switch
After making the required connections, it’s important to ground your light switch to enhance safety and prevent electrical mishaps. Start by connecting the grounding wires (typically green or bare copper) from both cables to the switch’s grounding screw. If a metal box encloses your switch, make sure to ground that as well. This wraps up your switch wiring process and paves the way for a seamless cabinet lighting installation.
Once connections are made, restore power to the circuit. Before activating your new cabinet lights, we advise having an electrician inspect the work to ensure it is correctly and safely done. With the help of this cabinet lighting installation guide and thorough cabinet lighting installation checklist, you are well on your way to enjoying a beautifully lit and functional cabinet space.
Running Cable with Precision Inside and Under Cabinets

When it comes to cabinet lighting, proper cable management and routing are key to ensuring functionality and a clean, professional appearance. In this section, we’ll discuss some cabinet lighting installation tips and best practices for cabinet lighting installation, focusing on effective cable management solutions and routing techniques.
Effective Cable Management Solutions
To maintain a tidy and polished look, it’s essential to measure cable lengths accurately and cut precise holes in the cabinets for routing. Under cabinets, cables can be affixed and secured with cable staples, if local codes permit. This method helps keep the cable flat and unnoticeable, giving your lighting installation a professional finish.
Routing Cables for Optimal Functionality and Appearance
Begin by mapping out cable paths to minimize visibility and ensure smooth functionality. It’s crucial to lay the cables flat and route them in such a way that they remain unseen, preserving the aesthetic appeal of your cabinets. To simplify this process, consider using the following table showcasing cable routing techniques that ensure a clean and polished result:
| Technique | Purpose | Benefits |
|---|---|---|
| Drilling holes within cabinet studs | To guide cables through the cabinet structure | Provides a neat and secure solution for cable placement |
| Cutting precise openings for cable entry | To allow cables to enter and exit light fixtures | Keeps the installation looking clean and professional |
| Affixing cables with cable staples (if permitted) | To secure cables flat against surfaces | Reduces the visibility of cables and maintains a polished appearance |
By following these cabinet lighting installation tips and utilizing the suggested techniques for cable management and routing, you can achieve a sleek and seamless lighting installation that enhances both the functionality and the visual appeal of your cabinets.
Alternatives in Cabinet Lighting: The Self-Adhesive Route
If you’re looking for a simple, non-invasive option to introduce lighting to your cabinets, consider battery-operated, self-adhesive LED fixtures. These easy-to-install solutions don’t require extensive wiring or drilling, making for a perfect DIY cabinet lighting installation option. In this section, we’ll discuss choosing the ideal location for adhesive lights and provide some easy installation tips that save time and effort.
Choosing the Best Location for Adhesive Lights
Start by determining where you want to place the adhesive lights, considering both the aesthetics and functionality. A well-chosen location will be at the center of your cabinet and evenly illuminate the space below without creating harsh shadows. Measure the distance between the edge of the cabinet and the center point of the light fixture to ensure the perfect alignment.
Easy Installation Tips for Battery-Operated LED Lights
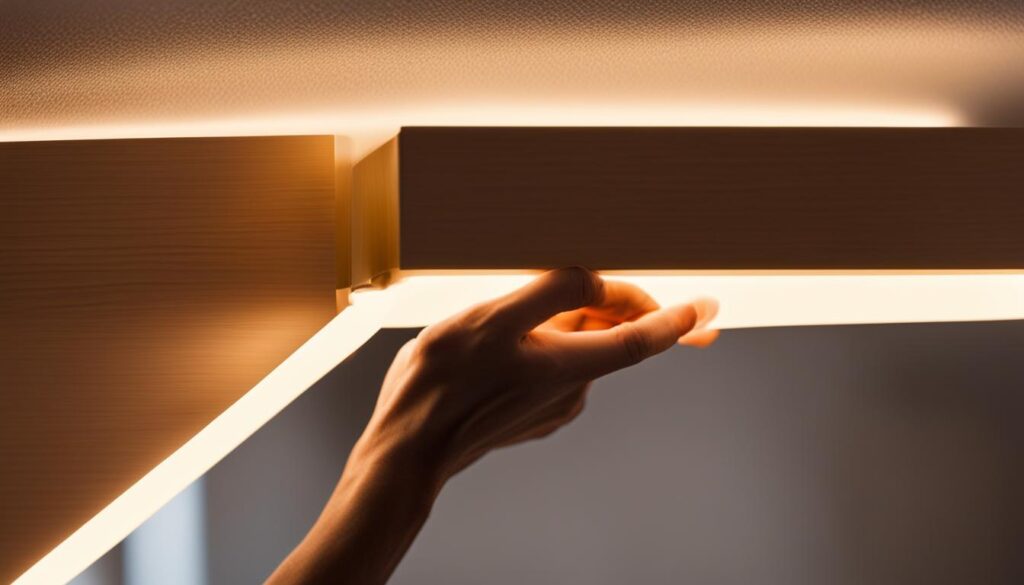
Once you’ve picked the perfect spot, how to install cabinet lighting simply involves the following steps:
- Wipe the cabinet underside for a clean surface for better adherence.
- Remove the protective backing from the adhesive strip on the light fixture.
- Align the light fixture against the marked location under the cabinet.
- Press the light firmly in place, ensuring the adhesive adheres firmly.
Some self-adhesive LED fixtures may include additional mounting screws for added security. If this is the case, make sure to screw them into the cabinet to further secure the light in place.
With these simple steps, your new self-adhesive LED light fixture is installed, and you can enjoy a quick and easy cabinet lighting installation that enhances the ambiance of your kitchen, bathroom, or any space with cabinets.
Expert Tips for an Efficient DIY Lighting Installation
Now that you have a grasp of the step-by-step cabinet lighting installation process, it’s crucial to focus on some expert tips to ensure an efficient DIY project. The right tools, reliable suppliers, and innovative technology are crucial for a smooth cabinet lighting installation journey.
Gathering the Right Tools and Materials
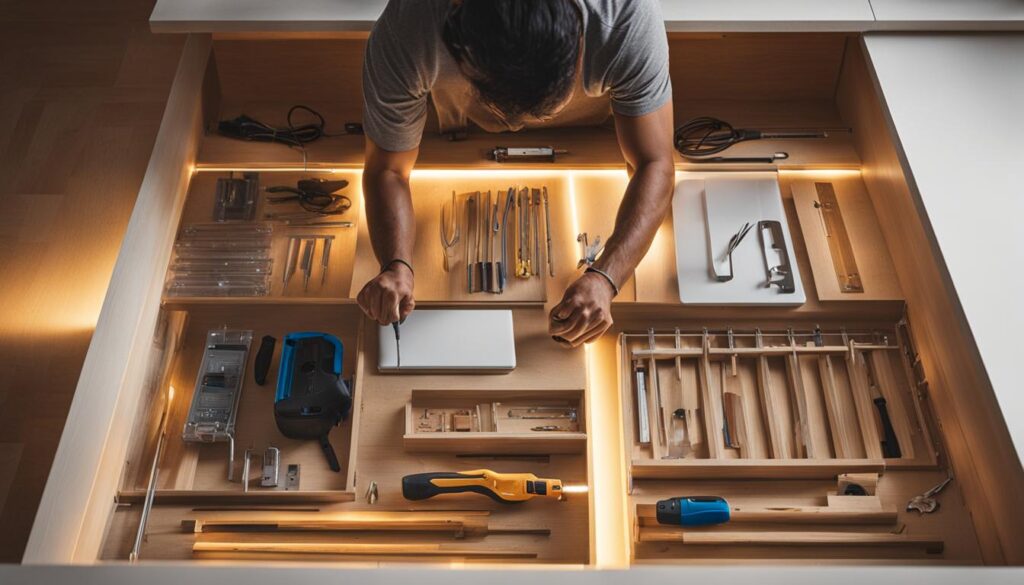
Before diving headfirst into your cabinet lighting installation, ensure that you’ve gathered the necessary tools and materials. This includes drills, wire strippers, screws, and safety goggles. Having everything on hand will prevent disruptions caused by searching for missing tools and will ultimately make the installation process more efficient.
Sourcing Supplies from Reputable Vendors
To guarantee a successful cabinet lighting installation, it’s essential to purchase supplies from reputable vendors. This includes light fixtures, screws, and electrical components. You can utilize live chat features on vendors’ websites to inquire about product compatibility or seek expert advice on your DIY cabinet lighting installation project.
Leveraging Technology for Installation Assistance
Technology can be a valuable resource for an efficient cabinet lighting installation. For example, mobile apps from The Home Depot can help you locate the items you need and maintain an up-to-date inventory of your supplies. With the aid of such tools and resources, you can streamline the installation process and ensure a well-executed project.
By combining the tips and tricks from this cabinet lighting installation tutorial with a thorough cabinet lighting installation checklist, you’re well on your way to a successful DIY project. A well-lit cabinet can instantly elevate any space, so don’t hesitate to embark on this rewarding home improvement journey!
Conclusion
Wrapping up, installing cabinet lighting by yourself is achievable through careful planning and following the steps outlined in this guide. Understanding the essentials, such as selecting the right fixtures, preparing for your installation, and managing cables, can make the process enjoyable and rewarding. Remember, always prioritize safety throughout the process.
Reviewing Steps for Successful Cabinet Lighting Installation
As you embark on this DIY project, it is crucial to review each step carefully, ensuring the installation caters to your specific space. From measuring cabinet dimensions to splicing wires and attaching fixtures securely, every stage will contribute to the beauty and functionality of your newly lit cabinets.
Highlighting the Importance of Customizing to Your Kitchen Space
Customizing the installation to suit your unique kitchen space is paramount for a successful outcome. Keeping in mind the specific cabinet dimensions and electrical setup, tailor the lighting installation to seamlessly complement your existing home design and needs.
Final Safety Check and Enjoying Your Newly Lit Cabinets
Perform a final safety check to verify everything is secure, and power is properly routed before using your new lighting fully. With this comprehensive cabinet lighting installation guide, you can now relish in the enhanced ambiance and practicality provided by your illuminated cabinets.
FAQ
What measurements should I take for cabinet lighting installation?
Measure the overall width of your cabinets and the distance between the countertop and cabinet bottom. Ensure that fixtures are at least 2 inches shorter than the cabinet width for a snug fit.
How do I choose the right cabinet lighting fixture?
Consider factors like dampness ratings, finish colors, and the type of lighting (LED or fluorescent). You may also want to look into dimmable lighting for adjustable ambiance.
What safety precautions should I take when installing cabinet lighting?
Shut off all power to the cabinet location, confirm that power is off with a voltage tester, and wear safety goggles when drilling or cutting.
How do I manage cable routing for a clean look?
Plan the wiring route to minimize visibility, drill holes within cabinet studs to route cables, and cut precise openings where the cable enters lights. You can also cover the holes and cuts with tiles or other backsplash materials for a polished finish.
What is the process of connecting and installing the cabinet lights?
Disassemble the lighting fixtures, position the lights underneath the cabinets, fasten them with screws or adhesive, splice the wires, and ensure a secure connection to the fixture base.
Are there alternatives to wired cabinet lighting?
Yes, battery-operated, self-adhesive LED fixtures can be easily installed without the need for extensive wiring.
What tools and resources should I have on hand for a successful DIY cabinet lighting installation?
Gather necessary tools like drills, wire strippers, screws, and safety goggles. Purchase supplies from reputable vendors and leverage technology or live chat features for product compatibility inquiries and installation assistance.

