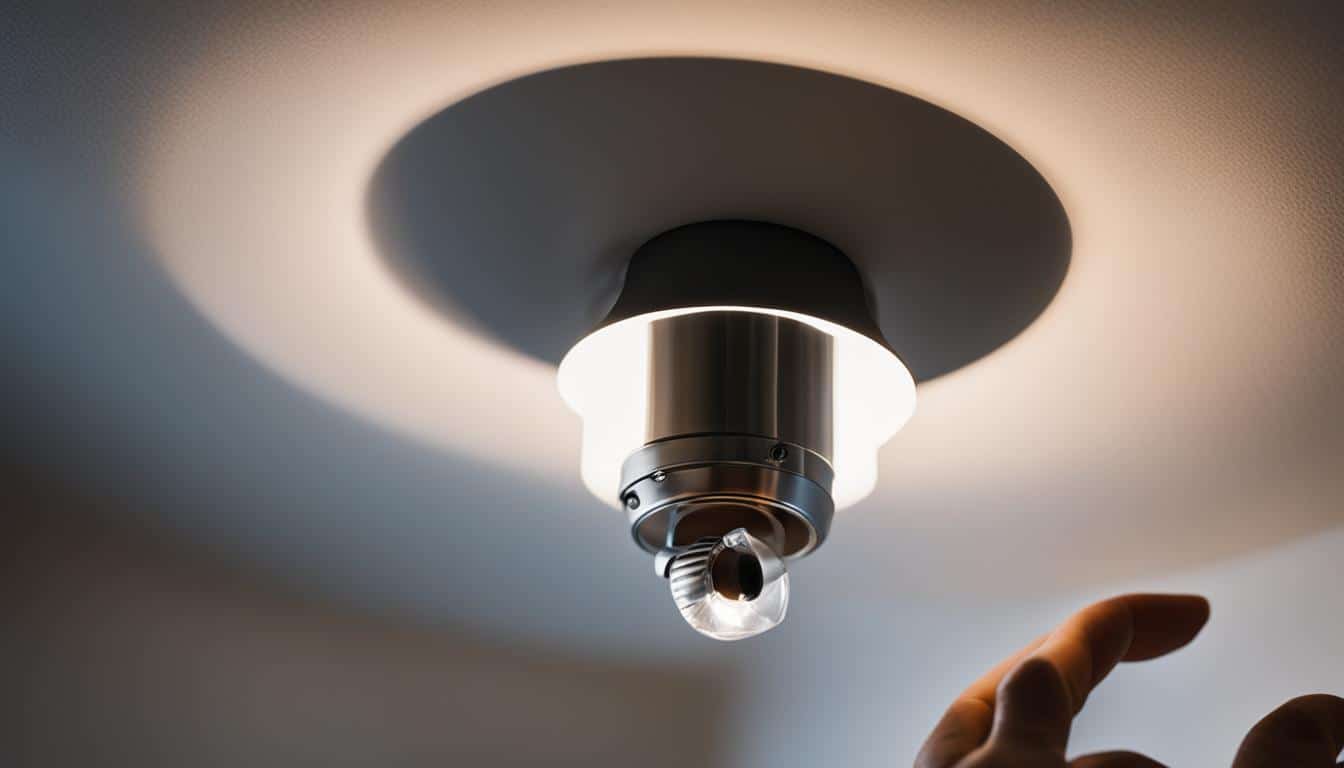
Installing recessed LED lighting, commonly known as LED downlights, is a flexible lighting solution well-suited for any area within our homes or buildings. These lights are embedded into ceilings and direct light downwards, focusing on specific areas or objects. In this easy guide, we will discuss how to install recessed LED lighting, plan your lighting layout, determine the desired color temperature, and understand the importance of spacing between lights. Whether you’re a DIY enthusiast or a newbie, this tutorial will provide you with the necessary steps to successfully install recessed LED lighting in your home.
Key Takeaways
- Recessed LED lighting is a versatile and energy-efficient solution for most living spaces.
- Planning your lighting layout, color temperature, and spacing is crucial for successful installation.
- Follow safety precautions, such as cutting power and using a voltage tester before starting work.
- Proper wiring, securing the housing, and selecting the appropriate trim and bulbs are essential steps.
- Seek professional advice when necessary and ensure to obtain any required permits for a seamless installation process.
Understanding the Basics of Recessed LED Lighting
Recessed LED lighting offers a virtually invisible fixture from many angles, providing a home with subtle, efficient lighting. Also referred to as canister lights, can lights, or downlights, recessed LED lights are prevalent in contemporary homes due to their clean appearance, which aligns with modern design aesthetics. These lights require a hollow ceiling for installation, with caveats for avoiding wires and structural elements.
Recessed LED lights are classified as either IC-rated or Non-IC-rated. IC-rated lights are safe to come into contact with insulation, while Non-IC-rated lights require clearance around them to prevent potential hazards. When carrying out a step-by-step recessed LED lighting installation, it’s crucial to understand which type of rating is suitable for your project.
IC-rated lights can safely come into contact with insulation, while Non-IC-rated lights require clearance around them.
The installation costs for recessed LED lighting are significantly lower when done personally, ranging from $20 to $50 per fixture, excluding additional electrical work. Follow this recessed LED lighting installation guide to ensure you can achieve a professional-looking result while saving on costs.
| Recessed Lighting Type | Safe for Insulation Contact | Cost per Fixture |
|---|---|---|
| IC-rated | Yes | $20 – $50 |
| Non-IC-rated | No | $20 – $50 |
Understanding the basics of recessed LED lighting is crucial for carrying out your installation project successfully. In the following sections, we’ll explore other aspects of the installation process, including choosing the right recessed lighting for your space, creating a detailed layout plan, and optimizing your home’s LED installation for energy efficiency and safety.
The Benefits of Choosing LED Downlights for Your Home
Installing recessed LED lighting, or LED downlights, in your home comes with a host of advantages that can significantly enhance your living space. These energy-efficient lights not only improve the overall aesthetics with their sleek design but also offer practical solutions for illuminating specific areas or highlighting certain elements in a room. Let’s delve into the numerous benefits offered by these lighting fixtures.
- Energy Efficiency: Choosing LED downlights for your home is a smart move, as they consume significantly less energy compared to traditional lighting options such as incandescent and CFL bulbs. This ultimately results in lower energy bills and a greener, eco-friendly environment.
- Longer Lifespan: Recessed LED lights have an extended lifespan, with some options lasting up to 50,000 hours. This means fewer replacements are needed, saving both time and money on maintenance.
- Design Flexibility: The minimalist design of LED downlights enhances the visual appeal of your space, seamlessly blending with modern interiors.
- Direct and Focused Lighting: These lights offer directional lighting, allowing you to strategically highlight specific features or areas in your home.
- Property Value: Upgrading to LED downlights can potentially increase property value, making your home more appealing to potential buyers.
- Cost-Effective Solution: In the long run, installed LED downlights can save on energy costs as a result of their efficiency.
Clearly, choosing LED downlights for your home comes with a multitude of benefits. They are not only energy-efficient but also provide long-lasting and attractive lighting solutions. So, why not consider installing them in your home to experience these advantages firsthand?
| Feature | LED Downlights | Incandescent Bulbs | CFL Bulbs |
|---|---|---|---|
| Energy Consumption | Low | High | Medium |
| Lifespan (Hours) | 25,000-50,000 | 750-2,000 | 8,000-10,000 |
| Directional Lighting | Yes | No | No |
| Cost-Effectiveness | High | Low | Medium |
Upgrading to recessed LED lighting is a wise decision for homeowners seeking an efficient, cost-effective and stylish lighting solution. Experience these numerous benefits firsthand by installing LED downlights in your home today.
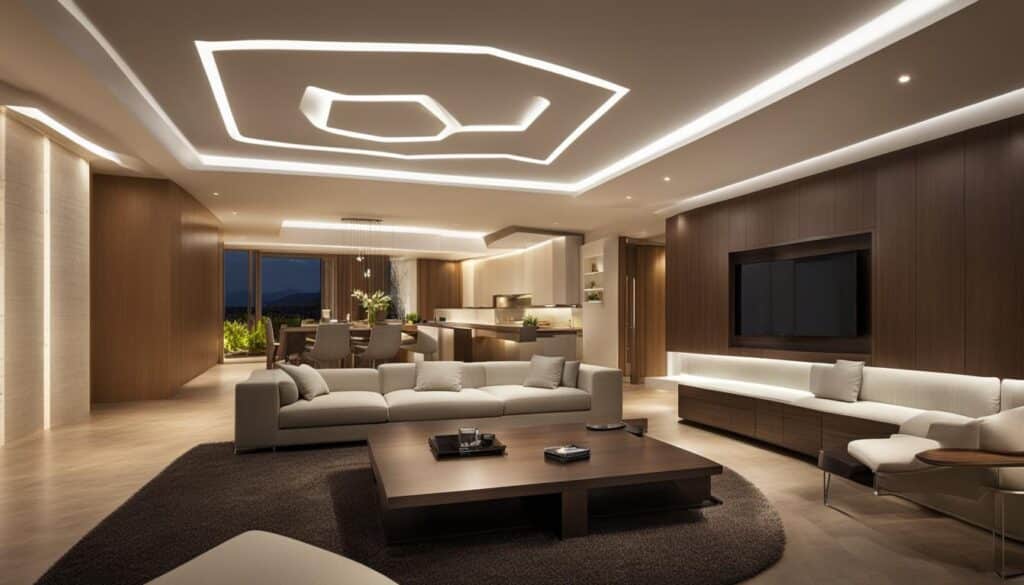
Selecting the Right Recessed Lighting for Your Space
Choosing the ideal recessed lighting solution is essential for achieving the perfect ambiance and meeting your functional needs. Factors to consider include baffle trim recessed lighting, eyeball trim downlights, and the appropriate color temperature for your LEDs. By carefully evaluating your options, you can install recessed LED lighting like a pro and ensure a stunning, well-lit space.
Considering Baffle Trim vs. Eyeball Trim
Selecting the right trim for your recessed lighting is a crucial decision, and the two main contenders are baffle trim and eyeball trim. Each option has its own advantages:
- Baffle Trim Recessed Lighting: Baffle trims utilize a ridged interior to minimize glare and provide a wide, even beam of light, making them ideal for general lighting throughout your home.
- Eyeball Trim Downlights: Eyeball trims allow you to adjust and direct light towards specific areas or objects in your space. This type of trim is perfect for highlighting artwork, creating a focal point, or even accentuating the texture of a wall.
The perfect trim for your space depends on your aesthetic preferences and desired functionality. When selecting between baffle and eyeball trims, consider the purpose of the lighting and the overall design of the space.
Choosing the Optimal Color Temperature for Your LEDs
Color temperature plays a significant role in setting the right tone and ambiance for your space. LED lights typically range from warm to cool temperatures, measured in Kelvin (K). When selecting the perfect color temperature for your LEDs, consider the following guidelines:
- Warm temperatures (around 3000K): Best for bedrooms and living areas where relaxation and coziness are priorities.
- Cooler temperatures (between 4000 to 5000K): More suitable for spaces requiring clarity and focus, such as bathrooms, kitchens, and garages.
Ultimately, the ideal color temperature will depend on your personal preferences and the intended use of the space. By carefully considering your options and combining them with the right trim, you can create a visually stunning and optimally lit environment in your home.
Pre-Installation Checklist: What You Need to Know
Before embarking on the exciting journey of installing your recessed LED lighting, it’s crucial to have a comprehensive pre-installation checklist to guide you through the process. This will ensure a smooth and efficient installation, whether you’re doing it yourself or working with professionals. In this section, we’ll explore the key factors you need to consider, including evaluating wiring materials, confirming the presence of a ground wire, planning the spacing between lights, and understanding the total wattage capacities of your existing electrical circuits.
- Evaluating Wiring Materials: Determine whether your home uses copper or aluminum wiring, as this will affect the compatibility of your LED lighting fixtures and other components.
- Confirming the Presence of a Ground Wire: Ensure that your electrical setup has a ground wire, which is a crucial protective measure that minimizes the risk of electrical shock.
- Planning the Spacing Between Lights: Thoughtfully plan the spacing between your recessed LED lights to achieve optimal lighting distribution and avoid creating dark areas within the room.
- Understanding Total Wattage Capacities: Be aware of the total wattage capacities of your existing electrical circuits to avoid overloading them and causing a fire hazard.
If you’re unsure about any of the above aspects, it’s always wise to consult with a lighting expert for guidance on the layout and seek professional assistance with the electrical work if the task is beyond your personal expertise. To give you a better understanding of some vital aspects you need to check before installation, refer to the table below:
| Aspect | Description | Importance |
|---|---|---|
| Wiring Material | Identify whether your home uses copper or aluminum wiring. | Compatibility with LED lighting fixtures and components. |
| Ground Wire | Check for the presence of a ground wire in your electrical setup. | Minimize the risk of electrical shock and enhance safety. |
| Spacing Between Lights | Plan the spacing between your recessed LED lights. | Achieve optimal lighting distribution and avoid dark spots. |
| Total Wattage Capacities | Understand the total wattage capacities of your existing electrical circuits. | Prevent overloading circuits and reduce the risk of fire hazards. |
In conclusion, having a well-thought-out and detailed pre-installation checklist for LED lighting is essential to ensure a successful project. By considering all the factors above, you’re one step closer to enjoying the numerous benefits of your new recessed LED lights.
Mapping Out Your Recessed Lighting Plan
Creating an effective recessed lighting plan is crucial for a quick and efficient recessed LED lighting installation. To begin, take into consideration the function of the space and the desired lighting effect. This will help you determine the optimal locations for your lights.
The first step to a successful recessed lighting layout planning is to understand and follow the minimum spacing guidelines. In general, ensure a 4-foot distance between lights in a linear path and a 2-foot gap from walls to achieve proper lighting distribution. However, these guidelines may vary depending on the size and shape of your space, so adapting them to your specific needs is encouraged.
Positioning the lights relative to other elements, such as ceiling fans, is also important to avoid creating an uncomfortable strobe effect from overlapping light cones. To determine the best placement for your lights, consider the following tips:
- Layout your lights based on the primary function of the space. For example, in kitchens, focus on task lighting by placing lights above key areas like countertops and islands.
- Consider ambient lighting for living rooms and bedrooms to create a relaxing atmosphere. Use a mix of recessed lights and other fixtures such as floor lamps to achieve the desired effect.
- Keep in mind the variables that can impact light distribution, such as ceiling height and room dimensions. Adjust your layout accordingly to ensure even lighting throughout the space.
Remember that proper planning is the foundation of a successful and efficient recessed LED lighting installation. Invest time in the planning process to ensure the best possible outcome.
As a final step in your recessed lighting layout planning, create a detailed sketch or blueprint of your plan. This will serve as a valuable reference during installation and help make the process smooth and efficient.
Cutting the Perfect Hole: A Step-by-Step Process
Learning how to cut the ideal hole for recessed LED lighting is an essential skill to master for a smooth installation process. To ensure the best results, follow these step-by-step instructions while taking necessary precautions.

- Use the provided template: Begin by tracing the template that comes with the recessed lighting kit onto the ceiling. This will help to achieve the perfect size for the hole.
- Locate obstructions with a stud finder: Before cutting the hole, check for joists, plumbing, electrical wires, or air ducts using a stud finder. This will help to avoid complications during the installation.
- Cut the hole: Once you have marked the outline and confirmed there are no obstructions, use a drywall saw or hole-cutting attachment for your power drill to carefully cut along the traced line. It’s important to keep the cut as precise and clean as possible for a flawless installation.
Pro Tip: Wear safety glasses and a dust mask while cutting the hole to protect your eyes and lungs from debris.
By following this step-by-step recessed lighting guide, you can ensure that the hole for your recessed LED lighting is cut to perfection. In turn, this will contribute to a sleek and professional outcome for your lighting project.
The Wiring Challenge: From Old Fixtures to LED Innovation
Many homeowners are making the switch to modern LED lighting, and for a good reason. LED lights provide energy efficiency, a longer lifespan, and a sleeker appearance compared to traditional lighting fixtures. However, retrofitting recessed lighting wiring and prepping for LED installation can be a complex process. In this section, we’ll discuss how to identify and prep your existing wiring and connect your new LED downlights to the power source.
Identifying and Prepping Your Wiring
First, you need to examine your current wiring system to ensure compatibility with the new LED fixtures. Check the type of wire in use (copper or aluminum) and confirm that there is a ground wire present. It’s essential to provide an adequate length of wire for future flexibility, so make sure to leave some extra wire when trimming. When it comes to stripping the wires, do so neatly and according to the manufacturer’s instructions to ensure proper connections.
Tip: Always refer to the LED fixture manufacturer’s guidelines when retrofitting wiring, as instructions may vary between brands and models.
Connecting Your LEDs to the Power Source
After prepping the existing wiring, the next step is to power your new LED downlights by connecting them to the source. Start by turning off the power to avoid any electrical hazards. Follow the standard practice of matching wire colors—black to black, white to white, and red to red, with the ground wire connected to the box or fixture grounding terminal.
- Turn off the power at the circuit breaker and verify with a voltage tester.
- Connect the corresponding wire colors (black to black, white to white, and red to red).
- Attach the ground wire to the proper terminal.
- Secure the wire connections with wire nuts, then wrap them with electrical tape.
- Close and secure the junction box appropriately.
Once you’ve completed the electrical connections, it’s time to test the lights. Turn the power back on at the circuit breaker and ensure your new LED downlights are functioning correctly. If everything is in order, you can finish the installation by securing the recessed lighting housing and installing the trim and bulbs.
By carefully retrofitting recessed lighting wiring and preparing for LED installation, you can transform your home’s lighting environment into a more energy-efficient and visually appealing system that has long-lasting benefits.
Securing the Recessed Lighting Housing
Once the wiring is complete, the next crucial step involves installing lighting housing and securing downlight fixtures in place. The process of securely attaching the recessed lighting housing to the ceiling can be achieved through the fixture’s internal clamping system, which is specifically designed to grip the drywall.
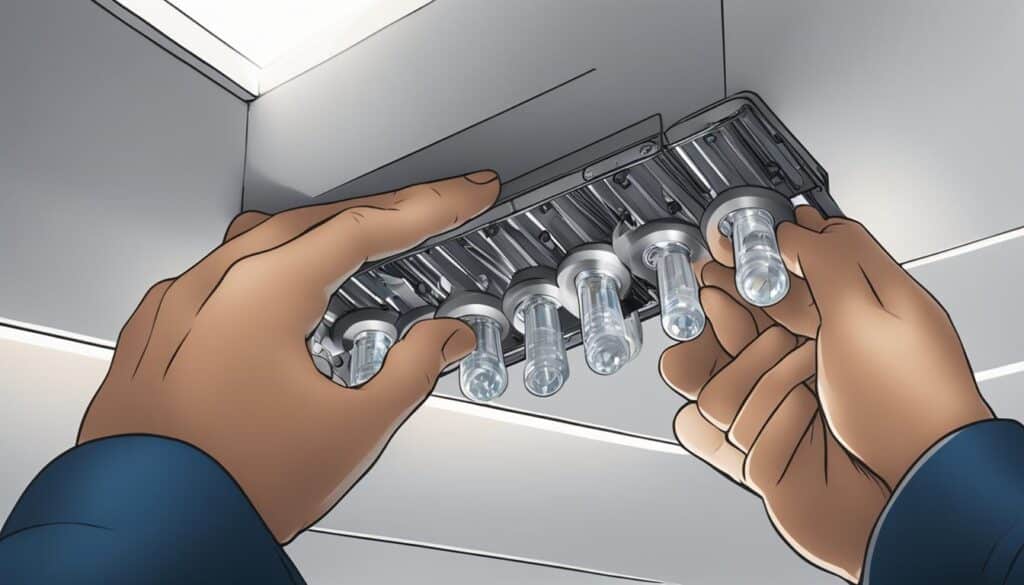
It is important to carefully position the housing and utilize the clips correctly for a sturdy installation. Following the manufacturer’s instructions is essential to ensure that the light remains firm against the ceiling, devoid of gaps and potential slippage. Take note of these essential steps to effectively secure the recessed lighting housing:
- Align the housing with the cutout hole in the ceiling.
- Push the housing firmly into the hole until it’s flush with the ceiling.
- Engage the clips or springs to lock down the housing, following the instructions provided by the manufacturer.
- Inspect the fixture to ensure it’s firmly in place and has no visible gaps between the housing and the ceiling.
By giving due attention to every detail and following the correct installation steps, you’ll be able to have a firm and secure recessed lighting setup that adds both functionality and style to your space.
Adding the Final Touches: Trim Installation and Bulb Selection
With the recessed lighting housing now secured, it’s time to focus on the final touches. These involve installing the trim, which may use coil or rod springs for attachment, and choosing the appropriate light bulbs to meet your lighting needs.
Recessed lighting trim installation is an essential aesthetic component that helps achieve a seamless, integrated appearance. To install the trim:
- Determine the type of trim you want, such as baffle, eyeball, or adjustable gimbal.
- Ensure the trim is compatible with your recessed lighting housing.
- Attach the trim using coil or rod springs, following the manufacturer’s instructions.
- Adjust the trim as needed to sit flush against the ceiling.

Next up is selecting bulbs for downlights. It’s important to choose bulbs that are the right size and wattage to prevent potential fire hazards. When selecting downlight bulbs, consider the following factors:
| Type of Bulb | Efficiency | Lifespan | Color Temperature |
|---|---|---|---|
| Incandescent | Least efficient | Approximately 1,000 hours | Warm white (2,700K – 3,000K) |
| Compact Fluorescent (CFL) | More efficient than incandescent | Approximately 10,000 hours | Soft white to cool white (2,700K – 5,000K) |
| LED | Highly efficient | Approximately 25,000 hours | Wide range (2,500K – 6,500K) |
For those seeking energy savings and longevity, LED bulbs are a highly recommended choice. They are not only efficient but also provide a wide range of color temperatures to suit your preferences.
“LED downlights offer numerous benefits such as directional lighting that can highlight or illuminate specific areas within a home or building.” – Section 3
Once you have installed the trim and selected the appropriate bulbs, your recessed lighting installation project is complete. Enjoy the new, stylish appearance and improved illumination of your space!
Safety Tips for a Smooth DIY Recessed Lighting Installation
When undertaking a DIY lighting installation, it’s crucial to prioritize safety to ensure a smooth recessed lighting DIY process. Following safety protocols and guidelines will help you avoid potential hazards and mishaps during the process. In this section, we will discuss essential safety tips to keep in mind during your recessed lighting installation journey.
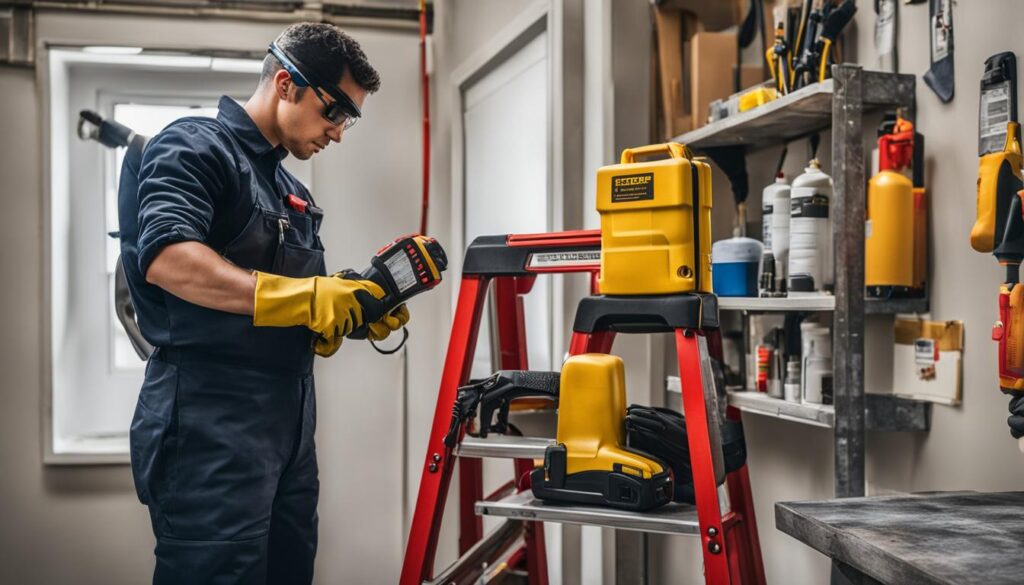
- Turn off the power circuit: Before commencing work on any electrical installation, always turn off the power at the circuit breaker or fuse box. This step is necessary to eliminate the risk of shock or electrocution.
- Verify with a voltage tester: After switching off the power, use a voltage tester to confirm that there is no current flowing through the wires you will be working with. This added precaution ensures the utmost safety during the installation process.
- Wear protective equipment: Put on safety gear like goggles, gloves, and a dust mask when working with electrical installations, especially when cutting drywall or navigating tight attic spaces.
- Navigate attic spaces carefully: When routing wires or placing fixtures in an attic, be cautious of potential hazards such as sharp objects, exposed nails, wires, and insulation. Ensure you walk on the joists or use appropriate supports to avoid damaging the ceiling or causing accidents.
- Maintain proper clearances for non-IC-rated lights: Installing non-IC-rated recessed lights requires maintaining proper clearance, typically around three inches, between the housing and insulation. Following clearance requirements will keep your lighting installation safe and prevent potential hazards.
- Consider fire safety: Always choose the correct wattage for your light bulbs to prevent overloading circuits or creating fire hazards. LED bulbs are a safer and more energy-efficient option compared to traditional incandescent bulbs.
“Safety is a priority when carrying out any DIY recessed lighting installation. Always switch off the power, verify with a voltage tester, wear protective equipment, and adhere to fire safety guidelines.”
In conclusion, following these safety tips for DIY lighting installation will help ensure a smooth and successful recessed lighting DIY project. By taking the necessary precautions and staying vigilant while working with electrical components, you can create a beautiful and well-lit space while keeping yourself safe at the same time.
Conclusion
As we come to the end of our comprehensive guide on recessed LED lighting installation, I am confident that I have provided you with the essential information needed to undertake this project successfully. From the initial planning stages to safety precautions, adhering to these guidelines will ensure a smooth DIY experience and help you enhance your living space.
Remember that you don’t have to be a professional to successfully install recessed LED lights. However, it is crucial to educate yourself on the process and follow the outlined final thoughts on recessed lighting DIY to achieve the desired results. Be mindful of your local building codes and permits, and do not hesitate to ask for assistance if needed.
With patience, dedication, and attention to detail, you’ll be well on your way to transforming your home with energy-efficient, modern recessed LED lighting. Good luck, and happy DIY-ing!
FAQ
What are the benefits of installing recessed LED lighting?
Recessed LED lighting offers numerous benefits, such as energy efficiency, longer lifespan, improved visual appeal, directional lighting to highlight specific areas, and potential added value to your property.
How do I choose between baffle trim and eyeball trim for my recessed lighting?
Baffle trim lights provide a wide beam suitable for general lighting while eyeball trims allow for adjustable and directional lighting. Your choice depends on the functional and aesthetic requirements of the space being illuminated.
What is the optimal color temperature for LED lighting?
Warm temperatures around 3000 Kelvin are ideal for bedrooms and living areas, while cooler temperatures between 4000 to 5000 Kelvin are better for areas requiring clarity and focus, such as bathrooms, kitchens, and garages.
What should be included in a pre-installation checklist for recessed LED lighting?
Your pre-installation checklist should include evaluating wiring materials, confirming the presence of a ground wire, planning the spacing between lights, and understanding the total wattage capacities of the existing electrical circuits.
What are some safety tips for DIY recessed LED lighting installation?
Safety tips include turning off the power circuit, verifying with a voltage tester, wearing protective equipment, carefully navigating attic spaces, and maintaining clearances for non-IC-rated lights.
How do I plan the layout of my recessed LED lighting?
An effective recessed lighting plan involves mapping locations for lights based on the function of the space and the desired lighting effect. Adhere to minimum spacing guidelines like a 4-foot distance between lights in a linear path and a 2-foot gap from walls for optimal lighting distribution.

