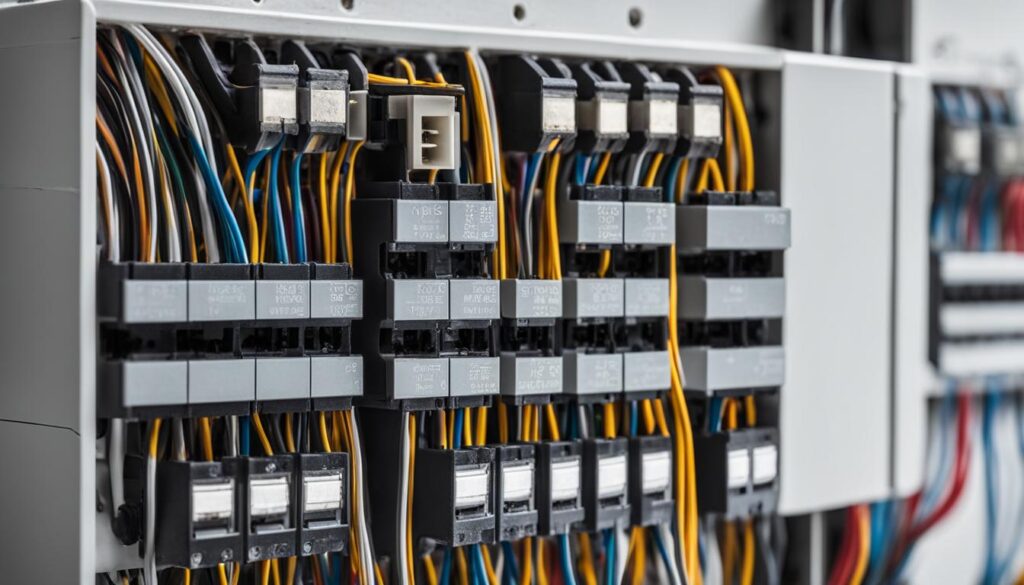
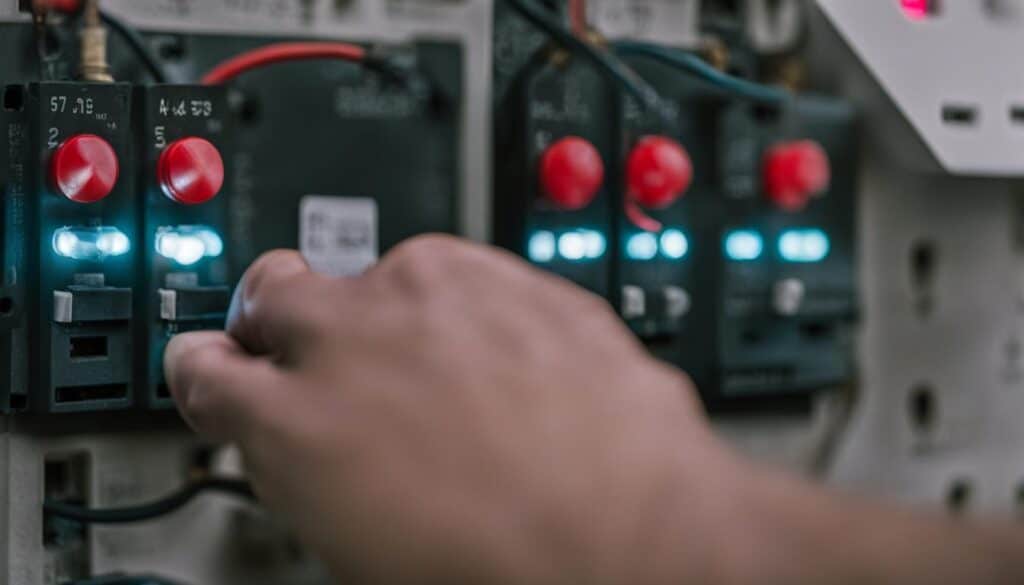
Wiring a lighting contactor might seem daunting, but with a well-organized approach, I will show you how to nail it like a pro. This step-by-step guide will teach you everything you need to know about how to wire a lighting contactor. Get ready for your electrical wiring journey, as I provide you with an easy lighting contactor setup.
Key Takeaways
- Selecting the right lighting contactor
- Understanding ratings for voltage and current
- Pre-wiring preparations and safety measures
- Deciphering the lighting contactor wiring diagram
- Organizing wiring and connections
- Activation and testing of the lighting contactor
- Understanding overload protection in lighting contactors
Selecting the Right Lighting Contactor
When selecting the right lighting contactor, it’s crucial to match the contacts with both voltage and current requirements according to the equipment’s power needs. Auxiliary outputs can be an important feature in some contactors, signaling when the contactor is energized. Contactors vary, and wiring differs amongst types, hence consulting the contactor’s wiring diagram and specific manufacturer instructions is key. Brands such as ABB, Allen Bradley, Eaton, and Siemens provide essential ratings for a contactor, such as coil voltage, contact current rating, contact voltage rating, power rating, auxiliary contacts, and operating temperature ranges.
Understanding Ratings for Voltage and Current
It’s essential to understand the voltage and current ratings when selecting a lighting contactor. The coil voltage is the voltage required to energize the contactor, while the contact current rating is the maximum current that the contactor can handle continuously. The contact voltage rating refers to the maximum voltage that can be applied across the contacts, and the power rating is the maximum amount of power the contactor can control within its continuous current rating. It’s essential to choose a contactor that meets the requirements of your electrical system and the applications it controls.
Finding a Contactor with Adequate Auxiliary Outputs
Auxiliary outputs are an essential feature in some contactors since they allow for external signaling when the contactor is energized or de-energized. These signals can be used to relay information to other control devices, such as programmable logic controllers (PLCs) or building management systems (BMS), enabling more advanced control strategies for your lighting system. Some contactors may have just one auxiliary output, while others have multiple outputs for enhanced functionality. Review your system’s requirements and select a contactor that provides adequate auxiliary outputs to suit your specific needs.
Following these wiring tips for lighting contactor and understanding the characteristics of different models will ensure successful lighting contactor installation and appropriate control for your lighting system.
Pre-Wiring Preparations and Safety Measures
Before you start the wiring process, it’s crucial to have the right tools and materials to ensure a successful lighting contactor installation. Likewise, following essential safety procedures is imperative to prevent accidents and ensure a secure setup.
Tools and Materials Checklist
Having a complete set of tools and materials is necessary for wiring a lighting contactor. Here’s a checklist to help you gather everything you need:
- Lighting contactor
- Wire strippers
- Screwdrivers (flathead and Philips)
- Wires suitable for your installation
- Safety equipment (gloves, safety goggles, etc.)
- Voltage tester

Ensuring Electrical Safety Before Starting
Before diving into the step-by-step lighting contactor wiring process, take the necessary precautions to ensure electrical safety. First, make sure all power sources to the area are turned off. Next, use a voltage tester to verify that there’s no current running through the wires before starting any work.
When stripping and routing wires, expose approximately half an inch of the wire for secure connections. Never route wires while power is applied to the system. Also, while connecting inputs and auxiliary contacts, ensure that the insulation does not enter the contact area and that wire strands are tightly secured within the blocks.
By following these pre-wiring preparations and safety measures, you are now ready to proceed confidently with your lighting contactor installation, following the guidance provided in this lighting contactor tutorial.
Deciphering the Lighting Contactor Wiring Diagram
Understanding the lighting contactor wiring diagram is vital for a successful installation. The terminals on most contactors are labeled with letters corresponding to those on the diagram, which aids in wiring accuracy. A contactor could include terminals labeled as L, N, E, A1, A2, L, and P, helping to clarify and streamline the wiring process. To ensure correct connections are made according to the design specifications, it is imperative you consult the diagram that comes with your contactor.
A lighting contactor wiring diagram is your key to mastering this task and achieving accurate connections.
The wiring process can be broken down into a few simple, step-by-step lighting contactor wiring sections. This approach will make certain your contactor operates as intended, without any issues:
- Begin by identifying all terminal labels on the contactor. These will generally match the abbreviations found on the wiring diagram.
- Follow the diagram and ensure each wire is connected to the appropriate terminal. Be mindful of any auxiliary contacts that may need to be wired.
- Double-check all wires are secure and connected in the correct order.
By following these easy-to-understand wiring tips for lighting contactor setup, you’ll be well on your way to successfully wiring your lighting contactor for optimal performance. Remember, always consult the manufacturer’s wiring diagram to avoid errors and ensure proper installation. With the right guidance and a thorough understanding of the wiring diagram, you’ll have your lighting contactor wired in no time!
Organizing Wiring and Connections
When it comes to lighting contactor wiring, precision and organization are critical to ensure safety and effectiveness. Properly routed wires help avoid electrical faults, while accurate connections facilitate seamless operation. In this process, it’s essential to carefully route and strip wires before connecting them to the designated contact blocks.
Routing Wires with Precision
Proper wire routing is crucial for preventing potential issues. Run wires to the contactor, making sure they are cut to the necessary length using wire strippers. This careful measurement helps prevent loose strands that could lead to short circuits. Along the lines of precision and organization, the contactor’s position plays a vital role in safe wiring. Always select a secure location for the lighting contactor installation to avoid any interference with other circuits or equipment.

Stripping and Preparing Wires for Connection
Once the wires are routed, it’s time to strip and prepare them for connection to the contact blocks. To do this, use wire strippers to remove the insulation accurately, ensuring that the exposed section is just the right length for a secure connection. When connecting the stripped wires to the designated contact blocks, take extra care to prevent any insulation from entering the contact area unintentionally.
Meticulous attention to detail is required when organizing wires for electrical wiring for lighting contactor installations. Proper routing, stripping, and connection of wires ensure a safe and effective wiring setup that can serve its purpose efficiently and without any issues. By following these guidelines and taking your time to do it right, you can ensure a successful lighting contactor installation without the risk of electrical faults or accidents.
How to Wire a Lighting Contactor
Wiring a lighting contactor can be a straightforward task if the right steps are followed. Understanding the contactor’s wiring diagram, having the proper tools, and following safety precautions ensure a successful setup. In this section, we will discuss the process of wiring inputs and auxiliary contacts as well as connecting the contactor to power and lights.
Wiring Inputs and Auxiliary Contacts
To wire the inputs and auxiliary contacts, start by using a screwdriver to loosen the holding screws on the contact blocks. Insert the input and auxiliary wires into the blocks, ensuring that any insulation is not unintentionally pushed in with them. Check to confirm that there are no stray strands, then tighten the screws to secure a firm connection.
Next, apply the control voltage to the input pins, which are typically marked for easy identification. When the contactor is properly engaged, you should hear an audible click. This click indicates that the control voltage is connected, and the contactor is functioning as intended.
Connecting the Contactor to Power and Lights
When connecting the contactor to power and lights, the process is similar to wiring the inputs. First, ensure that the ends of each wire are properly stripped for insertion. Then, loosen the block screws, insert the stripped wires, and tighten the screws for a secure connection.
Follow the lighting contactor wiring guide to guarantee that the power connections are made safely and accurately. With careful step-by-step lighting contactor wiring, you will be able to successfully set up and operate your lighting contactor.
Activation and Testing of the Lighting Contactor
Upon completing the step-by-step lighting contactor wiring, it is essential to activate and test the contactor to ensure proper functionality and safety. The following lighting contactor wiring tips will guide you through this final step of the process.

First, apply control voltage to the input of the contactor to energize it. You should hear a distinct click that signifies engagement. If there is no audible click or you encounter difficulties during this step, double-check your connections and make any necessary adjustments.
Once the contactor is successfully activated, it’s crucial to test both manual and automatic controls. This will ensure that your lighting contactor setup operates correctly when:
- Turning circuits on and off
- Reacting to control devices like occupancy sensors, timers, or photocells
Conducting a thorough testing process helps guarantee a reliable and efficient lighting contactor system, providing you with confidence in your installation work.
Understanding Overload Protection in Lighting Contactors
Overload protection is an essential aspect of lighting contactor installation, as it ensures the safe and efficient operation of your lighting system. In this section, we’ll delve into the two primary types of overload protection found in lighting contactors: thermal and magnetic. We’ll also discuss the significance of these features and how they contribute to the longevity and safe operation of your lighting system.
Identifying Overload Protection Features
Thermal and magnetic overload protection are designed to react to excessive current flow and prevent potential hazards and equipment damage. Let’s take a closer look at each type:
- Thermal overload protection – This type of protection operates on the principle of temperature change. When the current flowing through the contactor exceeds a certain threshold for an extended period, the thermal element inside the contactor reacts, tripping or disconnecting the contactor to shut off the current flow and prevent overheating.
- Magnetic overload protection – As the name suggests, this protection works through electromagnetic forces. When the contactor detects an excessive current flow that surpasses a specific threshold, the magnetic forces disengage the contactor to interrupt the circuit and protect the system from damage.
These overload protection features are common in contactors produced by reputable manufacturers like ABB, Allen Bradley, Eaton, and Siemens.
Why Overload Protection Matters
Overload protection is crucial for both the safety and longevity of your lighting system. Here are some key benefits that overload protection provides:
- Safety – By promptly reacting to excessive current flow, overload protection prevents possible electrical hazards such as short circuits and fires.
- Equipment longevity – Overload protection safeguards your lighting system from damage due to excessive current, ensuring your lights and other components last longer.
- Regulatory compliance – Most electrical codes and safety regulations mandate the use of overload protection devices in electrical circuits, so including them in your lighting contactor ensures compliance.
By understanding the principles behind overload protection in lighting contactors and their importance, you will be better equipped to handle lighting contactor installation and wiring. As always, take the time to review lighting contactor wiring tips and follow a step-by-step lighting contactor wiring guide to properly and safely complete your project.
Installation Environment for Lighting Contactors
When it comes to lighting contactor installation, there are several factors that need to be considered. These include clearance for electrical wiring, proper ventilation, and a stable mounting location. All of these elements play a crucial role in ensuring that your lighting contactor will function efficiently and safely.
Another important aspect of the installation process is labeling the contactor and connected circuits correctly. Proper labeling helps make future troubleshooting easier and streamlines any necessary maintenance. Additionally, documenting wiring diagrams is essential to preserving the integrity of the setup and providing a reliable reference for future reference or modifications to the system.
Lastly, don’t forget to account for the physical and environmental conditions of your lighting contactor setup. Make sure the contactor operates within the prescribed temperature range and has the necessary space for heat dissipation. By factoring in these environmental considerations, you can help ensure your lighting contactor operates effectively while prolonging its lifespan.
FAQ
What are some important ratings to consider when choosing a lighting contactor?
Some ratings to look for include coil voltage, contact current rating, contact voltage rating, power rating, auxiliary contacts, and operating temperature ranges. Brands such as ABB, Allen Bradley, Eaton, and Siemens provide this information.
What tools and materials are needed for wiring a lighting contactor?
A checklist of tools and materials includes the contactor, wire strippers, screwdrivers, wires, safety equipment, and a voltage tester for ensuring power is off before wiring.
How do I read a lighting contactor wiring diagram?
Most contactors have terminals labeled with letters that correspond to the wiring diagram. Familiarize yourself with the diagram to understand the correct connections for each terminal according to design specifications.
What safety measures should I follow when wiring a lighting contactor?
Ensure all power is off and verified with a voltage tester before starting. Strip and route wires without power to the system, avoiding any stray wire strands and insulating material in contact areas.
How do I connect the input and auxiliary contacts of the lighting contactor?
Use a screwdriver to loosen holding screws on contact blocks and insert input and auxiliary wires without pushing insulation into the block. Ensure no stray strands are present and tighten the screws for a firm connection.
How does overload protection work in lighting contactors?
Overload protection works on thermal or magnetic principles. Thermal elements react to prolonged current by tripping or disconnecting the contactor, while magnetic protection operates through electromagnetic forces, disengaging the contactor when certain thresholds are exceeded.
What are some essential factors to consider for the installation environment of a lighting contactor?
Consider clearance for wiring, proper ventilation, and a stable mounting location. Ensure the contactor operates within the prescribed temperature range and has enough space for heat dissipation.

