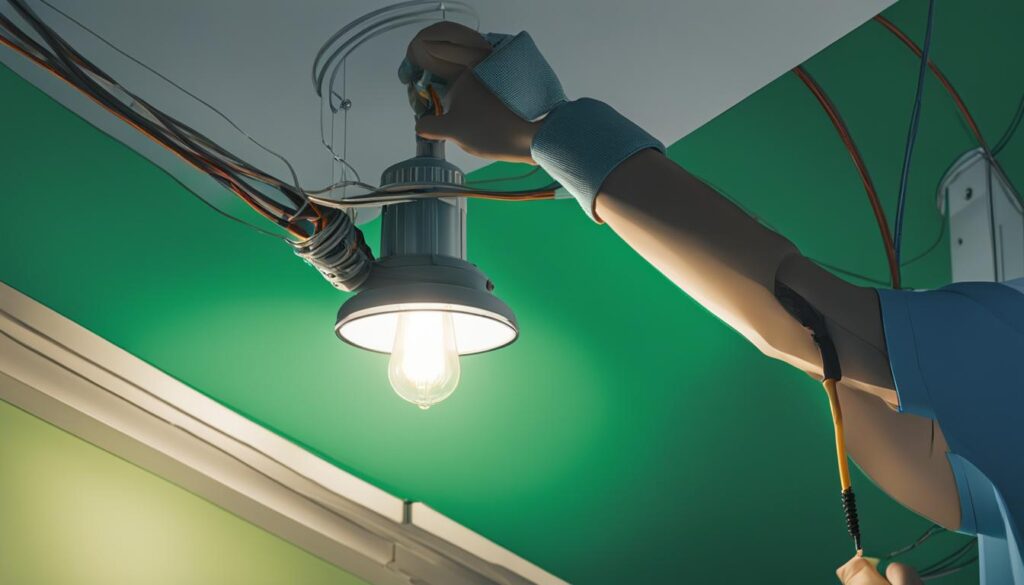
Embarking on the journey of wiring lighting at home requires meticulousness and a steady hand. In this step-by-step lighting wiring guide, I reveal the essential steps that every DIY lighting wiring enthusiast should follow. From cutting the power source to attaching the new fixture, learn how to wire lighting with ease and precision, ultimately transforming your living space one light fixture at a time.
Safety comes first when undertaking any electrical project. This lighting installation guide ensures that not only will you achieve professional results, but you’ll do so while maintaining the highest safety standards. Are you ready to become a lighting installation pro? Let’s begin!
Key Takeaways
- Cut the power source at the junction or fuse box before working on electrical projects
- Prepare the area where the new lighting fixture will be installed to ensure safety and ease of installation
- Accurately identify the correct circuit breaker and confirm no live wires are present
- Securely join the appropriate wires and use wire nuts to safely enclose connections
- Compatibly assess the new light fixture and use the suitable gauge of wiring and mounting hardware
- Test the new fixture by restoring power and checking alignment and functionality
Understanding Electrical Safety Precautions
When it comes to electrical wiring for beginners, safety is of utmost importance. Adequate precautions must be taken while handling electrical wires and components. The key focus areas include identifying the correct circuit breaker and testing for active electrical current to ensure the wiring process is risk-free and efficient.
Identifying the Correct Circuit Breaker
Before embarking on any lighting wiring task, accurately locating the corresponding circuit breaker is crucial. By finding the fuse associated with the light fixture and switching it to the “Off” position, you can prevent any unexpected electrical accidents. As a beginner, always approach this step with caution to guarantee the safety of the electrical system and yourself.
Testing for Active Electrical Current
Even with the circuit breaker switched off, never assume that it is enough to eliminate the risk of electrical shock. To ensure there is no active current, use a voltage detector to examine the wires you will be working with during the wiring process. This essential lighting wiring tip helps you proceed with confidence, knowing that you have effectively isolated the electrical supply.
In conclusion, electrical safety precautions are critical for those learning how to wire lighting. By identifying the correct circuit breaker and testing for active electrical current, you significantly mitigate the risk of potential accidents. Being diligent in this area will help ensure a smoother and safer DIY lighting wiring experience.
Preparing for Your Lighting Project

Proper preparation is the key to a successful and hassle-free lighting project. To ensure a smooth workflow and reduce the risk of issues and accidents, I follow these steps to get ready for the task ahead:
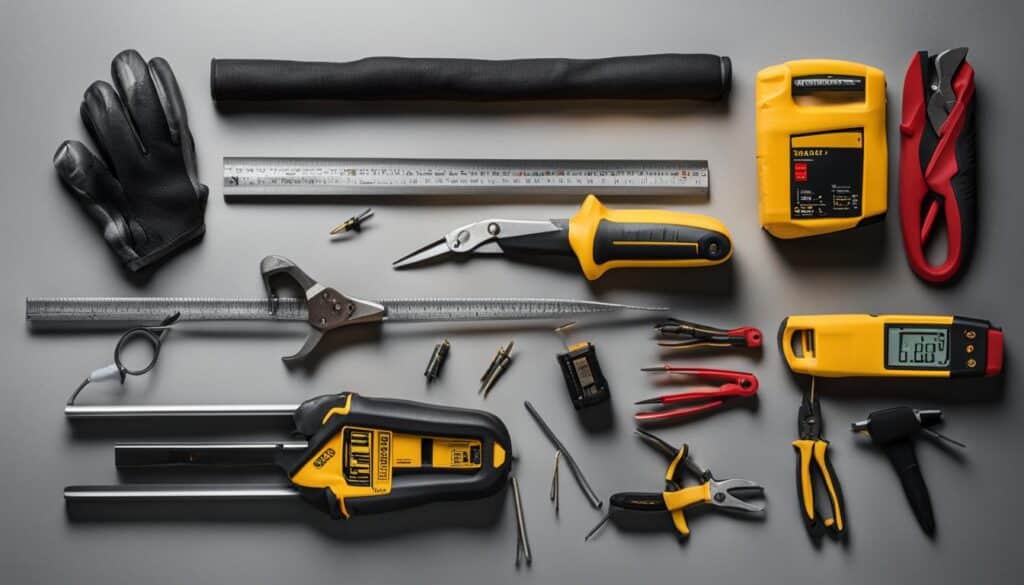
- Gather all necessary tools and materials, such as screwdrivers, wire strippers, circuit testers, wiring caps, and the new light fixture.
- Clear the area where the new fixture will be installed, eliminating any tripping hazards and making space for maneuvering safely.
- If a ladder is needed, make sure it is stable and placed on clean, even ground. Always double-check the ladder’s safety latch to prevent any accidents.
- Take the time to review the lighting wiring guide and familiarize yourself with the various steps involved in how to wire lighting.
- Turn off the power to the circuit you’ll be working on and make sure it’s locked in the “Off” position. Use a circuit tester to ensure there is no voltage present.
With a well-organized workspace and a clear understanding of the process, I’m able to confidently tackle the project while minimizing the chances of mistakes or injuries. Preparing diligently allows me to focus fully on the task at hand and ultimately achieve professional-grade results in my lighting installation.
How to Wire Lighting: Tools and Materials Needed
Before embarking on a DIY lighting project, it’s essential to gather the proper tools and materials needed to ensure a smooth and successful process. Necessary tools include screwdrivers, wire strippers, and a circuit tester, while materials encompass the new light fixture, the correct gauge of wire, and mounting hardware. Let’s take a closer look at the tools and materials you’ll need to wire your lighting fixtures.
Required Tools for Electrical Wiring
- Screwdrivers: A variety of screwdrivers, both flathead and Phillips, will be necessary for tasks like mounting brackets and connecting wires.
- Wire strippers: These are essential for cutting and stripping insulation from wires before connecting them with wire nuts.
- Circuit tester: This simple tool helps verify that circuit connections are intact and that electrical current is not flowing before starting your project.
- Wiring Caps: To safely connect and secure wires, you’ll need a handful of wiring caps, also called wire nuts.
Materials List for Home Lighting Installation
- New light fixture: Choose a fixture that complements your interior design and meets the technical requirements of your space.
- Wire Gauge: Use the correct gauge of wire, as recommended in the light fixture’s specifications. Incorrect wire gauge could create safety hazards or affect fixture performance.
- Mounting Hardware: Often, a new bracket might be necessary for the efficient and safe installation of your light fixture. Check the fixture’s specifications and do some research to find a suitable mounting bracket.
Wiring lighting fixtures and performing electrical wiring for lighting requires proper preparation, tools, and materials. By ensuring you have everything you need for a successful home lighting installation, you can approach your project confidently and safely.
Removing the Old Light Fixture
When it comes to updating your home lighting, removing the old fixture is the first step in the process. Dismantling the old fixture requires patience and care to avoid damage to the existing wiring and ensure a safe workspace. In this section, we will discuss the proper wiring techniques for lighting removal and how to handle and dispose of the old fixture.

Disconnecting Power and Dismantling Safely
Before attempting any DIY lighting wiring, always make sure the power is off. Double-check that the circuit breaker is flipped and confirm with a voltage tester that no electricity is flowing through the wires. With the power off, gently support the fixture with one hand while unscrewing it from the mounting bracket with the other. Once the fixture is detached, carefully lower it to expose the wires – hot, grounding, and neutral.
With the wires now accessible, untwist the wire nuts that connect the old fixture to the existing wiring. Be cautious not to pull too hard on the wires, as this could damage the connections.
Handling and Disposing of the Old Fixture
Once the old fixture is successfully disconnected, you can set it aside and prepare for its disposal or recycling. If you encounter any unfamiliar wire colors during the removal process, consult a wiring guide to ensure the correct identification of the wires.
Proper disposal or recycling of the old fixture is essential for both environmental and safety reasons. Contact your local recycling center or electronics disposal facility to determine the best method for disposing of your old light fixture.
In conclusion, employing proper wiring techniques for lighting removal and disposing of old fixtures responsibly will not only pave the way for a smooth transition to your new lighting but also help ensure safety along the way. Remember, safety should always be the number one priority when working with electrical projects.
Assessing Wiring and Compatibility
Before diving into the actual process of how to wire lighting, it’s crucial to assess the existing wiring and its compatibility with the new lighting fixture. This involves examining the age and state of the wiring, especially if the home was built before 1985, as older wires might require special fixtures that can handle the heat generated.
Compatibility ensures the new fixture not only fits the aesthetic but also suits the electrical requirements of the circuit. For a successful lighting installation, consider the following aspects:
- The gauge of the wire
- Insulation type
- Voltage rating
| Wire Gauge | Insulation Type | Voltage Rating |
|---|---|---|
| 14 AWG (American Wire Gauge) | THHN (Thermoplastic High Heat-resistant Nylon-coated) | 600V |
| 12 AWG | THWN (Thermoplastic Heat- and Water-resistant Nylon-coated) | 600V |
| 10 AWG | THW (Thermoplastic Heat- and Water-resistant) | 600V |
In addition to these factors, it’s also important to verify compatibility between the new lighting fixture and the existing mounting bracket. This can often be done through research or by consulting the manufacturer’s lighting installation guide.
Pro tip: Always turn off the power supply before assessing wiring and compatibility to avoid accidents and ensure safety.
In summary, understanding the compatibility between the existing wiring and the new lighting fixture is paramount when learning how to wire lighting. Following a comprehensive lighting wiring guide and focusing on safety precautions will ensure a successful lighting installation project.
Wiring Techniques for Lighting Fixtures
Proper wiring techniques are essential for a safe and effective lighting installation. By paying close attention to wire colors and types, you can ensure a secure connection that lasts for years. In this section, we will discuss the key aspects of matching wires by color and type, as well as securing connections and applying wire caps.

Matching Wires by Color and Type
In the United States, electrical wiring for lighting follows a standard color scheme. This generally includes black or red for live wires, white for neutral, and green or bare copper for ground wires. When wiring lighting fixtures, it’s crucial to match like-colored wires together to ensure proper functionality and safety. For instance, connect black with black, white with white, and ground wires accordingly.
Securing Connections and Applying Wire Caps
After matching the wires according to color and type, secure each connection by twisting the exposed wire ends together. This is a crucial step in electrical wiring for lighting, as it ensures stable and safe connections between the wires. Once the connections are secure, encapsulate them with wire nuts for added protection. Wire nuts provide an insulating barrier that prevents electrical shorts and potential hazards.
In some cases, additional grounding may be necessary. If your lighting installation requires an extra grounding connection, be sure to attach the grounding wire to a designated point on the mounting hardware. This extra measure ensures a safe and secure grounding path, further protecting your lighting fixtures and your home.
How to Wire Lighting: Attaching the New Fixture
With all wires appropriately matched and secured, attaching the new lighting fixture can commence. It’s important to keep in mind the following lighting wiring tips for a successful and safety-compliant installation.
- Align the fixture with the mounting bracket carefully, ensuring a flush mount against the ceiling or wall.
- Maintain constant support while screwing the fixture into place to prevent slipping or dropping.
- Double-check all connections for security and proper placement before powering up the circuit.
During this step-by-step lighting wiring process, don’t hesitate to refer to the manufacturer’s instructions in case of any doubts or questions. Remember that taking your time and following these guidelines will lead to a safely installed and functional new lighting fixture in your home.
Final Adjustments and Installing Bulbs
Once the new fixture is securely attached, it’s time to focus on those final touches that make a lighting installation perfect. These include ensuring proper alignment and choosing the right bulbs for your fixture. By making these adjustments and installing the correct bulbs, your newly wired lighting will shine bright and add a personal touch to your home.

Ensuring Proper Fixture Alignment
It’s essential to double-check the alignment of your lighting fixture after installation. Make sure it is level and oriented correctly according to the room layout or any specific design preferences. Adjusting the fixture might require tightening or loosening screws on the mounting hardware or slightly repositioning it for optimal light distribution. It’s crucial not to rush this step and to give your full attention to the fixture’s alignment.
Choosing the Right Bulbs for Your Fixture
Selecting the appropriate bulbs is key to the successful completion of your lighting installation. Always choose bulbs that are compatible with the fixture’s specifications, including wattage, voltage, color temperature, and bulb type. You might prefer energy-efficient LED bulbs, or perhaps vintage-inspired Edison bulbs that suit your design’s aesthetic. Remember to pay attention to sizes and shapes, coordinating them with the fixture for a harmonious final appearance.
Once your fixture alignment adjustments and bulb installations are complete, the only thing left to do is to restore power to the circuit. After switching the circuit breaker back on, test out your newly installed lighting and admire the beauty of your handiwork in illuminating your home.
Conclusion
In wrapping up this guide on how to wire lighting, it’s important to emphasize the significance of safety, accurate wire identification, and closely following the manufacturer’s guidelines. This step-by-step lighting wiring tutorial demonstrates that, with diligent planning, gathering the right tools and materials, and strict adherence to safety measures, any DIY enthusiast can install a lighting fixture at home successfully and safely.
As we have seen, a well-prepared workspace enhances efficiency throughout the installation process, reducing the risk of accidents along the way. The use of appropriate DIY lighting wiring techniques, such as matching wires by color and type and securing connections with wire caps, ensure a reliable and stable result.
Lastly, choosing suitable bulbs and making the necessary final adjustments guarantee your hard work pays off in the form of a beautifully illuminated living space. By following these lighting wiring tips and executing each step with meticulous care and precision, you too can brighten your home with your own hands.
FAQ
What are the essential safety precautions to take when wiring lighting?
Ensure that the power is turned off at the circuit breaker, double-check the absence of electricity using a voltage detector, and handle wiring carefully while keeping the area clean for safe maneuvers.
What tools and materials do I need for a DIY lighting wiring project?
Gather screwdrivers, wire strippers, circuit tester, wiring caps, the new light fixture, the correct gauge of wire, and mounting hardware that may include a new bracket if necessary.
How do I remove the old light fixture safely?
Disconnect the power, provide support while unscrewing the fixture, and gently lower it to access the wires. Untwist the wire nuts and disengage the old fixture from the wired connections before disposing or recycling it.
How do I assess wiring compatibility for a new lighting fixture?
Check the age and condition of the existing wiring, and research any special requirements such as heat ratings based on your new fixture’s specifications. Ensure that the mounting bracket is suitable for the chosen fixture.
What is the proper wiring technique when installing a lighting fixture?
Match like-colored wires, twist exposed wire ends together, and secure the connections with wire nuts. When grounding is necessary, attach the grounding wire to a designated point on the mounting hardware.
How do I attach and align my new lighting fixture correctly?
Align the fixture with the mounting bracket carefully and screw it into place, maintaining constant support. Check alignment and make adjustments for levelness and orientation as needed.
What should be considered when choosing bulbs for my new lighting fixture?
Select the appropriate bulbs according to the fixture’s specifications to ensure efficient performance and avoid damage to the fixture or electrical system.

