If you’re thinking about how to replace recessed lighting with flush mount lighting, you’re not alone. Many homeowners are opting for this upgrade, as it creates a more modern and refined look. Converting recessed lighting to flush mount is an affordable way to enhance your home’s visual appeal, and it doesn’t require extensive renovations. In this guide, we’ll walk you through the process of recessed lighting replacement using a recessed lighting converter kit, which fits recessed can lights from 4 to 6 inches. Let’s get started!
Key Takeaways
- Replacing recessed lighting with flush mount lighting is an affordable way to modernize your home.
- A recessed lighting converter kit makes the conversion process simple and stress-free.
- Flush mount lighting can alter a room’s mood and style, complementing various decor styles.
- Ensure proper safety measures are in place before removing old recessed lighting fixtures.
- Choose a flush mount light that aligns with your home’s aesthetic and existing decor.
- Follow step-by-step instructions for a seamless installation process.
- Test your new flush mount light and make any necessary touch-ups for a polished finish.
Transform Your Space: The Aesthetic Shift from Recessed to Flush Mount Lighting
Replacing recessed lighting with flush mount fixtures can significantly alter a room’s mood and style. Flush mount lighting offers a clean, modern look that can complement various decor styles while providing a uniform light distribution. This change can be particularly beneficial in spaces with lower ceilings where recessed lighting may not be suitable.
Flush mount lighting installation is a relatively simple process, making it the perfect choice for DIY recessed to flush mount lighting projects. Not only does it save you the cost of hiring a professional electrician, but it also allows you to express your creativity and put a personal touch on your living space.
Updating my home’s lighting with flush mounts helped me achieve a fresh, contemporary look. The uniform light distribution created a welcoming ambiance for both my family and guests.
Here are some design benefits of making the aesthetic upgrade from recessed to flush mount lighting:
- Flush mount lights can accommodate a wide variety of bulbs, giving you the freedom to experiment with different lighting effects according to your preferences.
- They can enhance the overall interior design by acting as a beautiful focal point in any room.
- The simple installation process makes it an accessible project for anyone willing to give DIY a try.
- Flush mount lights are versatile, allowing you to adapt them to different rooms and decor styles in the future.
- The improved ambiance can positively impact your mood and that of your guests, making your home a more inviting and comfortable space.
As you can see, making the switch from recessed lighting to flush mount fixtures can have a substantial impact on both the appearance and atmosphere of your home. Embrace the opportunity to create a stunning and personalized space with this relatively simple DIY project.
The Essential Toolkit for DIY Recessed to Flush Mount Lighting Conversion

Converting recessed lighting to flush mount lighting is a cost-effective way to upgrade the aesthetics of your home. With a few essential tools and a good understanding of the process, you can successfully make the switch from recessed to flush mount lighting. In this section, we will discuss the required toolkit for replacing recessed lighting, the role of a recessed lighting conversion kit, and how to use it effectively in your DIY project.
Identifying the Right Tools for the Job
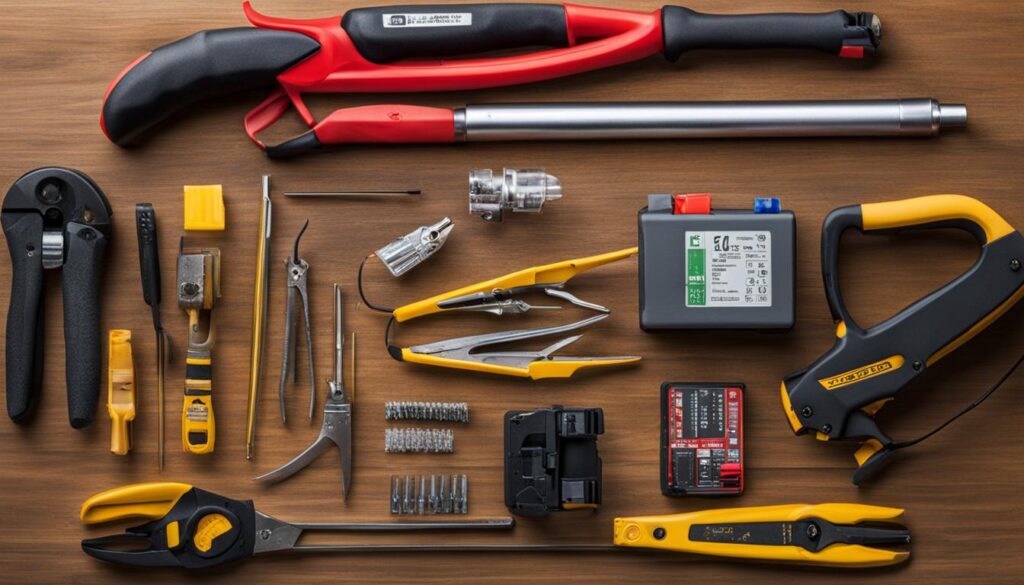
Before starting your conversion, it’s essential to gather the necessary tools to ensure a smooth and successful process. Here are the key tools you will need for retrofitting recessed lighting with flush mount:
- Flathead screwdriver
- Wire cutters
- Electrical tape
- Recessed lighting conversion kit
These tools will help you safely remove your existing recessed lighting fixtures, make the necessary adjustments, and install your new flush mount lighting with ease.
Pro Tip: Invest in a high-quality toolkit for best results in your DIY recessed lighting conversion.
Understanding the Role of a Recessed Lighting Converter Kit
The point of a recessed lighting converter kit is to simplify the conversion process for DIY enthusiasts. With its versatile design, it can adjust to fit any recessed can light ranging from 4 to 6 inches. Most kits come with a trim medallion, which is decorative and useful for covering larger recessed can sizes. If your chosen flush mount light is large enough to cover the entire recessed can, you may not need to use the medallion.
Recessed lighting conversion kits typically include the following components:
- Mounting bracket
- Slip ring
- Can light adapter
- Screw-on wire nuts
- Decorative medallion (optional)
When choosing a recessed lighting conversion kit, it’s essential to consider one that provides easy installation and compatibility with your desired flush mount fixture. By selecting the right kit and following the instructions provided, you can seamlessly retrofit your recessed lighting with flush mount lighting.
| Recessed Lighting Conversion Kit Brand | Adjustable Size Range | Estimated Price |
|---|---|---|
| Westinghouse Lighting | 4-6 inches | $15-$25 |
| RACO | 4-6 inches | $20-$30 |
| Portfolio | 4-6 inches | $30-$40 |
When it comes to retrofitting recessed lighting with flush mount, a well-prepared toolkit and a versatile recessed lighting conversion kit can make all the difference in ensuring a successful and simple conversion. Gather your necessary tools, follow the provided instructions, and watch your space transform with your new flush mount lighting.
Preparation: Safety Measures Before Removing Recessed Lighting
Before diving into the process of removing recessed lighting, it is crucial to prioritize safety. Taking a few necessary precautions can prevent potential accidents or injuries while working with electrical components. In this section, we will discuss essential safety measures for recessed lighting removal, recessed lighting replacement safety, and installing flush mount lighting.
Remember, safety comes first! Carefully follow these steps to ensure a smooth and secure process when working on your lighting project.
- Turn off the power: Before you begin, make sure to turn off the power at the circuit breaker. This will safeguard against electrical shocks during the removal and installation process.
- Use gloves and eye protection: Wearing gloves and eye protection can protect your hands and eyes from any debris that might fall during the removal process.
- Test for any live wires: Even after turning off power at the circuit breaker, it’s essential to double-check for any live wires using a voltage tester. This additional precautionary step will ensure your safety.
- Know your recessed light trim type: Understand the different types of recessed light trims to determine the correct way to remove them. Some trims may snap into place and can be removed with a flathead screwdriver, while LED trims may require unscrewing once they are pulled down.
- Use a sturdy ladder: When working on your ceiling, use a reliable ladder that can support your weight and provide the necessary height to comfortably work on your lighting fixtures.
With these safety measures in place, you can now proceed with confidence to remove your recessed lighting fixtures and prepare for the installation of your flush mount lights.
Step by Step: Removing Recessed Lighting Fixtures
Converting recessed lighting to flush mount involves a systematic approach to remove the existing recessed lighting fixtures. Here’s a step-by-step guide for replacing recessed lighting before installing a flush mount light:
- Ensure the power is turned off at the circuit breaker to avoid any electrical hazards.
- Remove any bulbs from the recessed light fixture by unscrewing them counter-clockwise.
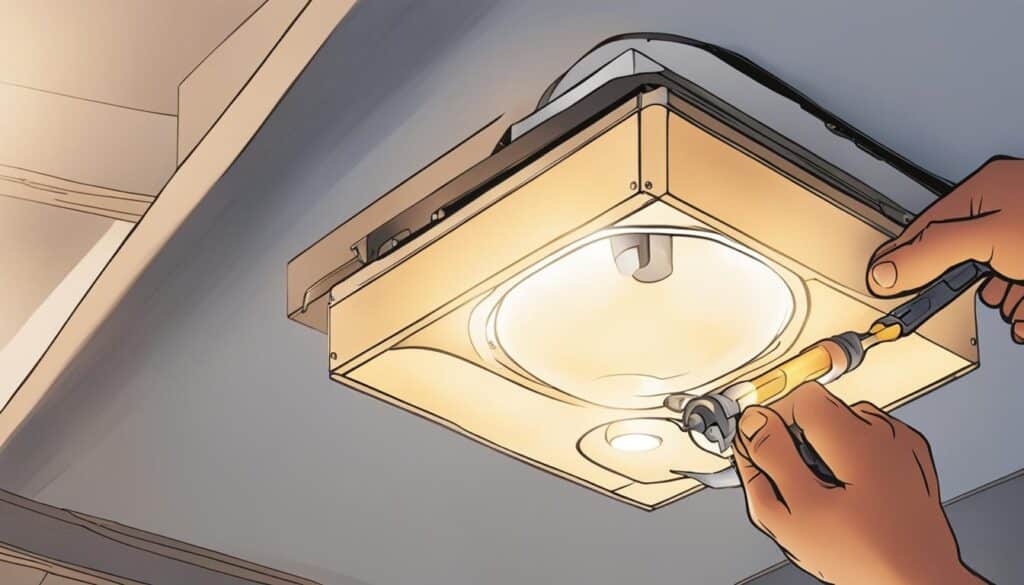
- With a flathead screwdriver, gently pry down the trim of the fixture to detach it from the ceiling.
- Inspect the fixture to determine its attachment method to the ceiling box and proceed accordingly.
- Depending on the attachment method, either unscrew the fixtures from the bracket or simply disconnect the wiring.
- Once removed, carefully set the fixture aside to avoid any damage.

After successfully removing the recessed lighting fixtures, you’re ready to convert the recessed lighting to a flush mount.
Remember, always prioritize safety when working with electrical components. Make sure the power is off at the circuit breaker before beginning.
Choosing Your New Flush Mount Lighting
When it comes to choosing flush mount lighting, there are many factors to consider to make sure it matches your home style, fits the space, and provides proper illumination. In this section, we’ll discuss how to find the perfect flush mount light for your home by examining its style, design, and size.
Finding a Style That Matches Your Home
First and foremost, the flush mount light you select should align with the overall aesthetic of your home. There is a wide range of flush mount designs available on the market, so choose one that complements the existing decor and atmosphere of your room.
Tips for finding a style that matches your home:
- Consider the room’s decor and color scheme
- Examine the style of other light fixtures in your home for consistency
- Look for inspiration in home design magazines and websites
Measuring for the Perfect Fit
Another crucial aspect of measuring flush mount lights is determining the size of the fixture. To make sure your flush mount lighting fits seamlessly where your previous recessed lighting was, you need to properly measure the diameter of the existing recessed lighting cans. The flush mount light you choose should be big enough to cover the entire can opening, ensuring a sleek and seamless appearance.
Here’s a simple guide for measuring your flush mount light:
- Measure the diameter of the existing recessed lighting can
- Consider the ceiling height and the desired hanging length of the light
- Choose a flush mount light with a diameter that adequately covers the recessed can
By taking the time to consider the style, design, and size of your new flush mount light, you can find the perfect fixture for your home. Once you have made your selection, it’s time to move on to the flush mount lighting installation process and enjoy the beautiful, modern upgrade to your space.
Installing the Flush Mount Bracket and Wiring Interface
Now that you’ve chosen the perfect flush mount light for your home, it’s time to install the flush mount bracket and ensure proper wiring. Here’s a simple guide to help you with the process:
Step 1: Turn off Power
Before you start the installation process, make sure to shut off power at the circuit breaker to avoid any accidents.
Step 2: Install the Converter Kit
Follow the instructions provided with your recessed lighting converter kit to install the bracket. Typically, this involves securing the bracket to the recessed can’s edge with the included screws.

With the bracket in place, it’s time to connect the flush mount lighting wiring interface. Connect the wires according to the instructions, typically matching the wire colors: white to white, black to black, and green or bare copper to ground.
Tip: Since wire colors can sometimes vary, it’s crucial to consult your specific flush mount light’s instructions for accurate wiring guidance.
Step 4: Secure Connections
Once each wire is connected, secure the connections with wire nuts and wrap them with electrical tape for added safety.
- Begin by tightly twisting the exposed ends of each wire pair together.
- Place a wire nut over the twisted strands, twisting it clockwise until firmly secured.
- Wrap electrical tape around the wire nut and wire strands to further secure the connection.
With the flush mount bracket installed and wiring interface securely connected, you’re now ready to attach your new flush mount light and enjoy the refreshed look it brings to your space.
Attaching and Securing Your New Flush Mount Light
With the converter kit properly installed, it’s time to attach your new flush mount light. To complete the flush mount installation process, follow these steps:
- Connect the wiring from the converter kit to the new flush mount fixture. Follow recommended color codes for electrical safety.
- Secure the light fixture to the converter kit using provided screws or clips.
- Ensure all connections are secure by tightening any fasteners and using wire nuts where indicated.
- Attach the light fixture’s decorative cover or canopy to finish the installation
Before moving on, double-check your work to make sure you have secured the new flush mount light correctly and all wiring connections are properly made. Let’s take a look at an example scenario to help illustrate the process:
Sarah’s new flush mount light requires her to connect the wiring from the converter kit to the fixture, following the color codes for safety. She secures the light fixture in place using the provided clips. Finally, she attaches the decorative cover, completing the installation.
With your new flush mount light securely in place, the transformation of your room’s ambiance becomes apparent. The clean, modern look of flush mount lighting complements various decor styles, providing a uniform distribution of light throughout the space.
It is crucial to adhere to the recommended flush mount installation process and ensure your own safety while handling electrical components. Remember, the key to a successful installation lies in meticulous attention to detail, particularly when connecting wiring and securing new fixtures in place.
Final Touches: Testing and Beautifying Your Installation
Now that your new flush mount light has been installed, it’s time to test its functionality and make the necessary cosmetic touches to give your room a polished look. By following the proper procedures, you’ll ensure that your new lighting addition is well worth the effort.
Turn the power back on at the circuit breaker and ensure everything is set up before testing your new flush mount light.

Once you confirm that your flush mount light is working properly, take a step back and examine the overall appearance of the installation. If you notice any gaps or marks left by the previous recessed lighting, it’s important to address them for a seamless look.
- Patch any gaps with appropriate filler, such as spackle or joint compound.
- Sand the surface evenly to create a smooth finish.
- Repaint the surrounding area to match the ceiling, if needed.
By taking the time to beautify your light installation, you’ll create a professional and visually appealing result that enhances the room’s overall aesthetic.
Remember, the small details matter, so never skip on the finishing touches to ensure a beautiful and well-executed flush mount lighting conversion.
In conclusion, testing flush mount lighting and beautifying light installation are essential final steps in successfully converting recessed lighting to flush mount fixtures. By meticulously following each step of the process, you can elevate the look and ambiance of your space with ease.
Conclusion
Upgrading recessed lighting to flush mount fixtures can dramatically change the ambiance of a room, by adding a touch of modernity and sophistication. The benefits of making this transition are numerous, and with a little bit of DIY effort, homeowners can successfully transform their space without breaking the bank.
One key aspect to successfully undertaking a DIY lighting transformation is to have the proper toolkit and know-how. By following a well-organized, step-by-step approach, homeowners can convert their recessed lighting into beautiful flush mount fixtures that enhance the overall aesthetics of the room.
Overall, replacing recessed lights with flush mount options is an accessible and cost-effective way to give any room a much-needed upgrade. So, delve into the realm of DIY lighting renovations and enjoy the newfound ambiance and character that comes with flush mount lighting.
FAQ
Can I convert any recessed light to a flush mount light?
Yes, using a recessed lighting converter kit, you can convert any recessed can light between 4 to 6 inches to a flush mount or pendant light.
What tools do I need to convert recessed lighting to flush mount lighting?
Essential tools include a flathead screwdriver, wire cutters, electrical tape, and a recessed lighting converter kit.
How do I choose the right flush mount light for my home?
Consider the existing decor, the size of the recessed can, and your personal style preferences to select a flush mount light that complements your home’s aesthetic.
What safety measures should I take before starting the conversion process?
Turn off the power at the circuit breaker to avoid electrical shocks and always follow the manufacturer’s instructions when installing the converter kit and flush mount light.
How do I measure for the perfect flush mount light size?
Measure the diameter of the existing recessed lighting cans and choose a flush mount light that covers the recessed can entirely for a seamless look.
Can I perform this conversion myself, or do I need to hire a professional electrician?
With the proper tools and by following a step-by-step guide, you can perform a DIY conversion from recessed to flush mount lighting. However, if you are not confident in your abilities or are unsure about any step in the process, it’s always best to consult a professional electrician for assistance.

