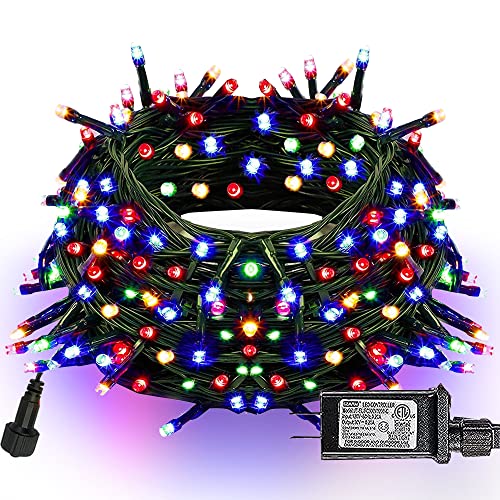
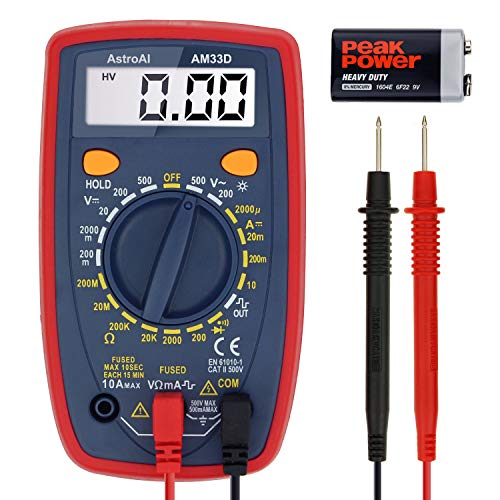
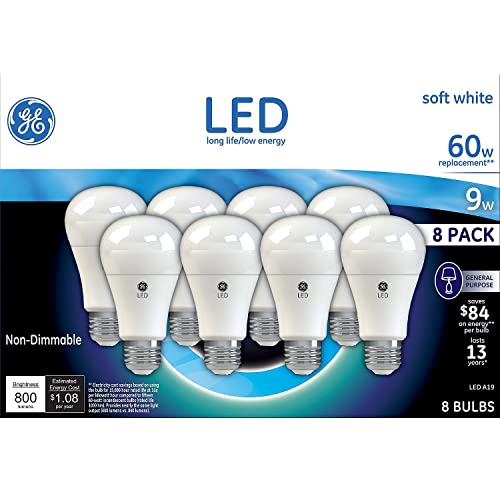
Replacing a burnt-out LED bulb in your Christmas lights is a simple task that anyone can do. First, unplug the lights from the power source to ensure your safety. Then, locate the burnt-out bulb by inspecting each individual bulb until you find the one that is no longer illuminated. Gently twist and remove the burnt-out bulb from its socket. Take note of the bulb’s specifications, such as voltage and wattage, to ensure you get the correct replacement bulb. Next, insert the new bulb into the empty socket and twist it clockwise until it is securely in place. Reconnect the lights to the power source and test to make sure the replacement bulb is working. If all the lights are functioning, you have successfully replaced the burnt-out LED bulb in your Christmas lights.
Shining Examples of Festive Illumination
Easily locating the burnt-out bulb in a set of incandescent Christmas lights
Gather the necessary tools
Before you begin replacing the LED bulb, you’ll want to ensure you have these essential tools ready to go:
- Replacement LED bulb: Make sure you have the correct type and size of LED bulb before starting the replacement process. For example, if you’re replacing a standard A19 bulb, make sure you have an A19 LED bulb as a replacement.
- Small screwdriver: Most LED bulbs require a small screwdriver to remove the existing bulb. A Phillips or flathead screwdriver should suffice, depending on the type of screw used to secure the bulb.
- Pair of gloves: Safety first! Protect your hands from potential cuts or injuries by wearing a pair of gloves while handling the bulb. Opt for gloves that provide a good grip without restricting your dexterity.
Having these tools at hand will make the replacement process smoother and more efficient. So double-check your inventory before diving in!
Unplug the lights
To ensure safety and prevent any potential electrical accidents, make sure to unplug the Christmas lights from the power source before proceeding with the replacement. This simple step will reduce the risk of electric shock or fire hazards. Take a moment to locate the plug and disconnect it from the socket before continuing.
Locate the burnt-out bulb
Inspect the string of lights and identify the burnt-out bulb. Carefully examine each bulb, looking for any that are not lighting up or have a dark appearance. For example, if you find a bulb with a small black mark or a filament that is not glowing, it is likely the one that needs to be replaced. You can also try gently wiggling the bulbs to see if they flicker or come back on momentarily.
Remove the burnt-out bulb
To remove the burnt-out bulb, first, grab a small screwdriver. Then, gently pry out the bulb from the socket using the screwdriver. Be cautious not to apply excessive force or cause any damage to the surrounding bulbs.
Insert the replacement bulb
To insert the replacement bulb, start by taking the new LED bulb. Make sure to align the two metal prongs on the base with the corresponding slots in the socket. Then, with a gentle push, put the bulb into the socket until it is firmly in place. This ensures a secure connection and optimal functioning of the bulb.
Test the replacement bulb
To test the replacement bulb, plug in the Christmas lights and observe if the new bulb lights up. This will confirm that you have successfully replaced the burnt-out LED. For example, if you replaced the bulb in the third socket of the string lights and it illuminates, then your replacement was successful.
Repeat the process
To replace multiple burnt-out bulbs, follow these steps for each one:
- Turn off the power to the area where the bulb is located.
- Remove the burnt-out bulb by twisting it counterclockwise until it comes loose.
- Take the new bulb and insert it into the socket, twisting it clockwise until it is secure.
- Turn on the power and test the new bulb to ensure it is working properly.
For example, if you have a ceiling fixture with four burnt-out bulbs, repeat steps 1 to 4 for each bulb until all four are replaced.
Secure any loose bulbs
Check if any other bulbs are loose. Push them back into their sockets gently to ensure a secure connection.
Tidy up the lights
To tidy up the lights, start by arranging the Christmas lights neatly. Take your time to unravel any tangled sections to ensure that the lights are uniform and tangle-free. By doing so, you will greatly enhance the overall appearance of your decorations and create a more cohesive and visually appealing display for the festive season.
Plug in and enjoy
Once you have completed the replacement and tidying process, plug in the Christmas lights and experience the enchanting glow of the holiday season! Simply insert the plug into an electrical outlet and watch as your space transforms into a festive wonderland. Sit back, relax, and immerse yourself in the joyful ambiance created by these twinkling lights.
Wrap Up and Final Thoughts
In conclusion, replacing a burnt-out LED bulb in your Christmas lights is a quick and easy task that anyone can do. By following the steps outlined in this blog post, you can keep your holiday decorations looking beautiful and avoid the frustration of having dim or flickering lights. Don’t be intimidated by the thought of replacing bulbs – with a little know-how, you can keep your lights shining brightly all season long. Happy decorating!
Essential Equipment
Troubleshooting Solutions
Step-by-Step Guide on How to Use LED Christmas Lights
- Choose the right type: LED Christmas lights come in various types, such as string lights, icicle lights, and net lights. Decide which type suits your decoration needs and ensure they are suitable for indoor or outdoor use
- Test and untangle: Before hanging your lights, it’s essential to test them and make sure they work properly. Also, untangle any knots or twists in the wires to avoid any frustration while decorating
- Plan your layout: Before installing the lights, plan where you want them to go. Sketch or mentally visualize your desired layout, keeping in mind the areas you wish to accentuate. This will save time and make the installation process smoother
- Power source and extension cords: Locate a nearby power source for the lights to plug into. If needed, use extension cords to reach the desired areas. Make sure the extension cords are rated for outdoor use if you are decorating outside
- Safety precautions: Ensure the lights and their cords are not placed near flammable materials, such as curtains or trees. Don’t overload electrical sockets or extension cords with too many lights. Also, avoid placing lights where they can get wet or damaged by weather conditions
- Remember, always consult the specific instructions provided by the manufacturer for your LED Christmas lights to guarantee safe and correct usage. Happy decorating!
Frequently Asked Questions about LED Christmas Lights
Can LED Christmas lights be dimmed or adjusted for different lighting effects?
Yes, LED Christmas lights can indeed be dimmed or adjusted for different lighting effects. Unlike traditional incandescent lights, LED lights are highly versatile and offer various options for light intensity control. Many LED Christmas lights come with built-in dimmers or adjustable settings that allow you to customize the brightness level to your preference. You can create different lighting effects by adjusting the brightness, such as a cozy warm glow or a vibrant festive ambiance. Additionally, some LED Christmas lights even offer color-changing capabilities, allowing you to switch between different hues and create stunning dynamic effects. Overall, LED Christmas lights give you plenty of flexibility to achieve the desired lighting effect for your holiday decorations.
Are there any special maintenance or storage requirements for LED Christmas lights?
Yes, there are a few special maintenance and storage requirements to consider when it comes to LED Christmas lights.
First, it’s important to handle LED lights with care to avoid damaging them. Be gentle when untangling or hanging the lights, as excessive force can break the delicate bulbs. Also, make sure to follow the manufacturer’s instructions regarding the maximum number of LED lights that can be connected together. Overloading the circuit can lead to overheating and potential damage.
Regarding maintenance, LED lights are generally low-maintenance compared to traditional incandescent lights. However, it’s still a good idea to periodically inspect the strands for any signs of wear or damage. If you notice any broken bulbs or frayed wires, it’s safest to replace those affected sections or the whole strand if necessary.
When it comes to storage, keeping LED Christmas lights in good condition is relatively straightforward. Start by carefully removing the lights from the display, avoiding any twisting or pulling that could damage the wires. Then, neatly coil and secure the strands to prevent tangling. Storing them in a sturdy container, such as a plastic storage bin or a specialized Christmas light organizer, will help protect the lights from dust, moisture, and potential damage.
By taking these simple maintenance and storage precautions, you can ensure that your LED Christmas lights will bring joy and sparkle to your celebrations for years to come.
Do LED Christmas lights generate less heat than other types of lights?
Yes, LED Christmas lights do generate less heat compared to other types of lights. LED stands for Light Emitting Diode, and it’s a type of lighting technology that is highly efficient. Unlike traditional incandescent lights, which generate a significant amount of heat as a byproduct of producing light, LEDs convert most of the energy into light, resulting in minimal heat production. This makes LED Christmas lights not only safer to use but also more energy-efficient. So, you can enjoy the festive ambiance without worrying too much about heat-related hazards.


