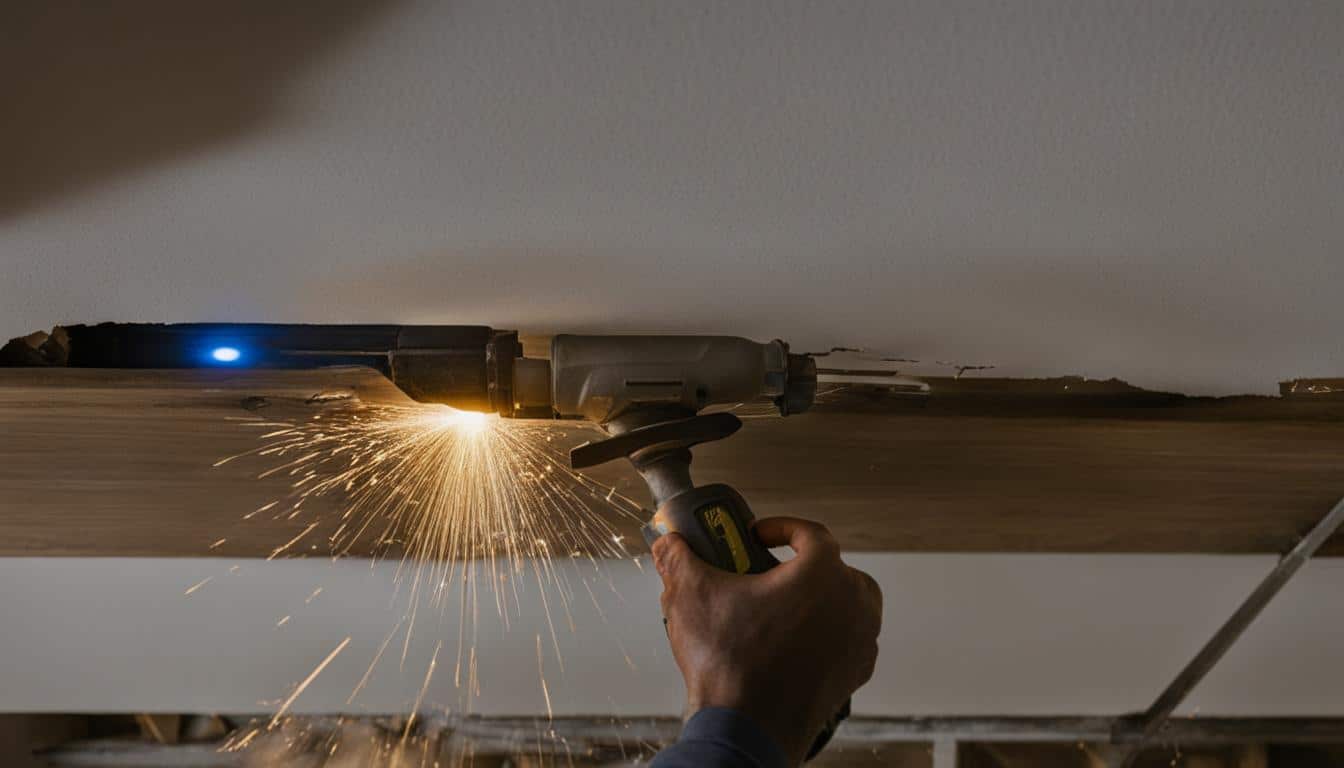
Have you ever wanted to learn how to install halo recessed lighting in your home? This step-by-step guide for installing halo recessed lighting will help you transform your living space with sleek, modern fixtures that offer customizable ambiance. With simple tools and a keen eye for detail, you can create a stunning lighting design that rivals professional installations. So, let’s dive into the world of halo recessed lighting installation and unlock a brighter future for your home.
Key Takeaways
- Halo recessed lighting offers a sleek, modern look with customizable settings.
- A step-by-step guide makes the installation process more manageable and efficient.
- Gathering the right tools and following safety measures are crucial for a safe and successful installation.
- Planning your light layout and accurately cutting holes ensure a professional-looking outcome.
- Wiring strategies and mounting the light housing require precision and care.
- Troubleshooting common issues and learning from mistakes will help improve future lighting projects.
- A successful halo recessed lighting installation not only enhances your home’s ambiance but also contributes to personal satisfaction and a sense of accomplishment.
Why Choose Halo Recessed Lighting for Your Home
When it comes to transforming your home’s lighting design, Halo canless recessed lights stand out as a top choice. Their ultra-thin design and customizable settings make them an excellent option for any homeowner looking to enhance their living space. The appeal of Halo recessed lighting lies in its sleek design, versatile placement, and adjustable lighting settings, offering you the perfect ambiance for any room in your home.
The Sleek Appeal of Ultra-Thin Design
One of the most significant advantages of Halo recessed lighting is its ultra-thin lights, which distinguish it from traditional can lights. Their sleek recessed lighting design seamlessly integrates with your ceiling, offering a visually appealing and unobtrusive solution for your home interior. The ultra-thin design also allows for versatile placement since it doesn’t require large housings typically needed for attic spaces, allowing you to maximize ceiling space and create the perfect lighting layout.
Customizable Lighting with Adjustable Lighting Settings
Halo recessed lights offer adjustable lighting settings to suit varying preferences and requirements of homeowners. With the ability to choose between three or five lighting temperature adjustments, you have the flexibility to customize the ambiance in your home. The lighting temperatures range from a warm 2700K to a cooler 5000K, allowing you to achieve the perfect balance between function and aesthetics.
“Halo recessed lighting provides the flexibility to match the lighting to the desired ambiance, ensuring a tailored lighting experience.”
The three-setting option features an internal switch within the metal box, while the five-setting model boasts an easily accessible external switch. Although manually selecting the desired settings during installation might seem like a minor inconvenience, it is a small price to pay for the level of customization provided by Halo recessed lights.
| Settings Option | Number of Adjustments | Lighting Temperatures Range | Switch Location |
|---|---|---|---|
| Three-Setting | 3 lighting temperatures | 2700K-4000K | Internal (within metal box) |
| Five-Setting | 5 lighting temperatures | 2700K-5000K | External (easily accessible) |
In conclusion, choosing Halo recessed lighting for your home not only offers a sleek and unobtrusive solution but also provides the flexibility to create the perfect ambiance. From ultra-thin designs to customizable settings, Halo lighting has you covered – transforming your home interior and elevating your overall living space.
Understanding the Basics of Halo Recessed Lighting Installation
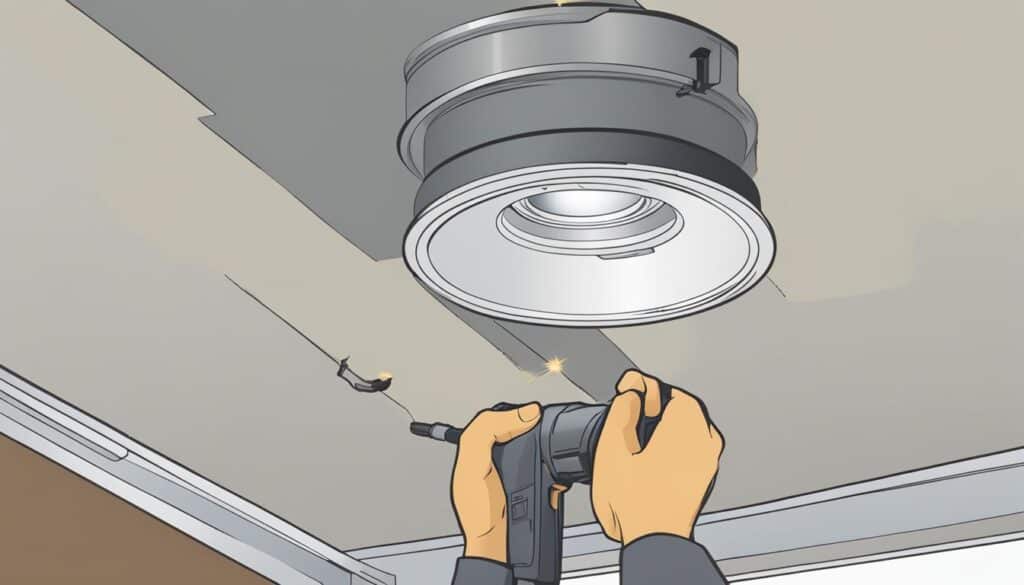
Installing Halo recessed lighting in your home can be a cost-effective way to improve the ambiance and appearance of any room. Through attention to detail and proper knowledge of recessed lighting installation techniques, you can ensure a smooth and successful installation process. In this section, we will discuss some of the basics of installing Halo lighting, so you can better understand the steps involved.
- The advantages of Halo recessed lighting
- Preparation steps for installation
- Wiring strategies for the lights
“Halo recessed lighting can transform any room, offering customizable options and energy efficiency for a more pleasing ambiance.”
Design Advantages: Halo recessed lighting fixtures offer ultra-thin designs that allow for versatile placement options in your home. These canless lights require minimal ceiling space, making them an excellent solution for low-clearance areas. Additionally, adjustable lighting settings allow you to change the color temperature to match your desired ambiance.
| Feature | Benefit |
|---|---|
| Ultra-thin design | Requires minimal ceiling space for installation |
| Canless lights | No need for large housings in attic spaces |
| Adjustable lighting settings | Customizable ambiance with color temperature options |
Preparation Steps: Before beginning the installation process, it is essential to gather the necessary tools and materials for the job. This may include a template for cutting the drywall, a drill or cutting tool, a wire stripper, and wire connectors. It is also crucial to turn off the power at the breaker box for safety reasons.
Wiring Strategies: Wiring the Halo recessed lighting properly is crucial to ensuring the lights function correctly. You will need to connect the light fixtures to the electrical system in your home, either by using standard wire nuts or push-in connectors. For projects with multiple recessed lights, you can daisy-chain the lights together by connecting them to each other in a sequence.
By understanding the basics of installing Halo lighting and recessed lighting installation techniques, you can make an informed decision on whether to tackle the project yourself or hire a professional. With proper planning and execution, Halo recessed lighting installation can significantly enhance the appearance and ambiance of your living spaces.
Preparation: Tools and Safety Measures
Prior to installing Halo recessed lighting, it’s essential to gather all the necessary tools and take appropriate safety measures. This section covers the recommended tools for halo recessed lighting installation and electrical safety during the installation process.
Gathering the Recommended Tools for Halo Recessed Lighting Installation
Having the right tools at hand will simplify the installation process and ensure a tidy finish. Here is a list of tools you would need for a successful Halo lighting installation:
- Template for marking cut dimensions on the ceiling
- Dremel Multi-Max tool or other appropriate cutting device
- Pliers
- Flat head screwdriver
- Wire nuts or push-in connectors (depending on the model)
Pro tip: Keep all your tools close by and organized for efficiency and safety during the installation process.
Electrical Safety: Turning Off Power at the Breaker
A crucial safety measure when installing Halo recessed lighting is to turn off the power at the breaker box. This prevents any electrical hazards caused by live wires.
Remember:
- Locate the appropriate breaker for the room where you’re installing the lighting.
- Switch off the power to that area by turning off the breaker.
- Use a voltage tester to ensure there’s no live electricity near the installation site.
By following these simple, yet effective electrical safety methods, you can ensure a safe and successful Halo lighting installation process.
Planning Your Halo Recessed Lighting Layout
Planning an effective halo recessed lighting layout plays a crucial role in achieving a visually appealing and well-lit space. This involves determining the optimal light positioning and ensuring that each spot selected for a fixture does not interfere with ceiling joists, wires, pipes, or ductwork. In this section, we’ll explore some essential tips for designing your recessed lighting scheme and creating a balanced halo lighting arrangement.
To create a well-balanced and functional Halo recessed lighting layout, keep in mind the Rule of Thirds. Divide the height of your ceiling by three, and use this measurement as the distance between your lighting fixtures and the walls.
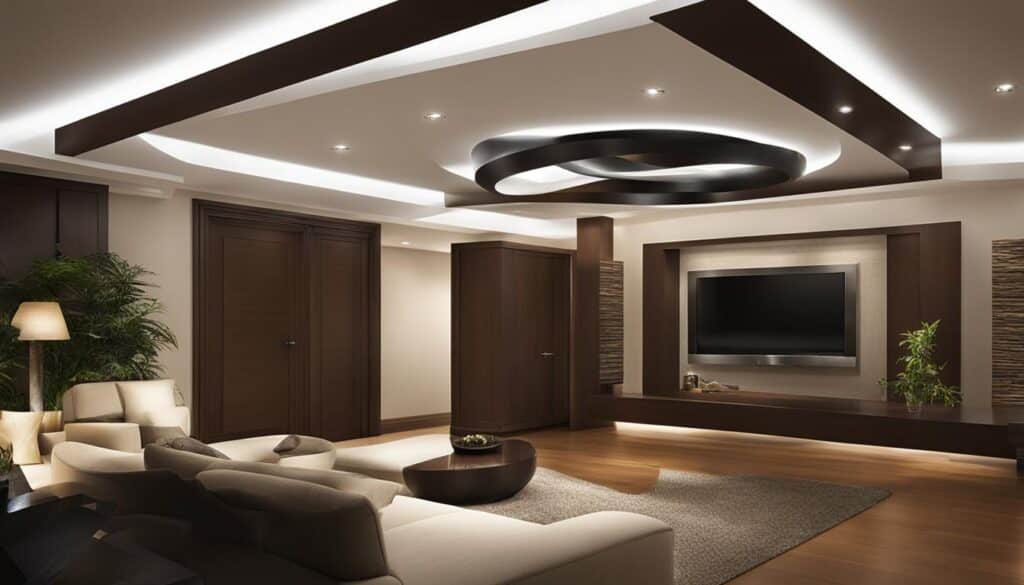
Start by identifying key areas or features in your room that could benefit from recessed lighting. Examples include an accent wall, fireplace, artwork, or architectural details. Next, consider the primary purpose of each space, whether it’s ambient lighting for creating a welcoming atmosphere, task lighting for focused work areas, or accent lighting to highlight features.
- Ambient Lighting: Provide overall illumination to your space by positioning Halo recessed lights evenly throughout the room. Consider utilizing a consistent pattern or grid for an aesthetically pleasing layout.
- Task Lighting: Install recessed lights directly above work surfaces like countertops, desks, or reading areas to provide focused light that minimizes shadows and glare.
- Accent Lighting: Highlight specific features or objects by positioning recessed lights at a 30-degree angle from the focal point.
When planning your halo recessed lighting layout, take into account the possible presence of ceiling obstructions like joists, wires, pipes, and ducts. It’s essential to avoid these obstacles when designing your lighting scheme, so use a stud finder or explore the attic space if possible.
| Room | Ambient Lighting | Task Lighting | Accent Lighting |
|---|---|---|---|
| Living Room | Evenly spaced grid pattern | Over reading nooks and work desks | Highlight artwork or architectural details |
| Kitchen | Uniform layout throughout | Directly over countertops and islands | Illuminate open shelves or display cabinets |
| Bedroom | Consistent pattern across the ceiling | Above bedside tables and dressing areas | Emphasize wall decor or unique features |
By carefully planning your halo recessed lighting layout, you can create an attractive and functional environment that meets your needs and preferences. Keep in mind the key considerations mentioned above and always consult a professional if you’re unsure about how to best design your recessed lighting scheme.
How to Cut the Perfect Hole for Your Recessed Light
A key step in successfully installing recessed lighting is accurately cutting the hole in the ceiling to fit the fixture. There are several factors to consider for cutting to ensure that everything fits properly and looks professional.
Using a Template for Accurate Sizing
When cutting the hole for your recessed light, it’s essential to start by using a provided template. This template, also known as a halo lighting installation template, helps homeowners easily trace the required dimensions onto the ceiling surface, guaranteeing that the cut will be the correct size. To avoid any issues during cutting, it’s crucial to verify there are no obstructions in the planned area. You can do this by using a stud finder, checking from the attic, or probing with a thin tool like a coat hanger if the ceiling space is finished.
Choosing the Right Tools for Cutting Drywall
One of the main factors in achieving a perfect hole for your recessed light is the proper choice of tools for cutting drywall. While specialized rotary cutting tools like a RotoZip can greatly facilitate cutting precise openings in drywall for recessed lighting, there are other tools you can use when those specialized tools are not available.
- Dremel Multi-Max tool
- Drywall saw
- Jab saw
When using alternative tools, make sure to take extra care in ensuring that the hole is well-defined and the correct size for the fixture. Also, remember to wear safety goggles and a dust mask to protect yourself from dust particles during the cutting process.
Pro Tip: As you cut the drywall, angle the blade slightly inward to create a beveled edge. This will help the recessed light fit more snugly and allow for smoother installation.
Wiring Strategies for Halo Recessed Lighting
When dealing with any electrical installation, it’s crucial to prioritize safety and employ effective wiring strategies. This is especially true when installing Halo recessed lighting. To ensure the process runs smoothly, we will cover essential wiring concepts like connecting wires safely and daisy-chaining multiple recessed lights.
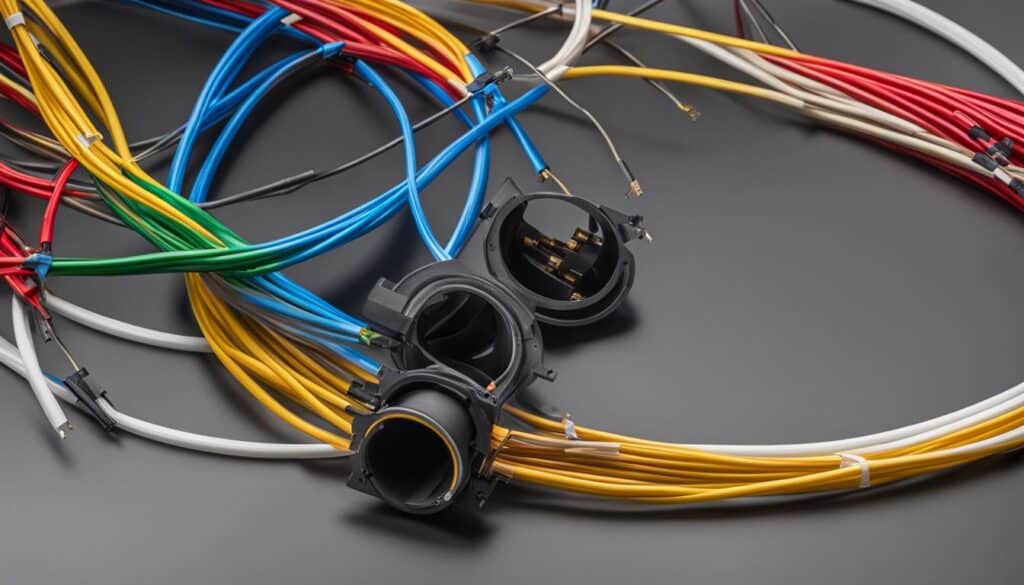
Connecting Wires Safely and Securely
For safe and secure wiring, follow these essential steps:
- Turn off the power to avoid electrical hazards.
- Carefully run wires from the power source to the switch box and from there to the pre-cut holes, while providing an 18-inch allowance for easy connections.
- Prepare the wire ends by stripping off the insulation with a wire stripper.
- Connect like-colored wires using the appropriate wire connectors provided.
- Fold the connected wires back into the junction box for a secure and organized fit.
Paying attention to these steps will not only ensure a safe installation but will also guarantee that your Halo recessed lighting functions correctly.
Daisy-Chaining Multiple Recessed Lights
Daisy-chaining, or connecting multiple lights in a series, is a common wiring strategy for Halo recessed lighting. To daisy-chain your lights, follow this process:
- Connect a wire from the breaker box to your switch.
- Run a wire from the switch to the first light.
- Connect that first light to the second light using another wire and so on, until you reach the last light in the chain.
- Ensure that each light is connected correctly so that power is transmitted to the subsequent light in the series.
- For the final light in the chain, use only a single power wire.
By implementing these wiring strategies for Halo recessed lighting, you can create a safe and functional home lighting solution that meets your unique desires. With this knowledge in hand, you are now well-equipped to complete a successful Halo recessed lighting installation!
Mounting the Halo Recessed Light Housing
After planning your layout, cutting the right-sized holes, and wiring your Halo recessed lighting, it’s time to mount the light housings. The process of mounting halo recessed light housing is simple, yet it’s crucial to ensure that the light fixtures are securely fastened to the ceiling for long-lasting stability.
Start by locating the integral clips that come with your Halo recessed lighting fixtures. These clips are designed to clamp the housing to the ceiling by pressing down on the drywall. Push these clips inward and then slide the housing’s box into the hole you prepared earlier. Raise the housing until its flange is flush with the ceiling as shown in the image below:
Now it’s time to engage each clip by pressing upwards and outwards until you hear or feel it clicking into place. This action secures the light firmly in position, completing the step of installing halo light fixtures.
Important: Double-check that the clips are fully engaged as they play a crucial role in securing recessed lighting to the ceiling. Loose or improperly fastened clips can lead to unstable light fixtures.
To summarize the steps for mounting the Halo recessed light housing:
- Locate the integral clips on the light fixture
- Push the clips inward
- Slide the housing’s box into the hole
- Raise the housing until its flange is flush with the ceiling
- Engage each clip by pressing upwards and outwards until it clicks
After successfully mounting the Halo recessed light housings, continue with the installation process by affixing the actual lighting fixtures and completing any connections required for your specific model.
Troubleshooting Common Issues During Installation
Even with careful planning and execution, unexpected issues can arise during the installation of Halo recessed lighting. The key to overcoming these challenges lies in knowing how to troubleshoot and resolve them in a timely manner. In this section, we will discuss common installation hurdles, their solutions, and how to ensure proper fit and function of your Halo recessed lights.
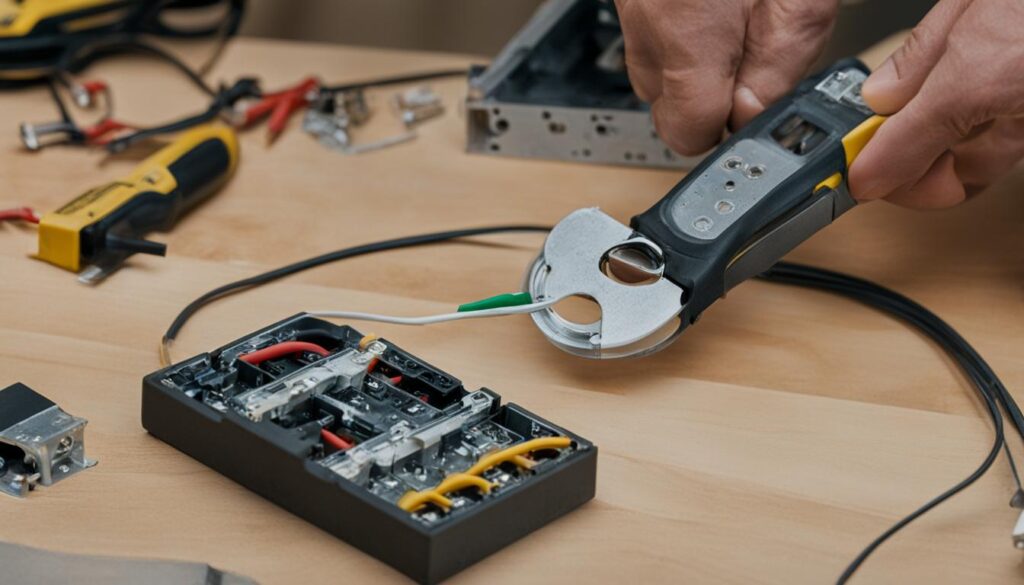
Handling Unexpected Obstacles
One of the most common recessed lighting issues encountered during installation is discovering obstructions in the planned opening, such as existing wiring, pipes, or ductwork. To effectively handle these obstacles, it’s crucial to thoroughly inspect the area before cutting any parts of the ceiling. You can use a stud finder or fish tape to check for potential obstructions before proceeding.
Pro tip: Always double-check the planned opening area with a stud finder or fish tape to avoid cutting into obstructions.
Ensuring Proper Fit and Function
After successfully installing the Halo recessed lights, it is essential to perform a recessed lighting function check. This involves:
- Inspecting the light housings to ensure they are affixed tightly to the ceiling.
- Verifying that the electrical connections are correct and secure.
- Switching on the power to test if the lights operate as expected.
If you find that the lights do not sit flush with the ceiling or fail to illuminate, further adjustments may be necessary. The adjustment of halo light fit can involve repositioning the housing, retightening the clips that hold the fixture in place, or reviewing electrical connections to pinpoint any potential disconnections or wiring errors.
Remember, a successful installation ensures that the Halo recessed lights sit flush with the ceiling and function properly when powered on.
In conclusion, troubleshooting halo recessed lighting during installation is an essential skill for homeowners aiming to achieve a smooth and successful DIY project. By learning to overcome installation hurdles, identify recessed lighting issues and ensure proper fit and function, you’ll be well-equipped to create a visually appealing, functional, and energy-efficient lighting system for your home.
Tips for a Successful Halo Recessed Lighting Installation
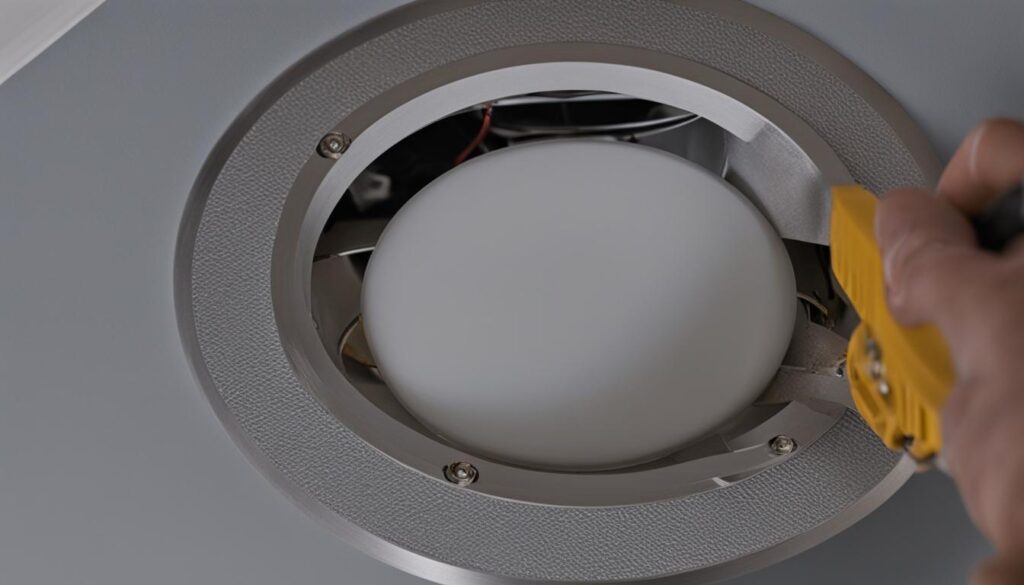
When embarking on a DIY halo recessed lighting installation, following professional techniques and avoiding common mistakes can significantly improve the overall experience and final results. In this section, we’ll explore some key tips and best practices for a successful halo recessed lighting installation.
Professional Techniques to Enhance Your DIY Installation
- Comprehensive Planning: Before starting the installation process, plan the layout of your lighting. Consider factors like evenly spacing the lights and ensuring that the positions do not intersect with any ceiling obstructions.
- Precise Cutting: Cutting the installation hole accurately is crucial in achieving a professional finish. Use the provided template for marking the hole and consider using specialized cutting tools where possible.
- Meticulous Wiring: Take your time during the wiring phase and ensure that all connections are properly made and securely fastened. Do not rush this process, as faulty wiring can lead to a variety of issues.
- Thoughtful Daisy-chaining: When connecting multiple recessed lights, make sure they are wired in a sequential manner (daisy-chaining). This allows for efficient power distribution and simplified installation.
Identifying and Avoiding Common Mistakes
The best way to avoid common DIY recessed lighting installation errors is to be proactive and knowledgeable about the potential pitfalls.
- Inaccurate Measurements: Always double-check your measurements when cutting ceiling holes for the lights. An improperly sized hole can lead to difficulties with mounting and securing the fixture.
- Electrical Connection Issues: Keep track of which wires need to be connected and ensure that all connections are secure and up to code.
- Improper Fixture Securement: Make sure the light housings are firmly secured to the ceiling. Loose fixtures can be both unattractive and unsafe.
- Overlooking Electrical Safety: Never forget to turn off the power at the breaker before starting any electrical work. Safety should always be your top priority.
| Common Mistake | Consequences | How to Avoid |
|---|---|---|
| Inaccurate Measurements | Mounting difficulties, unprofessional finish | Double-check measurements and use a template |
| Electrical Connection Issues | Potential hazards, malfunctioning lights | Follow wiring guidelines and double-check connections |
| Improper Fixture Securement | Unattractive appearance, potential hazards | Ensure light housings are firmly secured to the ceiling |
| Overlooking Electrical Safety | Potential injury or damage | Always turn off power at the breaker before starting any work |
By adopting professional installation techniques and steering clear of common mistakes, your DIY halo recessed lighting project will have a higher likelihood of success. Taking the time to carefully plan, measure, and install your lights will yield a visually pleasing and functional result.
Conclusion
Enhancing your home’s ambiance with Halo recessed lighting can make a significant difference in your living space’s atmosphere. The sleek design, customizable settings, and energy-efficient technology of these lights give you a modern, aesthetically pleasing lighting solution for your home. As you reflect on your Halo lighting installation journey, you’ll find that this DIY project not only improves the appearance and functionality of your home but also builds personal satisfaction.
Throughout the installation process, you’ve likely gained valuable insights and expertise that you can now share with others undertaking similar DIY projects. Moreover, with your newfound skills and confidence, planning future lighting upgrades for different areas of your home becomes an exciting possibility.
Overall, Halo recessed lighting offers a fantastic way to elevate your home’s ambiance and comfort while showcasing your DIY prowess. As you continue to expand your home improvement skills, remember to explore new lighting technologies and approaches that will transform your living space even further.
FAQ
What are the main benefits of installing Halo recessed lighting?
The primary benefits are the sleek appeal of the ultra-thin design, customizable lighting settings, and energy-efficiency. This type of lighting can be installed virtually anywhere without the need for large housings in the attic space, providing a seamless integration with the ceiling and enhancing home interiors.
What tools do I need for a successful Halo recessed lighting installation?
The recommended tools include a template for marking cut dimensions on the ceiling, a Dremel Multi-Max tool or other appropriate cutting device, pliers, a flat head screwdriver, and wire nuts or push-in connectors, depending on the model. Gathering these tools beforehand will simplify the installation process.
What is the daisy-chaining technique when installing Halo recessed lighting?
Daisy-chaining is connecting multiple lights sequentially by running a wire from the breaker box to a switch, then to the first light, and so forth until the last light in the chain. It’s crucial to correctly connect the power wires to ensure each light receives power and can, in turn, transmit power to the next, with only the final light in the chain requiring a single power wire.
How can I ensure proper fit and function for my Halo recessed lights?
After the physical installation, check that the light housings are secured tightly to the ceiling, ensure that the electrical connections are correct, and verify that the lights operate as expected when powered on. Adjustments may be necessary if the lights don’t sit flush or if they fail to illuminate.
What are some common mistakes to avoid during the Halo recessed lighting installation process?
Common mistakes include inaccurately measuring and cutting ceiling holes, mismanaging electrical connections, failing to secure light housings firmly, and overlooking electrical safety measures. Being aware of these errors will lead to a smoother installation process and better results.

