Gather round, you lighting enthusiasts! It’s your friendly neighborhood DIY’er here, and I’ve got a treat for you. Today, I’ll be your guide through an illuminating journey as we learn how to create three exceptionally inventive lighting projects with LED strips. We’re transforming ordinary LED strips and a few additional materials into functional and artistic light sources that can truly brighten up both your day and your living space!
From crafting a workspace-friendly, nearly shadow-less luminary to creating a diffuse, practically glare-free wall light, we’re not holding back. Say goodbye to plain old sticking LED strips on walls and say hello to bright, creative innovation. Our finale is a uniquely mounted light boasting a fascinating reflector technique, all wrapped up in a practical design that tackles the common problem LED strips often pose – the dreaded, retina-searing glare. So, get ready, LED lovers, for a brilliantly lit adventure!
Project 1: Aluminium Sheet Work Light
First up, we’re making a snazzy work light that would make Captain Kirk positively green with envy. So brace yourselves, we’re about to engage warp speed on crafting this futuristic illuminator!
Materials Needed
Encounter your first contact with the necessary materials: aluminium sheet, LED strip lights, spare aluminium bits (comes in handy with those intergalactic diplomatic missions), screws and nuts, wiring, a power jack, a cement mix. What’s that? Why cement, you ask? Ah! Let’s not jump the hyperdrive too soon.
Step 1: Prepare the Aluminium Sheet
Start off by extracting two slim lengths from your trusty aluminium sheet. Use a craft knife and your arm muscles to score and bend until they break free. Join these with your spare aluminium using nut, bolts and a dash of elbow grease.
Step 2: Attach the LED Strips
It’s time to turn on the lights! But beware, don’t just slap an LED light strip on. You’ve got to approach the situation with all the subtlety of a Starfleet officer on a stealth mission. Gently peel off the protective film (which, up to now, kept those pesky fingerprints at bay), and then lay your LED strip carefully on the aluminium. Choose good quality daylight-like LED strips with high CRI, as the cheap ones would dim out faster than a red shirt on an away mission.
Step 3: Add Spare Aluminium Parts
With the lights ready, it’s time to add a little heft to this enterprise. Take that spare piece of aluminium, and attach it to the light using screws and nuts. Just enough to keep your light firmly grounded when the phasers start firing… I mean, when the wind starts blowing!
Step 4: Install the Dimmer Circuit
Time to give your work light a brightness control. Exciting right? All it needs is a dimmer circuit! A power jack goes at the input terminals, and loose wires at the output terminals. Since a dimmer circuit isn’t exactly fond of cement and moisture (who knew?), a bit of shielding is needed with blue tack and electrical tape.
Step 5: Apply Protective Film
Now, let’s get a little bit ‘rock’ n roll’. Add a few pebbles to the protective film (a bit of finishing oil will make ‘em glossy) and cement mix. Why? Well, it looks fantastic and it’s the perfect camouflage in case of a rock monster invasion.
Step 6: Test the Light
Ready to see how your work light fares against the IRL (In Real Light) situation? Then let’s do the grand switch-on. Connect the 12V power adapter and check the dimmer functionality. Keep your eyes peeled for how the protective pebbles glitter!
Step 7: Mount the Light
Mount and shine! Your two-nail-hooking light is ready to be deployed on any desk.
Step 8: Enjoy Soft Illumination
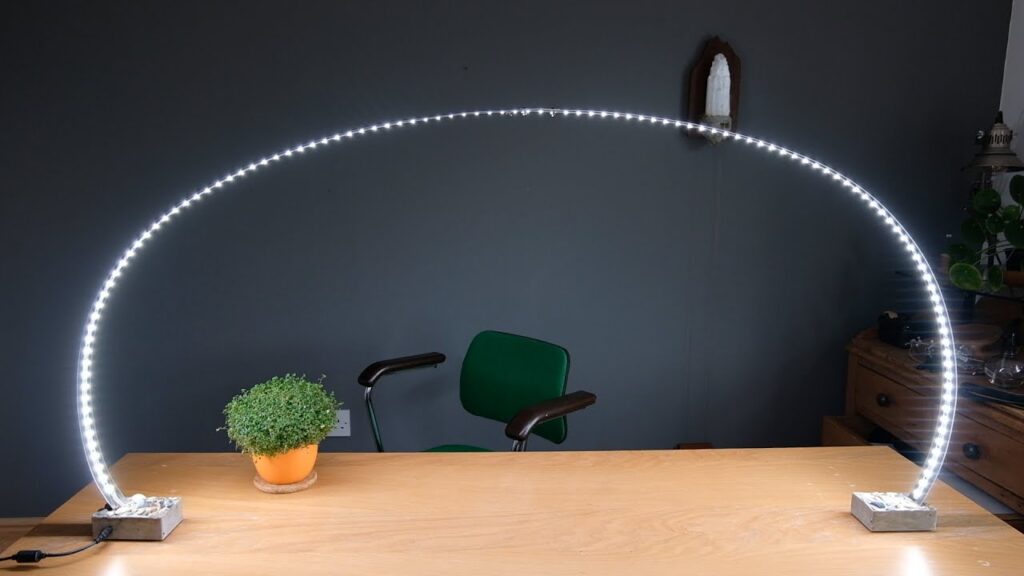
Your aluminium sheet work light is done, providing soft, almost shadow-less illumination that’s perfect for anything from quantum physics homework to planning a stealth attack on a Romulan warbird.

This image is property of i.ytimg.com.
Project 2: Parallel LED Light
Now it should be clear that when it comes to LED projects, I certainly know my alpha particles from my omega molecules (trust me, it’s a thing). Strap in folks, because we’re now on to the second project – a parallel LED light!
Materials Needed
Material gathering part deux: more aluminium, LED strips, wiring, screws, standoffs, plastic pillars, clear A4 acetate sheets, toggle switch, power jack, clear A4 acetate sheets.
Step 1: Prepare the Aluminium for Heat Dissipation
Fire up the engines and start by prepping your aluminium. I promise there is a justification for this aluminium addiction – it wicks heat away from the LEDs, prolonging their lifespan! So cut and trim them down to size.
Step 2: Apply the LED Strips
Adhere your LED strips to the aluminium with surgical precision. Remember, the goal here is to prevent short circuits with the aluminium.
Step 3: Add Frosted Acetate Sheets
Before the final step, you need to ice things up by frosting some A4 acetate sheets (sanding them down until they’re almost opaque). This diffuses that glaring light, and makes your LED light easier on the eyes and more pleasing to the aesthetics.
Step 4: Hang the Light
Hang your LED light on a wall either vertically or horizontally, whatever floats your spaceship.
Step 5: Enjoy Enhanced Lighting
With a 12V power adapter, let there be light. Only, this time, it’s enhanced, softened and modern looking. Plus, you can daisy-chain with multiple lights to illuminate an entire room – perfect for those long debate nights at the Federation Council.

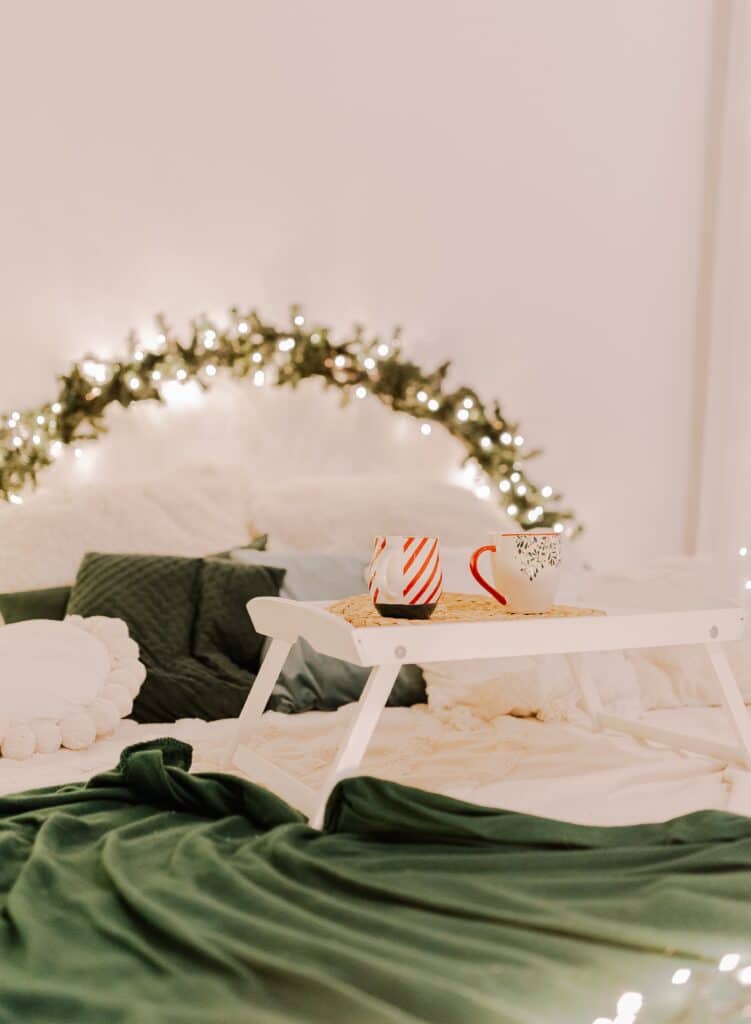
This image is property of images.pexels.com.
Project 3: Aluminium Tube Light
And from the farthest reaches of the galaxy comes our final project: an aluminium tube light. The name doesn’t set phasers to stun, but buckle up because this one promises to be quite the journey into unknown territory.
Materials Needed
For this, we’ll need aluminium tube, LED strips, wiring, standoffs, clear A4 acetate sheets, tin foil, screws, hooks, and power jack.
Step 1: Bend and Drill the Aluminium Tube
Bend your aluminium tube until it submits to your will. Drill the mountings with the precision of a Vulcan science officer.
Step 2: Create Texture with Tin Foil
Now, as we know, no great adventure on the starship Enterprise ever occurred without some sort of ‘alien’ influence. In our case, that’s tin foil. Use it to create a textured surface – mimicking alien topography may pique the interest of an extraterrestrial species, if you’re into that sort of thing.
Step 3: Attach the LED Strips
Intrepidly attach your LED strips to the foiled side of the light.
Step 4: Bridge the Bars with Electrical Wiring
Bridge the bars with electrical wiring. This will maintain a steady power supply for your LED strips, much like a warp core.
Step 5: Power and Mount the Light
Bring in a longer power cord that powers your LED strips and get ready to mount the light. Two nails will do the trick for this one as well.
Step 6: Illuminate with Textured Light
Switch on your light and marvel at the textured glow, spilling in diverse directions. This texturized light replicates natural light, providing solace for those on away missions.

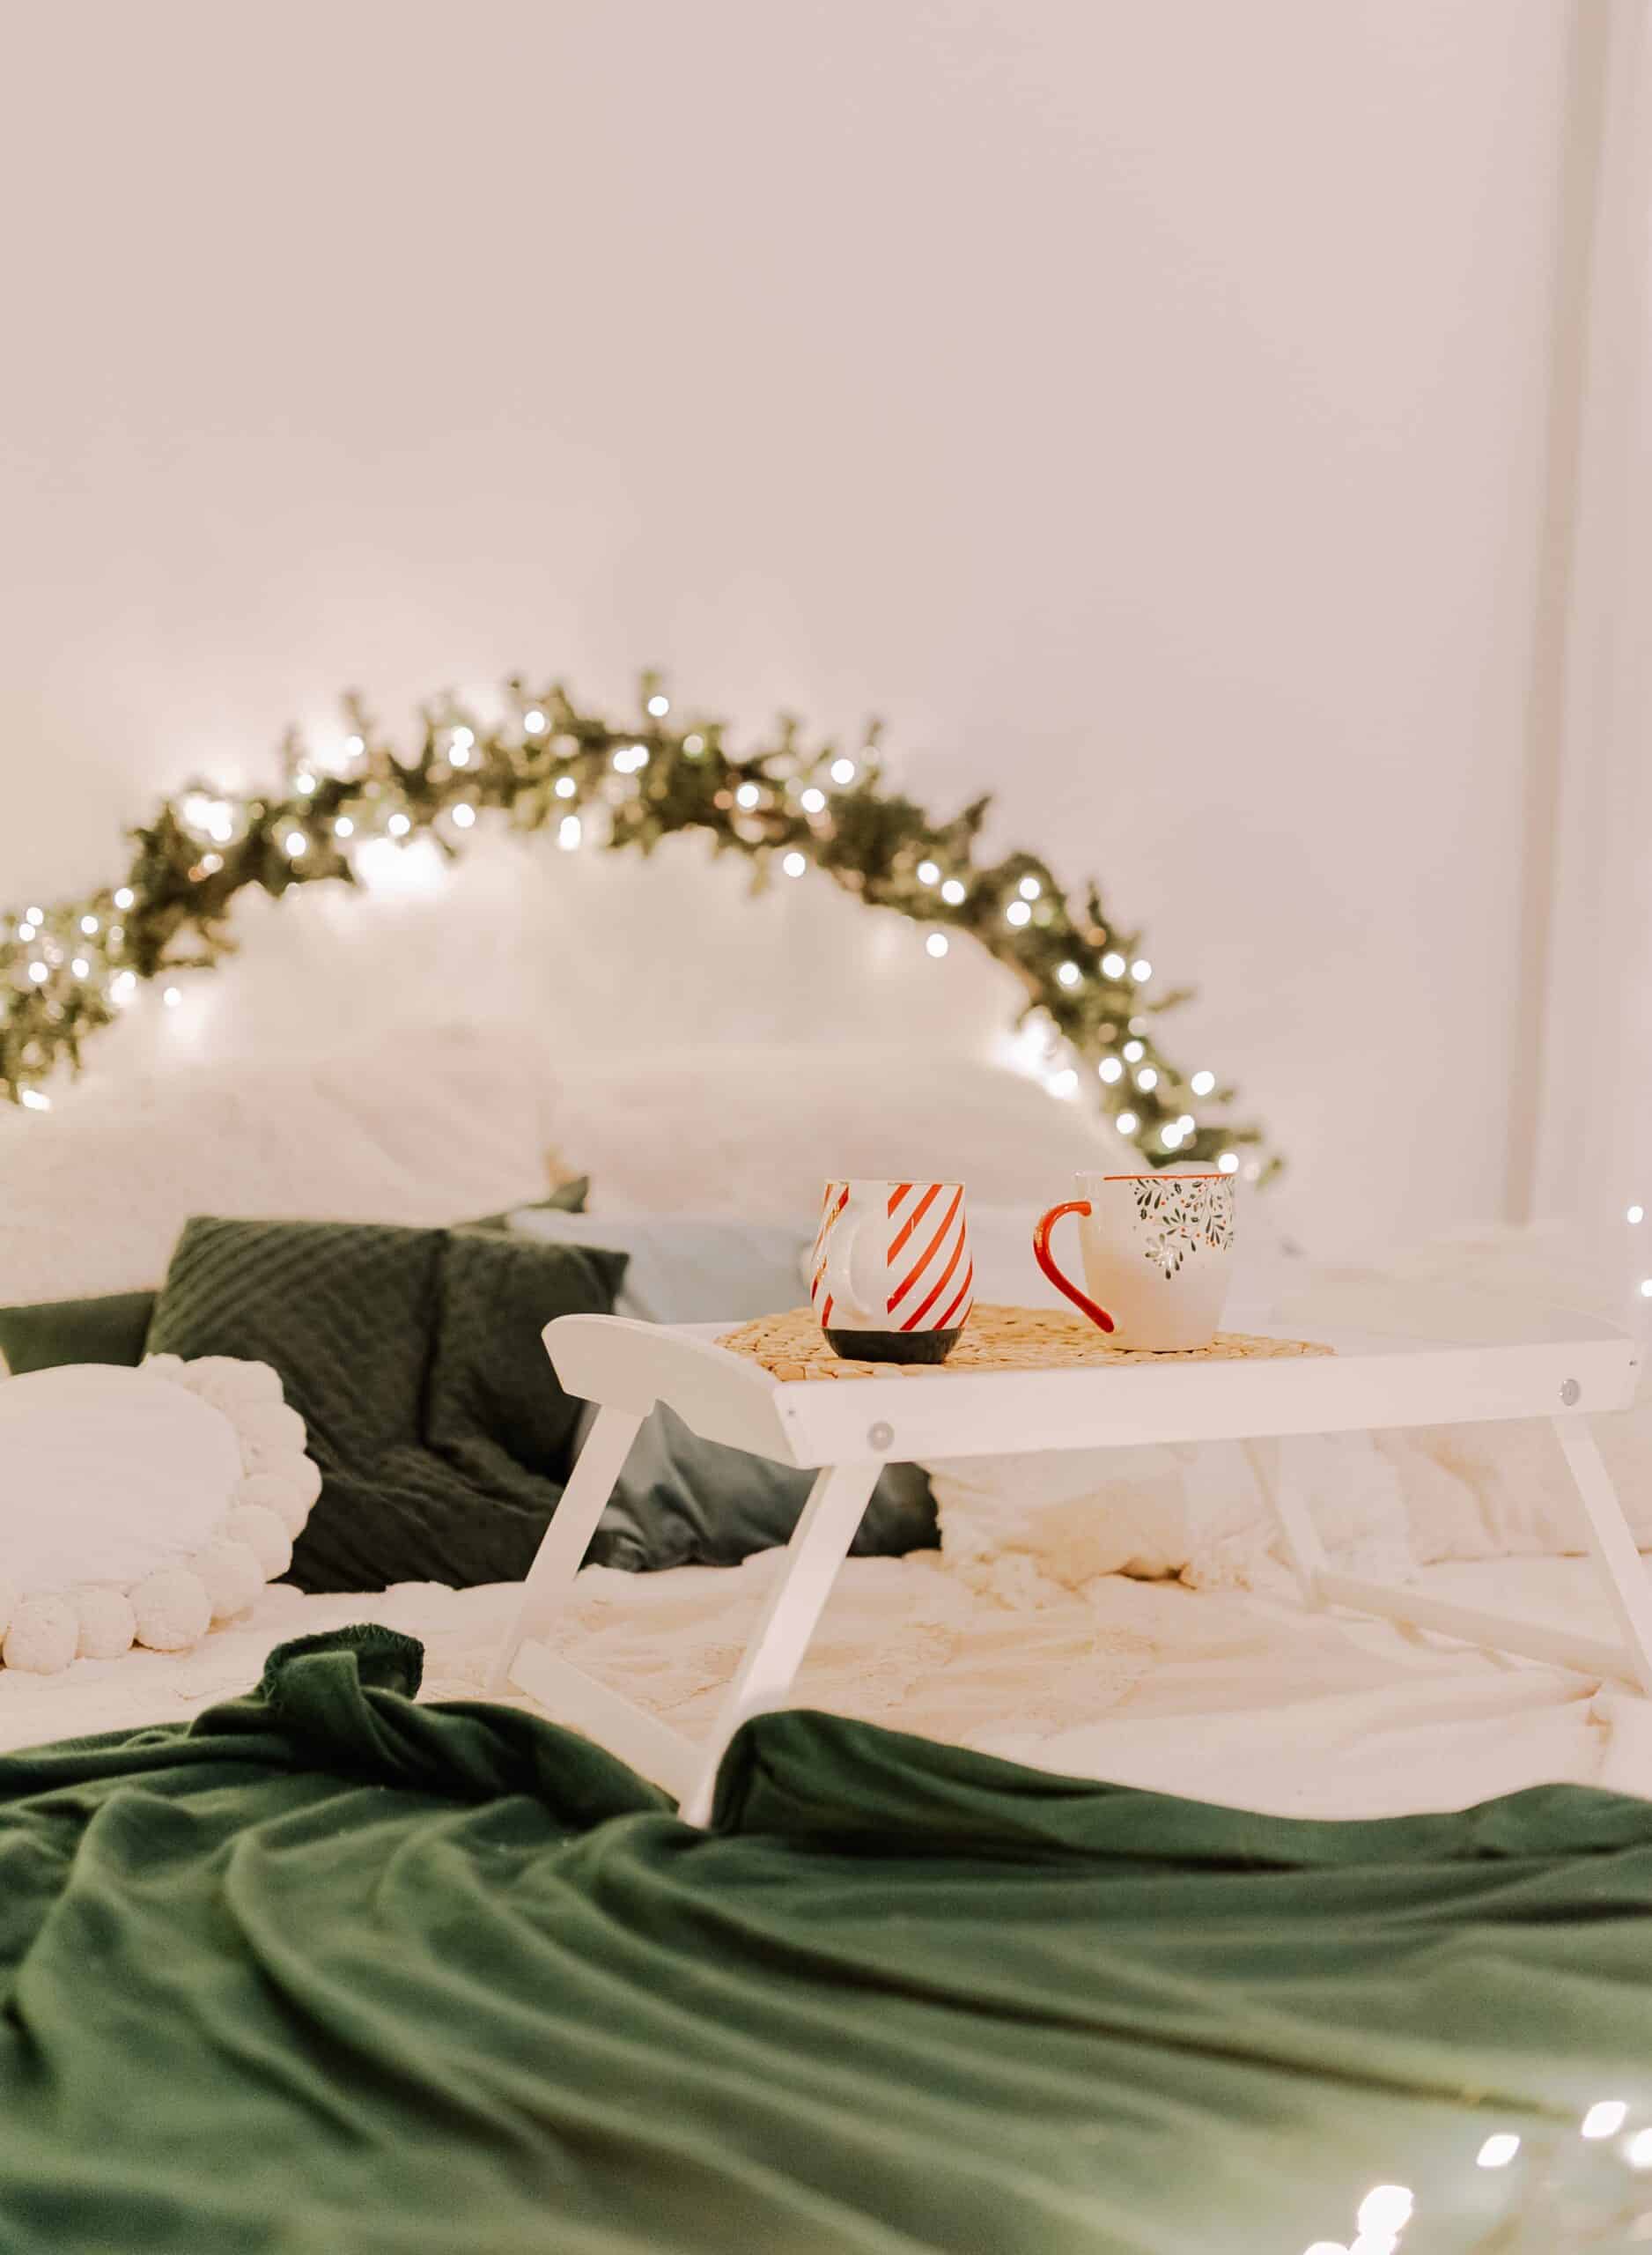
This image is property of images.pexels.com.
Common Considerations for LED Strip Projects
Choose High Quality LED Strips
In this fantasy world of DIY LED projects, not all LED strips are created equal. Consider investing in high-quality ones. Cheap LED strips dim quicker than the Starship Enterprise going into warp.
Embrace Customization and Creativity
Embrace your inner engineer and get creative. That’s part of the fun here. Taking the LED to places your imagination leads to create vibrant, unique and sometimes, sci-fi inspired solutions.
Consider Glare Issues
Watch out for glare. Glare could turn a pleasant pathfinder starship cruising experience into a dreadful voyage to the heart of the sun – in other words, it’s unpleasantly dazzling. Use solutions like frosting acetate sheets or sanding down sheets to diffuse the harsh LED light.
Address Power Requirements
Remember that LED strips require considerable power, especially for lights aiming to cover larger areas. So, plan your power resources accordingly.

This image is property of images.pexels.com.
Conclusion
LED Strips Provide Endless Possibilities
LED strips are like the infinite expanse of space itself, teeming with endless possibilities. From aluminium sheet work lights to the parallel LED light, each creating soft and diffused light, it shows the versatility of the humble strip of LEDs.
Create Unique Lighting Solutions
Through this exploration, I hope I’ve shown that you can be innovative with your lighting solutions. Each LED strip project provides different kind of light and can cater to various needs.
Enhance Your Home’s Ambiance
No matter your lighting choice, there’s no doubt these DIY LED projects are capable of transforming your space and enhancing your home’s ambiance. Whether it’s for functional tasks or setting the atmosphere, LED strip projects are the way to light your path (literally and figuratively!).
In this video, I’ll walk you through the construction of three inventive lighting projects using LED strips at home.
Here are the links to the parts:
Just to let you know: These are affiliate links. In case you click on them and decide to purchase from the respective merchants they are associated with, DIY Perks could earn a commission. The affiliate programs and affiliations we’re a part of include, but aren’t limited to the eBay Partner Network and Amazon Associates.
The high-quality strips that I utilized can be found here: https://www.aliexpress.com/item/32855…
My particular choice was the ‘daylight white 5600k’ strips, but the other colour temperatures work excellently as well. You can find an ebay listing of the 5600k version here: http://ebay.to/2iSqEKu
There’s also an ebay listing for selectable colour temperatures available at: http://ebay.to/2zCThDr
As for the dimmer circuit:
You can find it on AliExpress: https://www.aliexpress.com/item/32858…
Or on eBay: https://ebay.us/qmRdmk
Check out my RGB Crystal Tower Light video: • How to make a Crystal Tower Light (DIY)
SOCIAL LINKS:
You can support me on Patreon: /diyperks
Visit my official Website: https://www.diyperks.com/
Join our discussions on Discord: https://diyperks.com/discord-server/
Browse our Forums: https://diyperks.com/community/
Follow my Twitter: /diyperks


