As home and commercial design evolve, so does the quest for flexible lighting solutions. LED light strips have become a staple in creating ambient and accent lighting, given their energy efficiency and design versatility. Many DIY enthusiasts and professional installers often ask us, “can you cut led light strip?” The short answer is yes, provided you follow the correct methods. Understanding how to cut LED light strip and apply the best cutting techniques for LED light strips are key to customizing the length without jeopardizing the strip’s functionality. We are here to guide you through the uncomplicated process of trimming your LED light strips to perfection, ensuring a snug fit for any space.
Key Takeaways
- Verify the LED light strip brand allows for cutting, and always look for the cut line indicators.
- Safety first: disconnect the power source before engaging in any cutting of LED strips.
- Using the right tools and techniques is crucial for maintaining the integrity of the LED strip.
- Each brand has specific instructions for cutting their light strips which must be closely followed.
- Cutting with precision ensures the continued functionality of the LED light strips after customization.
The Versatility of LED Light Strips and Their Growing Popularity
Our homes and workplaces are increasingly illuminated by the versatile and energy-efficient lighting offered by LED light strips. Not just a tool for accenting architecture or creating ambiance, these lights serve a plethora of purposes in both residential and commercial environments. What makes them a modern-day staple? Let’s delve into the LED light strip uses and the customizable options that set them apart from traditional lighting solutions.
Whether it’s setting the mood in a living room with soft, colored lighting or brightening up a kitchen countertop for better functionality, LED light strips are as flexible as your needs require. With their slick, compact design, they easily fit into corners, under cabinets, or even behind television sets, ensuring a seamless integration into any space. This adaptability is a testament to their customizable LED lighting options, allowing users to create unique lighting solutions tailored to their specific design and functionality needs.
Energy conservation is another significant advantage that continues to drive the widespread adoption of LED light strips. Not only do they consume less power, but they also have a longer lifespan compared to traditional incandescent or fluorescent lighting. This translates to both cost and environmental benefits, underpinning the demand for more energy-efficient lighting solutions in conscientious markets.
- Decorative backlighting for TVs and computer monitors
- Ambient lighting in bedrooms and entertainment areas
- Task lighting in kitchens and workspaces
- Accent lighting for artwork and displays
- Pathway lighting for stairs and hallways
It’s clear that LED light strips are more than just an aesthetic choice; they’re a smart one too. Offering users the ability to enhance their living and working environments while also promoting sustainable practices. As we continue to innovate our spaces, LED light strips shine brightly as a quintessential component of modern, energy-smart, and customizable LED lighting options.
Can You Cut LED Light Strips?
When it comes to enhancing our spaces with LED lighting, we often find ourselves asking, can you cut LED light strip to fit the unique dimensions of our project? The answer is yes, but it requires some know-how. Ensuring that you cut along the correct cutting line for LED strip is essential to maintain the functionality and integrity of the lights.

Identifying the Cuttable Sections of LED Strips
Discovering where to cut LED strips is quite straightforward. Look for the specific markings that denote the cuttable sections – typically a scissors icon or dashed line. This is the safe zone where the circuit boards are designed to be severed without causing damage to the LED chips or interrupting the electrical flow. Only by cutting here can we ensure that the adhesive LED strip installation process goes smoothly without a hitch.
Understanding the Composition of LED Light Strips
The composition of LED strips incorporates several crucial elements – LED chips are spaced out along the strip on circuit boards, all encased within a protective coating with an adhesive backing for easy mounting. Acknowledging the importance of each component helps us recognize why it is vital to follow the correct cutting line for LED strip – to safeguard the delicate electrical pathways that power the LED chips.
| Feature | Description | Relevance to Cutting |
|---|---|---|
| LED Chips | Light-emitting diodes that provide illumination. | Must remain intact during cut for continued functionality. |
| Circuit Boards | Substrate that holds the LEDs and electronic components in place. | Cutting only at designated points prevents circuit damage. |
| Adhesive Backing | Sticky tape on the reverse of the strip for installation. | Careful cutting ensures easy application and secure adherence to surfaces. |
| Cut Lines | Indicators on the strip where safe cuts can be made. | Provide guidance for correct strip customization. |
Tools You’ll Need to Cut LED Light Strips
When it comes to customizing LED light strips to fit our living spaces perfectly, the right tools for cutting led light strips can make all the difference. It’s not just about making sure the cut is clean—it’s about ensuring we do it safely to maintain the strip’s functionality and prevent any potential electrical mishaps.
Choosing the Right Scissors for a Clean Cut
Having sharp scissors for led strips is crucial. They allow us to glide through the material easily, enabling a precise and smooth cut along the predetermined lines. This not without saying that one should always look for a pair of scissors that offers both precision and ergonomics to handle the led strips effectively.
Alternative Cutting Tools for Different LED Strips
In some instances, depending on the LED strip type, a pair of scissors just won’t suffice. For example, when cutting led light strip safely that are thicker or have complex connectors, such as the Hue Lightstrips, alternative tools become essential. The use of box cutters for LED strips or even sharp knives for LED light strips may provide the necessary precision and control. Remember, whether using scissors, box cutters, or knives, always prioritize safety and precision by cutting along the designated lines on the strips. Let us help you choose wisely to ensure a seamless custom light strip setup in your space.
Best Practices for Cutting LED Light Strips
When it comes to personalizing our space with the right lighting, LED light strips offer a versatile solution. However, tailoring them to fit perfectly requires a certain set of steps to ensure the lights function properly post-modification. In our comprehensive step-by-step guide for cutting LED light strips, we lay out crucial tips for cutting LED light strips with precision and safety in mind.
Remember: A successful cut is all about preparation, using the right tools, and following a steady process.
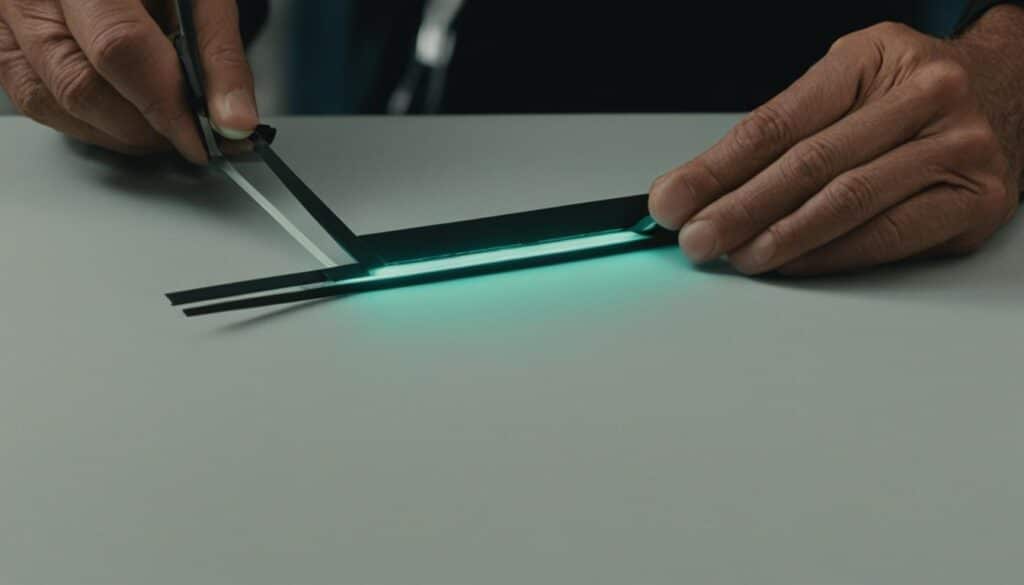
First and foremost, ensure that the LED light strip is disconnected from any power source. This is not just a tip; it’s an absolute necessity to prevent electrical hazards. After confirming power is off, we can proceed with the following best practices:
- Use a sharp tool that can make a neat, straight cut without fraying the edges of the strip.
- Measure the length you need accurately, and mark it clearly on the strip.
- Cut only along the designated cut lines to avoid damaging the internal components of the strip.
- Avoid applying excessive force which could damage the strip or lead to an uneven cut.
- Ensure that the surface you’re adhering the strip to is clean, dry, and smooth for optimal adhesion.
We also recommend reviewing the manufacturer’s instructions as each LED light strip can have its own specific guidelines.
| Step | Action | Tips |
|---|---|---|
| 1 | Disconnect Power | Verify that all power sources are safely disabled before starting. |
| 2 | Measure & Mark Length | Double-check your measurements for precision. |
| 3 | Cut Along Designated Lines | Avoid cutting outside the marked lines to maintain strip functionality. |
| 4 | Choose Your Cutting Tool | Select a sharp tool suited for the material of the LED light strip. |
| 5 | Clean & Prepare Surface | A clean, dry surface ensures better adherence of the LED strip post-cutting. |
By keeping these tips in mind and following this guide, you’ll be better equipped to customize your LED light strips safely and effectively!
Safety Precautions When Cutting LED Light Strips
Ensuring safety is paramount when it comes to modifying your LED lighting setup. Being mindful of the way we handle the tools and the electricity involved not only prevents accidents but also ensures a secure LED strip installation that you can trust for long-term use.
Handling Tools with Care
One of the key safety precautions for cutting led light strips is the careful handling of cutting tools. The tools you use must be sharpened and designed for precision work to guarantee careful cutting of LED strips. Always keep your tools in a secure location and ensure you cut away from your body, maintaining a good grip to avoid slippage. Remember, your safety is as important as the task at hand.
Disabling Power Before Cutting
Electrical safety for cutting LED strips cannot be overstressed. Before you make any cut, disconnect the power source completely. This vital step cannot be skipped, as it protects you from electric shocks and your LED strips from potential short-circuiting. Only after the LED strips are correctly cut and all connections securely in place should you restore the power to test the functionality of the installation.
- Always disconnect the power source before cutting LED strips.
- Avoid cutting in areas not marked as safe for modification.
- Keep cutting tools well-maintained and store them safely post-use.
| Safety Checklist | Precautions | Reasons |
|---|---|---|
| Disconnection of Power Source | Remove LED strips from any voltage before cutting | Prevents risk of electric shock or damage to LEDs |
| Tool Handling | Use sharp, appropriate tools for cutting | Ensures clean cutting of LED strips without damaging components |
| Tool Safety | Store tools safely after use | Reduces the risk of accidents in the workspace |
The Art of Measuring and Planning Before Cutting
When it comes to customizing LED light length, the journey to a well-lit area begins long before the scissors make their first snip. Precision in planning LED strip installation can transform a space from average to spectacular. It’s a craft where accurate measurement for LED strips and marking LED strips for cutting become the canvas and paint for our illuminating masterpiece.

How to Accurately Measure for Precise Installation
In the realm of LED light strip customization, taking careful and accurate measurements is akin to plotting a map for a treasure hunt—except the treasure here is a flawlessly lit room. Measure twice, cut once, as they say, to ensure your lighting precisely fits the contours and corners of your space. A tape measure proves indispensable, and recording these measurements for reference during installation is a step that should never be skipped.
Marking the LED Strip for Best Fit
A thoughtful mark on your LED strip is a guiding star to the perfect fit. Utilizing a non-permanent marker or painter’s tape allows us to leave reversible indicators along the journey of our strip. Match these markings with the measurements taken earlier, and confidence in the accuracy of your LED light strip customization will soar. With this methodical approach, we ensure that form follows function in lighting design.
| Installation Step | Details | Tools Required |
|---|---|---|
| Planning and Measuring | Decide the position, measure area, and record lengths for your LED light strips. | Tape measure, notepad |
| Marking for Cutting | Indicate the cutting lines on strips where appropriate. | Non-permanent marker or painter’s tape |
| Reviewing Manufacturer’s Guidelines | Prior to cutting, ensure guidelines allow for the intended customizations. | LED light strip instructions |
| Execution of Cut | Carefully cut LED strip on marked line with appropriate tool. | Sharp scissors or cutter |
Remember, the artistry in LED lighting lies not just in the illumination but in the deliberate crafting beforehand. Our utmost care in accurate measurement for LED strips and precise marking for cutting sets the stage for a brilliant display of lights that blend seamlessly into their intended environment.
Tips and Tricks for a Seamless LED Strip Cutting Process
Adhering to the best practices for cutting LED light strips can make all the difference in your LED strip customization. Our goal is to ensure a smooth and trouble-free experience for you. Let’s dive into some essential tips to achieve just that.
- Work on a Steady Surface: A flat, stable surface is crucial for precise cutting. It helps in maintaining the strip’s integrity while you make the cut.
- Minimal Pressure Application: When using cutting tools, apply just enough pressure to slice through the strip along the designated line. This prevents harm to both the adhesive layer and the delicate diodes.
Remember, patience is key when it comes to customizing LED strips. Rushed actions could lead to irreversible damage, leaving you with an unusable product. Handle the strips gently, and always proceed with caution.
For those engaging in the customization of waterproof LED light strips, the presence of a sealing mechanism is vital. Post cutting, seal the ends effectively with the appropriate waterproof materials. This measure is non-negotiable to retain the protective features of your LED strips, keeping moisture and other elements at bay.
| Before Cutting | After Cutting |
|---|---|
| Ensure strip is disconnected from power. | Check strip ends for any fraying. |
| Measure twice, cut once. | Apply end caps or sealant if waterproofing is needed. |
| Confirm cutting lines are identified correctly. | Test functionality before installation. |
We stand firmly behind these careful and measured strategic approaches, assuring you of their effectiveness based on our rich experience. These practices are aimed at fostering excellence in every customization project you undertake.
By following these guides, we enable our light strips to express our unique style and illuminate our designs, while ensuring a reliable and efficient installation process.
How to Reconnect LED Light Strips After Cutting
We understand that after customizing the length of your LED light strips, the next step involves reconnecting cut LED strips. This can seem daunting, but with the right components and instructions, it is a straightforward process. Ensuring a secure and proper connection is vital, as it affects the performance and longevity of your LED lighting.
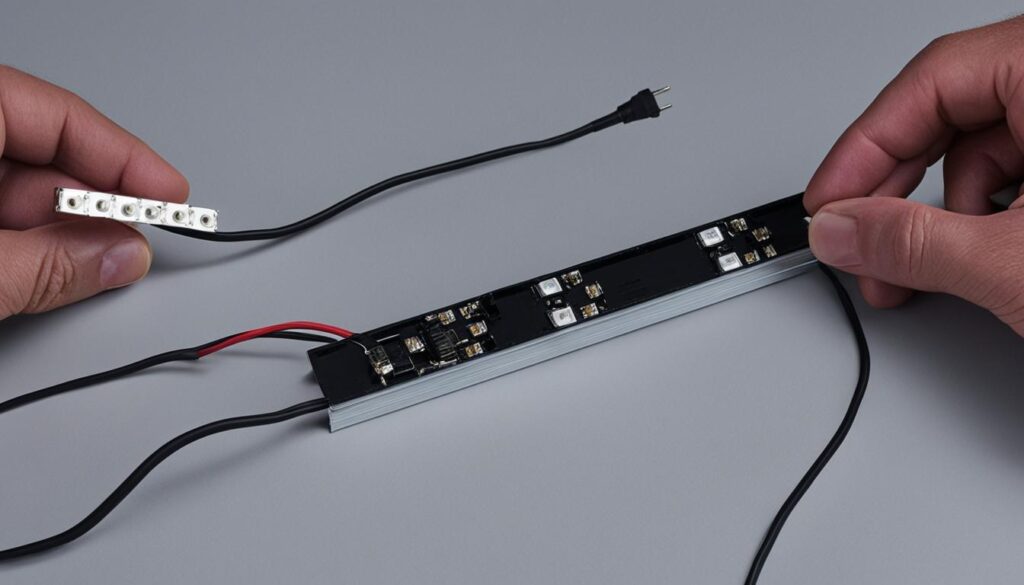
- Choose the Correct Connector: It is essential to match the connector with the width and type of your LED strip to ensure compatibility.
- Prepare the LED Strip: If you’re using connectors for LED light strips, make sure the end of the strip is clean and straight for a reliable connection.
- Open Connector Cover: Carefully pry open the clip or cover of the connector.
- Insert LED Strip: Align the cut end of the strip with the connector’s pins, and gently push the strip in place to make contact.
- Secure the Connection: Close the connector clip to hold the LED strip in place, ensuring a snug fit.
- Test the Connection: Once connected, power on your LED strip to test the connection and the lighting.
Remember, an improper connection may prevent the LED strip from functioning correctly or reduce its lifespan. Hence, it is crucial to follow these steps with precision.
| Connector Type | LED Strip Width | Connection Method |
|---|---|---|
| Clip-on Connector | 8 mm, 10 mm, or 12 mm | Direct Clasp |
| Solderless Connector | 8 mm, 10 mm | Slide-in and Snap |
| LED Strip Light Connector Kit | Depends on Kit Variety | Multi-Adaptation |
Utilizing the right connector type and following the correct method, you’ll ensure your LED light strips are prepared for countless hours of seamless illumination. With patience and attention to detail, using connectors for LED light strips can be achieved with great success, enabling you to enjoy a custom-fit lighting solution that’s as brilliant as your innovation.
Enhancing Interior Design with Perfectly Cut LED Light Strips
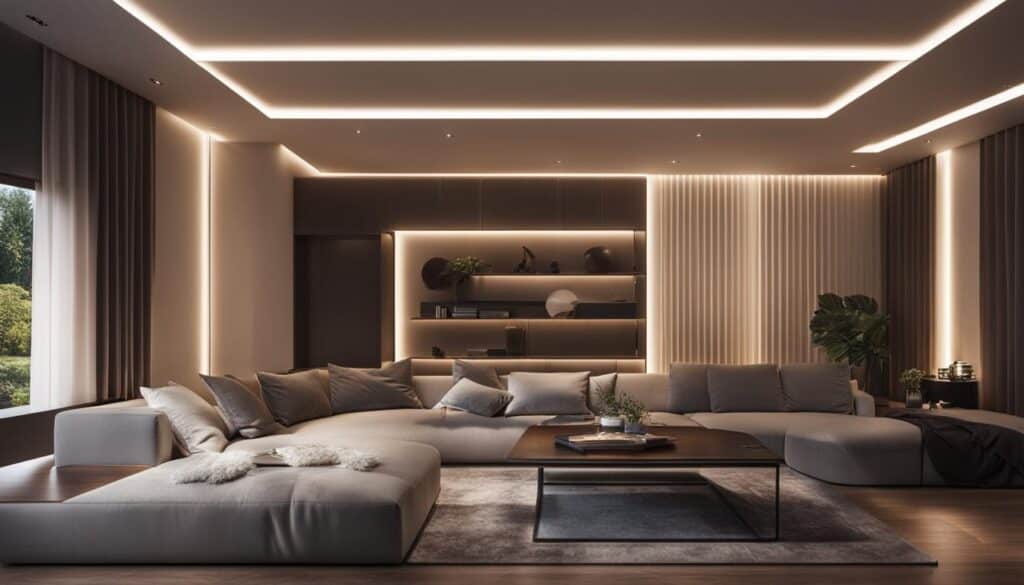
When we talk about transforming a living or workspace, lighting plays a pivotal role. By cutting led light strip for design, you can turn any ordinary space into a visually striking area, thus customizing lighting solutions to fit the exact needs of the design. It’s not just about the illumination; it’s about creating a mood, highlighting decor, and complementing the architecture of the space with perfect LED light strip design.
Creating Custom Lighting Designs
Every corner of a room is an opportunity to showcase creativity. By ensuring LED strip fit, we can produce a more tailored lighting experience. Custom designs can range from backlighting a headboard in a bedroom to tracing the lines of kitchen cabinetry. The versatility of LED light strips allows us to infuse life into any conceptual blueprint, ensuring every lighting installation is as unique as its owner.
Matching LED Light Strip Lengths with Desired Spaces
With led light strip length customization, making LED strips fit the intended space is all about precision and planning. Every cut needs to be measured with intent and exactitude to ensure a clean, cohesive look that feels intentional and integrated. Connectors play a key role here, offering a way to blend strips together seamlessly and manage any turns or breaks in the strip with elegance.
| Design Feature | Measurement Tips | Connection Strategy |
|---|---|---|
| Under-cabinet lighting | Measure the under length; account for power sources | Use inline connectors for continuous light |
| Accentuating art | Outline artistically; include frames | Corner connectors for frame edges |
| Ambient room lighting | Calculate perimeter; leave no dark corners | Gapless connectors for smooth transitions |
Remember, the key to a perfect LED light strip design is not just in the cutting, but also in how seamlessly it intertwines with the intended space. Let’s take the artistic vision to a higher level with lighting that doesn’t just serve a function but also acts as a design element in itself.
Conclusion
As we wrap up our discussion on cutting LED light strips, it’s evident that having a solid grasp of the right techniques and precautions is vital for achieving highly customizable LED lighting solutions. Adhering closely to the step-by-step guidelines and safety tips provided, one can confidently tailor LED light strips to meet precise design requirements. This not only preserves the energy-efficient attributes of LED technology but also elevates the overall aesthetic and practicability of living and workspaces. We’ve delved into the necessary tools, highlighted the importance of accurate measuring, and underscored the significance of respecting the manufacturer’s instructions to ensure successful installation.
Our journey together has solidified the concept that with patient proceeding and the appropriate equipment, the process of cutting LED light strips transitions from a daunting task to a straightforward, accomplishable project. Utilizing these methods, one can both enhance the ambiance of an area and contribute to energy conservation, thanks to the inherently energy-efficient lighting solutions provided by LED strips. From vividly lighting up kitchens to creating inviting atmospheres in entertainment areas, the possibilities are boundless when customization comes into play.
In essence, we as a community have gained the knowledge to modify lighting to our specific needs while maintaining the functionality and efficiency of LED technology. Whether in a domestic setting or commercial ambiance, the insight provided here equips us with the ability to optimally leverage LED light strips, fostering both innovative design and environmental sustainability.
FAQ
Can you cut an LED light strip?
Yes, you can cut LED light strips at designated sections indicated by a scissors icon or dashed lines, allowing you to customize their length without damaging the internal circuitry.
How do you cut an LED light strip?
To cut an LED light strip, first ensure the power is disconnected. Locate the cuttable sections, which are typically marked on the strip, and use a sharp pair of scissors or a suitable cutting tool to make a straight cut along the designated lines.
What tools do I need to cut LED light strips?
The most common tool needed to cut LED light strips is a sharp pair of scissors. However, for certain LED strips, especially ones with a complex structure or thicker profile, you might require a box cutter or sharp knife to achieve a clean and precise cut.
What are the best practices for cutting LED light strips?
The best practices for cutting LED light strips include ensuring the power is off, measuring and marking the spot to cut accurately, and using a sharp tool for a clean cut along the designated cutting lines. Follow the manufacturer’s instructions for additional guidance.
Are there any safety precautions I should follow when cutting LED light strips?
Always disconnect the LED light strip from any power source before cutting to prevent electric shock. Use sharp tools carefully, and handle them correctly to avoid injury. Store tools safely after use, and keep them out of reach of children.
How do you plan and measure for cutting LED light strips?
Carefully plan where you intend to place the LED strips and use a tape measure to determine the length needed for your space. Use a non-permanent marker or tape to mark the strip precisely along the cut lines before making your cuts.
How can I ensure a seamless cutting process for my LED light strips?
Work on a flat surface, use minimal pressure with your cutting tool to protect the strip’s integrity, and apply any finishing touches, like waterproof sealants, if the LED strip is exposed to moisture.
How do I reconnect LED light strips after cutting?
Use connectors that are compatible with the width and type of your LED strip. Open the connector, align the cut end of the strip according to the manufacturer’s instructions, and close the connector securely. Test the connection before final installation.
What are the advantages of using perfectly cut LED light strips in interior design?
Cut LED light strips to offer customizable lighting options that can enhance the ambiance and aesthetics of any space. They allow for precision fitting and creative designs that match your exact specifications, illuminating features or providing ambient light where desired.
How do you match LED light strip lengths to the desired space?
Accurate measurement is key to matching strip lengths with your space. You can achieve a perfect fit by using connectors for turns and to join segments without excess length or a disjointed look. For intricate designs or tight spaces, precise cutting and measurement are imperative.

