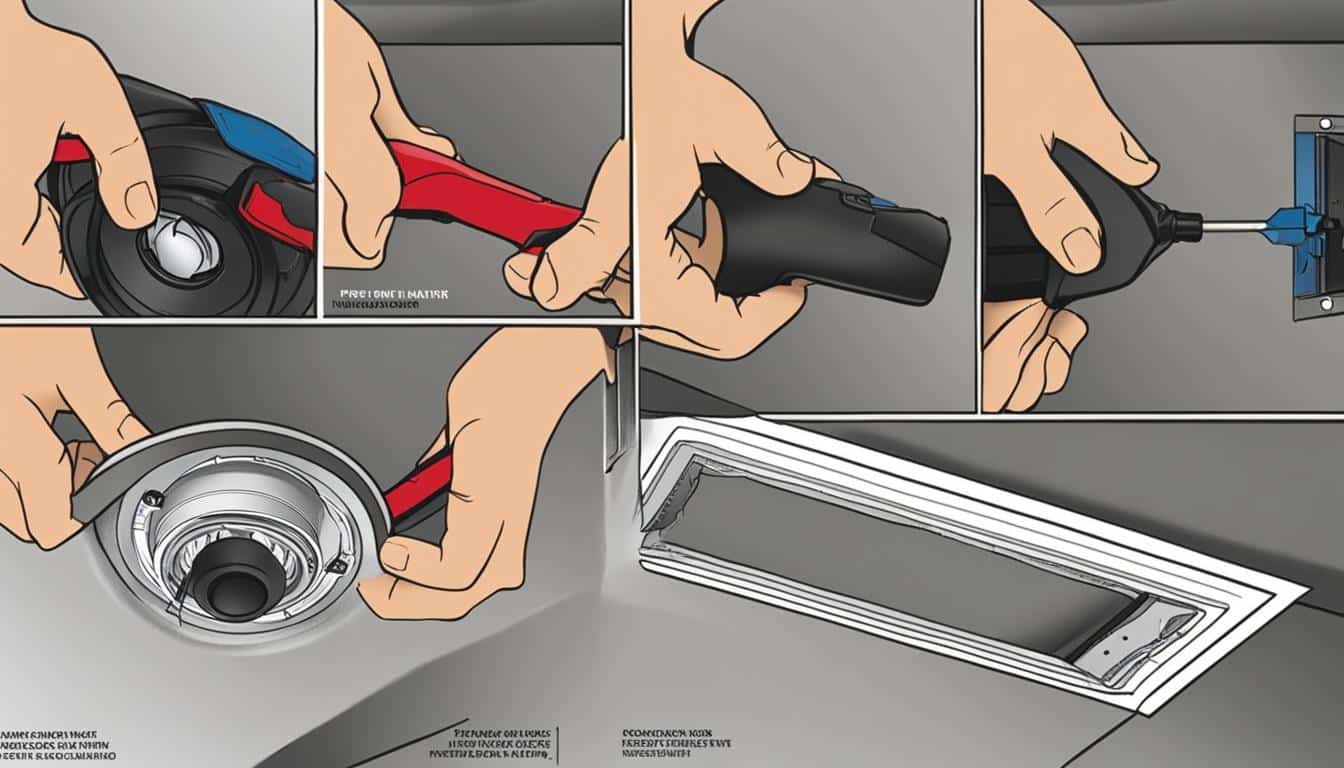
Are you tired of your outdated recessed lighting and looking to give your home a fresh, modern update? I’ve got the perfect solution for you: replacing your recessed lighting with flush-mount lighting! With the right tools and my step-by-step DIY flush-mount lighting installation guide, you’ll be able to transform your space in no time. So, let’s dive into the world of recessed lighting conversion!
In this guide, we’ll focus on how to replace recessed lighting with flush-mount lighting in a quick and simple way. You’ll learn about the benefits of flush-mount lighting, and how easy it is to make the switch using a recessed lighting converter kit. Plus, I’ll share some great tips on choosing the right flush-mount light for your space. So, get ready to be inspired and follow my DIY recessed lighting replacement tutorial!
Key Takeaways
- Flush-mount lighting offers a sleek, modern appearance and is suitable for lower ceilings.
- Having the right tools is essential for safely and successfully converting recessed lights to flush-mount.
- Choosing the perfect flush-mount fixture involves considering style, size, and specifications.
- Using a recessed lighting converter kit simplifies the installation process.
- Following proper safety precautions, like turning off power and using a voltage tester, is crucial.
- Maintaining your new flush-mount lights is easy with routine cleaning and bulb replacement.
- Upgrading to flush-mount lighting can instantly update the look and ambiance of any space.
Introduction: Illuminating the Benefits of Flush-Mount Lighting
Whether you’re renovating your home or simply looking to update your lighting, converting recessed lighting to flush mount offers a variety of benefits. Flush-mount lighting can help you transform your living space, creating a more contemporary look while providing functional advantages. In this section, we’ll discuss the significant benefits of flush-mount lighting and why you might want to consider making the switch.
- Sleek and modern appearance: Flush-mount lighting fixtures offer a clean, modern look that can instantly update the style of any room.
- Versatility in style and design: The variety of options available ensures you’ll find a flush-mount lighting fixture to match your tastes and existing décor.
- Suitability for lower ceilings: Unlike recessed lighting, which requires overhead space to install, flush-mount lighting is perfect for rooms with lower ceilings, making it a more versatile option.
- Ease of installation: When following a flush-mount lighting upgrade tutorial, you’ll discover they’re generally quicker and easier to install than recessed lights, making them a popular choice for DIY enthusiasts.
- Cost-effectiveness: Converting recessed lighting to flush mount can be an affordable way to modernize your home without spending a fortune.
In addition to these aesthetic and practical benefits, flush-mount lighting also offers improved light distribution and maintenance compared to recessed lighting. Unlike recessed lighting, which is directional and inset, flush-mount fixtures provide uniform light distribution throughout the space. This results in more evenly lit rooms and eliminates dark spots around the room. Additionally, flush-mount lighting is often easier to maintain, with accessible components and long-lasting, energy-efficient LED options.
“Flush-mount lighting is not only stylish, but it also offers an even distribution of light, easy maintenance, and energy efficiency, making it an ideal choice for homeowners looking for a lighting upgrade.”
| Feature | Recessed Lighting | Flush-Mount Lighting |
|---|---|---|
| Appearance | Inset, less visible | Sleek, modern, and noticeable |
| Versatility | Limited styles | Wide range of styles and designs |
| Ceiling Height | Requires overhead space | Suitable for lower ceilings |
| Installation | More complex, requires additional tools | Simpler, quicker process |
| Cost | Potentially more expensive | Cost-effective solution |
Now that you understand the numerous benefits of flush-mount lighting, it’s time to explore the process of converting recessed lighting to flush mount. In this flush-mount lighting upgrade tutorial, we’ll provide step-by-step instructions on how to carry out this transformation, ensuring you achieve the aesthetic and functional advantages you’re seeking.
The Essential Toolkit for Your Lighting Transformation
In order to successfully execute a DIY recessed lighting replacement and convert your existing recessed lighting to flush-mount lighting, a comprehensive recessed lighting conversion toolkit is necessary. Gathering essential tools for the lighting upgrade makes the installation process smoother and ensures adherence to safety protocols. Let’s dive into the key equipment you’ll need for your lighting transformation:

- Voltage tester: A must-have for testing live wires and ensuring your workspace is electrically safe.
- Screwdriver set: A variety of flathead and Phillips screwdrivers for different mounting and assembly tasks.
- Wire strippers: An essential tool for removing insulation from electrical wires, ensuring proper connections during installation.
- Wire nuts: A crucial component for joining wires safely and securely, making sure your new lighting works properly.
- Drill: Useful for creating necessary holes and securing components to the ceiling.
- Stepladder: A steady and secure ladder for reaching high areas during the installation process.
- Utility knife: Handy for cutting and trimming as needed during your lighting upgrade.
- Patch kit: Perfect for covering any defects or holes left by the old recessed lighting.
- Safety gear: Protect yourself with appropriate glasses and gloves during your lighting conversion project.
Equipped with this comprehensive toolkit, your DIY recessed lighting replacement journey will be more efficient, safe, and ultimately successful.
Remember: Having the right tools on hand not only ensures a secure installation process but also guarantees adherence to essential safety protocols.
As you begin your lighting transformation, make sure to acquire each of these tools to effectively perform a recessed lighting conversion and enjoy a smooth, hassle-free experience. The result will be a stunning upgrade that breathes new life into your space.
Preparing to Convert Recessed Lighting: Safety First
Before you embark on your recessed lighting conversion journey, prioritizing safety is essential to avoid potential hazards. In this section, we will discuss essential steps, including identifying the circuit breaker and testing for live wires, to ensure electrical safety for DIY enthusiasts.
Identifying the Circuit Breaker
The first step to guarantee a safe working environment is to locate and switch off the power to the recessed lights at the circuit breaker or fuse box. This precaution will help prevent electrical shocks during the conversion process. Ensure you carefully label the circuit breaker for easy identification and avoid any accidental power restoration while working on the lighting conversion.
Remember, safety first! Never start working on any electrical project without turning off the power source first.
Testing for Live Wires
Even after switching off the power, it’s crucial to test for live wires before working on the conversion. To ensure there are no live wires, use a voltage tester following the manufacturer’s instructions for safe use. Touch the voltage tester to the exposed wires to verify there is no electrical current flowing in the area.
- Hold the voltage tester by its insulated handle.
- Touch the probe to the exposed wires in the recessed lighting connection.
- Check the voltage tester’s indicator (usually a light or sound) to see if there is any current flow.
If the voltage tester indicates there is no live power, you can proceed with the recessed lights conversion process confidently, knowing you’ve taken all the necessary precautions for electrical safety. In the following sections, we’ll discuss further steps on removing the existing recessed light fixtures, selecting the right flush-mount light, and successfully installing your new and improved lighting.
Removing the Existing Recessed Light Fixtures
To replace your recessed lighting with flush-mount lighting, you need to begin by removing the old recessed light fixtures. The process is relatively simple when following these steps:
- Turn off the power: Before starting any work, make sure you have switched off the power at the circuit breaker or fuse box to prevent electrical shocks.
- Remove the light bulb: Carefully unscrew or remove the bulb from the fixture. Be cautious when handling any hot or broken bulbs.
- Remove the recessed trim: The trim may snap in place around the fixture; gently pull down around the trim with your hands or a flathead screwdriver.
- Disconnect the wires: Once the trim is removed, locate and disconnect the wires connecting the recessed light fixture to the ceiling. Pay attention to the wire colors and connections for reference when installing the flush-mount light.
- Remove the recessed fixture: Lastly, uninstall the recessed housing from the ceiling by following the manufacturer’s instructions. This may involve loosening screws or detaching other mounting hardware.
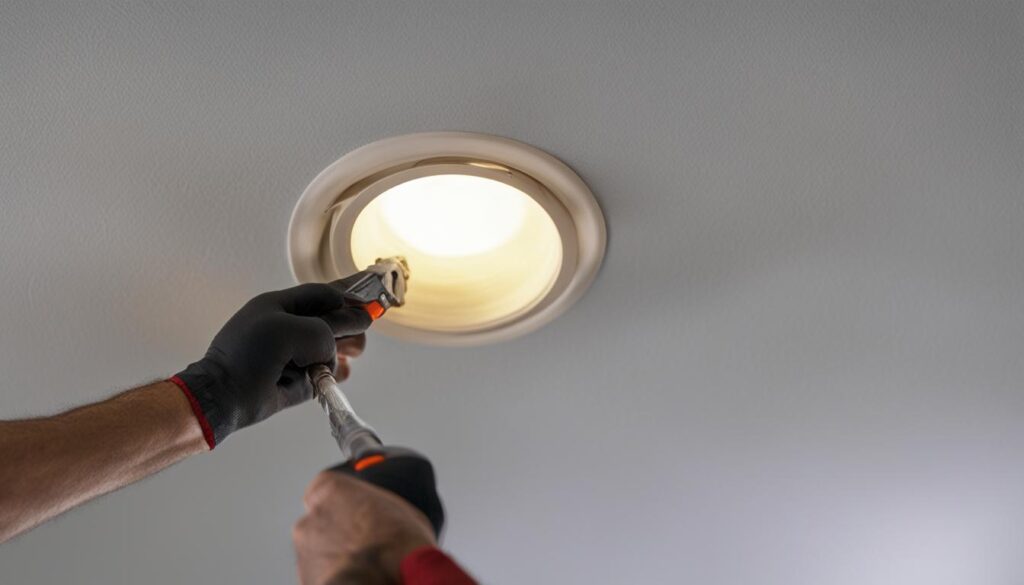
Pro tip: Keep track of the screws and other small components that you remove to avoid losing or misplacing them.
With the existing recessed light fixtures removed, you can now proceed to install your new flush-mount lighting. Keep the disconnected wires organized and safely tucked away as you prepare for the next steps of replacing your recessed lighting with stylish and modern flush-mount lights.
Choosing the Right Flush-Mount Light for Your Space
Replacing your recessed lighting with a stylish flush-mount light can have a significant impact on the overall atmosphere of any room. However, selecting the right flush-mount light requires careful consideration of the lighting styles, sizes, and specifications to ensure a seamless integration with your space’s design. Let’s dive into the important aspects of choosing the perfect flush-mount light for your room.
Considering Styles and Sizes
Flush-mount fixtures come in a wide variety of designs and sizes to suit different room aesthetics. When choosing a lighting style, it’s essential to find one that complements your room’s existing decor. Popular styles include industrial, modern, traditional, and minimalist.
Sizing is another vital factor to consider. Your chosen flush-mount light should sufficiently cover the former recessed can opening, avoiding the need for a medallion and maintaining a clean, polished look.
Pro Tip: Be sure to measure the diameter of the existing recessed can and choose a flush-mount light size that corresponds to the opening for a seamless fit.
Understanding Flush-Mount Lighting Specifications
When selecting the right flush-mount light, it’s crucial to understand the lighting specifications to ensure compatibility with your existing recessed cans. Key factors to consider include:
- Compatibility with your recessed can size
- Installation process ease and suitability with your DIY skills
- Energy efficiency, especially if opting for LED options
| Category | Specification | Considerations |
|---|---|---|
| Can Compatibility | Size of Recessed Can | Choose a flush-mount light that completely covers the existing can opening |
| Installation Ease | Type of Installation Process | Ensure the installation aligns with your DIY skills and the necessary tools at hand |
| Energy Efficiency | Bulb Type | Consider opting for LED bulbs with low-consumption ratings to save energy |
In conclusion, taking the time to carefully select a flush-mount light based on style, size, and specifications ensures a successful transformation from recessed lighting to a modern, aesthetically appealing space. By understanding lighting features and choosing the right option, you’ll create a room that shines with style and sophistication.
Installing the Conversion Kit: Step by Step
Upgrading your recessed lighting to flush-mount lighting is a straightforward process once you have gathered the necessary tools and equipment. The following steps provide a guide to installing the conversion kit for a seamless recessed lighting conversion.
- Read the product manual: Start by reviewing the instructions provided with your recessed lighting converter kit to familiarize yourself with the contents and the installation process.
- Preparing the conversion kit: Unpack all components in the converter kit and set them aside for easy access. Some kits include a trim medallion, pigtail, screws, and a brace, among other essentials.
- Install the trim medallion (if required): In case the chosen flush-mount light is not large enough to cover the opening left by the recessed can, you may need to install a trim medallion. Place the medallion flat against the ceiling, aligning the hole with the wire access point, and secure it with adhesive or screws, as directed by the kit’s instructions.
- Connecting the wires: With the medallion securely in place, connect the wires from the converter kit to the wires from the ceiling, taking care to match the corresponding color codes. Typically, white wires connect to white, black to black, and green or bare copper wires connect to the ground wire.
- Securing wires: To ensure a safe connection, use wire nuts to secure the wires together. Twist the wire nuts clockwise onto the connected wires, then wrap the connection with electrical tape for added security.
- Attaching the mounting bracket: Depending on the design of your flush-mount light fixture, you may need to attach a mounting bracket or other hardware to the ceiling or to the trim medallion.
- Connect the light fixture to the pigtail: With all wires connected, you can now attach your new flush-mount light fixture by screwing or snapping it into the pigtail or socket adapter provided in the conversion kit.
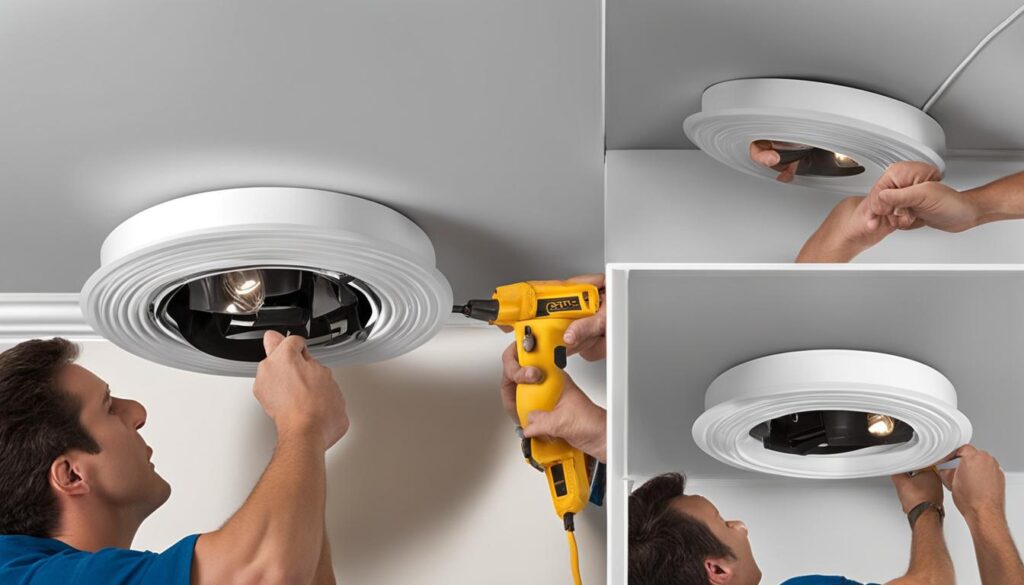
In just a few steps, you’ve successfully installed the conversion kit and upgraded your lighting from recessed to flush-mount, instantly refreshing the look of your space. Remember to periodically check wire connections and ensure all components are tightly secured for long-lasting, worry-free enjoyment of your upgraded lighting fixture.
Attaching Your New Flush-Mount Light Fixture
Now that you have installed the conversion kit, it’s time to attach your new flush-mount light fixture to the ceiling. This process involves two crucial steps: making safe electrical connections and securely fastening the fixture to the ceiling. By following these steps, you’ll ensure a successful installation and a beautiful, functional lighting upgrade.
Wiring Matters: Connections and Safety
To wire flush mount fixtures, first connect the fixture wires to the converter kit pigtail wires. Match the color-coded wires correctly; typically, you’ll connect the black or red wire from the fixture to the black or red wire from the converter, and the white wire from the fixture to the white converter wire. If the fixture has a ground wire (usually green or bare copper), attach it to the green ground screw on the mounting plate or the converter’s ground wire, if available.
For safe electrical connections:
- Twist the stripped ends of the wires together in a clockwise direction
- Cover each connection with a wire nut, twisting the nut clockwise until tight
- Wrap electrical tape around the base of each wire nut and onto the connected wires for extra security
Securing the Fixture to the Ceiling
With all wires properly connected, it’s time to secure the flush-mount light to the ceiling. Depending on the specific fixture you have chosen, the method for attaching flush mount to the ceiling may vary slightly, but in general, you will follow these steps:
- Position the flush-mount fixture’s base over the converter, aligning mounting holes
- Thread screws through the fixture base and into the converter bracket or mounting plate, snugly tightening by hand or using a screwdriver
- Attach any additional components as outlined in the manufacturer’s flush-mount lighting installation guide, such as a decorative cover or glass shade
Remember to follow the manufacturer’s guidelines for your specific fixture to ensure safe, secure installation.
Congratulations! You’ve successfully attached your new flush-mount light fixture, transforming your space and enhancing its ambiance. Your efforts will be rewarded with a stylish, functional fixture that provides even illumination and lasting beauty.
Revel in the New Ambiance: Testing Your Handy Work
With your DIY light fixture installation complete, it’s time to step back and appreciate the fruits of your labor. But, of course, for peace of mind and to ensure optimal functionality, there’s one key step left to do: testing flush-mount lighting.
First, restore power at the circuit breaker, taking note of all safety precautions like wearing rubber-soled shoes to prevent any accidental shocks. Then, turn on the light switch connected to your newly installed flush-mount fixture.
Remember, your safety is paramount. Never skip turning off the power at the circuit breaker before working on any electrical installation.
If your flush-mount light illuminates the room just as you envisioned, congratulations – you’ve successfully transformed your space! On the other hand, if you encounter any issues, double-check your wiring connections and ensure the fixture is securely attached to the ceiling.

As you stand back to admire your work, ask yourself some key questions:
- Does the flush-mount fixture blend well with your room’s décor and enhance its appearance?
- Has the lighting upgrade improved the ambiance of the space?
- Does the fixture provide sufficient illumination for the room’s intended purpose?
By reflecting on these points, you can gain valuable insights into your DIY light fixture installation results and gain the confidence to tackle more home improvement projects in the future.
In conclusion, revel in the new ambiance and enjoy the satisfaction of a successful DIY lighting upgrade. Your home’s transformation is a testament to your skill, creativity, and commitment to enhancing your living space.
Maintenance Tips for Your New Flush-Mount Lighting
Now that you’ve successfully upgraded from recessed to flush-mount lighting, it’s essential to know how to care for your new lighting fixtures. In this section, we will discuss some helpful tips for maintaining flush-mount lighting, cleaning lighting fixtures, and replacing light bulbs.
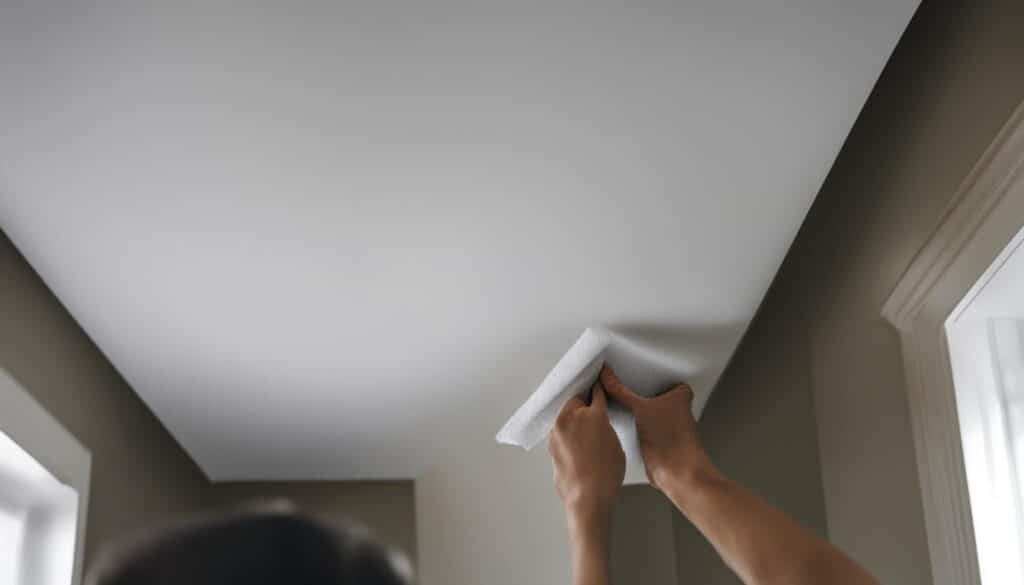
Cleaning and Bulb Replacement
Flush-mount lights are easy to maintain and require just a few simple steps for cleaning. To avoid dust accumulation and keep your lighting fixture looking its best, follow these suggestions:
- Turn off the power and let the fixture cool down before cleaning.
- Use a soft, dry cloth or a duster to gently remove dust from the surface of the fixture.
- For more stubborn dirt, you can use a soft cloth dampened with a mild, non-abrasive cleaner.
- Make sure to clean the inside of the fixture, as dust can also accumulate there, affecting the light quality.
- After cleaning, ensure the fixture is completely dry before turning the power back on.
When it comes to bulb replacement, flush-mount fixtures provide simple access for this task. LED bulbs are a popular choice for modern lighting fixtures, as they offer extended lifespans, reducing the frequency of bulb changes. When replacing light bulbs, keep the following in mind:
- Always switch off the power and allow the bulb to cool down before replacing it.
- Make sure to choose the correct bulb type, wattage, and base for your specific flush-mount fixture.
- Consider upgrading to energy-efficient bulbs if you haven’t already, as they can save you money on your energy bills and will last longer.
- Use caution when handling new bulbs, as oils from your hands could affect the lifespan and performance of the bulb.
| Cleaning Task | Frequency | Tools or Materials Needed |
|---|---|---|
| Dusting the fixture | Every month | Soft, dry cloth or duster |
| Deep cleaning the fixture | Every 6-12 months or as needed | Soft cloth, mild, non-abrasive cleaner, water |
| Replacing light bulbs | As needed | Replacement bulbs (compatible with your specific flush-mount fixture) |
In conclusion, maintaining your new flush-mount lighting fixtures is a breeze. Follow these cleaning and bulb replacement tips to ensure that your lighting continues to look and perform at its best for years to come.
Conclusion: Reflecting on the Flush-Mount Lighting Upgrade
After completing the conversion from recessed lighting to flush-mount lighting, it’s important to take a step back and appreciate the transformation. The new flush-mount light fixtures bring an updated and sophisticated look to any room, enhancing both its aesthetics and functionality. By following the tips for switching from recessed to flush-mount lighting, this modern upgrade can be easily achieved with minimal effort and time investment.
Switching from recessed lighting to flush-mount lighting not only refreshes the appearance of the space but also offers numerous benefits, such as versatility in style and design, better suitability for lower ceilings, easier maintenance, and energy-efficient LED options. This change allows homeowners to simultaneously save on energy costs and enjoy the updated ambiance of their interiors.
In conclusion, the flush-mount lighting upgrade is an excellent choice for those looking to improve their living spaces. Considering the reflective effect of lighting on our mood and well-being, it’s important to invest time in finding the right fixtures for our homes. So, as you revel in the beauty of your new flush-mount lighting, ensure that you maintain the fixtures with appropriate cleaning methods and timely bulb replacements to enjoy a beautiful, lasting, and energy-efficient illuminance in your home.
FAQ
What are the major benefits of converting recessed lighting to flush-mount lighting?
The main benefits include a sleek and modern appearance, versatility in style and design, suitability for lower ceilings, ease of installation, cost-effectiveness, uniform light distribution, easier maintenance, and compatibility with energy-efficient LED options.
Which tools are necessary for a successful lighting conversion?
You will need a voltage tester, screwdriver set, wire strippers, wire nuts, a drill, ladder, a utility knife, patch kit, and safety gear such as glasses and gloves. The right tools ensure a secure installation process and adherence to safety protocols.
What should be considered when selecting a suitable flush-mount light?
You should consider the fixture’s compatibility with the existing recessed can, the ease of installation, the energy efficiency if opting for LED options, and the size and style that best complements your space and covers the former recessed can entirely.
How do I ensure safety during the lighting conversion process?
Start by identifying and turning off the power at the circuit breaker or fuse box to prevent electrical shocks. Use a voltage tester to confirm the absence of live power before beginning the conversion process. Make sure to use proper safety gear such as glasses and gloves during the installation.
How do I maintain my new flush-mount lighting?
Flush-mount lights require routine cleaning to avoid dust accumulation. Ensure easy access for bulb replacement when needed, and consider using LED bulbs for their extended lifespans and reduced frequency of changes.

