Want to level up your home’s lighting game with a sleek and modern touch? If you’re wondering how to install can lighting yourself, you’ve come to the right place. This step-by-step can lighting installation tutorial will guide you through the entire process, from understanding the basics to completing the project successfully. With this can lighting DIY installation guide, you’ll be able to enhance your living space and save money at the same time!
Key Takeaways
- Can lighting, also known as recessed lighting, adds a modern and streamlined look to your home.
- DIY can lighting installation can save you money if you have an existing power source nearby.
- Always prioritize safety and obtain the necessary permits for your lighting project.
- Use appropriate tools and follow local building codes for a successful installation.
- Consider both the desired ambiance and energy efficiency when selecting bulbs for your can lights.
- Preparing a lighting plan and connecting to a power source are crucial steps in your project.
- Testing and troubleshooting issues after installation will ensure your new lights function as intended.
Exploring the Sleek Appeal of Can Lighting in Modern Homes
When it comes to can lighting installation in contemporary homes, the sleek and inconspicuous design of recessed lighting has won over the hearts of countless homeowners. The discreet nature of these fixtures allows them to blend seamlessly into the overall design, highlighting the room’s geometry and features without additional clutter or distraction. In this section, we will delve deeper into the reasons behind the rising popularity of recessed lighting in modern homes and how this sleek appeal has revolutionized the way we think about illuminating our living spaces.
One of the major advantages of can lighting is the powerful yet virtually invisible light source it provides. Rather than bulky, protruding fixtures that can often clash with the clean lines and minimalist aesthetic of a modern home, recessed lights offer a discreet and polished alternative. This makes can lighting the perfect choice for those looking to create an open and airy atmosphere while still providing ample illumination.
Another significant benefit of can lighting is its flexibility in design. Homeowners can customize the layout, intensity, and color temperature of their lights to best suit each area of the house. For instance, you may opt for a more intimate and warm feel in your living room, while cooler, brighter lights might be ideal for your kitchen or workspace. This adaptability allows you to not only style each room to perfection but also to create a cohesive and well-lit environment throughout your entire home.
Additionally, installing recessed lighting can also contribute to energy savings. By choosing energy-efficient bulbs such as LEDs, homeowners can enjoy a well-lit space without the stress of increasing their energy bills. In fact, the long-term cost benefits might even offset the initial investment required for can lighting installation.
Can lighting truly offers a perfect blend of style, versatility, and efficiency, making it a design choice that is both fashionable and practical for modern homes.
In summary, the sleek appeal of can lighting goes well beyond its aesthetic value. By offering an unobtrusive lighting solution that can be tailored to suit individual preferences, recessed lighting has undoubtedly become a staple in modern home designs. It’s no wonder that more homeowners are opting for the simplicity and elegance of can lights to enhance their living spaces.
Preparing for Your Can Lighting Installation Project
Before embarking on your can lighting installation journey, it is crucial to have a clear understanding of your existing electrical setup, gather the necessary tools and materials, and take measures for safety. This will enable you to carry out the project smoothly and efficiently.
Assessing Your Existing Electrical Setup
Knowing your current electrical setup is essential for a successful can lighting installation. Familiarize yourself with amp ratings and requirements as well as the recommended distances of fixtures from ceiling joists. Locate an existing circuit to tap into, or if needed, plan for a new one.
Gathering the Necessary Tools and Materials
To prepare for your installation, make sure to have all the required tools and materials, such as:
- Old-work recessed lights
- Wire stripper
- Stud finder
- Appropriate electrical cable
Having these tools on hand will make the process more efficient and hassle-free.
Understanding Safety Precautions for DIY Electrical Work
DIY electrical work can be hazardous if not done correctly. Therefore, it is essential to prioritize safety by:
- Testing circuits before working on them
- Using protective gear such as gloves and goggles
- Following guidelines for working with insulation and electrical components above ceilings
| Tools and Materials | Usage |
|---|---|
| Old-work recessed lights | For illuminating your space seamlessly |
| Wire stripper | Used to remove insulation from electrical wires |
| Stud finder | Locating joists or beams within walls or ceilings |
| Appropriate electrical cable | Connecting light fixtures and ensuring compliance with local codes |
Following these steps will help you prepare for your can lighting installation project and ensure a successful, safe, and efficient outcome.

Mapping Out Your Recessed Lighting Plan
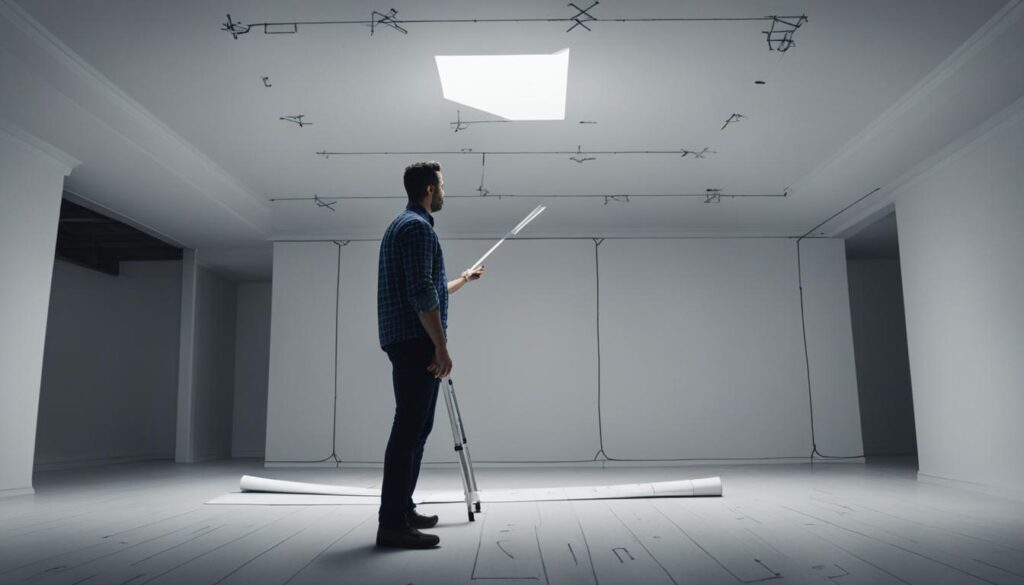
Before diving into the can lighting installation process, it’s essential to create a well-thought-out recessed lighting plan. Start by considering the direction of your ceiling joists and any potential obstructions such as existing framing and insulation. As you map out your can lighting plan, aim for a layout that aligns with your design intentions, balancing both aesthetics and functionality.
When mapping can lighting, first measure the distance between your ceiling joists and identify the optimal location for each light fixture. This will ensure they are placed evenly, creating a neat and visually appealing setup. Don’t forget to account for factors like ambient lighting, shadows, and the distance from the wall for perfect illumination.
| Room Type | Distance from Wall | Distance Between Lights |
|---|---|---|
| Living Room | 3 feet | 6 – 7.5 feet |
| Kitchen | 2 – 2.5 feet | 5 – 6 feet |
| Bedroom | 3 feet | 6 – 7.5 feet |
| Bathroom | 2.5 feet | 5 – 6 feet |
| Office | 3 feet | 6 – 7.5 feet |
Once the placement of your lights is finalized, examine your ceiling for any obstructions that might impact the installation process. Also, look for existing electrical cables or wires that you need to avoid while cutting holes for the recessed lights.
Pro-tip: When mapping out your can lighting plan, use painter’s tape to mark the exact installation spots on your ceiling. This visual representation will help you better envision the final result.
Now that you’ve mapped out your recessed lighting plan, you’re ready to proceed with the installation process. But remember, safety comes first – always follow electrical guidelines, acquire any necessary permits, and consult a professional if you encounter any issues.
Finding and Connecting to a Power Source
When it comes to can lighting installation, one of the key steps is finding and connecting to a suitable power source. In this section, we will examine the options available for powering your new lighting, and provide valuable can lighting installation tips to help ensure a safe and successful outcome.

Options for Power: Existing Circuit vs. New Circuit
You have two main options when it comes to connecting your can lights to a power source: tapping into an existing circuit or running a new circuit. Each option has its pros and cons, which we will explore below.
- Existing Circuit: Connecting your can lights to an existing circuit has the advantage of being simpler and requiring less time and effort. However, it’s crucial to determine the total load on the existing circuit and ensure that adding your new lights will not overextend its capacity. Overloading a circuit can lead to safety hazards like electrical fires, as well as compliance issues with local building and electrical codes.
- New Circuit: Running a new circuit for your can lighting allows for more flexibility in designing your lighting layout and ensures you aren’t adding undue strain to an existing circuit. However, creating a new circuit can be more complex and time-consuming than tapping into an existing one, and you may need to hire a licensed electrician to handle this task to ensure electrical safety and compliance.”
Ultimately, the best choice will depend on your specific situation, the capacity of your existing circuits and your comfort level with electrical work. By carefully considering these factors and adhering to electrical safety best practices, you can ensure a successful, code-compliant can lighting installation.
The Installation Process: Cutting Holes and Running Wires
In this can lighting installation tutorial, we’ll discuss cutting holes for recessed lighting and running wires for can lights. The two major steps to a successful can lighting installation consist of cutting precise holes in your ceiling and running the electrical wires between light locations.
- Cutting Holes for Recessed Lighting
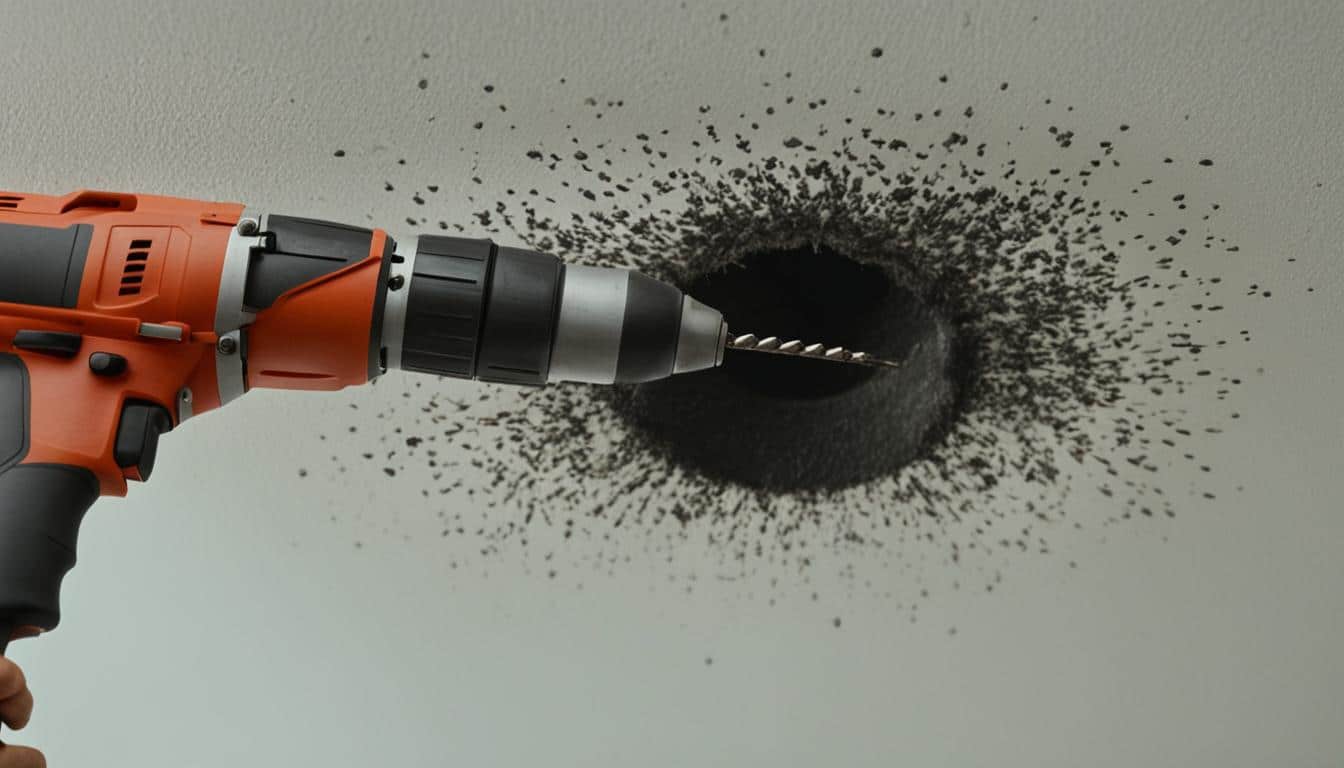
First, you need to cut holes in your ceiling where the can lights will be installed. To do so, use the template that comes with your recessed lights. Trace the template onto the ceiling and use caution when cutting to avoid any joists or wiring behind the drywall.
There are several tools you can use to cut the holes, such as a hole saw or jab saw. For faster and smoother cuts, opt for a hole saw attachment on your power drill.
Once the holes are cut, it’s time to run the electrical wires between the light locations. Make use of existing access points in your ceiling, or create new paths as needed. It is crucial to follow local building codes and be mindful of the insulation materials in your ceiling.
When running the wires, ensure they are securely fastened to prevent any potential hazards. Additionally, check if any parts of the wires are left exposed after installation. It’s essential to cover any exposed wires with electrical tape or wire connectors to uphold safety standards.
By following this can lighting installation tutorial, you’re one step closer to completing your recessed lighting installation project. Stay tuned for the next section, where we’ll discuss securing the can lights and wiring to the power source.
Securing the Can Lights and Wiring to the Power Source

Once you have routed the electrical cables, it’s time to focus on securing the can lights to the ceiling and properly wiring them to the power source. By following a few simple steps, you can ensure a safe and efficient can lighting installation that minimizes the risk of any electrical mishaps.
- Install the can lights: Carefully insert each can light into the corresponding hole in the ceiling. Depending on the type of can light, it may be secured using spring clips, adjustable brackets, or other mechanisms. Strictly follow the manufacturer’s instructions to make sure the light is properly secured.
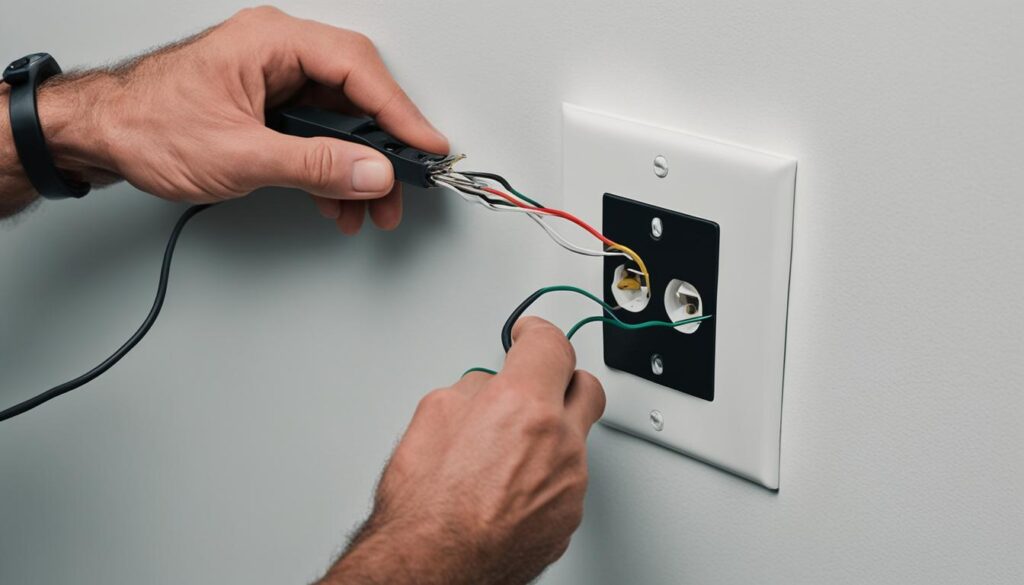
- Wire the can lights: Remove the cover of the light’s junction box and run the electrical cables through the built-in clamps or cable connectors. Ensure that enough cable protrudes into the junction box to enable secure wiring connections.
- Attach the wires: Match color-coded wires and securely connect each pair by twisting the ends together and using wire nuts. Cover the wire connections with electrical tape for added safety. Typically, the black or red cable corresponds to the hot wire, the white cable to the neutral wire, and the green or bare copper cable to the ground wire.
- Secure the junction box cover: Once you have connected the wires, close the junction box with the cover provided to maintain safety standards.
By adhering to these steps, the overall can lighting installation cost can be minimized by doing it yourself. It is important to keep safety in mind when working with electricity, as it can be a hazardous task if not handled correctly. Make sure to turn off the power before beginning the installation and consult with an electrician if you encounter any difficulties.
Choosing the Right Bulbs and Adding Finishing Touches
After the successful installation of your can lights, it’s crucial to select the most suitable bulbs and complete any finishing touches to elevate the beauty and functionality of your new lighting. In this section, we’ll discuss the considerations when selecting bulbs for your can lights and how to ensure the best possible outcome.
Selecting Bulbs for Efficiency and Ambiance
Choosing the appropriate bulbs for your can lights is essential for achieving the desired ambiance while maintaining energy efficiency. Factor in both the type of bulbs and their ratings for optimal performance. There are several bulb options to choose from, each with its own set of benefits:
- LEDs – energy-efficient, long-lasting, and available in various color temperatures.
- Incandescent – traditional, warm glow, but less energy efficient compared to LEDs.
- CFLs – energy-saving, long lifespan, but may not produce as warm a light as incandescent bulbs.
Properly-rated bulbs for your can light fixtures help to mitigate the risk of overheating, ensuring both safety and longevity. Energy-efficient options such as LEDs can contribute to significant energy savings and may even increase your home’s value. Factors to consider while selecting bulbs include:
- Wattage – Choose the correct wattage for each can light fixture based on manufacturer recommendations.
- Color temperature – Select the appropriate color temperature to create the desired ambiance, ranging from warm to cool.
- Dimming compatibility – Ensure your chosen bulbs are compatible with dimming switches if you plan on using them.
With the right bulb selection, your newly installed can lights will blend seamlessly into your space’s design while providing both functional illumination and energy efficiency.
A well-executed can lighting installation can dramatically enhance the ambiance and functionality of your home, resulting in a stunning visual impact.
In conclusion, finding the appropriate bulbs for your can lights and adding the required finishing touches helps to achieve the perfect balance between design aesthetics, energy efficiency, and safety.
Unveiling Your New Lighting: Testing and Troubleshooting
Once you have installed your new can lighting, it is crucial to properly test the fixtures and address any issues that may arise. This not only ensures the safety of your home but also the long-lasting functionality of your recessed lighting.

Testing your recessed lighting: After the professional can lighting installation is complete, restore the power to the circuit and turn on the lights. Walk through each room and evaluate the overall brightness and distribution of light to ensure it matches your original intended layout.
Troubleshooting issues: If you encounter any problems, such as non-functioning lights or inappropriate dimming, assess the following areas for can lighting troubleshooting:
- Check the connections of all fixtures to ensure they are secure and accurate.
- Verify that the light bulbs are compatible with the fixtures and the dimmer switches.
- Ensure that all wiring is up to code and safely contained within junction boxes.
In the case of persistent problems, consult a professional can lighting installation expert to help diagnose and resolve the issue.
By taking the time to test and troubleshoot any issues encountered, you can enjoy the enhanced ambiance and appeal offered by your new recessed lighting system. Your efforts will pay off and contribute to the overall value and enjoyment of your home.
Conclusion
In summary, a successful DIY recessed lighting installation not only saves you money but also empowers you with the know-how to safely and effectively enhance your home’s interior. By carefully following each step, understanding amp ratings and fixture distances, and adhering to local building codes, you can achieve a beautifully lit space that adds value to your modern home.
To recap, from the initial planning stages to selecting the right bulbs, your can lighting installation journey is an opportunity to showcase your creativity and resourcefulness. The result is not only aesthetically pleasing but also functional, making your living space more inviting and comfortable.
Ultimately, the sleek appeal of can lighting, when paired with the right ambiance and energy-efficient bulbs, can have a significant impact on your home’s overall value. With your new-found skills and the right approach, your DIY installation success can truly enhance your home’s value and transform its interior into a well-lit, modern haven.
FAQ
What tools and materials do I need for a DIY can lighting installation?
You’ll need old-work recessed lights, wire stripper, stud finder, voltage tester, hole saw or jab saw, and appropriate electrical cable.
Do I need a permit to install recessed lighting in my home?
Most residential installations will require a permit, but it’s crucial to check with your local building codes and authorities to be sure.
How can I ensure safety while doing can lighting installation?
Always work with circuits turned off and make use of safety gear. Be attentive to your surroundings and follow safety guidelines when working with insulation and electrical components above ceilings.
Should I connect to an existing circuit or create a new one for my can lighting project?
Assess the pros and cons of both options, considering your required load and ensuring your chosen circuit is not overextended. It’s essential to comply with electrical codes for safety.
What type of bulbs should I use for my recessed lighting fixtures?
Choose bulbs that are correctly rated for your fixtures to prevent overheating and consider energy-efficient options like LEDs to save on energy costs and potentially increase your home’s value.
How do I troubleshoot my newly installed can lights if they aren’t functioning correctly?
Check your fixtures and connections, ensuring they follow your planned layout and don’t conflict with any mechanical, electrical, or structural elements above the ceiling. Confirm that you’re using appropriate bulbs and maintaining electrical safety standards.

