Installing under cabinet lighting is a practical and stylish way to brighten up your kitchen and enhance its functionality. With the help of widely accessible tools and materials from home improvement stores like The Home Depot, you can easily undertake this DIY project. Proper planning, preparation, and execution will ensure a seamless installation that transforms your kitchen space. So, let’s delve into the step-by-step process!
Key Takeaways
- Under cabinet lighting improves the functionality and aesthetics of your kitchen.
- Fixtures should be chosen based on cabinet dimensions, lighting types, finishes, and dampness ratings.
- Always turn off power at the breaker box and use a voltage tester for safety.
- Prepare mounting surfaces and plan cable routes to ensure a seamless installation.
- Securely attach the lights, wire them according to color codes, and install switch boxes.
- Dimmable LED lights add flexibility to your lighting setup.
- Self-adhesive solutions offer an alternative for less permanent or less involved installations.
Importance of Under Cabinet Lighting in Modern Kitchens
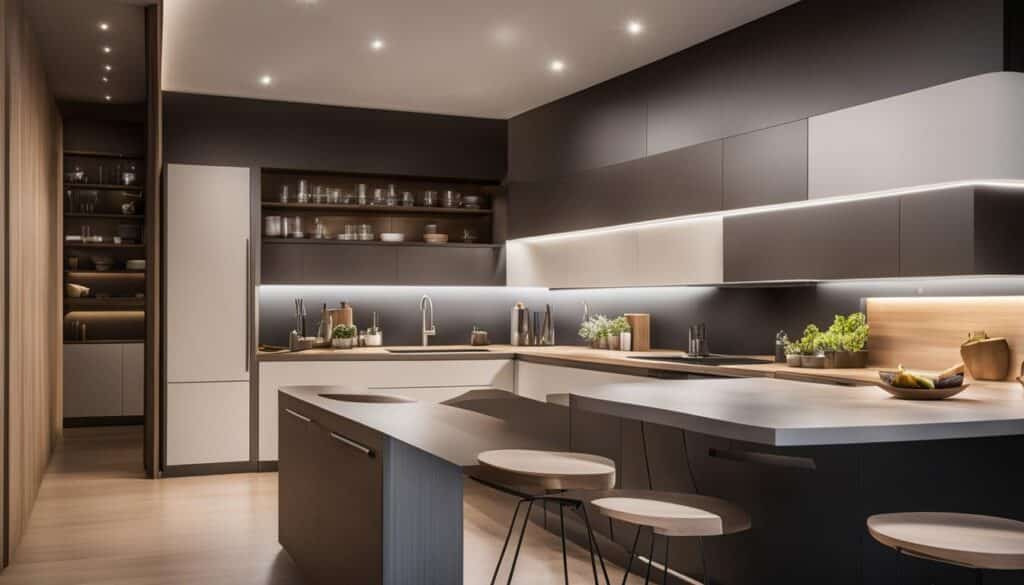
Under cabinet lighting has become an essential element of modern kitchen design, providing task lighting that enhances both the functionality and aesthetics of the space. These fixtures offer bright white light that is valuable for precision tasks like chopping vegetables or reading recipes.
Such lighting not only influences the ambiance but also adds to the overall value of the kitchen area by introducing an element of style and sophistication.
With the right kind of dimmer, these lighting fixtures can serve as dramatic accent lighting or as a comforting night light, contributing to the versatility of the modern kitchen. In this section, we explore various reasons why under cabinet lighting has become indispensable in contemporary kitchen designs.
- Task Lighting: Under cabinet lighting provides focused illumination on countertops, making it easier to carry out precise tasks such as chopping, cooking, or reading recipes. This additional layer of light eliminates shadows formed by objects on the countertop, enhancing visibility and making cooking activities more pleasurable.
- Ambiance Enhancement: Installing under cabinet lighting adds depth and character to the kitchen design, creating a warm and inviting atmosphere. Supplementary lighting can also create a visual barrier between the countertop and upper cabinets, giving a sense of spaciousness to the area.
- Energy Efficiency: LED under cabinet lights are energy-efficient and have a significantly longer lifespan than traditional incandescent or halogen bulbs. This translates into energy savings and reduced replacement costs over time.
- Property Value: Adding under cabinet lighting can increase the resale value of your home. A well-lit, visually striking kitchen appeals to potential buyers, making it an attractive selling point.
As under cabinet lighting becomes a standard feature in modern kitchens, its significance in enhancing the overall appearance and functionality of the space is more evident than ever before.
How to Choose the Right Under Cabinet Lighting Fixtures

Choosing the right under cabinet lighting fixtures is crucial for enhancing the functionality and appearance of your kitchen or bathroom. This involves evaluating cabinet dimensions and lighting types, understanding dampness ratings for fixture longevity, and selecting the perfect finish to complement your decor.
Evaluating Cabinet Dimensions and Lighting Types
Measuring the cabinet width, the distance from the countertop to the bottom of the cabinets, and the recessed area depth are important considerations when selecting under cabinet lighting fixtures. Typically, fixtures should be shorter than the cabinet width and less deep than the recess. Two common lighting options are LED and fluorescent lights. LED lights are energy-efficient, long-lasting, and compatible with dimmer switches, while fluorescents offer greater efficiency over traditional incandescent bulbs.
Consider the following factors when choosing the right lighting fixture:
- Cabinet width
- Distance from the countertop to the bottom of the cabinets
- Recessed area depth
- Lighting type: LED or fluorescent
- Compatibility with dimmer switches
Understanding Dampness Ratings for Fixture Longevity
For lighting installations in environments like bathrooms or above kitchen sinks, selecting fixtures with the correct dampness rating is essential for ensuring longevity. Damp-rated lights resist humidity, critical for bathroom installations, while dry-rated fixtures are more suited for kitchen use. Over sinks, a damp-rated fixture is recommended to withstand potential water contact.
Selecting the Perfect Finish to Complement Your Decor
Under cabinet lighting comes in various finishes, such as white, bronze, black, nickel, and silver. Choose a finish that complements your existing kitchen or bathroom decor to enhance its aesthetic appeal. Finishes should match or subtly contrast with the cabinetry and other fixtures for a cohesive look.
| Finish | Description |
|---|---|
| White | Clean and minimalistic; suitable for modern designs |
| Bronze | Timeless and elegant; works well with traditional styles |
| Black | Contemporary and trendy; offers bold contrast |
| Nickel | Sophisticated and versatile; adapts to various decor styles |
| Silver | Sleek and modern; pairs well with stainless steel appliances |
In conclusion, selecting the right under cabinet lighting fixtures can greatly enhance the functionality and aesthetics of your kitchen or bathroom space. By carefully evaluating cabinet dimensions, considering lighting types, understanding dampness ratings, and choosing the perfect finish, you’ll be well on your way to creating a beautifully lit environment.
Pre-Installation Safety: Turning Off Power and Precautions
As a critical safety step, all power to the installation area must be shut off at the home’s fuse or breaker box before beginning any work. This is done to avoid the hazards of working with live electricity that may lead to serious injuries and damage to property. Voltage testers should be used to ensure power is completely off, providing an extra layer of safety.
In addition to electrical precautions, you should also take measures to protect yourself from potential injuries while working with power tools and handling heavy objects such as cabinets or lights. Wearing safety goggles, for instance, is advised when using power tools for installation to protect your eyes from debris. Also, take care to keep your fingers and hands away from sharp edges during the cutting and drilling process, and avoid working alone in case of emergencies.
Remember, safety should always be your top priority when working on any electrical installations and home improvement projects.
Here is a checklist to help you prepare for your under cabinet lighting installation:
- Turn off power at the fuse or breaker box.
- Use a voltage tester to confirm that the power is off.
- Wear safety goggles to protect your eyes.
- Gather your tools and necessary materials for the project.
- Clear your workspace, ensuring there are no hazards, clutter, or obstructions.
With these safety precautions in mind, you are now ready to move onto the next phase of your under cabinet lighting project.
The Preparation Phase: Mounting Surfaces and Wiring Considerations
Preparing surfaces and considering wiring pathways are essential to a successful installation of under cabinet lighting. A well-thought-out plan ensures that as many holes as possible are covered post-installation, resulting in a polished and sleek appearance.
If your backsplash is removable, take advantage of this opportunity to cut channels in the wall to hide cables. This not only maximizes space utilization but also maintains a visually pleasing aesthetic. 
In cases where the backsplash cannot be removed, be prepared to patch and paint walls after the installation process if cuts and holes are made. This allows for a seamless and professional look that preserves the integrity of your kitchen design.
Before diving into the installation process, it’s crucial to map out the wiring pathways. Understanding how wires will be routed and connected ensures a smoother and more efficient installation. Keep in mind the following considerations while planning the layout:
- Ensure that the shortest, most direct route for wiring is utilized to avoid clutter and save resources.
- When working in tight spaces, carefully measure and cut cables to avoid crowding or interference with other elements of your installation.
- Be aware of any obstacles, such as appliances or additional cabinetry, that may need to be navigated during the installation process.
For a successful under cabinet lighting installation, careful preparation of surfaces and diligent wiring considerations are paramount. By taking the time to plan and execute each step with precision, your kitchen will be well on its way to becoming a beautifully illuminated and functional space.
Installing the Switchbox: A Quick Guide
Installing a switchbox for your under cabinet lighting requires careful planning and execution. Here is a quick guide that will walk you through the most important steps in installing a switchbox for your lighting setup.
Choosing the Right Location for Your Switchbox
The first decision you’ll need to make is where to place your switchbox. It should be strategically located for convenient access and minimal cable visibility. Consider placing the switchbox near a power source like a nearby receptacle or the main power supply to your kitchen. This will make it easy to route cables and connect the switchbox to power later in the setup.
Running Cables: Tips for a Seamless Process
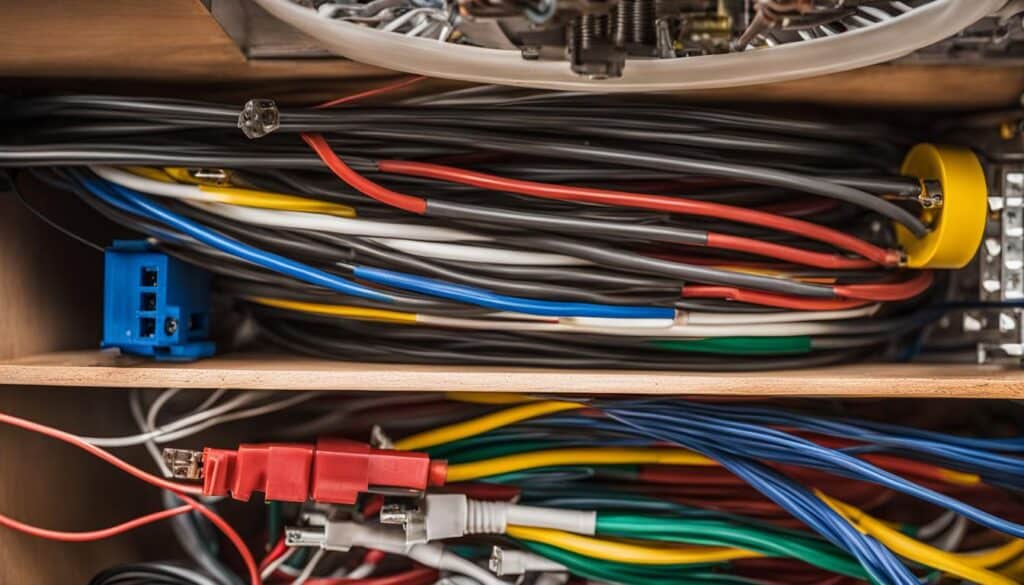
Now that you have chosen the location for your switchbox, it’s time to run the cables. Start by running cable from a power source like a nearby receptacle to the switchbox without connecting it to power initially. From the switchbox, route cables to the first fixture, then daisy-chain from one fixture to the next, allowing excess cable for ease of connection.
Tip: Ensure about 16 inches of cable slack from the holes, allowing plenty of length to make connections.
Keep in mind that if you’re working with fluorescent lights or non-LED types, it’s crucial to check local codes as these might serve as junction boxes, enabling the stringing of wire from one light to another. This could affect the total cable length and affect how you run the cables between fixtures.
By following these guidelines, you can successfully install a switchbox for your under cabinet lighting, providing seamless control and convenience for your new lighting setup.
Attaching the Under Cabinet Lights
Now that all the preparations have been made, it’s time to attach the under cabinet lights. Begin by disassembling the light fixture to access its components. When securing the electrical cable, it’s essential to ensure that it doesn’t interfere with the ballast or any other internal components. Position the base of the light fixture against the cabinet, making sure it’s correctly aligned.

Once the light is in the desired position, use screws to secure the fixture to the underside of the cabinet. Keep in mind that you don’t want the screws to penetrate through the cabinet’s interior, so choose an appropriate length to avoid any mishaps.
If you prefer a non-permanent attachment method, you can opt for adhesive or hook-and-loop strips. These alternatives provide a quick and easy way to attach the lights without causing any damage to the cabinets. To use this method, you simply apply the adhesive to the fixture’s base and press it firmly against the cabinet. The light should now be securely attached and ready for wiring.
Step-by-Step Wiring of Your Under Cabinet Lights
Proper wiring of your under cabinet lights ensures safety, functionality, and a polished final appearance. Follow this step-by-step guide to help you in this process:
- Splicing wires: To splice the wires within the fixture, connect black to black and white to white. Make sure the wires don’t interfere with fixture components such as the ballast.
- Aligning wires: Align the spliced wires flat within the fixture base, ensuring they lay beneath the fixture components without causing any obstructions or complications.
- Reassembling the fixture: Now reassemble the fixture and secure it properly, making sure the light sits flush against the mounting surface.
Remember to be cautious and double-check your connections, as electrical work can be hazardous if done incorrectly.
It is essential to follow these steps in sequence to guarantee the successful wiring and installation of your under cabinet lights.
Wiring the Dimmer Switch for Adjustable Lighting
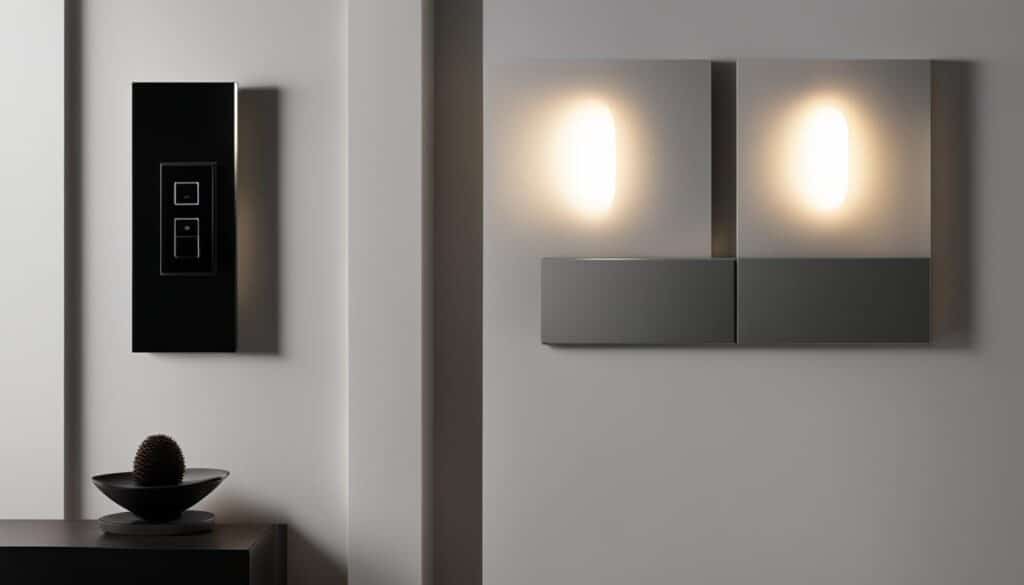
Installing a dimmer switch allows for the adjustment of light levels, offering both functional task lighting and subdued ambient light. While LED lights are commonly compatible with dimmers, it’s important to ensure the dimmer switch used is rated for LED use to avoid issues with compatibility and performance.

Benefits of Using a Dimmer with LED Lighting
There are several advantages to using a dimmer switch with LED lights:
- Energy efficiency: Dimming LED lights can save energy, as the brightness level is directly linked to energy consumption. The lower the brightness, the less energy required.
- Extended lifespan: Dimming LED lights reduces their operating temperature, extending their lifespan.
- Customizable ambiance: A dimmer switch allows you to create the perfect atmosphere for any occasion, from task lighting in the kitchen to a cozy, dimly-lit room for relaxation.
- Compatibility: Many LED lights are dimmable and can be used with standard dimmer switches, though it is essential to ensure they are properly matched.
To install the dimmer switch, follow these steps:
- Turn off the power to the switch at the circuit breaker.
- Remove the existing switch by unscrewing it from the wall and disconnecting the wires.
- Connect the dimmer switch wires according to the instructions provided, generally matching colored wires (black to black, white to white, and green or bare copper wire to the green or bare copper wire).
- Secure the dimmer switch to the wall using the provided screws, and reattach the wall plate.
- Turn the power back on and test the dimmer function with the LED lights to ensure successful installation.
Remember: It’s always best to consult a licensed electrician if you are unsure about any part of the installation process.
Routing Cables Inside and Under Cabinets

Routing cables for under cabinet lighting requires a careful approach to ensure a clean, organized look. There are two methods you can employ for cable routing: inside the cabinets and under them. It’s essential to check local codes before opting for any cable routing method, as some jurisdictions have specific requirements.
Inside Cabinets
Routing cables inside cabinets involves cutting precise holes in the cabinet for cable passage. This method is necessary when you don’t have additional space to hide excess cable. When cutting holes, ensure they’re not too large, making it difficult to cover later during the fixture installation.
Tip: To avoid visible cut marks on your cabinets, consider placing a piece of masking tape over the desired cut area. This will reduce the chances of splintering or damaging the cabinet surface during the cutting process.
Under Cabinets
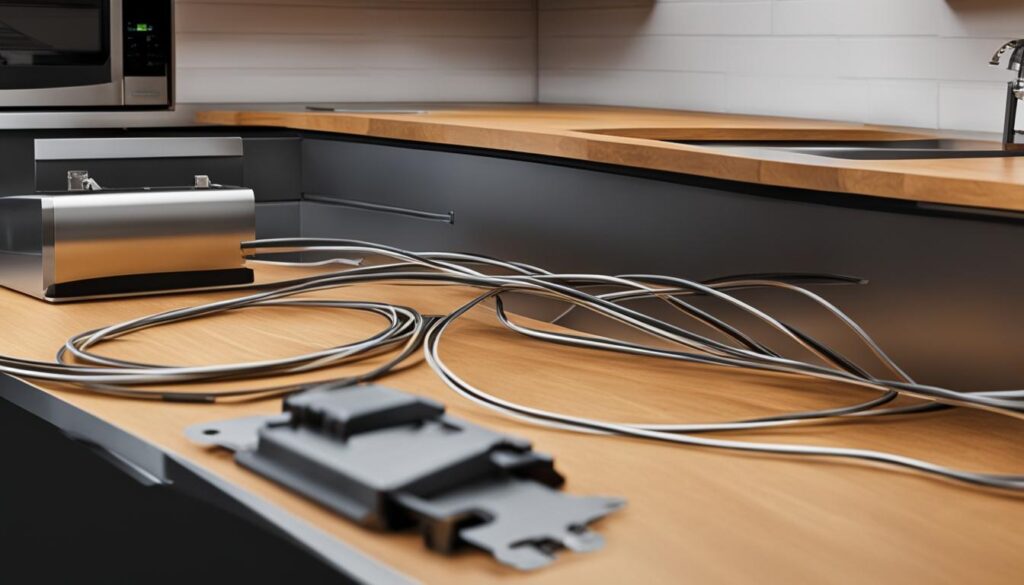
Under-cabinet routing is a simpler process, often requiring the secure stapling of the cable beneath the cabinet. This method is less invasive on your cabinets and easier to install, but it might be more visible than when routing cables inside the cabinet.
- Measure and mark the desired cable path under the cabinets, ensuring it remains as inconspicuous as possible.
- Use cable clips or staples to secure the cable to the underside of the cabinet, following the path you marked earlier.
- Test the lighting to ensure proper functionality before finalizing the cable routing.
Ultimately, the choice between internal and under-cabinet cable routing depends on your preference for aesthetics and the level of effort you’re willing to commit to the installation process. Regardless of the method you choose, following these steps and paying attention to local codes will result in a functional and visually appealing under cabinet lighting setup.
Alternative Installation: Using Self-Adhesive Lighting Solutions
Homeowners who prefer a simpler and faster lighting upgrade can opt for self-adhesive lighting solutions. These fixtures, typically battery-operated with LED lights, offer an easy and non-permanent alternative to hard-wired fixtures. Installing self-adhesive lights does not require any advanced electrical skills, making it an appealing option for many.

- Clean the cabinet surface to ensure a strong adhesive bond.
- Peel off the adhesive backing from the fixture.
- Align the light to the desired position under the cabinet.
- Press the fixture firmly onto the cabinet surface.
- (Optional) Use mounting screws for added security and stability.
These self-adhesive lighting solutions come in various styles and designs to cater to different kitchen aesthetics. Some popular options include LED strip lights, puck lights, and bar lights. To choose the most suitable option, consider factors like desired light output, color temperature, and fixture size to ensure they meet your kitchen’s functionality and design needs.
Pro Tip: If you have limited counter space or want to highlight specific areas, opt for smaller puck lights. For a more even light distribution, go for strip or bar lights.
In conclusion, self-adhesive lights provide a quick and straightforward alternative to traditional hard-wired under cabinet lighting installations, making them a viable option for those looking to enhance their kitchen’s lighting without any complicated electrical work. Just remember to pick the right style and design that best matches your kitchen’s needs and aesthetic preferences.
Conclusion
As we reach the end of the under cabinet lighting installation journey, it’s evident how much of an impact this upgrade has on the functionality and appearance of a kitchen. Following a step-by-step approach involving thoughtful planning, careful selection of hardware and fixtures such as those available at The Home Depot, as well as adhering to necessary precautions ensures a successful installation. With the process now complete, your kitchen not only looks amazing but provides better visibility for essential tasks.
For added safety and assurance, it’s recommended to have a professional electrician inspect the work to ensure it meets all electrical codes. Doing so not only guarantees safety but also gives you peace of mind knowing your new under cabinet lighting is up to par with industry standards. It’s truly an investment worth making as it transforms the heart of your home into a more versatile and sophisticated space.
As an alternative for those seeking a simpler solution, don’t forget the option of self-adhesive lighting. This quick and easy upgrade using battery-operated LED fixtures offers homeowners the benefits of additional lighting without the complexity of hard-wiring fixtures. Ultimately, there is a solution for every homeowner’s needs when it comes to enhancing the kitchen with under cabinet lighting.
FAQ
What are the benefits of installing under cabinet lighting?
Under cabinet lighting serves as practical task lighting for countertops while also enhancing the aesthetics of your kitchen. These fixtures can improve visibility for precision tasks and can be dimmed for versatile lighting options. Moreover, this lighting upgrade can increase the overall value of your kitchen.
How do I choose the right under cabinet lighting fixtures?
Measure your cabinet width, the distance from the countertop to the bottom of the cabinet, and evaluate the recessed area depth. Select fixtures based on these dimensions, lighting types (LED or fluorescent), and finishes. Also, choose fixtures with the appropriate dampness rating for the intended installation location.
What safety precautions should I follow during installation?
Turn off all power to the installation area at the fuse or breaker box and use a voltage tester to ensure the power is completely off. Wear safety goggles when using power tools to protect your eyes from debris.
What should I consider when planning the wiring and mounting?
Prepare mounting surfaces and consider wiring pathways. Strategically place switchboxes for easy access and minimal cable visibility. Use either indoor or under-cabinet routing for cables, while adhering to local electrical codes. Plan for holes to be covered by lighting fixtures or backsplash material to minimize visible damage to walls and cabinets.
Can I use a dimmer switch with my under cabinet lighting?
Many LED and some fluorescent under cabinet lighting fixtures are compatible with dimmer switches. Ensure that the dimmer switch used is rated for LED use, if applicable, to avoid issues with compatibility and performance.
Are there alternative installation options to hard-wired fixtures?
Self-adhesive lights offer a simple, quick, and non-permanent alternative for installing under cabinet lighting. These battery-operated LED lights can be easily attached to the cabinet surface and provide a practical lighting upgrade for those who want minimal effort and commitment to the installation process.

