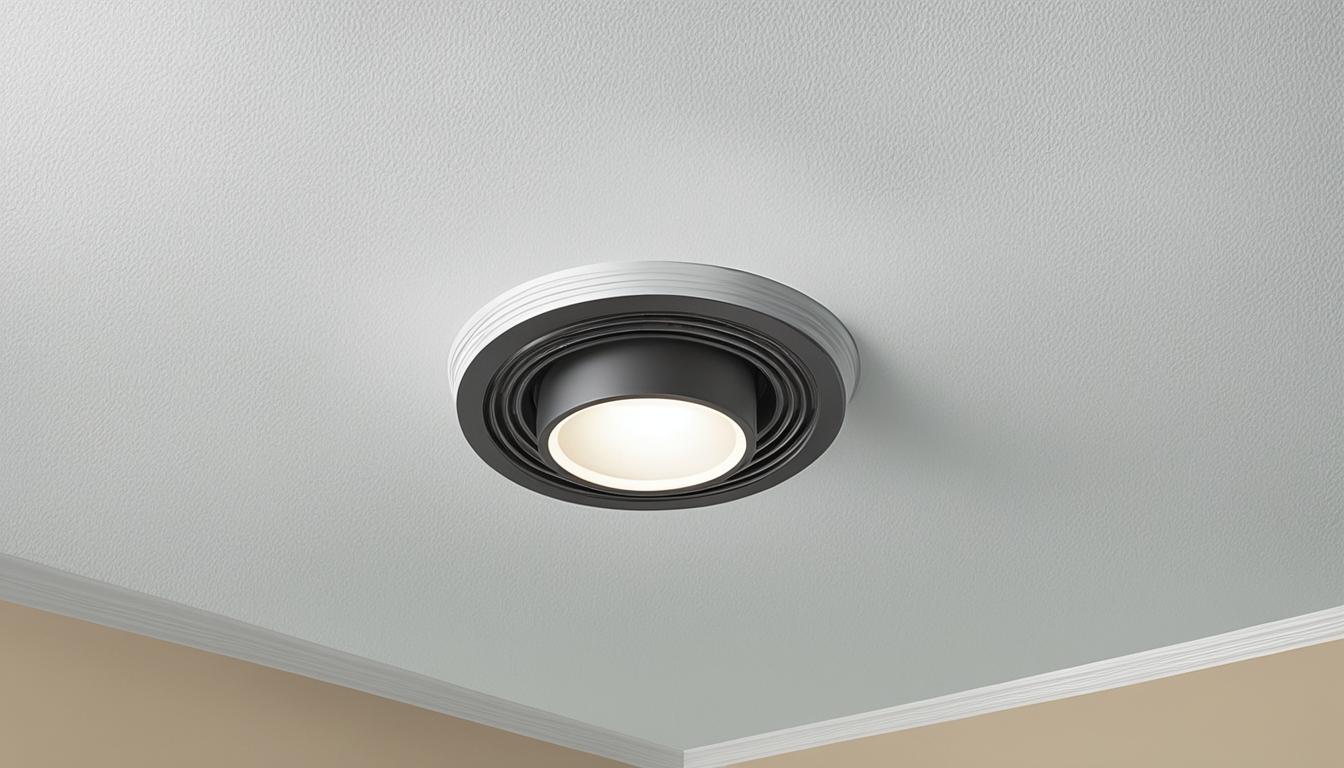
Switching from a traditional ceiling light to recessed lighting can significantly enhance the look and feel of a room. Recessed lighting offers a more streamlined appearance, lying flush with the ceiling and out of the way. The good news is that you can install recessed lighting in the existing light fixture using a few simple tools and a bit of DIY know-how. In this guide, we will provide step-by-step instructions on how to install recessed lighting, while following some essential safety protocols.
Key Takeaways
- Recessed lighting offers a modern, unobtrusive look compared to traditional ceiling lights.
- Successfully installing recessed lighting in an existing light fixture requires some essential tools and materials, as well as basic electrical safety knowledge.
- It’s crucial to switch off the power at the circuit breaker and use a voltage tester before starting any work to ensure safety.
- Choosing the right recessed light model, such as an IC-rated fixture, can prevent potential fire hazards when in contact with ceiling insulation.
- By following a detailed guide and adhering to safety protocols, most homeowners can undertake a DIY recessed lighting installation in the existing light fixture.
Understanding the Basics of Recessed Lighting
Recessed lights offer a sleek, modern touch to any room as they inconspicuously blend into the ceiling. This unobtrusive appearance appeals to homeowners looking to revamp their kitchens, living rooms, and bedrooms. This section will discuss the benefits of recessed lights over traditional ceiling fixtures and address their optimal placement within a room.
Benefits of Recessed Lights Over Traditional Ceiling Fixtures
Traditional ceiling lights are often centrally located and protrude from the ceiling surface. This can be seen as obstructive and unsightly by some homeowners. In contrast, recessed lights are mounted flush within the ceiling, providing a clean and uncluttered look. By opting to install recessed lights, you can transform the atmosphere of any space and potentially improve the overall lighting dynamics.
Central vs. Perimeter Placement of Recessed Lights
One crucial consideration when planning to replace an existing light fixture with recessed lighting is the change in placement. Recessed lights are commonly situated along the room’s perimeter, which can significantly alter how the space is illuminated. Instead of having a singular central light source, you may now have multiple recessed lights on the edges of the room. This transition can entail a different lighting layout, which should be taken into account when following recessed lighting tips for the best results.
Preparation for Installing Recessed Lighting
Properly preparing for a step-by-step recessed lighting installation is vital to ensure a successful outcome. This includes gathering all necessary tools and materials, as well as adhering to important safety procedures to protect both you and your home.
Tools and Materials You Will Need for Installation
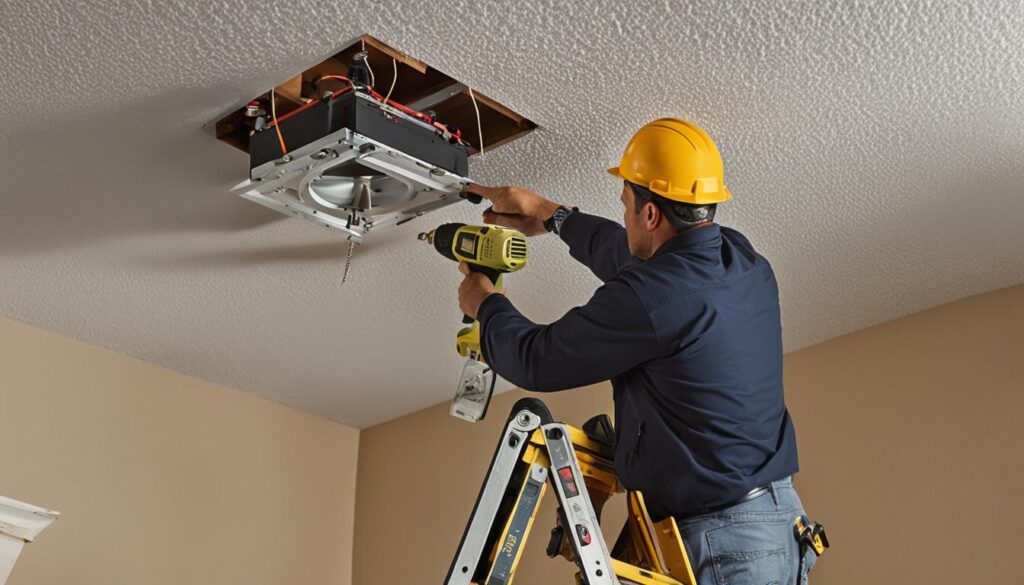
To execute a seamless recessed lighting guide, you’ll need a variety of tools and materials, including:
- Screwdriver
- Non-contact voltage tester
- Pencil
- Drywall saw
- Hacksaw blade (if needed)
- Recessed light fixture
- Cable clamp
- Wire connectors
Having these items at your disposal will ensure a smooth process as you learn how to install recessed lighting.
Safety Considerations Before Starting Your Project
Before embarking on your project, it’s crucial to take proper safety precautions. First, ensure the power is turned off at the breaker box. This crucial step eliminates the risk of electrical shock during installation. Verify that the power is off using a voltage tester, and double-check before starting any work.
Additionally, when dealing with insulation, it is essential to use an IC-rated fixture to avoid potential fire hazards. This type of fixture allows for direct contact with insulation, ensuring that heat generated by the light will not create a dangerous situation. If using a non-IC rated fixture, always keep insulation at least 3 inches away from the fixture to minimize any risk.
With the right tools, materials, and safety measures in place, you’re ready to embark on your step-by-step recessed lighting installation journey.
Assessing Your Existing Light Fixture and Electrical Box
Before you start your journey to replace the existing light fixture, take some time to assess the current electrical box as it plays a critical role in the process. Removing the electrical box can be challenging, but if you prefer simplicity, you may leave the box in place and cover it after transferring or running new wires to the new location of the recessed lighting. The essential thing here is to keep the electrical box live and powered, even if the light is removed. This assessment will be a part of your recessed lighting tutorial
https://www.youtube.com/watch?v=pc5HWB-tyng
Consider the type of fixture you want to install, and whether a remodel light fixture can be employed in the absence of attic access. Additionally, be aware of the implications when there is existing insulation in the area. Below is a table showing some common types of recessed light fixtures and their advantages:
| Fixture Type | Advantages |
|---|---|
| New Construction Fixture | Designed for installation before the ceiling is finished. Easier to access and adjust during construction. |
| Remodel Fixture | Perfect for installing recessed lighting in existing light fixture locations, ideal for retrofit projects without attic access. |
| LED Integrated Fixture | Energy-efficient solution with longer lifespan, reducing the need for frequent maintenance and bulb replacements. |
| IC-Rated Fixture | Safe for contact with insulation, avoiding potential fire hazards. A must-have when insulation is in the attic space above the light fixture. |
With a better understanding of your current electrical box and the available options for recessed lighting fixtures, you’re one step closer to installing recessed lighting in your existing light fixture location. As you follow the rest of the tutorial, remember that assessing your existing setup is an invaluable part of the process.
How to Install Recessed Lighting in Existing Light Fixture
Installing recessed lighting in an existing light fixture can be a straightforward and rewarding process with the right tools and some helpful tips. Before starting, remember to prioritize safety throughout the installation process, such as turning off the power supply and using a non-contact voltage tester to ensure the wires are not live. Here is a step-by-step guide on how to install recessed lighting in an existing light fixture:
- Switch off the power supply: Before starting any work, ensure that the power is switched off at the circuit breaker to eliminate the risk of electrocution. Use a non-contact voltage tester to confirm that the wires are not live.
- Remove the dome or shade: Carefully remove the dome or shade of the existing ceiling light, exposing the wires and electrical components.
- Disconnect the existing light fixture: Separate the wires from the light fixture with the help of the voltage tester. It is essential to be cautious and gentle during this step to avoid damaging any components or wires.
- Remove the old electrical box: Once the wires have been separated, remove the old electrical box to make room for the new recessed lighting.
- Secure the electrical splice box: Attach the new recessed light’s electrical splice box to the ceiling with a cable clamp, ensuring that it is firmly in place.
- Connect the wires: Make wiring connections by following the manufacturer’s diagram. Usually, this involves connecting black to black, white to white, and ground to ground.
- Fit the fixture into the ceiling hole: Carefully fit the recessed light fixture into the ceiling hole, taking care not to damage any surrounding structures or wires.
- Secure the fixture with clips: Use the provided clips to secure the recessed light fixture firmly in place. Ensure that the clips are properly engaged with the ceiling and recessed light housing.
- Restore power and test the new light: Turn the power supply back on and test your new recessed light to ensure it is working correctly. If everything is functioning as expected, you have successfully installed your recessed lighting.

With these steps, you can achieve a successful recessed lighting installation and give your space a modern, upgraded appearance. Keep these tips in mind, and your DIY recessed lighting project will be both safe and rewarding.
Choosing the Right Recessed Light Model for Your Ceiling
With various types of recessed lighting models available in the market, it is essential to choose the one that suits your ceiling’s materials and insulation. Factors to consider while selecting the correct model include the fixture’s compatibility with insulation, trim, and bulb options. Additionally, it is crucial to ensure your chosen fixture complies with existing electrical codes and fits comfortably within the ceiling structure.
Importance of IC-Rated Fixtures
An IC-rated fixture is necessary when the recessed light is in direct contact with insulation to reduce fire risks. These fixtures are designed to withstand the heat generated by the light and prevent it from transferring to surrounding materials, such as insulation, which could pose a fire risk. Prioritizing IC-rated fixtures will ensure the safety and efficiency of your DIY recessed lighting installation.
Trim and Bulb Compatibility
The compatibility of the trim and bulb is crucial in maintaining the perfect lighting dynamics for your room. Ensure that you do not exceed the fixture’s maximum wattage ratings by opting for energy-efficient LED or CFL bulbs. These bulbs consume less power, compared to high-watt incandescent or halogen bulbs, which helps to preserve both energy and your fixture’s longevity.
| Bulb Type | Wattage Range | Average Lifespan |
|---|---|---|
| Incandescent | 40 – 100 W | 1,000 – 2,500 hours |
| Halogen | 20 – 75 W | 2,000 – 4,000 hours |
| Compact Fluorescent (CFL) | 7 – 26 W | 8,000 – 12,000 hours |
| Light Emitting Diode (LED) | 5 – 18 W | 25,000 – 50,000 hours |
Consulting a recessed lighting guide and adhering to the manufacturer’s recommendations will ensure that your recessed lighting tutorial efficiently balances optimum illumination with energy savings for a successful how to install recessed lighting project.
Turning Off Power and Removing the Old Fixture
Before starting the recessed lighting installation, it is crucial to take proper safety measures by switching off power to the existing fixture. This begins with locating and turning off the appropriate circuit breaker, as relying solely on the light switch is not enough. Once you have safely turned off the power, you can proceed with the removal of the old fixture.
Properly Locating and Switching Off the Circuit Breaker
Make sure you correctly identify the specific circuit breaker associated with the room where you plan to install the recessed lighting. Turning off the correct breaker ensures that the entire electrical circuit is safe to work with, eliminating the risk of electrical shocks. It is highly recommended to use a non-contact voltage tester to verify that there is no active current in the wires before proceeding.
Securing Wires and Precautions to Avoid Electrical Hazards
Following the safe disconnection of power, you can start removing the old fixture. Begin by detaching the dome or shade of the existing ceiling light, then carefully unscrew the housing to access the wiring. Use the voltage tester once more to confirm that the wires are not live before separating them from the light fixture.
Take care to preserve the wire length, as this will simplify the connection process for the new recessed lighting installation. Also, remember to follow proper safety precautions and guidelines to prevent any potential electrical hazards during this process.
By following these essential safety steps, you can efficiently and securely remove the old fixture and begin your step-by-step recessed lighting installation.
Creating the Cutout for Your New Recessed Light
Introducing a recessed light into your ceiling requires creating a precise cutout. This process is an essential step in your DIY recessed lighting installation journey. To start, you will need either a cutting template provided by the manufacturer or, in its absence, a pencil compass to draw a circle on your ceiling. This circle will denote the cut area for your new recessed light.
Once you have marked the ceiling, carefully use a drywall saw to cut along the outline. During this process, ensure that you do not damage any internal wiring as this is crucial for the successful installation of your recessed lights. The resulting hole should be only slightly larger than the recessed light canister, by no more than 1/8 inch in diameter, to secure a snug fit.
By following this recessed lighting guide, you are well on your way to successfully transforming your living space with modern, unobtrusive recessed lighting.
Wiring Your New Recessed Lights
Once you have made the cutout for the recessed lighting, it’s time to wire the fixture. Proper connection of wires is crucial to ensure safe operation and adherence to electrical codes. In this section, we will discuss how to connect the wires to the new fixture and provide an understanding of common wiring configurations and electrical codes.
Connecting Wires to the New Fixture
Start by opening the junction box of your recessed light and clamping the cables. Next, strip away the outer cable insulation to expose the individual wires inside. Strip the ends of each wire, usually around half an inch, to prepare them for connection. Match the like-colored wires (black to black, white to white) and twist them together. Use wire connectors to join them securely.
Understanding Wiring Configurations and Electrical Codes
It is essential to follow standard wiring configurations and adhere to local electrical codes to prevent overloading your circuit. Calculate the total load the circuit will bear, factoring in your new recessed lights, to ensure compatibility with your existing household wiring. If you are unsure about electrical codes, consult a licensed electrician or refer to your local building department for guidance.
With the wiring completed, you’re now one step closer to enjoying your new recessed lighting installation. Following these step-by-step instructions, you’ll be able to successfully wire your new fixtures and create a visually appealing, modern lighting solution in your space.
Securing the Recessed Lighting Fixture in Place
After successfully connecting the wires, it’s time to focus on securing the recessed lighting fixture. This process involves using ceiling clips and ensuring your new recessed lights have a flawless, finished appearance. By following the simple steps in this recessed lighting guide, you’ll quickly learn how to install recessed lighting that looks as if it was installed by a professional.
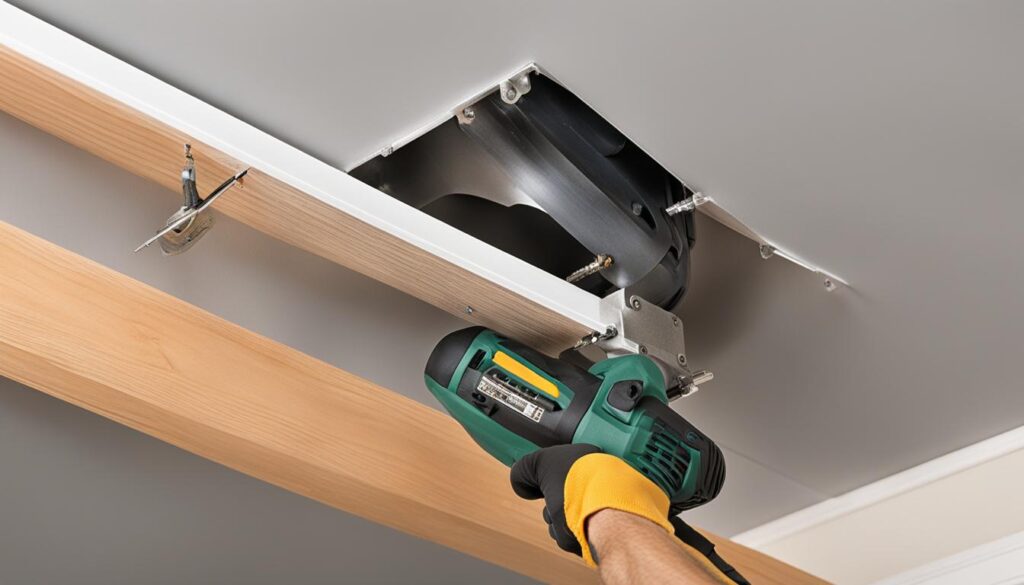
Using Ceiling Clips to Firmly Attach the Housing
The housing typically comes with four clips designed to secure it to the ceiling via the drywall. Once you’ve slipped the housing into the hole, push the clips until they click into place and clamp onto the backside of the drywall. This action guarantees that the housing remains firmly in place, providing a stable base for your new, sleek lighting solution.
Ensuring a Flush and Finished Appearance
To complete the recessed lighting tutorial, attach the trim to your fixture. Guide coil or rod springs into their designated slots to secure the fixture’s trim. As a result, you’ll achieve a flush and finished appearance, adding a modern, clean look to your living space.
In conclusion, this section of our recessed lighting guide has shown you how to secure your lighting fixture and perfect its appearance. Now, you should feel confident in your ability to install recessed lighting like a pro. Good luck with your future projects!
Final Touches on Recessed Lighting Installation
Now that the recessed light housing is in position, it’s time to make the final touches. It’s essential to install compatible light bulbs while considering the wattage to avoid exceeding the fixture rating, especially with incandescent or halogen bulbs. LED bulbs are a great energy-efficient option that will not easily surpass the rating.
Once you have installed the bulbs, restore power to the circuit and test the new recessed lighting for functionality. When everything is working as it should, it’s time to address any insulation in the attic space above. If the fixture is IC-rated, you can cover it to prevent heat loss, ensuring the integrity and efficiency of your attic insulation.
This concludes the how to install recessed lighting process, leaving the space with an updated, modern look, thanks to your newly installed recessed lights. With these recessed lighting installation tips at your disposal, you can now enjoy the benefits of a well-lit and stylish living space.
Testing and Troubleshooting Your New Recessed Lights
Once you’ve completed the installation process, it’s essential to test your new recessed lights to ensure their proper functionality. In addition to testing, be prepared to troubleshoot any issues that may arise, as this can save you time, effort, and ensure the success of your DIY recessed lighting installation. In this section, we’ll discuss steps for testing and troubleshooting your new lights.
Restoring Power and Checking Connections
To test the newly installed recessed lights, begin by restoring power at the circuit breaker and using the light switch to check their functionality. If everything is working correctly, you can move on to the final touches in your project. However, if the lights are not functioning as expected, it’s time to start troubleshooting.
Begin by reviewing all connections, ensuring each joint is secure. Recheck the wire connectors for firmness and verify that the correct circuit breaker was used to restore power. In some cases, you might need to seek an electrical inspection for additional safety and assurance of the installation’s integrity.
What to Do If Your Recessed Lights Don’t Work
If your recessed lights continue to malfunction despite checking all connections and restoring power correctly, it may be necessary to consult a licensed electrician. They can address any complex wiring problems or compliance issues that could be affecting your installation’s performance.
By keeping these recessed lighting tips in mind, you can ensure a successful DIY recessed lighting installation that transforms your living space. With a step-by-step approach and attention to detail, you’ll be able to enjoy the updated, modern look of recessed lights in your home.
Conclusion
Installing recessed lighting as a DIY project can be a rewarding experience, resulting in a fresh look and improved lighting in your space. A detailed recessed lighting guide can help homeowners with some DIY skills successfully undertake this task, enhancing the overall aesthetic appeal of a room.
Emphasizing the Benefits of DIY Recessed Lighting Installation
By following instructions and adhering to safety protocols, you can elevate your room’s ambiance with the addition of recessed lighting. This modern upgrade can completely transform the look and feel of your space, creating a more streamlined, contemporary appearance. Plus, completing the project yourself provides a sense of accomplishment and satisfaction.
Encouraging Safety and Compliance with Local Electrical Codes
Throughout the installation process, it is vital to abide by safety procedures and respect local electrical codes. Ensuring power is completely off and taking necessary precautions help guarantee a safe and successful installation. Although the task requires attention to detail and careful planning, the end result—a beautifully lit room with stylish recessed lighting—is well worth the effort.
FAQ
What are the benefits of recessed lighting over traditional ceiling fixtures?
Recessed lighting offers a streamlined look compared to traditional ceiling lights, fitting flush with the ceiling and out of the way. This unobtrusive appearance is particularly desired in kitchens, living rooms, and bedrooms. Additionally, recessed lights are commonly situated along the room’s perimeter, whereas traditional ceiling lights are centrally located and can protrude from the ceiling surface.
What tools and materials are needed for recessed lighting installation?
The necessary tools and materials include a screwdriver, non-contact voltage tester, pencil, drywall saw, hacksaw blade (if needed), recessed light fixture, cable clamp, and wire connectors. It is also critical to ensure the power is off at the circuit breaker before commencing the installation process.
What safety considerations are essential before starting recessed lighting installation?
Before starting the installation process, turn off the power at the breaker box and use a voltage tester to verify that there is no live electricity. When dealing with insulation, an IC-rated fixture is essential to avoid fire hazards. Non-IC rated fixtures should have insulation kept away from them for safety reasons.
How do I choose the right recessed light model for my ceiling?
Consider compatibility with ceiling materials and insulation when selecting a recessed light model. An IC-rated fixture is necessary when the light will be in contact with insulation to avert fire risks. The compatibility of the trim and bulb is also vital, with considerations for maximum wattage ratings, which can be managed with LED or CFL bulbs in comparison to higher watt incandescent or halogen bulbs.
How can I troubleshoot my newly installed recessed lights if they don’t work as expected?
If the recessed lights do not work as expected, start troubleshooting by reviewing all connections and ensuring that each joint is secure. Recheck wire connectors for firmness and verify that the correct circuit breaker was used to restore power. If issues persist, consider consulting with a licensed electrician to address any complex wiring problems or compliance issues.

