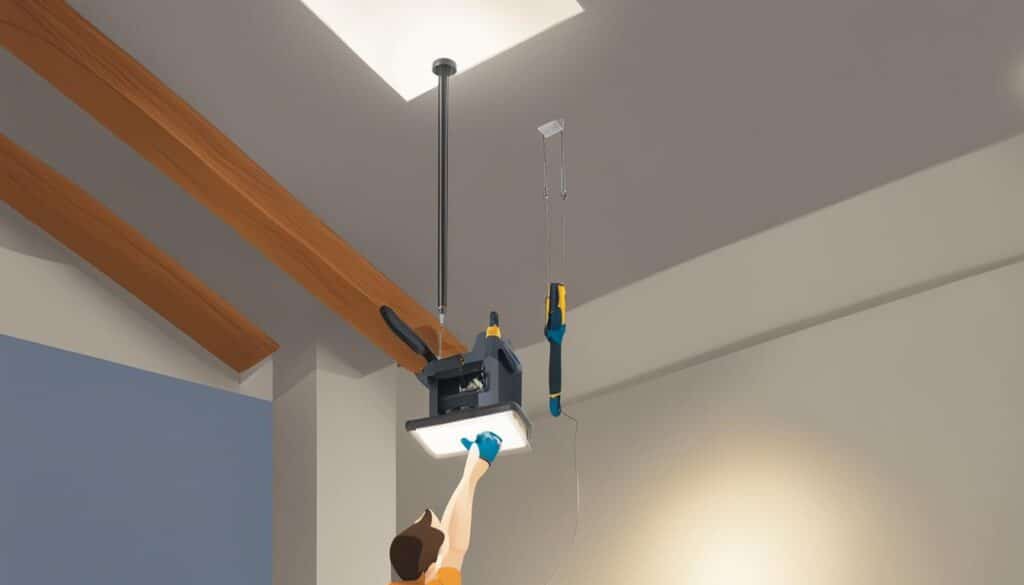
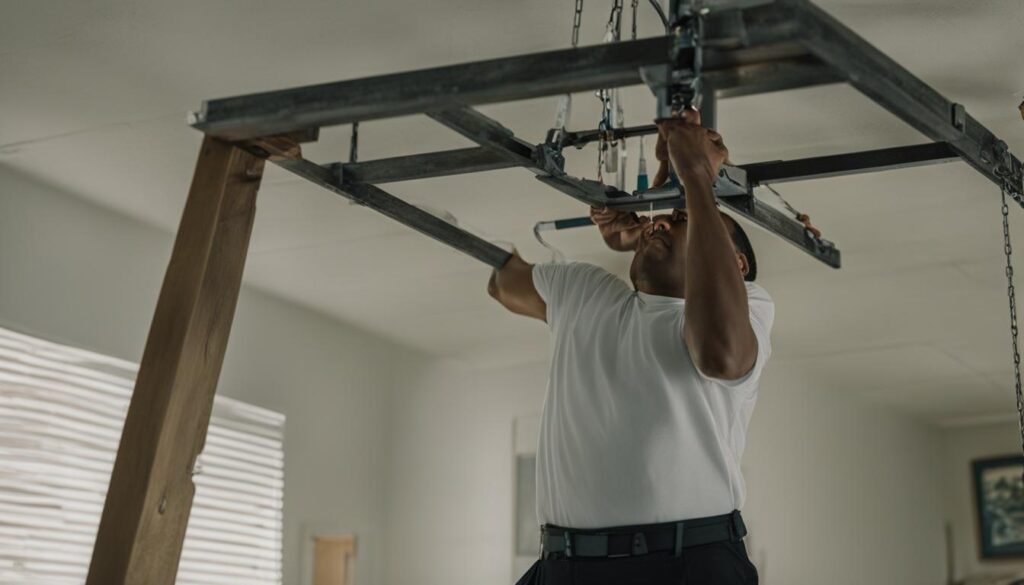
Installing new ceiling lighting can be an exciting way to update your home’s décor and improve its illumination. If you’re considering a DIY ceiling lighting installation, it’s essential to understand the proper methods and safety precautions. This step-by-step ceiling lighting installation tutorial will guide you through the process, from understanding the basics to personalizing your new light fixture. Let’s dive into how to install ceiling lighting!
Key Takeaways
- Always prioritize safety when working with electricity.
- Prepare for your project by gathering essential tools and materials.
- Understand the basics of electrical wiring and boxes for secure installation.
- Learn proper wire connection techniques for successful lighting setup.
- Test your installation and troubleshoot any issues as needed.
- Personalize your lighting’s height and position for maximum aesthetic appeal.
- Ensure your installation complies with safety codes and regulations.
Understanding the Basics of Ceiling Lighting Installation
Before diving into a ceiling lighting installation project, it’s crucial to grasp the fundamentals and assess whether it’s a suitable DIY task or if a professional electrician should be involved. Several factors can influence this decision, including the age of the home, the complexity of the electrical wiring, and the weight of the fixture. This section will cover some key points to consider before starting and provide essential safety precautions for successful ceiling lighting installation.
What You Should Know Before Starting
Determining if you can handle a ceiling lighting installation depends on your familiarity with both electrical wiring and best practices for ceiling lighting installation. For those who are inexperienced or hesitant about working with electricity, it’s advisable to hire a professional ceiling lighting installation expert. In particular, older homes with outdated wiring can present challenges and should be handled by a licensed electrician to ensure safety and compliance with current electrical codes.
It’s also critical to consider the physical weight of the light fixture and the strength of the electrical box. This involves determining whether they can support the new ceiling light without posing any hazards. A thorough understanding of the electrical system is essential for making these assessments accurately.
Safety Precautions for Electrical Work
When working with electricity, safety is paramount. Here are some basic tips for installing ceiling lighting safely:
- Always turn off the power at the circuit breaker panel before starting any electrical work.
- Use a non-contact voltage tester to ensure the wires are not live before proceeding.
- Wear insulated gloves and rubber-soled shoes to minimize the risk of electrical shock.
- Follow the ceiling lighting installation guide and refer to the manufacturer’s instructions for specific details on connecting the wires and mounting the fixture.
- Do not overload electrical circuits, which can lead to a fire hazard. Ensure that your home’s electrical system can handle the added load of the new fixture.
By following these safety tips and adhering to the guidelines covered in this ceiling lighting installation guide, you can confidently embark on your DIY project or decide to consult a professional electrician for assistance.
Preparing for Your Ceiling Lighting Project

Proper preparation is the key to a successful ceiling lighting installation. Before diving into the DIY project, it is crucial to ensure that the power is completely shut off from the main circuit panel. Using a voltage tester, double-check that the power is indeed off so that it is safe to proceed with the installation.
It is also essential to recognize potential complications, such as incompatible wiring in homes built before 1985. Modern fixtures generate higher heat, which may require 90-degree-rated supply wires. Understanding these nuances ensures safety and compliance with regulations during the DIY ceiling lighting installation process.
Before beginning the installation, take note of the following considerations:
- Assess the ceiling height: Higher ceilings may require longer wires or adjustable mounting options.
- Choose the right fixture: Ensure that the selected light fixture is the appropriate size, style, and brightness for the room.
- Check the electrical box: Confirm that the existing electrical box can support the weight of the new fixture and the wires needed for the installation.
Having a plan in place helps to avoid surprises and ensures a smooth ceiling lighting installation. By understanding your room’s unique requirements and being prepared for the installation process, you can efficiently tackle the task of installing your new ceiling light fixture.
Gathering the Right Tools and Materials
It’s essential to gather the right tools and materials before embarking on a ceiling lighting installation project. By using the correct tools, you can ensure a more efficient and safer installation process. Additionally, selecting suitable fixtures and bulbs will ensure they align with your installation area as well as providing optimal lighting performance.
Essential Tools for Installing Ceiling Lighting
Here is a list of essential tools that will make your ceiling lighting installation a breeze:
- Non-contact voltage tester
- Wire stripper
- Stepladder
- Pliers
- Screwdrivers
In addition to these essential tools, it’s crucial to have proper safety gear, such as goggles and gloves, to ensure a secure and worry-free installation process.
Choosing the Correct Fixtures and Bulbs
Selecting the right fixtures and bulbs is vital for your ceiling lighting installation project. It’s crucial to choose fixtures that are suitable for the installation area and comply with the wiring setup. Likewise, it’s necessary to consider the heat generation capacity of your wiring when selecting fixtures. Keep in mind that modern fixtures may require specific wire ratings when it comes to connections and heat generation.
Pro tip: Always research and adhere to the manufacturer’s recommendations for fixtures and bulbs. This ensures you have the correct specifications for your ceiling lighting installation, guaranteeing optimal safety and performance.
Ensuring Power Safety Before Installation
When it comes to ceiling lighting installation safety, being proactive and attentive can make all the difference. One of the most important electrical safety tips to remember is to shut off the power at the breaker panel before starting your DIY ceiling lighting installation. To avoid any accidental re-energizing of the circuits while you’re working, place a note on the panel informing others not to turn the power back on.
After shutting off the power, always double-check for the absence of voltage using a non-contact voltage tester. This essential step ensures that there are no live wires, preventing electrical shock and creating a secure working environment for your DIY ceiling lighting installation.
Remember: Safety first. Always shut off the power at the breaker panel and verify the absence of voltage with a non-contact voltage tester before starting the installation process.
Now that you’ve taken the necessary precautions for power safety, let’s discuss some additional DIY ceiling lighting installation precautions to keep in mind during your project:
- Ensure you have the necessary tools and equipment for the job.
- Choose the right type of light fixture and bulbs compatible with your home’s wiring system.
- Inspect your wiring to avoid any connection problems.
- Properly secure the mounting bracket to support the fixture’s weight and size.
By following these safety guidelines and tips, you can minimize the risks associated with ceiling lighting installation and create a reliable and visually appealing lighting upgrade for your home.
How to Install Ceiling Lighting
When embarking on a DIY ceiling lighting installation, it is crucial to follow a step-by-step ceiling lighting installation guide to ensure both safety and proper functionality of the lighting fixture. A successful installation begins with identifying the right wires and their functions and then attaching the mounting bracket and wiring to the junction box.

Identifying Wires and Their Functions
Before connecting any wires, it is essential to understand what each wire is responsible for in the electrical circuit. In general, the black or red wire is the hot (power) wire, the white wire is the neutral wire, and the green or bare copper wire is the ground wire.
Remember: The colors may vary depending on your home’s wiring, so be sure to refer to any instructional materials provided by the manufacturer of the light fixture or consult with a professional electrician if you are unsure.
Attaching the Mounting Bracket and Wiring
With the wires identified, follow these steps for ceiling lighting installation:
- Unscrew and remove the old mounting bracket from the junction box.
- Attach the new mounting bracket (supplied with your light fixture) to the junction box, following the manufacturer’s instructions.
- Using wire strippers, strip approximately 1/2 inch of insulation off the ends of each wire (both in the junction box and on the fixture).
- Connect the same-colored wires by twisting them together and securing with a wire connector.
- For added safety, wrap each wire connector in electrical tape to cover any exposed metal from the wires.
- Attach the ground wire as specified by the manufacturer or, if not specified, connect it to the grounding screw on the mounting bracket or the green screw on the junction box.
- Tuck the connected wires back into the junction box, making sure there are no loose connections.
- Secure the light fixture to the mounting bracket following the manufacturer’s instructions and install the light bulbs.
By following this ceiling lighting installation guide, you can successfully and safely install your ceiling lighting fixture. Once the installation is complete, be sure to test the connection by turning the power back on to ensure the light functions as intended.
Tips for Working with Electrical Boxes
When it comes to ceiling lighting installation, ensuring that your electrical boxes can handle the weight and capacity of the new fixture is essential. This section will cover best practices for working with electrical boxes, including supporting heavy fixtures and understanding box capacity and strength.
Supporting Heavy Fixtures
Heavy fixtures demand robust support. Start by checking if the electrical box is strong enough to bear the weight of the fixture. In the case of fixtures exceeding 50 lbs., it is crucial to use alternative support methods, such as a fan brace box. Adhering to professional ceiling lighting installation tips helps ensure safety and prevent potential hazards caused by an inadequate support system.
Understanding Box Capacity and Strength
To avoid overcrowding and maintain compliance with safety guidelines, it is essential to understand the electrical box’s capacity and strength. The National Electrical Code (NEC) allows up to 50 lbs. for boxes compatible with No. 8-32 machine screws. By verifying your electrical box against these standards, you can guarantee the fixture’s safe and secure installation. Furthermore, calculating the box’s volume and being mindful of wire placement ensures a smooth and efficient installation process in alignment with the ceiling lighting installation guide.
Interpreting Electrical Codes for Ceiling Lighting

Interpreting electrical codes is a critical part of ceiling lighting installation to ensure the new fixture will be installed safely and legally. By understanding electrical codes, you can follow the best practices for ceiling lighting installation and maintain compliance with regulations.
The National Electrical Code (NEC) is a comprehensive document that outlines safety standards for electrical installations in residential and commercial buildings. Compliance with the NEC is essential to guarantee the safety and functionality of your ceiling lighting installation.
In order to ensure ceiling lighting installation compliance, it’s important to familiarize yourself with the following aspects of electrical codes:
- Wire ratings: Wiring in your home needs to be compatible with the fixtures being installed. Make sure you verify the requirements for wire ratings to avoid heat-related issues or electrical malfunctions.
- Fixture weights: Electrical boxes should be capable of supporting the weight of the fixtures. The NEC specifies the weight limits that are acceptable for various boxes and hardware. Verify these limits to ensure a secure installation.
- Box capacities: Electrical boxes must have sufficient volume to accommodate all the wires, connectors, and devices within them. Check the NEC for guidelines on minimum box capacities to avoid overcrowding and maintain safety standards.
While the NEC serves as a valuable resource, it’s important to note that local building codes may have additional requirements. Be sure to consult your local electrician or building department for any specific regulations that may apply in your area.
By staying informed and adhering to electrical codes, you will ensure that your ceiling lighting installation is safe, functional, and complies with all necessary regulations.
Connecting Wires and Installing the Fixture
Connecting wires and installing the fixture is the crucial step in bringing your ceiling lighting installation to life. The keys to success are proper wire connection techniques, sealing electrical connections, and precise installation to ensure a professional-looking result. Follow our helpful DIY ceiling lighting installation tips for top results.
Proper Wire Connection Techniques
Proper wire connections are essential for a safe and functional ceiling lighting installation. Start by stripping the wire ends precisely, using the right size wire connectors for secure electrical connections. Stranded fixture wires require careful handling to ensure they do not clog the threads in a wire connector. While making connections, take care to match the wire colors – typically black to black, white to white, and green or bare to green or bare for grounding.
Remember: Always double-check your connections to ensure they are secure and properly matched.
Sealing the Electrical Connections
After making the wire connections, the next step is sealing the electrical connections by neatly folding the wires into the ceiling box. Make sure not to overcrowd the box, as this can create a potential fire hazard due to heat buildup. Once the wires are tucked into the box, secure the fixture with mounting hardware.
Before sealing everything up, it’s essential to test the connections to ensure they are hot and the power runs efficiently through the new installation. This can prevent any issues or potential electrical hazards down the line. With everything securely in place and working, you can confidently move on to enjoying your professional ceiling lighting installation.
Testing Your Installed Ceiling Light
Once your DIY ceiling lighting installation is complete, it’s crucial to test the light to ensure everything functions as it should. Follow the steps outlined in this ceiling lighting installation guide for a smooth and successful testing process:
- Restore power to the circuit by turning the breaker back on.
- Install a light bulb that’s compatible with your new fixture.
- Turn on the switch to see if the fixture functions properly.

If your light doesn’t work, here’s a simple troubleshooting checklist to help identify the issue:
- Confirm the power supply: Make sure the breaker is on, and there are no tripped breakers.
- Check wiring connections: Ensure everything is properly connected and securely fastened.
- Inspect the light bulb: Verify that it’s correctly installed and in working condition.
Despite following the steps in this ceiling lighting installation guide, if the light still doesn’t function properly, it might be time to consult a licensed electrician for assistance. They can help identify and correct any issues to ensure a safe and reliable DIY ceiling lighting installation.
Post-Installation: What to Do If Your Light Doesn’t Work
After completing the process of ceiling lighting installation, it can be quite frustrating if the light fails to work. Fortunately, this section will provide you with guidance on troubleshooting common issues and when to consult a professional electrician to address your ceiling lighting installation issues.

Troubleshooting Common Issues
Begin by inspecting the wiring connections for any loose ends. Ensure that the wires are connected according to their corresponding colors, and check if the grounding wire, where applicable, is properly attached. Here are some common issues to look out for:
- Incorrect wiring connections
- Tripped circuit breakers
- Defective light bulbs
If you suspect that the issue lies with the light bulb itself, try replacing it with a new one to check if the problem persists.
When to Call a Professional Electrician
It’s important to know when to call a professional electrician for ceiling lighting if your troubleshooting attempts fail to resolve the problem. If you face difficulties diagnosing the issue, or if the problem persists despite your efforts, it is best to consult an expert who can identify and address the issue safely and effectively. A certified electrician can handle complex electrical systems, thus ensuring your installation is both functional and secure.
In conclusion, if your ceiling light does not work after installation, it is essential to troubleshoot, inspecting for loose connections and common issues. For stubborn problems or uncertainty, it is wise to consult a professional electrician to ensure a safe, functional, and well-executed ceiling lighting installation.
Personalizing the Height and Position of Your Lighting
Customizing the height and position of your lighting fixture adds aesthetic value to the room and allows for a more personal touch in your interior design. Factors such as room dimensions and function play a key role in achieving the optimal height and positioning for your lights. With some careful planning and adjustments, you can create a custom ceiling lighting setup that complements the room’s ambiance.

Adjusting for Room Dimensions
One of the key aspects of adjusting ceiling lighting position is taking into consideration the room’s dimensions. For example, if you’re installing a chandelier, it’s typically recommended to hang it 3 feet over a table or 6 feet from the floor in spaces with taller ceiling clearance. By evaluating the room’s size and function beforehand, you can better customize the height and position of your ceiling lighting for a more aesthetically pleasing result.
Final Touches for Aesthetic Appeal
Aesthetic ceiling lighting installation often requires some fine-tuning and attention to detail. Before installing the main fixture, take the time to adjust the height by experimenting with the placement of decorative pieces or choosing the appropriate chain or wire length for hanging lights. Personal preference and creativity play a significant role as you customize your lighting arrangement to suit the room’s unique atmosphere and function.
In conclusion, personalizing your ceiling lighting not only enhances the overall look and feel of your space but also allows you to express your individual style. By carefully taking into account room dimensions and making adjustments as needed, you can achieve a custom ceiling lighting setup that truly elevates your home’s interior design.
Conclusion
In summary, successfully finalizing a ceiling lighting installation involves several crucial steps, such as ensuring proper connections, complying with safety codes, and verifying the electrical box’s load-bearing capacity. By paying close attention to these elements and following best practices, homeowners can carry out a safe and professional-looking ceiling lighting installation.
Final Check and Safety Validation
Before calling it a job well done, performing a final check to validate electrical safety is a must. This includes confirming that all wires are securely connected, the installation adheres to relevant safety codes, and the electrical box can support the fixture’s weight. Ensuring these aspects can prevent potential issues down the road and provide peace of mind knowing the installation meets safety standards.
Enjoying Your New Ceiling Lighting
Once you have completed the ceiling lighting installation in accordance with best practices, it’s time to sit back and enjoy the new ambiance your lighting creates. Not only will it enhance the overall appeal of your home, but it will also provide adequate illumination for various tasks, ultimately contributing to a comfortable and inviting living space. Your efforts in installing the light fixture correctly will surely pay off in the long run.
FAQ
What are the essential tools for ceiling lighting installation?
Important tools include a non-contact voltage tester, wire stripper, stepladder, pliers, and screwdrivers. Additionally, choosing the right fixtures and bulbs for your installation area and wiring setup is crucial.
What are the important safety precautions to take before installing ceiling lighting?
Before beginning, ensure the power is completely shut off from the main circuit panel and use a voltage tester to confirm it’s de-energized. Assess if a professional electrician is needed, especially when dealing with an older home that may have outdated wiring. Finally, make sure the electrical box can support the weight of the new light fixture.
How do I correctly connect wires during ceiling lighting installation?
Proper wire connection involves stripping the wire ends precisely, using the correct size wire connectors, and carefully handling stranded fixture wires. Additionally, neatly folding the connected wires into the ceiling box ensures a clean and secure installation.
How can I determine if my electrical box can support the weight of a heavy ceiling fixture?
Check the capacity and strength of the electrical box against the National Electrical Code (NEC), which allows up to 50 lbs. for boxes compatible with No. 8-32 machine screws. If the fixture exceeds 50 lbs., alternative support like a fan brace box might be necessary.
What should I do if my ceiling light doesn’t work after installation?
Troubleshooting involves checking for loose connections, ensuring all wires are correctly connected, and verifying the grounding wire is attached properly. If problems persist, it’s best to consult a professional electrician for assistance.
How can I personalize the height and position of my ceiling lighting?
Depending on room dimensions and function, optimal height and positioning can be achieved by adjusting the fixture’s height prior to installation. Personal preference also plays a role, and adjustments can be made during the installation process to suit the room’s ambiance.

