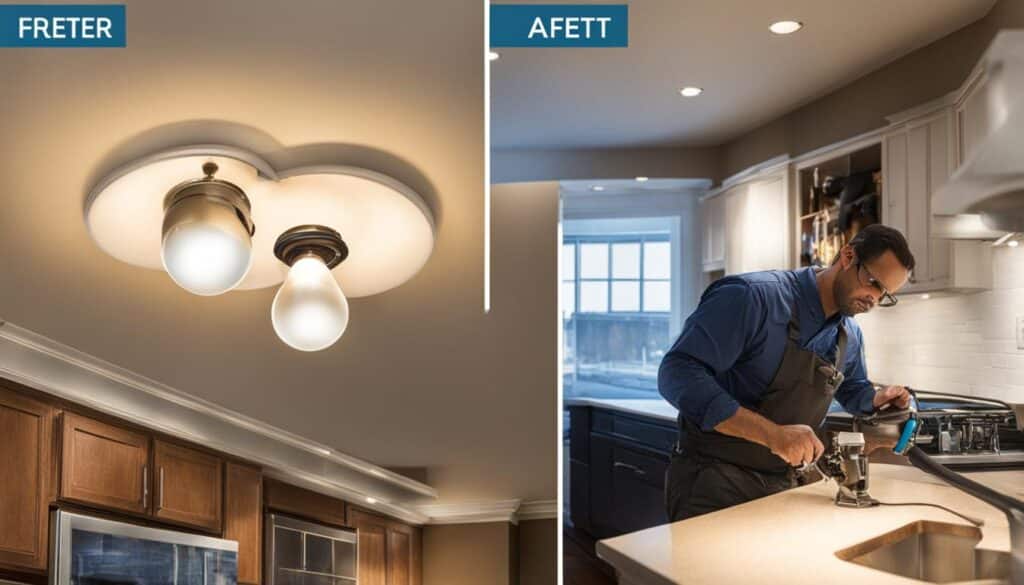
Recessed lighting, known for its aesthetic adaptability and functionality, sometimes requires a bulb change, which could appear daunting for first-timers. Fear not! With the correct approach, swapping out those burned-out bulbs is far simpler than you might think. Your safety should always come first – ensuring the power is off, allowing the bulb to cool, and using protective gloves and eyewear. Recessed lighting offers various bulb types, fitting a wide range of décors from modern to classic. So, let’s dive into this easy DIY step-by-step bulb replacement guide and learn how to replace the bulb in recessed lighting efficiently and safely.
Key Takeaways
- DIY bulb replacement in recessed lighting is straightforward with the proper approach and safety measures.
- Switch off the power and allow the bulb to cool down before handling.
- Identify the correct replacement bulb, factoring in compatibility, wattage, and type.
- Remove the old bulb by gently pressing clips or turning it counter-clockwise, depending on the fixture.
- Install the new bulb by aligning it with the socket and securing it in place.
- Test the new bulb by turning the power back on and ensuring full brightness restoration.
- Consult a professional electrician if complications arise during the replacement process.
Understanding Recessed Lighting and When to Replace Bulbs
Recessed lighting, often referred to as canned lighting, seamlessly integrates into various ceiling styles, making it a popular choice in home design. Replacements are usually straightforward, determined by wear or the desire to upgrade. Recognizing the need to replace bulbs can be gauged by factors such as reduced light output, visually apparent bulb damage, or an aesthetic update to energy-saving LED options.
There are certain signs that can help homeowners identify when it’s time for a recessed lighting bulb replacement:
- Dim or flickering light output
- Visibly damaged or burned out bulbs
- Outdated technology, such as incandescent bulbs, warranting an upgrade to more efficient LED alternatives
- Frequent bulb replacements, indicating a potential issue with the fixture or compatibility
Additionally, periodic bulb replacements may be necessary to maintain consistent brightness and color temperature throughout the home. This is especially relevant when using LED bulbs, as their performance can change slightly over time. To ensure a cohesive look and avoid noticeable variations in light quality, it’s a good idea to replace all bulbs in the same area or room simultaneously.
With these tips for replacing bulbs in recessed lighting, homeowners can successfully maintain the efficiency and beauty of their home’s lighting system. By knowing what signs to look for and when to perform a replacement, you can enjoy the full benefits of recessed lighting with minimal inconvenience.
Gathering the Necessary Tools for Efficient Bulb Replacement in Recessed Lighting
Efficient bulb replacement in recessed lighting starts with having the right tools and ensuring safety. In this section, we delve into the essential tools needed for easy bulb replacement in recessed lighting, covering the bulb selection process, choosing a stable ladder or step stool, and proper safety equipment.
Identifying the Right Replacement Bulb
Before replacing a bulb, it’s vital to select the proper type, considering compatibility with the fixture, wattage, and type. For instance, you may need a BR30 bulb for 4-inch cans or a BR40 for 6-inch cans. Make sure to double-check the original bulb’s specifications and the manufacturer’s recommendations to choose the right match.
Choosing a Secure Ladder or Step Stool
A stable ladder or step stool is crucial for safe access to the recessed light fixture. Consider the height of the ceiling and the tool’s stability when selecting the appropriate ladder or step stool. This way, you can easily reach the fixture without straining or putting yourself in danger.
The Role of Gloves and Safety Glasses
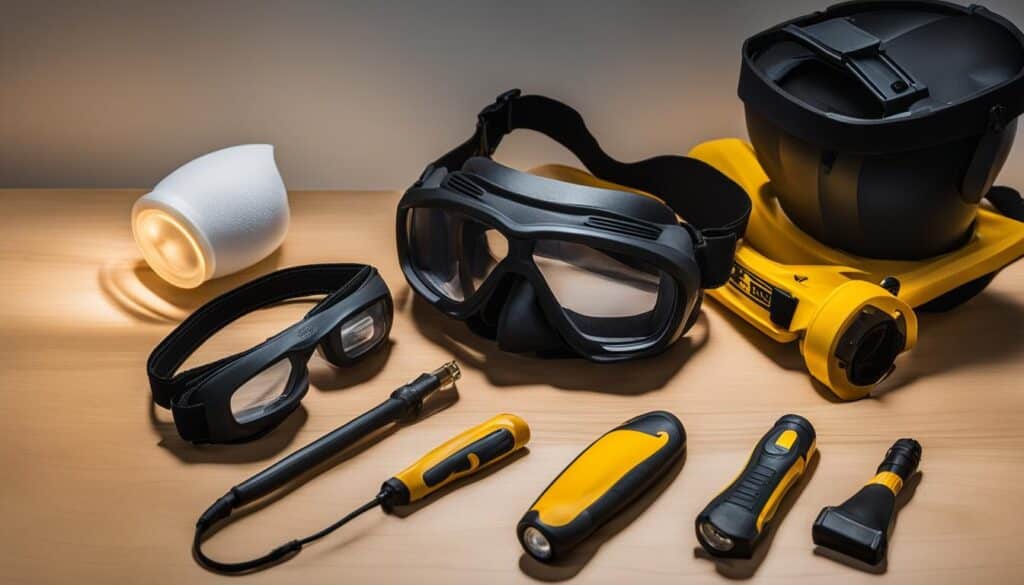
Personal protection is essential while replacing bulbs in recessed lighting. Wearing gloves will safeguard your hands from potential hazards, such as sharp edges or broken glass. Safety glasses shield your eyes against any debris that may fall while working on the fixture.

Understanding the Need for a Voltage Tester
Although turning off the power supply before working on the fixture is a fundamental safety measure, using a voltage tester provides an extra layer of protection. This device ascertains that there’s no residual electrical charge in the fixture before you start handling it, ensuring a risk-free replacement process.
By gathering these necessary tools and following safety precautions, homeowners can efficiently replace bulbs in recessed lighting with confidence and ease.
Preparation: Safety Measures Before You Start
Embarking on a quick bulb replacement in recessed lighting requires dedicated attention to safety measures. Ensuring your safety should be at the forefront of your mind as you prepare for the steps to replace bulb in recessed lighting. To begin, it is essential to ascertain that the power is shut off by locating and turning off the corresponding switch or circuit at the breaker box or fuse panel.
Additionally, it is vital to avoid handling a recently used bulb, as they may still be hot and could cause burns. Always allow any used bulbs to cool before attempting a replacement. To protect yourself during the process, equip yourself with gloves and safety glasses, which can shield your hands and eyes from potential hazards.
An optional but helpful step to confirm your safety is verifying the absence of voltage in the fixture. You can do this using a voltage tester. This tool detects any electrical charge and ensures the complete disconnection of the fixture before you start working on it.
Remember, safety should always come first when working with electrical fixtures in your home.
How to Replace Bulb in Recessed Lighting: Turning Off the Power
Before you begin the process of replacing a bulb in a recessed lighting fixture, you must ensure that the power is off to avoid potential hazards. This section outlines the best practices for bulb replacement in recessed lighting, from locating the correct circuit breaker or fuse to ensuring the bulb is cool before handling.
Locating the Correct Circuit Breaker or Fuse
You need to switch the power off at the source to ensure safety while changing bulbs in recessed lighting. First, determine the recessed light’s corresponding circuit breaker or fuse in your home‘s breaker box or fuse panel. Once you have found the right one, switch it off to cut off the power supply to the fixture.
Ensuring the Bulb is Cool Before Handling
Next, ensure that the bulb has cooled down before handling it. A hot bulb can cause burns and injuries. It is recommended to wait for at least 15-20 minutes after turning off the power to let the bulb cool properly. It is also a good practice to wear safety gear such as gloves and safety glasses before handling the cooled-down bulb.

Step-by-Step Bulb Replacement Guide: Removing the Old Bulb
With the appropriate safety measures in place, it’s time to extract the old bulb. Recessed lights may feature clips or twist-lock mechanisms securing the bulb within the housing. To remove the old bulb, perform the following steps:
- Identify the method used to secure the bulb within the housing. It will either be clips or a twist-lock mechanism.
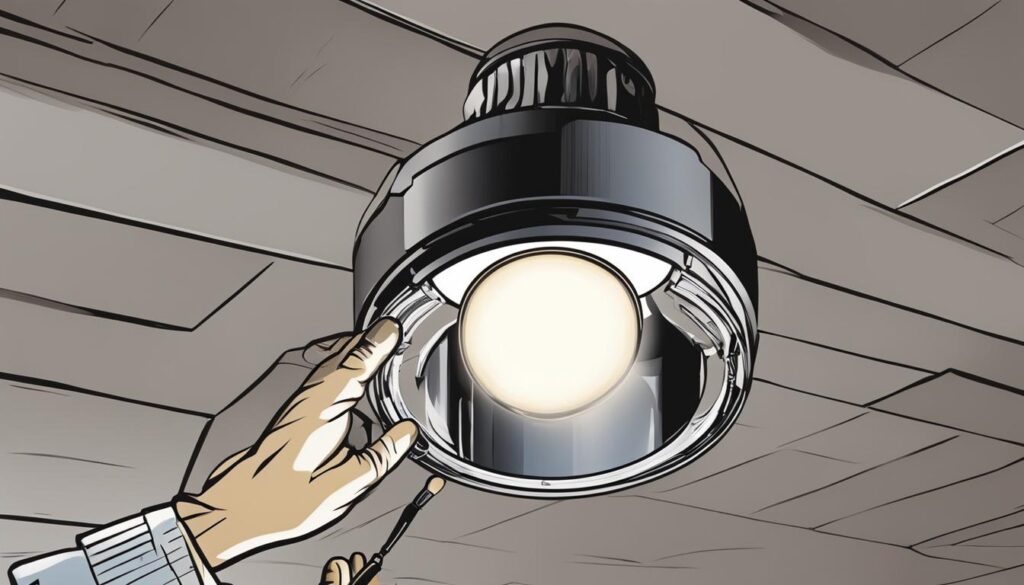
- If your recessed light uses clips, gently press the clips to disengage the bulb. For a twist-lock bulb, turn the bulb counter-clockwise to release it from the socket.
- Carefully remove the bulb from the socket while cautiously preventing it from dropping.
Remember, patience and attention to detail are valuable during this process. These simple steps help ensure a seamless and efficient bulb replacement in your recessed lighting.
Installing the New Recessed Lighting Bulb: A Quick Overview
Once you have successfully removed the old bulb, it’s time to install the new one. Before proceeding, ensure that the replacement bulb is compatible with your specific type of recessed lighting fixture. Here’s a quick guide to help you perform a smooth DIY bulb replacement in recessed lighting.
Properly Aligning the Bulb with the Socket
Start by aligning the base of the new bulb with the socket inside the recessed lighting fixture. Depending on the type of bulb you are using, the installation method may vary slightly.

Securing Twist-Lock Bulbs and Other Types
For twist-lock bulbs, gently insert the bulb into the socket and turn it clockwise until it locks into place. For other types of bulbs, carefully push the base of the bulb into the socket until it is snug. In both cases, be mindful not to overtighten the bulb, as this could potentially damage the socket.
With the new bulb securely installed, you can now proceed to test its functionality and enjoy the renewed brightness of your recessed lighting.
Testing Your Success: Restoring Power and Checking the New Bulb
To validate your quick bulb replacement in recessed lighting, start by restoring its power. Switch the corresponding circuit back on, ensuring an efficient bulb replacement in recessed lighting. Upon activation, test the newly installed bulb’s performance using the wall switch.
A successful replacement is indicated by the flawless illumination of the new bulb. When it lights up correctly, this signals both a triumphant replacement and the continuation of your lighting duties. Follow the table below to observe the clear-cut solution for a successful replacement at home:
| Step | Description | Outcome |
|---|---|---|
| 1 | Restore power by switching the circuit back on | Electricity flows to the recessed light |
| 2 | Use the wall switch to test the new bulb | Evaluate the bulb’s function and performance |
| 3 | Check for correct illumination | Verify successful replacement |
Remember, consistently following the steps above will help ensure quick and efficient bulb replacement in recessed lighting. By testing your success, you gain confidence in your ability to maintain your home’s lighting system.
DIY Bulb Replacement in Recessed Lighting vs. Professional Assistance
Replacing the bulb in recessed lighting is typically an achievable DIY task, helping you save time and resources. However, there are certain scenarios when it’s more prudent to involve a professional electrician. Continue reading to find out when to call for help and tips to deal with difficult bulbs on your own.
When to Call an Electrician
While many homeowners can handle the bulb replacement process by themselves, sometimes it’s necessary to seek assistance from a professional electrician. Instances where their expertise comes in handy include when you feel unsafe, face complications during the replacement, or need to access bulbs in challenging positions, such as very high or hard-to-reach places. By engaging a trained professional, you can avoid potential hazards while ensuring efficient and secure bulb replacement.
Tips for Tackling Difficult Bulbs
If you still wish to undertake the task on your own, here are some pointers to help you with difficult bulbs:
- Invest in the right tools: Having a sturdy ladder or a step stool of an appropriate height can make reaching the bulbs much easier.
- Use proper safety gear: Always wear protective gloves and safety glasses to prevent injuries during the replacement process.
- Seek expert advice: Reach out to a knowledgeable friend, electrician, or online community for advice and troubleshooting tips.
- Exercise patience and caution: Work gently and steadily, remembering that forced twisting or pulling may cause additional damage.
- Don’t attempt DIY repairs: If the issue goes beyond a simple bulb replacement, don’t attempt to fix the fixture or electrical system yourself. It’s safer to consult a professional in such cases.
Ultimately, learning how to replace a bulb in recessed lighting empowers you to maintain your home’s lighting system efficiently. However, recognizing when it’s time to call in a professional safeguards you and your property from potential hazards. Follow the tips mentioned above to handle tricky situations confidently or seek professional help when necessary.

Mastering the Art of Bulb Replacement in Recessed Lighting
Congratulations on successfully replacing the bulb in your recessed lighting fixture! By following the step-by-step guide, you have not only restored brightness in your home but also gained valuable skills for tackling similar projects in the future. To ensure continued success, it’s crucial to keep in mind the best practices for bulb replacement in recessed lighting.

Efficient Bulb Replacement: Lessons Learned
As you reflect on your accomplishment, some key takeaways emerge, forming the foundation of best practices in bulb replacement for recessed lighting. It’s vital to:
- Shut off the power source before starting the replacement process for safety.
- Check the bulb for compatibility with the fixture, including type and wattage.
- Wear protective gear, such as gloves and safety glasses, to minimize the risk of injury.
Future Replacements: Maintaining Recessed Lighting Efficiency
Moving forward, you can now handle bulb replacements with ease. Confidence in your newfound prowess enables you to maintain the efficiency of your recessed lighting. When it’s time for future replacements, remember to:
- Keep a record of the specific bulb types and wattages suited for each fixture.
- Monitor your recessed lighting for signs of wear or reduced output, allowing proactive bulb replacement.
- Consider upgrading to energy-efficient LED options, especially as older bulbs burn out.
In the end, these practical tips and best practices for bulb replacement in recessed lighting will save you time and money, while enhancing your home’s aesthetics and functionality. May you continue to shine brightly!
Resources and Acknowledgments
In the journey of learning how to replace bulbs in recessed lighting, it’s essential to have access to reliable and informative resources. Expert electrician interviews, manufacturing manuals, and online tutorials offer in-depth guidance that equip homeowners with the knowledge needed to perform this task safely and efficiently, without unnecessary stress.
Appreciation is due to the professional electricians, product manufacturers, and visual content creators who put in the effort to document and share these crucial steps and tips. Their contributions enable homeowners to undertake the necessary maintenance required for their recessed lighting, confidently approaching tasks like the step by step bulb replacement guide.
With these resources and dedicated experts, you’ll feel well-prepared for mastering this skill and potentially more DIY projects. So, continue to learn and utilize valuable insights provided by these professionals while ensuring the optimal functioning of your home’s recessed lighting.
FAQ
What type of bulb should be used for recessed lighting?
The type of bulb depends on the specific fixture, wattage, and size of the can. For example, a BR30 bulb is used for 4-inch cans, while a BR40 bulb fits 6-inch cans. Always check your fixture’s compatibility before purchasing a new bulb.
How do I make sure the power is off before starting the replacement process?
Locate the corresponding switch or circuit at the breaker box or fuse panel and switch it off. Allow the bulb to cool if recently used. Optionally, use a voltage tester to ensure there’s no electricity in the fixture.
What safety equipment should I wear while replacing the bulb?
Wear protective gloves to minimize the risk of potential hazards and safety glasses to shield your eyes from debris.
How do I remove the old bulb from the recessed lighting?
Recessed lights may have clips or twist-lock mechanisms holding the bulb within the housing. Gently press the clips or turn the bulb counter-clockwise to disengage and carefully remove it from the socket.
What should I do if I encounter difficulties replacing a bulb in recessed lighting?
If you’re uncomfortable with the process or face complications, consider consulting a professional electrician. They can ensure an effective and safe replacement, especially for bulbs in high or hard-to-reach places.

