If you’re looking to brighten up your new home or commercial space, installing LED recessed lighting can be a game-changer. But it’s crucial to get the process right. In this guide, we’ll walk you through the essentials of how to install LED recessed lighting new construction, complete with easy recommendations for a smooth DIY project. Follow these tips to ensure a successful installation and achieve optimal results every time.
Key Takeaways
- Planning the light placement is crucial for optimal illumination.
- Choose appropriate LED recessed lighting fixtures and ensure safety by adhering to local building codes.
- Prepare the ceiling for installation by marking and cutting out holes with precision.
- Understand and rough-in the wiring for your LED recessed lights, including selecting the correct gauge of NM-B cable for your circuit.
- Secure the housings, install the trim and bulbs, and ensure all components are functioning correctly.
- Regular maintenance will help ensure your LED recessed lights remain efficient and lasting.
Planning Your LED Recessed Lighting Layout
Before you start cutting into the ceiling, it’s crucial to lay out a strategic plan for your LED recessed lighting to ensure optimal illumination in your new construction. This involves assessing the room, selecting light positions, choosing the right LED recessed lighting fixtures, and ensuring compliance with local building codes.
Assessing the Room and Selecting Light Positions
Begin by evaluating the room’s dimensions, ceiling height, and specific lighting needs to determine the ideal positions for your LED recessed lights. Use the template provided in your LED recessed lighting kit to mark the locations for each light on the ceiling. Remember to use a stud finder to avoid encroaching on joists, as it can lead to complications during installation.
Choosing the Appropriate LED Recessed Lighting Fixtures
Selecting the right LED recessed lighting fixtures is essential for a successful installation. Consider factors such as room size and purpose, desired level of brightness, and energy efficiency when choosing the fixtures. Additionally, be mindful of your ceiling type and insulation needs, as some fixtures are designed specifically for insulated or non-insulated ceilings.
Ensuring Safety and Compliance with Local Building Codes
Always verify that your proposed LED recessed lighting layout is compliant with local building codes, particularly concerning the fixtures’ distance from insulating material and circuit loads. Familiarize yourself with relevant guidelines to prevent overloading circuits and ensure that every fixture meets the current safety standards. This will not only help you achieve a safe and efficient lighting system but also avoid problems with building inspectors or potential buyers down the line.
Tools and Materials You’ll Need
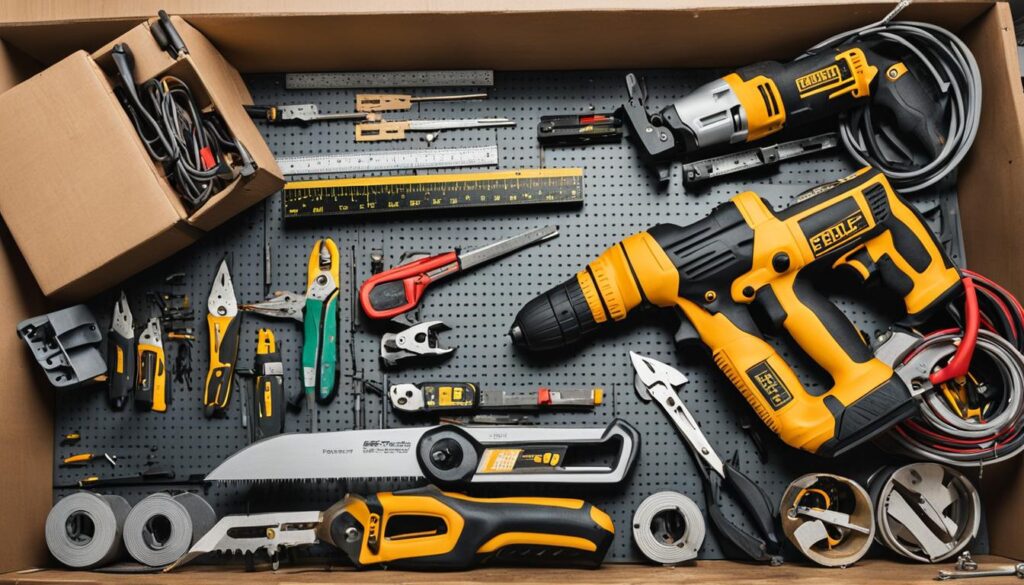
Before you begin your LED recessed lighting installation, gather all the necessary tools and materials. This will make the process smoother and more efficient, ensuring a successful new construction LED lighting installation. Below is a list of essential items you’ll need:
- Drywall saw or drill with a hole-cutting attachment
- Stud finder
- Wire strippers
- Non-contact voltage tester
- LED recessed lighting fixtures
- IC-rated fixtures for insulated spaces (if applicable)
- Appropriate gauge NM-B cable

It’s important to choose the correct IC-rated fixtures for your space, especially if it’s insulated. Additionally, understanding the amperage of your lighting circuit will help you to avoid overloading the system. Familiarize yourself with the National Electrical Code clearance, spacing, and support rules to ensure a safe and compliant installation.
Now that you have everything you need, you’re well-prepared to start the installation process. Stay organized and follow the recommended guidelines to achieve a professional-looking and functional LED recessed lighting setup in your new construction project.
Preparing the Ceiling for Installation
Before you begin the new construction lighting installation, it is crucial to accurately mark the ceiling for cutouts to ensure a smooth and easy LED recessed lighting installation process. This involves using the cutout template provided with your lighting kit and ensuring that the placement of the holes will not interfere with any joists or other ceiling structures.
Marking the Ceiling for Cutouts
Start by examining your ceiling and determining the best placement for each recessed light fixture. Using a stud finder, identify and avoid any joists or obstructions within the ceiling. This will help you properly place your marks, ensuring that the holes won’t overlap a joist and that there’s enough clearance for each light fixture.
Utilizing the Cutout Template
Once you’ve selected the ideal positions for your lights and ensured that there are no obstructions, use the cutout template provided with your LED recessed lighting kit to trace the outline of the holes on the ceiling. This guide will guarantee accurate and consistent hole sizes, paving the way for a seamless installation process.
In conclusion, properly preparing the ceiling for your new construction lighting installation is a vital step in achieving a successful and easy LED recessed lighting installation. By meticulously marking the ceiling for cutouts and utilizing the provided cutout template, you are setting yourself up for a smoother project with fantastic results.
Safely Cutting Holes for Your LED Recessed Lighting
When it comes to a DIY LED recessed lighting installation, safety should be your top priority. Cutting holes in the ceiling for your fixtures can be a tricky but necessary step. To ensure a smooth process, follow these guidelines:
- Confirm that there’s no joist overlap in your marked locations.
- Drill a smaller guide hole in the center of each marked spot. This will help you avoid any obstructions such as wires or pipes while cutting the larger recessed light holes.
- Use a power tool, such as a drywall saw or hole-cutting drill attachment, to carefully cut the larger holes. Be cautious not to snag any wires during this process.
- Remove the cutout pieces with care to create a clean opening for your LED recessed lights.

By thoroughly following these safety guidelines, you can create the perfect spacing for your LED recessed lighting fixtures. The next steps in the installation process will be easy and efficient, thanks to your careful preparation during the ceiling cutting stage.
How to Install LED Recessed Lighting New Construction
During the LED recessed lighting installation process, the first step is to disconnect any existing fixtures. From the power source, run the NM-B cable to each recessed light location, ensuring there is extra cable length for easy wiring.
When routing the NM-B cable, take care to provide ample slack to facilitate future connections.
Cable running between recessed light fixtures should also be planned out with a focus on efficient and tidy wiring practices. Use the tried-and-tested method described below to ensure a smooth installation process:
- Disconnect any existing fixtures.
- Run the NM-B cable from the power source to each recessed light location, leaving extra cable length for easy wiring.
- Ensure ample slack in the NM-B cable for future connections.
- Plan cable runs between recessed light fixtures to maintain efficient and tidy wiring.
Following these steps will ensure a seamless and professional installation of your LED recessed lighting in new construction.
Understanding and Roughing-In the Wiring
Once the holes for the LED recessed lighting are prepared, it’s time to rough-in the wiring. The proper gauge of NM-B cable for your circuit is essential, as is connecting the lighting to power sources effectively. Remember to follow new construction LED lighting installation tips and the step-by-step recessed lighting installation process to ensure a successful outcome.

Selecting the Correct Wiring
Selecting the appropriate NM-B cable is crucial for the proper functioning and safety of your LED recessed lighting installation. Utilize 14-gauge cable for 15-amp circuits and 12-gauge cable for 20-amp circuits. This choice guarantees that your wiring accommodates the right amount of current and protects your lighting system from overloading.
Connecting Your Lighting to Power Sources Effectively
After choosing the correct cable gauge, connect your recessed lights to power sources in an efficient manner. Start by running the cable from the power source to your switch box and the first recessed light’s hole. Next, string the cable to each subsequent hole for all recessed lights, making sure to leave extra wire for easy connections and future adjustments.
Recessed Light Fixture Wiring Demystified
Understanding the wiring process is essential for a successful LED recessed lighting installation. Once you have strategically laid out the wires for each recessed light, it’s time to tackle the actual wiring process. Follow this easy-to-understand recessed lighting installation guide to connect your wires properly.
- Locate each light fixture’s junction box and open it by unscrewing the cover.
- Clamp the cables entering the junction box to secure them in place.
- Strip about 3/4-inch of insulation from the end of each cable to expose the individual wires: black (hot), white (neutral), and bare copper (ground).
- Match the wires by their color and connect them using wire connectors, twisting the connector clockwise until it feels tight. Be sure to connect the black wires together, the white wires together, and the ground wires together.
- After making the necessary connections, fold the wires back into the junction box to keep the space neatly organized.
- Finally, screw the junction box cover back on to finalize the wiring.
With the wiring process complete, your recessed lighting installation is on-track for success. The next important step is to properly mount the LED recessed lighting housings into the cutout holes you’ve made earlier.
Mounting the LED Recessed Lighting Housings
Now that the wiring for the LED recessed lighting is in place, it’s time to mount the housings securely and optimally. Mounting the housings involves properly securing them without causing damage to the drywall, while also adjusting their position for maximum illumination and efficiency.

Securing the Housings Without Damaging the Drywall
Most LED recessed light fixtures come equipped with integral clips that secure the fixture to the ceiling. Carefully insert the can into the hole and ensure the clips are utilized effectively, holding the fixture flush with the ceiling surface and securely in place. Adequate caution must be exercised during this process to avoid any damage to the drywall.
Adjusting for Maximum Illumination and Efficiency
Once the housings are securely mounted, make adjustments to their positioning to optimize the direction of light. The right positioning ensures the best possible illumination, thereby enhancing the overall aesthetics and functionality of your space. Feel free to experiment with various positioning angles until you achieve the desired lighting effect while installing LED recessed lighting in a new construction.
Adding the Finishing Touches with Trim and Bulbs
Now that the housings are securely in place, it’s essential to focus on the cosmetic aspects of your LED recessed lighting installation. This section will cover how to select the perfect trim that complements your space and choose energy-saving LED bulbs, ensuring optimal aesthetics and efficiency.
Choosing Trim that Complements Your Space
The right choice of trim can truly make your how to install LED recessed lighting new construction project come together seamlessly. Recessed light trims typically utilize coil springs or squeezable rod springs to attach to the interior of the can. Guide the trim into place carefully, making sure the springs are securely connected to the can. Keep in mind the overall style of your space and choose trim that matches your desired aesthetic, whether it’s modern, traditional, or somewhere in between. 
Energy-Saving LED Bulb Selection
In addition to the proper trim, the bulb choice is crucial in the LED recessed lighting installation process. First, select bulbs that are suitable for your fixture by following the manufacturer’s recommendations on wattage and size. This precaution helps avoid overloading the circuit and adheres to safe new construction lighting installation guidelines.
Additionally, opt for energy-efficient LED bulbs that not only complement the design aesthetics of your space but also provide long-lasting, environmentally friendly illumination. Consider factors like color temperature, lumens, and beam angle when selecting LED bulbs to ensure optimal lighting performance and energy savings.
In conclusion, investing time and effort into choosing the right trim and energy-saving LED bulbs plays a vital role in the overall success of your LED recessed lighting installation. With the careful consideration of these finishing touches, you’ll elevate the look and functionality of your space, creating an inviting atmosphere for years to come.
Conclusion
In conclusion, the installation of LED recessed lighting in new construction requires careful planning, the right tools and materials, and rigorous attention to safety. The process involves an initial layout creation, precise ceiling cutouts, secure housing installation, and proper wiring connections. With these critical components in place, you’ll have efficient, functional, and visually appealing lighting for your space.
Reviewing the Installation Process
After completing the installation, always review your work to ensure everything is correctly in place and functioning optimally. This final step is essential for maintaining your new LED recessed lighting system and avoiding any potential issues in the future. Remember, correctly installed LED recessed lighting will provide you with an energy-efficient, low-maintenance lighting solution perfect for your new construction.
Maintenance Tips for Your New LED Recessed Lighting
To guarantee the long-lasting performance of your new LED recessed lights, regular maintenance is vital. Routinely check your lighting for dust build-up, ensure that the bulbs are functioning efficiently, and confirm all components are functioning correctly. Performing these simple maintenance tasks will keep your space brilliantly lit for years to come, ensuring you enjoy the numerous benefits of your new LED recessed lighting installation.
FAQ
What tools and materials are needed for LED recessed lighting installation?
Some necessary tools and materials include a drywall saw or drill with a hole-cutting attachment, a stud finder, wire strippers, a non-contact voltage tester, and the LED recessed lighting fixtures themselves. Additionally, you’ll need the correct gauge of NM-B cable for your circuit.
How do I ensure safety and compliance with local building codes when installing LED recessed lighting?
Always verify your installation plan against local building codes to ensure safety and compliance. Pay close attention to guidelines regarding the distance between fixtures and insulation material and circuit loads. It is essential to prevent overloading and ensure that each fixture complies with current codes.
How do I choose the correct LED recessed lighting fixtures for my new construction?
Choose fixtures that are appropriate for your space and layout. Consider IC-rated fixtures for insulated spaces and understand the amperage of your lighting circuit before purchasing. Factor in the size, style, and intended use of the fixtures to make the best decision for your installation.
What are the steps for preparing the ceiling for LED recessed lighting installation?
First, use a template to mark the ceiling where each light will be installed. Ensure the marks are placed correctly so the holes won’t overlap with any joists, and there’s enough clearance for each light fixture. Then, carefully cut out the marked areas with a drywall saw, taking care not to damage any hidden wires.
How do I route and connect the wiring for my LED recessed lighting installation?
Run the correct gauge of NM-B cable from the power source to your switch box and the first light’s hole. Continue this process, stringing cable to each subsequent hole for all recessed lights, leaving extra wire for easy connections. After laying out the wiring, clamp the cables in each light’s junction box, strip the wires, and match the colors accurately: black to black, white to white, and ground to ground. Safely fold the connected wires back into the junction box before proceeding.
How do I maintain my newly installed LED recessed lighting for long-term performance?
Regularly check your LED recessed lights for dust build-up and bulb efficiency. Ensure that all components are functioning correctly and adhere to the recommended wattage to avoid overloading the circuit. Periodically reviewing your installation and addressing any issues early on will help you enjoy a brilliantly lit space for years to come.

