As a DIY enthusiast, I’ve always been keen on finding new ways to make my home renovations more professional and stylish. That’s when I discovered how to wire in recessed lighting, which can truly transform a living space by creating a clean, modern look. To help others learn this valuable skill, I’ve put together this step-by-step recessed lighting installation guide that covers everything from planning and wiring to installing and troubleshooting. With some patience and persistence, you too can master DIY recessed lighting wiring and enhance your home’s aesthetics. To make things even easier, I’ve included a comprehensive wiring diagram for recessed lighting at the end of this guide. So, let’s get started!
Key Takeaways
- Choose the right recessed lighting for your home by considering factors like electrical safety, permits, and the National Electric Code (NEC)
- Plan your lighting layout carefully, taking into account room dimensions, circuit limitations, and the number of fixtures needed
- Gather essential tools and materials, including the appropriate wire gauge and IC or Non-IC rated fixtures for your installation
- Follow step-by-step guidelines for electrical wiring, connecting recessed light cans, and installing the cans in your ceiling
- Test your installation to ensure proper functioning, troubleshoot any wiring issues, and make necessary adjustments
- Add finishing touches with trims and energy-efficient LED bulbs to optimize your lighting system’s visual appeal and performance
- Maintain your newly installed lights and consider upgrades like smart lighting systems for ongoing home improvement
Understanding Recessed Lighting and Electrical Safety
Recessed lighting has become increasingly popular in home improvement projects due to its sleek appearance and compatibility with various interior design styles. When embarking on a recessed lighting installation project, prioritizing electrical safety is of utmost importance. This includes obtaining the necessary permits, understanding building codes, and following proper electrical wiring procedures for recessed lights. In this section, we’ll discuss why recessed lighting is a great choice for home improvement, outline electrical safety precautions, and offer tips for navigating permits and building codes.
Why Choose Recessed Lighting for Your Home Improvement
Recessed lighting is an excellent choice for various spaces in your home. It offers a clean, unobtrusive look that blends seamlessly with your room’s design. Thanks to their flush-mount design, recessed lights create an illusion of more space, making rooms appear larger and more open. They also provide even illumination, reducing glare and shadows, making them perfect for task, ambient, and accent lighting in living areas, kitchens, bedrooms, and bathrooms.
Electrical Safety Precautions Before You Start
Before starting a recessed lighting installation tutorial, there are several measures to ensure electrical safety. Always turn off the power supply to the circuit you are working on at the electrical panel. Use a voltage tester to confirm that no electricity is flowing in the wires. Properly insulate and secure all connections, using wire nuts, electrical tape, or push-wire connectors, depending on local code requirements. It’s also essential to secure the wires against the can’s metal hole, using safety devices like wire detensioners, to prevent the risk of fire hazards.
Navigating Permits and Building Codes
Getting permits and understanding building codes is crucial when undertaking an electrical project like recessed lighting installation. Permits might be required if you are adding new or extending existing circuits. Depending on your local jurisdiction, only licensed professionals may be allowed to file for these permits. Familiarize yourself with the National Electric Code (NEC) to ensure your wiring project adheres to national safety standards. Also, take into account the amperage of your lighting circuit, as this will determine the appropriate wire gauge, with 14-gauge wire commonly used for 15-amp circuits, and 12-gauge wire for 20-amp circuits.
Planning Your Recessed Lighting Layout
When it comes to planning your recessed lighting layout, a great deal of attention is required to ensure that the room is well-lit and that the installation is safe and efficient. Assessing the room and figuring out the specific lighting needs is a pivotal step in this process. This involves determining the number of recessed lights needed and factoring in the power load the circuit can carry. An optimal layout takes into consideration the amperage limitations of the chosen circuit and any imposed limits on the quantity of individual fixtures.

Assessing the Room and Lighting Needs
Before you begin wiring in recessed lighting, survey your space to identify the primary lighting needs. As you do this, take note of any obstacles, such as furniture, that may affect your lighting plan. Additionally, understanding the purpose and ambiance you wish to create in the room will help guide your selection and placement of recessed lights.
Determining the Number of Recessed Lights Needed
The total number of recessed lights required depends partly on the power load the circuit can handle. For example, a 15 amp circuit can support a recommended limit of 1,440 watts, whereas a 20 amp circuit can handle up to 1,920 watts. By considering the wattage limitations, you can determine the appropriate number of recessed lights that can be installed without overloading the circuit. Careful planning is crucial, as it not only prevents potential overloading but also ensures compliance with the National Electrical Code (NEC) box size calculations, guaranteeing a safe installation.
| Circuit Type | Amperage | Recommended Wattage Limit |
|---|---|---|
| 15 Amp Circuit | 15 A | 1,440 W |
| 20 Amp Circuit | 20 A | 1,920 W |
Gathering Your Recessed Lighting Tools and Materials
To wire recessed lighting effectively, having the right tools and materials is just as important as understanding the wiring process. This will ensure both a safe and an efficient installation process. In this section, we will discuss the essential tools you will need, selecting the appropriate wire gauge, and choosing the right recessed lighting fixtures based on insulation ratings.
Essential Tools for DIY Recessed Lighting Wiring
Be sure to assemble these essential tools for your DIY recessed lighting wiring project:
- Wire strippers
- Needle nose pliers
- Utility knife
- Screwdrivers
- Linemen’s pliers
- Hammer
Selecting the Right Wire Gauge for Your Lights
The wire gauge you will need depends on the circuit’s amperage. You will need 12-gauge wire for 20-amp circuits and 14-gauge wire for 15-amp circuits. Be sure to refer to the recessed lighting wiring guide and wiring diagram for recessed lighting for more information on wire sizing requirements.
Choosing Your Recessed Lighting Fixtures: IC Vs. Non-IC Rated
Before purchasing, it’s crucial to understand the difference between IC and Non-IC rated fixtures. IC-rated fixtures are suitable for installations where insulation will directly contact the can, while Non-IC fixtures are fit for areas where insulation is not present. Additionally, consider whether to use old-work cans designed for remodels or new-work cans, which are fastened before the drywall goes up. This decision will depend on the specifics of your installation project.
How to Wire in Recessed Lighting – Step by Step
When it comes to wiring recessed lighting, careful planning and thorough preparation make the process significantly smoother. Before you dive into the actual wiring, it is crucial to take some time to properly prepare your workspace and map out the light positions.
Preparing the Work Area and Light Positions
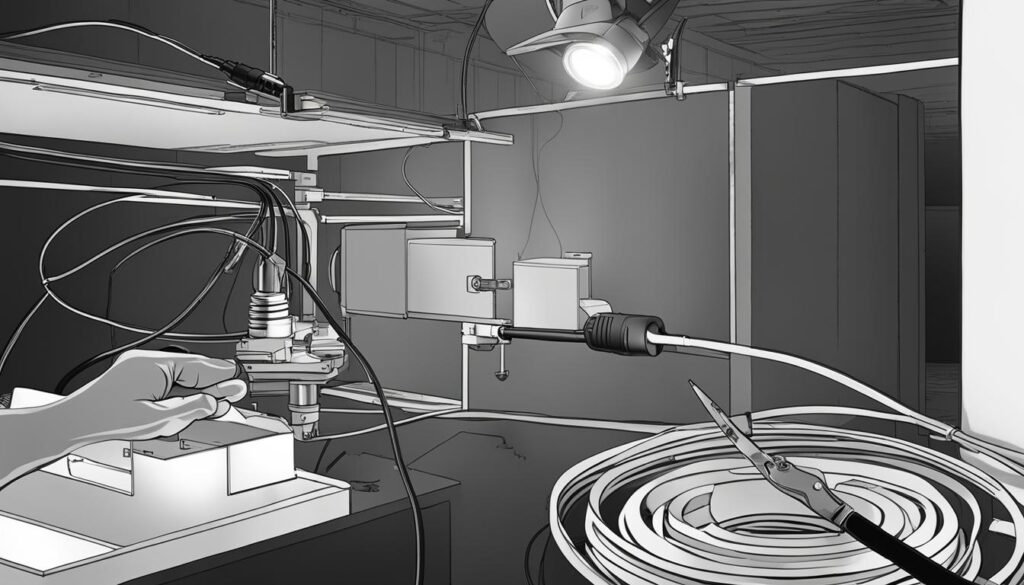
Begin by drilling the holes required for your recessed light cans, carefully avoiding joists, existing wiring, pipes, and ductwork in the ceiling. Using a template will ensure consistent placement of each recessed light. Once you have cut the holes with a drywall saw and marked the light positions, you are ready to run the wiring.
Connect a switch or power source box to the first recessed light location with NM-B cable, and continue to connect the rest of the fixtures by adding at least 18 inches of extra cable at each point. This extra cable length will provide some flexibility during the wiring process and make it easier to complete the required connections.
By following this step-by-step recessed lighting installation guide, you’ll be well on your way to a successful and functional DIY recessed lighting wiring project.
Electrical Wiring Basics for Recessed Lights
Understanding the basics of electrical wiring for recessed lights is essential to ensure a safe and efficient installation. The process involves properly connecting the cans and routing the cables, as outlined in this recessed lighting wiring guide.
- For each can, strip the wires half an inch so they can be connected into the designated push-wire connectors.
- Connect black wires to black, white wires to white, and ground wires to ground.
- Ensure a neat appearance by looping black and ground wires in the direction of the screw’s turn when tightening.
Follow recessed lighting wiring instructions carefully and adhere to the correct color codes and connections to ensure safety and functionality.
When securing connections and routing cables, use cable staples to attach the non-metallic cable to the floor joists, keeping the wiring at least 2 inches from the top or bottom of the joists. As per code requirements, a 1/4-inch of cable sheath should extend beyond the electrical box clamp.
Installing the Recessed Light Cans in Your Ceiling
When it comes to installing the recessed light cans, it’s essential to understand the key differences between old work (or “remodel”) cans and new work cans, as well as the correct method for physically installing the cans. Doing so ensures a stable support for the lighting fixtures and prevents damage to the drywall.
Old Work Vs. New Work Recessed Cans
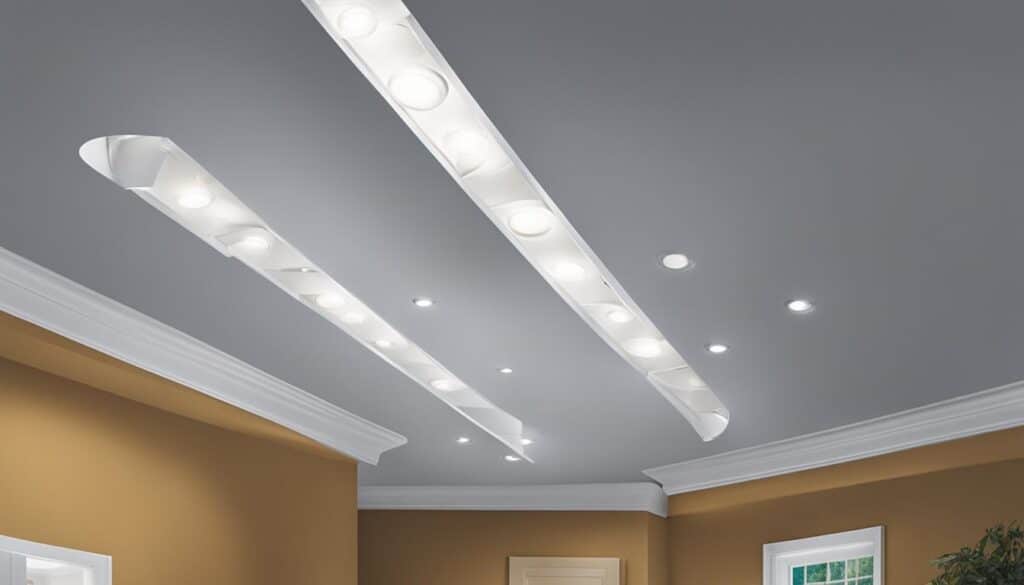
Old work cans are designed for remodels and mount directly to the drywall, whereas new work cans are meant for new construction and get affixed to the joists before the drywall is in place. Choosing the right type of can for your project is crucial for a successful recessed lighting installation.
The Correct Method to Physically Install the Cans
During the installation process, the cans should be secured with their clips tight to the drywall and should stay sturdy in place after the clips are engaged. It’s important to ensure you’re using the right type of can for your project – IC-rated cans are ideal for attic spaces with direct insulation contact, while Non-IC rated cans are preferred when insulation doesn’t touch the cans, such as in many first-floor and basement settings.
Connecting Your Recessed Lights to Power
Once you have planned your recessed lighting layout and installed the light cans, the next essential step is connecting the lights to a power source. This process requires attention to detail and adherence to safety guidelines to ensure a secure and efficient installation. In this section, we will discuss how to wire your recessed lights to the power source and light switch, identify the correct circuit and load calculations, and secure connections while routing cables.
Wiring to the Power Source and Light Switch
The connection of recessed lights to a power source involves extending a cable from an existing receptacle or switch box that contains an actively hot wire on an appropriate circuit. When making this connection, it is critical to ensure that the chosen circuit is not already at maximum capacity from other electrical items in the house.
Identifying the Correct Circuit and Load Calculations
Load calculations must be adhered to, with a maximum of 1,440 watts recommended for a 15-amp circuit and 1,920 watts for a 20-amp circuit. The cable must be routed through the ceiling framing, using holes drilled in the joists, and then dropped down to the switch location.
Securing Connections and Routing Cables
Cables should be run from one hole to the next, ensuring a continuous network between cuts of recessed light placement, and then connected properly at the switch or power source box. Properly wiring your recessed lights is crucial for both safety and functionality, ensuring a seamless and visually appealing installation.
Finalizing the Wiring Diagram for Recessed Lighting
As you approach the completion of your DIY recessed lighting project, having a solid and well-planned wiring diagram is crucial for ensuring proper connections and a seamless functioning of your installed lights. This section will cover mapping out your circuit path, the role of junction boxes in your lighting plan, and how to troubleshoot any common wiring issues.

Mapping Out Your Circuit Path
To create an effective wiring diagram for recessed lighting, start by mapping out the circuit path from the power source to the switch, and then connecting each recessed light consecutively. This will help you visualize the entire lighting system and eliminate any potential issues that might arise from incorrect connections or wiring choices.
The Role of Junction Boxes in Your Lighting Plan
Junction boxes serve as a pivotal hub in your recessed lighting plan, allowing a single cable to be branched into multiple directions and connecting various lights. These boxes need to be properly sized in accordance with the National Electrical Code (NEC) to accommodate the number of wires. Ensuring the correct junction box size will keep your lighting plan safe and compliant with the NEC requirements.
Troubleshooting Common Wiring Issues
Troubleshooting is an inevitable aspect of wiring recessed lighting, which can include ensuring that cables are not overloaded and that all connections comply with the NEC. Common issues might include loose connections, wires that are not properly grounded, or a faulty switch. If you encounter any complex or persistent problems, consulting with a licensed electrician is recommended to ensure a safe and functional installation.
In conclusion, having a well-planned wiring diagram for your recessed lighting is instrumental in achieving a seamless and safe installation. By following these guidelines on mapping out your circuit path, incorporating junction boxes, and troubleshooting common issues, you are well on your way to enhancing your space with beautifully installed, functional recessed lighting.
Testing Your Recessed Lighting Installation
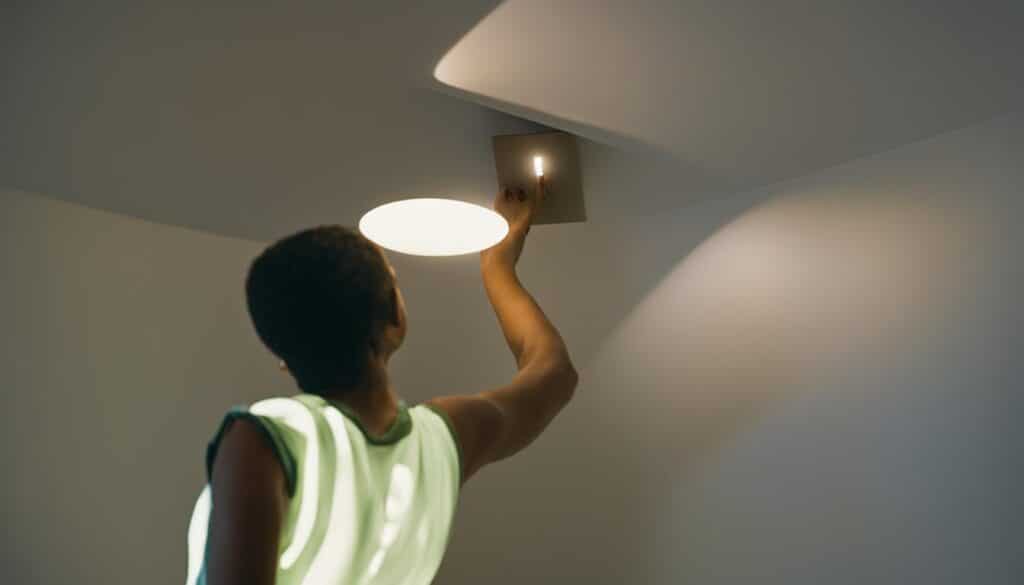
Testing your recessed lighting installation is an essential step to ensure all connections are secure and the system functions correctly. Begin by turning on the circuit breaker and activating the switches to verify that the lights operate smoothly.
If the lights do not work, revisit the connections and ensure each cable is properly seated in its respective junction box. This is an opportune time to have the electrical work inspected by a certified inspector. Should there be any fault or inconsistency, amend and retest the system until it meets safety and functionality standards.
The ultimate goal of testing is to ensure a safe and functional installation of your recessed lighting.
Pro Tip: During the testing process, it’s essential to be patient and thorough to avoid overlooking any potential issues and to keep safety as the top priority.
- Activate the circuit breaker.
- Turn on the switches connected to your recessed lighting.
- Inspect the lights for smooth operation.
- Revisit connections and junction boxes if any issues arise.
- Have a certified inspector verify the electrical work if necessary.
- Amend and retest until all safety and functionality standards are met.
In conclusion, testing your DIY recessed lighting installation is critical for ensuring a safe and functional lighting system. By following the steps outlined above and keeping safety as your top priority, you can take pride in your successful recessed lighting installation project.
Adding Finishing Touches with Trim and Bulbs
Once the recessed lighting is wired and working, the finishing touch involves choosing and installing the right trim and bulbs to enhance the aesthetics of the room. It’s essential to select the appropriate trim style and energy-efficient LED bulbs that cater to the room’s aesthetics and desired ambiance.

Choosing the Right Trim to Complement Your Space
Trims are available in various styles and should be selected based on room aesthetics and the type of ambiance desired. The trim not only serves as a decorative feature but also impacts the direction and intensity of the light. Consider the overall design of the room and the lighting effect you want to achieve in order to select the best trim style for your recessed lighting installation.
Installing Energy-Efficient LED Bulbs
The type of bulbs used in your recessed lighting can make a significant difference in energy efficiency. LED bulbs are highly recommended due to their low energy consumption and long lifespan, making them a sustainable choice. After the trims are properly secured to the recessed can units, install the LED bulbs to complete the polished look and feel of your lighting installation. LED bulbs also offer a wide range of color temperatures, allowing you to create the perfect atmosphere for any space.
Professional Tips for a Polished Look
Creating a sleek and professional appearance for your recessed lighting installation not only enhances the aesthetics of your space but also improves the overall functionality of the lighting system. In this section, we will discuss how to effectively conceal wiring and fixtures, along with incorporating dimmers for adjustable lighting levels.
Concealing Wiring and Fixtures
One important aspect of creating a polished look is to effectively conceal any visible wiring and fixtures. This can be achieved through a variety of creative techniques, such as painting the fixtures to match the ceiling or using decorative trims as cover. Proper execution of these measures will seamlessly integrate the lighting into your room’s design, offering an aesthetically pleasing result.
Adjusting Light Levels with Dimmers
Adding dimmers to your DIY recessed lighting wiring system provides a level of versatility and control over the room’s ambiance. Adjustable light levels enable you to adapt the lighting to various occasions and times of the day. It is essential to select dimmers that are compatible with the fixtures and bulbs used in your installation, as this will help you avoid potential electrical problems. When installed correctly, dimmers enhance your room’s lighting, making it both functional and adaptable.
Conclusion
In conclusion, successfully completing a DIY recessed lighting installation can greatly enhance the aesthetics and functionality of your home. The project not only adds a transformative touch to your space, but also provides personal satisfaction and a sense of accomplishment. However, installing recessed lighting is not a one-time task, as maintenance and updates are necessary for the long-term enjoyment of your lighting system.
Reflecting on the DIY Recessed Lighting Project
Once the installation is complete, it’s important to reflect on the process and learn from the experience. This ensures that future DIY projects can be undertaken with more confidence and efficacy. Moreover, these skills can be further honed and developed to tackle other home improvement tasks and challenges.
Maintenance and Upgrades for Your Newly Installed Lights
Regular maintenance and staying updated with lighting innovations are vital practices for ensuring your home remains well-lit and technologically current for years to come. Proper maintenance could involve the regular cleaning of fixtures and timely replacement of bulbs. As technology advances, considering upgrades such as smart lighting systems, which allow for remote control and automation, can be a way to further enhance your home’s lighting scheme. Keeping a proactive approach to maintaining and upgrading your recessed lighting will secure a comfortable, well-developed lighting system that elevates your living space.
FAQ
What are the necessary permits and building codes to consider when wiring recessed lighting?
Securing necessary permits and understanding building codes, particularly those related to the National Electric Code (NEC), is crucial for electrical safety. Permits may be needed for work involving new or extended circuits, and a licensed professional may need to apply for them depending on local jurisdiction. The lighting circuit’s amperage will also determine the required wire gauge (14 or 12 gauge).
How do I determine the number of recessed lights needed for a particular room?
Assess your room’s specific lighting requirements and consider factors such as circuit amperage limitations and the number of individual fixtures allowed. A 15 amp circuit can handle up to 1,440 watts, while a 20 amp circuit can handle up to 1,920 watts. Plan your layout accordingly to avoid overloading the circuit and ensure safe installation.
What is the difference between IC and Non-IC rated fixtures?
IC (Insulation-Contact) rated fixtures are suitable for installations where insulation will directly contact the can. Non-IC fixtures are fit for areas without insulation present. Choosing the correct fixture type will ensure a safe and efficient installation.
How do I run the wiring for recessed lights?
First, drill holes for the recessed light cans while avoiding joists, wiring, pipes, or ductwork in the ceiling. Route the wiring by connecting a switch or power source box via NM-B (Non-Metallic Sheathed Cable) to the first recessed light location and continue connecting the fixtures. It’s essential to include at least 18-inches of extra cable at each connection point for ease of wiring.
How do I make proper connections for my recessed lights?
Strip wires half an inch and connect them into designated push-wire connectors: black to black, white to white, and ground to ground. Follow code requirements and maintain consistent and safe color codes and connections for a functional lighting system. Utilize junction boxes that adhere to the National Electrical Code for proper cable routing and secure connections.
What are some professional tips for achieving a polished look with my recessed lighting installation?
Conceal visible wiring by painting fixtures to match the ceiling or using decorative trims, and install dimmers compatible with fixtures and bulbs for adjustable light levels. These professional touches will seamlessly integrate lighting into the room’s design, providing functional and adaptable illumination.


