Transforming your kitchen into a beautifully lit and inviting space has never been easier with the modern innovation of under cabinet LED lighting. I took on this satisfying DIY project and found that it’s a simple process involving low-voltage wiring, sleek LED strips, and a wireless dimmer switch. By following my easy under cabinet LED lighting installation tutorial, you too can enjoy a bright and functional kitchen without the hassles and costs of hiring a professional electrician. All you need are the right tools, some patience, and a little bit of guidance along the way.
Key Takeaways
- Under cabinet LED lighting installation is an accessible DIY project, and it can significantly improve the ambiance and functionality of your kitchen.
- Employ low-voltage wiring and versatile LED strip lights to adapt to any kitchen layout.
- Equip yourself with the necessary tools, and understand the importance of measuring and cutting LED strips for optimal results.
- Integrate a wireless dimmer switch to control light intensity and customize your kitchen lighting.
- Ensure attention to detail during installation to achieve a professional-quality finish on a DIY budget.
- Maintain and care for your new LED lighting system to optimize its performance and longevity.
- Enjoy the enhanced atmosphere and functionality of your newly lit kitchen space.
Introduction to Under Cabinet LED Lighting Installation
Before embarking on the installation of under cabinet LED lighting, it is essential to recognize its simplicity. With this step-by-step guide for installing under cabinet LED lighting, even those with minimal experience can undertake this project with confidence, provided they are armed with the appropriate tools and a clear process. By planning the project over a weekend, the installation can be split into manageable steps.
- Day one involves adding a new outlet and setting up the power supply.
- Day two focuses on running the wiring for the lights, ensuring a secure and operational system without a professional electrician’s costs.
Picture this:
you’re preparing a meal in your kitchen, and you find yourself squinting to see clearly due to poor lighting. The solution? Installing under cabinet LED lighting. This innovative and energy-efficient lighting option provides bright, targeted illumination to enhance your kitchen workspace and ambiance. Moreover, it is easy to install and maintain.
Under cabinet LED lighting installation tips are essential for both beginners and those with some experience. To ensure a successful installation, gather the necessary tools, follow the manufacturer’s guidelines, and have a clear plan for the project.
“Under cabinet LED lighting has the power to transform your kitchen, making it a brighter, more functional, and inviting space.”
Now that you’re ready to start your under cabinet LED lighting installation project, stay tuned for more tips and tricks, as well as specific information on selecting the right LED strips, planning the layout, and installing the lights for a professional finish. Get ready to enjoy a beautiful, well-lit kitchen that will become your favorite room in the house.
The Benefits of Under Cabinet LED Lighting
Transitioning from traditional lighting options to modern under cabinet LED lighting not only adds a touch of elegance to your kitchen but also enhances its functionality and ambiance. LED lights offer the advantage of a customizable kitchen atmosphere. Thanks to their daisy-chain design, they can easily adapt to a wide range of kitchen layouts and preferences.
Another factor adding to their appeal is the discreet wiring system that remains hidden from sight, maintaining the visually pleasing aesthetic of your space. Furthermore, the convenience of a wireless dimmer switch allows you to adjust the brightness levels to your liking without the need for invasive installations. As a result, opting for under cabinet LED lighting elevates the practical elegance of your kitchen.
If you’re interested in incorporating this sophisticated lighting option into your home, here are some helpful tips for installing under cabinet LED lighting:
- Select the right color temperature to set the desired ambiance in your kitchen.
- Measure and accurately cut the LED strips to fit your specific cabinet layout.
- Choose a reliable power source to ensure seamless operation of the lighting system.
- Wire and connect the LED strips with the appropriate connectors and cable management techniques.
By following these best practices for under cabinet LED lighting installation, you will create a cozy and inviting atmosphere in your kitchen that is both visually appealing and functionally effective. Don’t be afraid to take the leap and transform your kitchen with the stunning addition of under cabinet LED lighting.
Before You Begin: Planning and Preparation
Embarking on a DIY under cabinet led lighting installation project requires not only the right tools and materials but also a thorough understanding of your kitchen’s layout. By being well-prepared, you can ensure a successful installation that mirrors a professional under cabinet led lighting setup.

Tools and Materials Needed
Gather your essential tools and materials before starting the installation process. A voltage tester for electrical safety, a multi-bit screwdriver, a utility knife, and pliers for the wiring tasks are crucial. Additionally, a drywall saw, scissors, a tape measure, a drill, clamps, and fish tape are required for precise measuring, cutting, and securing components in place.
Understanding Your Kitchen Configuration
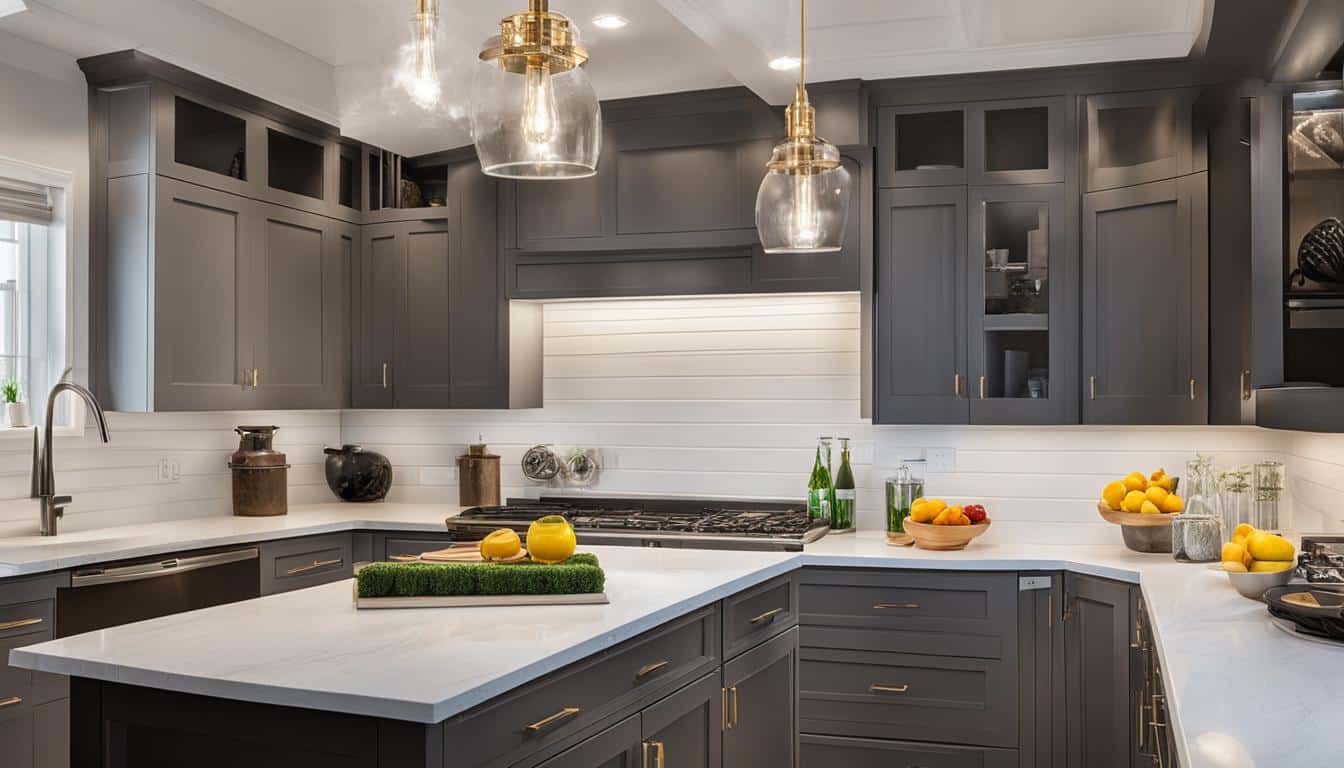
Just as important as having the right tools, knowing your kitchen’s unique layout determines the optimal placement of under cabinet led lighting strips, terminal connections, and power supplies. An L-shaped kitchen with cabinets of varying heights demands a well-devised plan for the deployment of LED strips to ensure both visual appeal and functional coverage. Take time to study your kitchen’s composition and identify the best approach to integrate seamless, warm lighting in your space.
How to Install Under Cabinet LED Lighting
Installing under cabinet LED lighting might seem intimidating at first, but with a step by step guide and some preparation, you can achieve a functional and beautiful result. The installation process can be broken down into several key steps, ensuring an easy under cabinet led lighting installation that you can be proud of.
- Choose the right power outlet: Identify an accessible and discreet power source to maintain a clean setup.
- Prepare the installation area: Ensure the area under the cabinets is clean and free of debris before installation.
- Understand component connections: Familiarize yourself with the different LED tape connectors and their functions, such as cornering and extension capabilities.
- Make necessary holes: Using a drill and paddle bit, create holes in the cabinets to run wiring and install power supplies.
- Measure and cut the LED tape: Accurately measure the space under the cabinets, and cut the tape accordingly.
- Wire and connect the LED strips: Neatly run wiring, connect the LED strips, and secure them in place.
- Test the LED lights: Ensure all connections are secure and functional, and adjust if needed.
Tackling this project methodically and thoroughly will lead to a sleek, professional-looking installation. With your new under cabinet LED lighting in place, you’ll enjoy enhanced ambiance, better task lighting, and a kitchen space that feels both modern and inviting.
Step One: Setting Up the Power Source
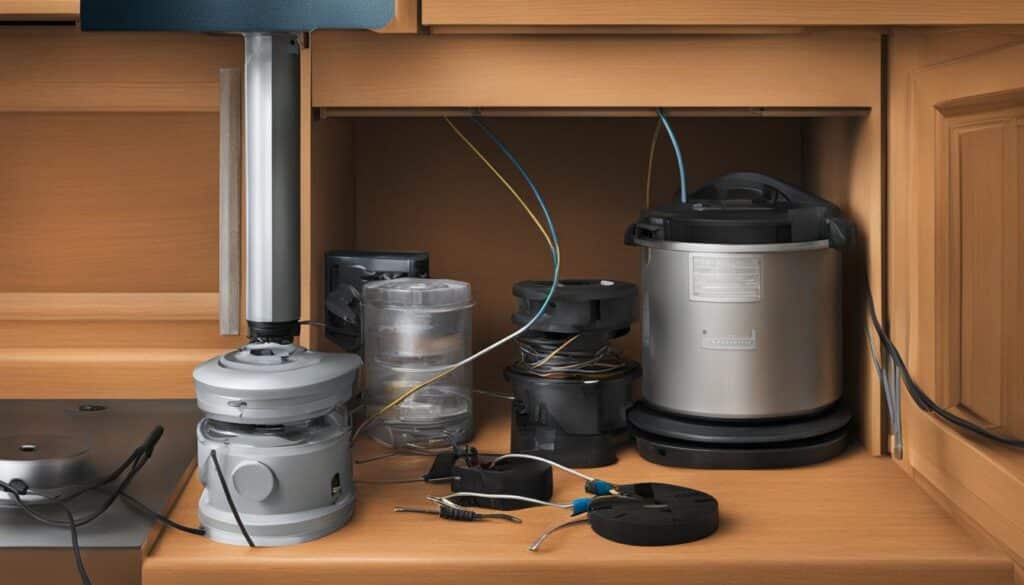
In the initial phase of the under cabinet LED lighting installation, it is vital to determine the appropriate power source to keep the system discreet and fully operational. Tapping into an existing electrical circuit, such as the one powering a microwave, ensures a tidy setup.
Choosing the Right Outlet
An accessible outlet above or inside a cabinet is preferable for maintaining the invisibility of the system. Enlisting an easy under cabinet LED lighting installation tutorial will provide clear instructions and visuals to facilitate this process while adhering to under cabinet LED lighting installation tips from professionals.
Adding a New Outlet for Your LED Lighting
If a convenient outlet is lacking, adding a new one close to an existing one will simplify the DIY under cabinet LED lighting installation process. By carefully using a fish tape and managing your wires, you can ensure safety and a clean appearance. Securing and organizing the wiring throughout the process is of utmost importance for an impressive under cabinet LED lighting installation tutorial outcome.
Selecting the Perfect LED Strip Lighting
Selecting the ideal LED strip lighting setup for your kitchen can create an inviting and functional atmosphere. The key factors to consider when choosing the perfect LED strip system are the color temperature and the length of LED strips required for your kitchen configuration.
Identifying the Best Color Temperature for Your Space
Choosing the correct color temperature not only impacts the ambiance of your kitchen but also influences its functionality. A warm-white LED with a color temperature around 3000K creates a comfortable atmosphere conducive to relaxation and socializing. Utilizing a system that allows for dimming can provide added versatility, enabling you to adapt the brightness to different tasks and times of the day as needed.
Calculating the Length of the LED Strips Needed
When determining the length of the LED strips needed for your space, precision is essential. It’s crucial to measure the strips based on your kitchen layout and consider the placement of your power source. To achieve both an aesthetically pleasing and functional result, consider strip length in relation to power supply and the number of linear feet to illuminate. This ensures that your under cabinet LED lighting not only looks great but also serves as effective task lighting where needed.
Step-by-Step Guide for Installing Under Cabinet LED Lighting
Transforming your kitchen’s ambiance with under cabinet LED lighting might seem daunting, but with this step-by-step guide, both DIY enthusiasts and homeowners can achieve a professional under cabinet LED lighting installation. The following instructions will walk you through measuring and cutting the LED tape and wiring and connecting the LED strips seamlessly.
Measuring and Cutting the LED Tape
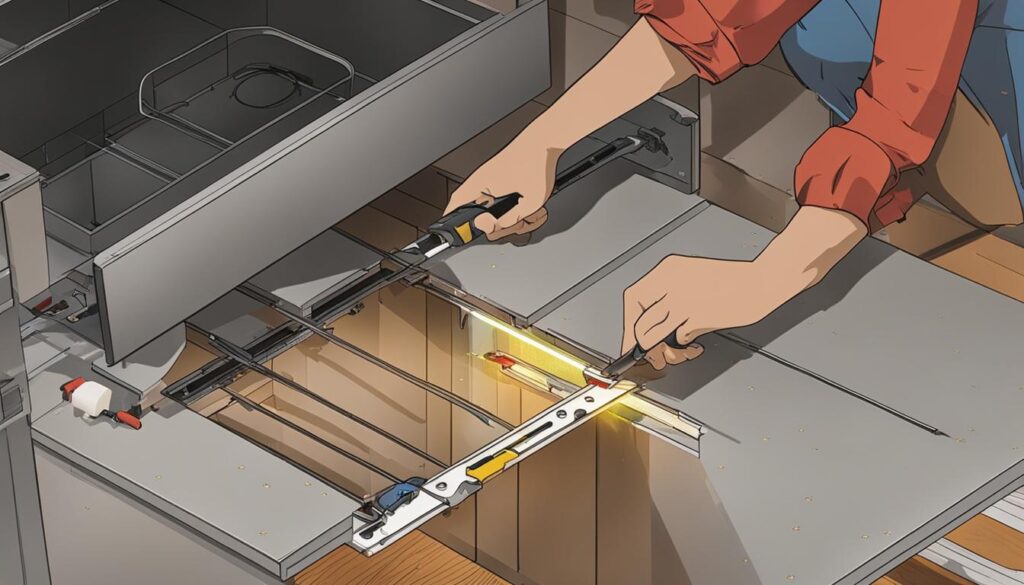
To start, accurately measure the lengths required for the LED tapes to fit under your cabinets. Carefully examine the marking on the LED tape, which indicates where you can cut without damaging the LEDs. By understanding the balance between LED tape length and channel placement, you can adjust how the light interacts with your countertops and backsplashes for optimal visual appeal and functionality.
Wiring and Connecting LED Strips
Once the LED tapes are cut, it’s time to wire and connect the strips to create a cohesive lighting system. Connectors with different functions are available to facilitate the extension and maneuvering of the LED strips, ensuring continuous light distribution. Solderless connectors simplify the process for those attempting a DIY approach, while strong tapes guarantee secure placement of the LED strips.
Tip: Practicing proper cable management during the wiring phase ensures a tidy installation and minimizes the potential for issues later on.
Tips for a Professional Under Cabinet LED Lighting Installation
To achieve a professional-quality installation, attention to detail is essential. Success lies in ensuring that the space under the cabinets is free from debris and the environment is prepared with denatured alcohol. Cable management also plays a crucial role in maintaining a neat and safe system. The strategic use of wire nuts, tape, and staples helps keep everything orderly. Improper connections or incorrectly affixed LED tape can lead to malfunctions, thus highlighting the need for diligence during the installation process.
Key under cabinet LED lighting installation tips include proper cable management and diligence.
Preparation of the installation area is an important aspect of a professional under cabinet LED lighting installation. Start by cleaning the area under the cabinets to remove any grease, dust, or dirt. This step ensures a smooth installation, preventing any potential issues that could arise due to debris interfering with the LED tape’s adherence.
Another essential factor to consider for a professional installation is the even distribution of light under each cabinet. The LED strips should be installed as close to the front edge of the cabinet as possible, ensuring that the light is cast evenly across the countertop. This placement eliminates unwanted shadows and optimizes task lighting in your kitchen.
- Choose the right LED strip based on color temperature and length.
- Measure and cut the LED strip according to the cabinet’s dimensions.
- Select the appropriate connectors and secure the LED strip in place.
- Wire the LED strip to the power source and ensure secure connections.
- Test the system and make any necessary adjustments.
By taking these tips into consideration and following a step-by-step approach, you can achieve a professionally installed under cabinet LED lighting system without the need for an expert. This DIY project enhances not only the appearance of your kitchen but also its functionality, making it an excellent investment of time and resources.
Optimizing the LED Lighting Setup
An optimized LED lighting setup goes beyond aesthetics, ensuring a versatile and functional system. Among the key considerations when installing under cabinet LED lighting are the inclusion of a dimmer switch and strategic placement of LED strips to achieve even light distribution.
Installing a Dimmer for Customizable Light Settings
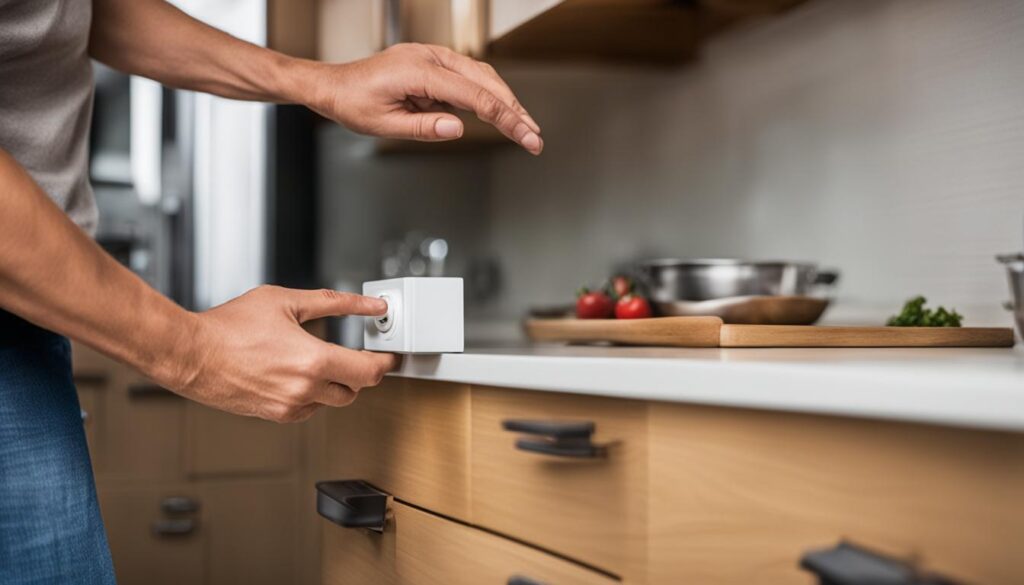
Adding a dimmer switch allows users to adjust light intensity according to their needs or preferences, providing an extra layer of customization. Correct installation of the dimmer, combined with convenient placement of switch mechanisms, greatly contributes to the system’s ergonomics and user satisfaction.
Ensuring Even Light Distribution
The distribution of light across work surfaces is critical to the success of any under-cabinet lighting scheme. LED strips should be thoughtfully placed to provide even illumination while taking into account the distance from the cabinet’s lip to prevent unwanted shadows. The choices made at this stage will directly impact both the functionality of the kitchen workspace and the overall ambiance.
Evaluating Your Installation: Testing and Adjustments
Once you’ve completed the installation of under cabinet LED lighting, it’s important to assess your work to ensure optimal functioning and a visually appealing outcome. This process begins with addressing any common issues that might arise during installation and making final tweaks to fine-tune the illumination of your new lighting system.
Troubleshooting Common Issues
Troubleshooting under cabinet LED lighting typically involves examining connections, checking component compatibility, and making sure the LED strips and extensions are securely attached. If you encounter any irregularities in light output or responsiveness from the dimmer switch, address these issues immediately to prevent long-term damage or malfunctions. If necessary, consult a professional or refer to an under cabinet LED lighting installation tutorial to guide you in resolving these issues.
Making Final Tweaks for Perfect Illumination
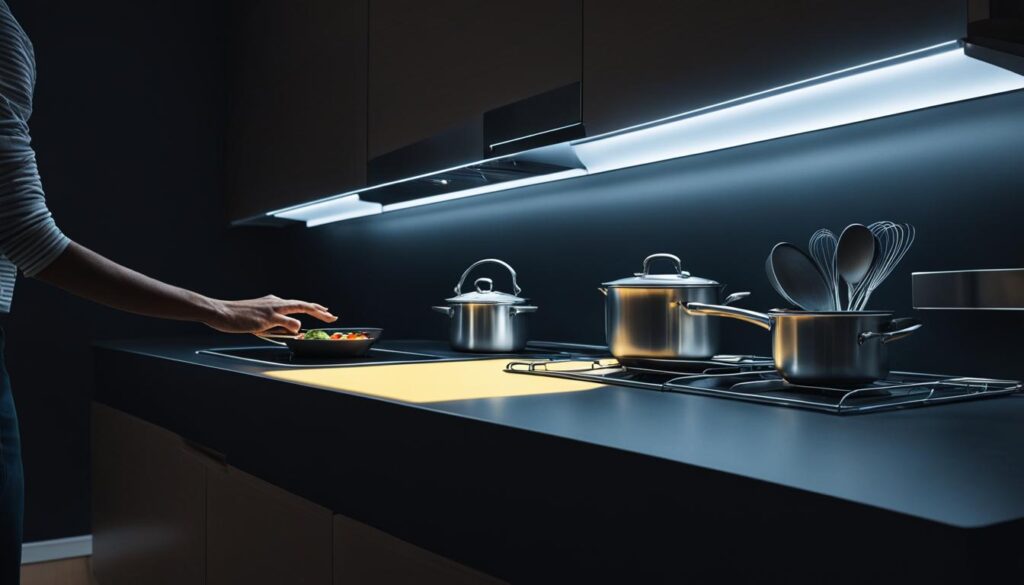
Once you’ve addressed any underlying issues, it’s time to make those final adjustments to achieve the perfect level of illumination under your cabinets. Consider repositioning the light strips for optimal light distribution or adjusting the dimmer settings to find the ideal brightness for your kitchen. Securing any loose ends and diligently maintaining the cleanliness of the installation can enhance its lasting value and performance. Remember, a little attention to detail at this stage goes a long way in achieving a professional-quality installation.
Maintenance and Care for Your New LED Lighting
Proper maintenance and care for your under cabinet led lighting installation is crucial to keep it in optimal condition and prolong its lifespan. Keeping the light strips clean by dusting them off regularly is essential to maintain their visual appeal and functionality. Additionally, periodic inspections will help anticipate any potential issues that may require significant repairs, thus promoting a worry-free and sustainable lighting setup. Here are some helpful tips on caring for and maintaining your new LED lighting:
- Make sure to periodically dust off and clean the LED light strips to prevent buildup of debris or dust that may affect their performance.
- Check the connectors for a secure fit and ensure that the power source remains uninterrupted to avoid disruptions and flickering lights.
- Perform routine inspections to detect any potential issues early, allowing you to address them before they escalate to costly repairs.

Maintaining the system’s cleanliness and functionality is essential for the long-term value and performance of your new under cabinet LED lighting.
By following these simple maintenance and care routines, you’ll be able to enjoy the beauty and functionality of your under cabinet LED lighting for many years to come.
Conclusion
In summary, the process of installing under cabinet LED lighting is a rewarding journey that combines careful planning, accuracy, and dedication to maintaining the established system. By considering the specific requirements of each kitchen space, anyone can successfully carry out this project with the right tools and understanding. The results are not only visually appealing, but also practical and functional, transforming the heart of the home.
Recap of the Installation Process
The installation process encompasses everything from selecting appropriate tools and gaining an understanding of each component’s role, to measuring, cutting, and connecting LED lights. This tutorial ensures that the final result is a professional-grade installation that adds value to your kitchen space, especially as the project can be accomplished by DIY enthusiasts.
The Joy of Your New Kitchen Ambiance
Upon completing the under cabinet LED lighting installation, you unveil a new layer of enjoyment and satisfaction within your kitchen. The cozy atmosphere provided by the LED lights is perfect for cooking, hosting family gatherings, and social interactions. Ultimately, this project serves as proof of the importance of well-considered lighting choices and the incredible benefits they bring to daily living spaces.
FAQ
What tools and materials are needed for under cabinet LED lighting installation?
You will need a voltage tester, multi-bit screwdriver, drywall saw, fish tape, linesman pliers, electrical tape, tape measure, scissors, utility knife, mini slotted screwdriver, drill/driver, clamps, and a 1/2-inch paddle bit.
How does under cabinet LED lighting improve the kitchen space?
Under cabinet LED lighting enhances both the functionality and ambiance of the kitchen, providing customizable lighting, discreet wiring, and a wireless dimmer switch for convenient control.
How should I choose the right outlet for powering my under cabinet LED lighting?
Select an accessible outlet, preferably above or inside a cabinet, that provides a discreet power source. You may need to tap into an existing electrical circuit or add a new outlet if necessary.
Can I cut the LED strip lights to fit my unique kitchen layout?
Yes, the LED strips can be precisely cut to length according to markings on the tape without damaging the LEDs, allowing for a tailored fit depending on the cabinet segment.
How can I ensure even light distribution with my under cabinet LED lighting?
Place the LED strips strategically to provide even illumination, considering the distance from the cabinet’s lip to avoid shadows, and ensuring proper placement of connectors to maintain continuous light distribution.
What maintenance is needed for my under cabinet LED lighting system?
Regular dusting, checking connectors for secure fits, and ensuring the power source remains uninterrupted are essential care routines. Periodic inspections can help address potential issues before they require significant repairs.






Jaylen
Who needs under cabinet LED lighting when you can just use a flashlight?