Recessed lighting, often referred to as can lights or downlights, are a popular choice in homes across America for their versatility with various decor styles and functionality. But what happens when it’s time to change the bulb in one of these fixtures? Many homeowners may feel apprehensive, particularly if it’s their first time. However, with a little guidance and the right tools, such as a replacement compatible bulb, a reliable ladder or step stool, and optionally gloves, safety glasses, and a voltage tester, the task of changing the bulb in recessed lighting is quite straightforward. These fixtures typically feature user-friendly designs—such as clips or twist-lock mechanisms—allowing for easy bulb changes and routine maintenance. Always prioritize safety: ensure the power is off and the old bulb is cool to the touch before attempting to change the bulb.
Key Takeaways
- Recessed lighting is popular for its compatibility with various decor styles and functionality.
- Changing a bulb in recessed lighting requires the right tools and some basic guidance.
- Typical recessed lighting fixtures include clips or twist-lock mechanisms for easy bulb replacement.
- Safety should always be a priority when changing a bulb: ensure the power is off and the old bulb is cool to the touch.
- With some simple steps and precautions, anyone can change the bulb in recessed lighting fixtures.
Demystifying Recessed Lighting: What You Need to Know
Whether you are a homeowner looking to change the bulb in recessed lighting or just curious about their functionality and appeal, a look into the world of recessed lighting can be quite enlightening. Often found in homes providing a sleek and modern appearance, these fixtures are known for their versatility and compatibility with various bulb types.
Defining Recessed Lighting and Its Appeal
Recessed lighting fixtures, also known as canned lighting, are mounted into the ceiling, creating a clean and minimalist appearance. Designed to blend seamlessly with various décor styles, they work perfectly in a wide range of settings. Their versatility not only accommodates new constructions but also allows retrofitting applications, providing focus, ambient, or wall-washing light effects to enhance any interior space.
As popular as they are for their compatibility with various decor styles and functionality, the need to change a bulb in one of these fixtures may arise, leaving some homeowners feeling apprehensive.
The Different Types of Recessed Lighting Bulbs
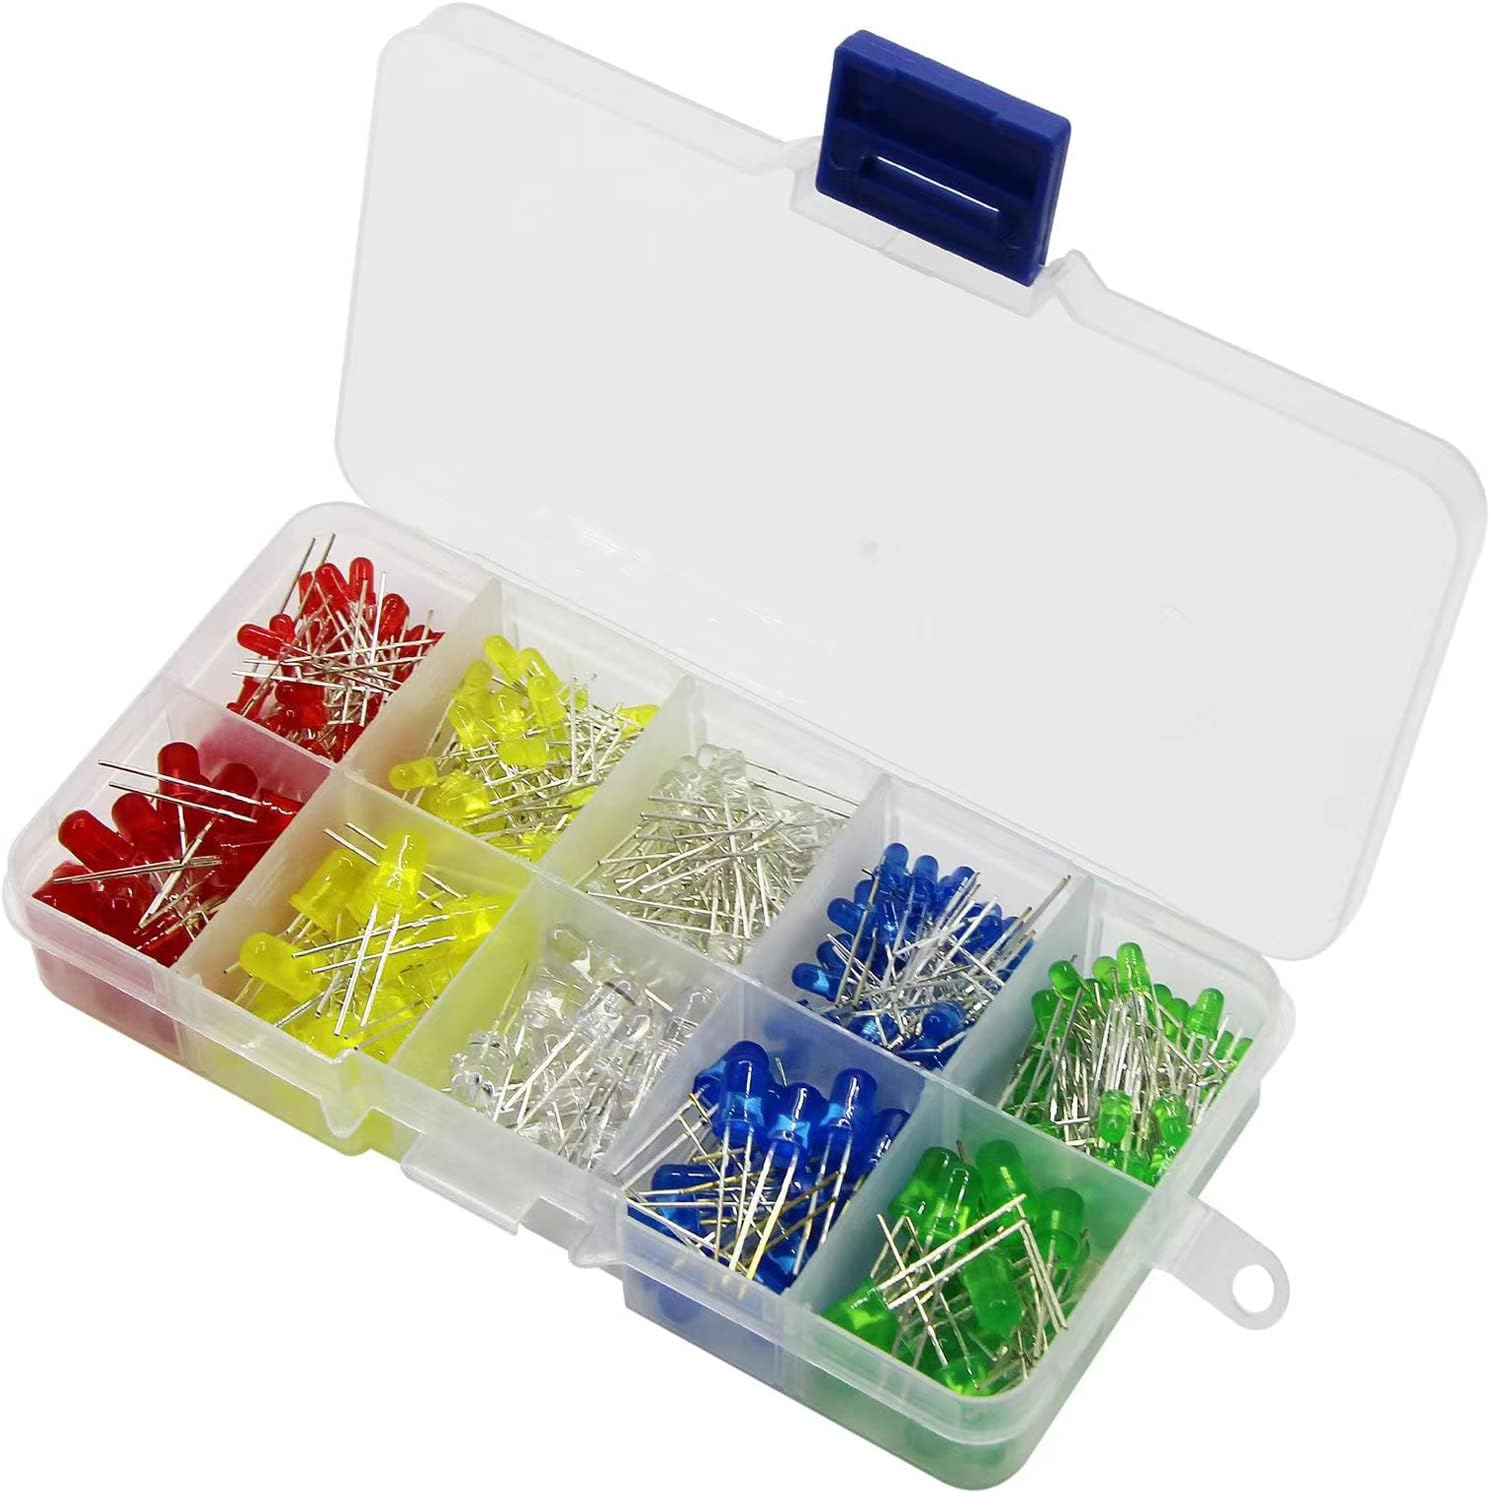
Recessed lighting fixtures are designed to work with a variety of bulb types. These include LED, incandescent, halogen, and CFL (Compact Fluorescent Lamps). Incandescent and halogen options are well-known for their warm light and compatibility with dimmers, but they lack energy efficiency and produce more heat as compared to LEDs.
LEDs are becoming the preferred choice due to their longevity and energy savings. While CFLs also offer energy efficiency, their longer warm-up time has caused a decline in popularity with the rise of LED technology. When it comes to replacing bulbs in recessed lighting, understanding the various options available is essential.
| Bulb Type | Characteristics | Energy Efficiency |
|---|---|---|
| LED | Long lifespan, cooler operation, wide range of color options | High |
| Incandescent | Warm light, works with dimmers, inexpensive | Low |
| Halogen | Similar to incandescent, but slightly more energy efficient and generates more heat | Low to Moderate |
| CFL | Bright light, longer warm-up time, more energy efficient than incandescent | Moderate |
Changing a bulb in recessed lighting might seem intimidating at first, but with proper guidance and understanding of the various lighting options, it can be a simple and rewarding task for any homeowner.
Preparing for the Bulb Change: Tools and Safety

When it comes to changing bulbs in recessed lighting, having the right tools and prioritizing safety is crucial. Before you start, make sure you have the proper replacement bulb, which should match the wattage and type of the old bulb. In addition, you’ll need a stable ladder or step stool to reach the fixtures installed on the ceiling safely.
Though not always necessary, other items that may be helpful during the process are:
- A screwdriver for adjusting the trim or housing, if required
- Gloves for protecting your hands from potential hazards such as sharp edges and hot bulbs after use
- Safety glasses to shield your eyes from debris when looking up into the ceiling
Once you have gathered the necessary tools, it’s essential to confirm that the electrical power is safely turned off. This can be done using a voltage tester, which provides added assurance during the recessed light bulb changing process. After all, knowing how to replace a bulb in recessed lighting isn’t just about getting the job done – it’s also about doing it safely.
The Safety Protocol: Turn Off Power and Test
When it comes to changing a bulb in recessed lighting, safety is a top priority. To ensure a hazard-free replacement process, one should follow a series of safety precautions, starting with turning off power to the fixture from the circuit breaker box or fuse panel. This involves locating your circuit breaker box and identifying the correct switch or circuit that controls the recessed light. Next, with power completely cut off, it is essential to wait for the bulb to cool down before attempting to change it. Lastly, for extra precaution, one can opt to use a voltage tester to verify that the power is indeed switched off.
Locating Your Circuit Breaker Box
The circuit breaker box, often found in utility rooms or basements, is the central control hub for your home’s electrical system. Familiarize yourself with its layout and location, and identify the specific circuit or switch that corresponds to the recessed light fixture you plan to change. Once identified, turn off the power to the fixture by flipping the switch or unscrewing the fuse.
Using a Voltage Tester for Extra Precaution
For those who want to double-check that the power is truly off, using a voltage tester is a prudent safety measure. To use this tool, simply insert the tester’s probes into the light socket, and observe if it indicates the presence of voltage. If there is no sign of voltage, it’s safe to proceed with changing the bulb in your recessed lighting.
In summary, by following these safety recommendations, you can confidently replace a bulb in recessed light fixture without any concerns. Remember, the safety of you and your loved ones should always come first when undertaking any DIY home maintenance tasks like changing bulbs in recessed lighting.
Removing the Old Bulb: Techniques and Tips
When it comes to recessed lighting bulb replacement, the procedure for removing the old bulb from a recessed light fixture varies slightly depending on the design. Some bulbs are secured by clips or springs, which require gentle pressing to release the bulb, while others may use a twist-lock design where the bulb must be turned counterclockwise. It’s essential to handle the bulb with care during removal to avoid breakage and ensure a successful change of a bulb in recessed lighting.
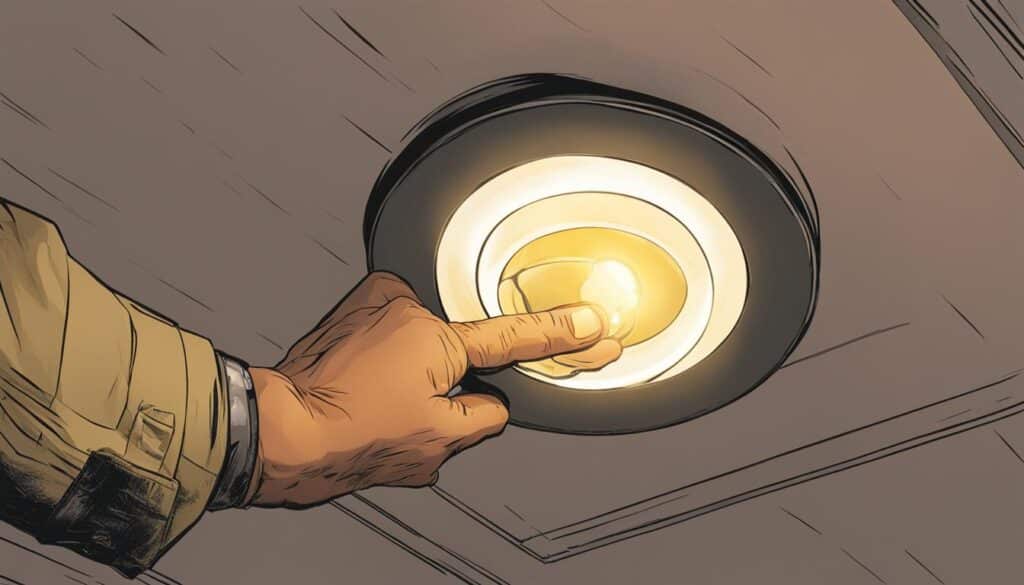
Occasionally, the use of a screwdriver might come into play in case the housing or trim needs to be detached to enable access to the bulb. This is a delicate process that requires not forcing any components, and carefully managing potential issues like painted trim, which might need scoring with a utility knife to cleanly remove the housing. By following these techniques and tips, you’ll be better equipped to handle the task of changing a bulb in recessed lighting.
- Identify the type of bulb securing mechanism your recessed light fixture has, such as clips, springs, or a twist-lock design.
- Turn off the power to the fixture before attempting to remove the bulb.
- If needed, use a screwdriver or a utility knife to detach the housing or trim, ensuring that you don’t force any components or cause unnecessary damage.
- Handle the bulb with care during removal, avoiding breakage.
By taking these steps to properly remove the old bulb from your recessed light fixture, you’ll be well on your way to successfully replacing your bulb and enjoying its newly improved lighting experience.
Choosing the Right Bulb: Size, Type, and Wattage
When it comes to replacing a bulb in recessed lighting, it is essential to choose the right size, type, and wattage to ensure proper fit and function. This process becomes easier when you’re armed with some helpful tips and a clear understanding of the various types of bulbs and their respective wattages. In this section, we will discuss the differences between LED, incandescent, and CFL bulbs, and provide guidance on selecting the appropriate wattage for your recessed lighting fixtures.
LED vs. Incandescent vs. CFL Bulbs
There are several types of bulbs suitable for recessed lighting, including LED, incandescent, halogen, and CFL (Compact Fluorescent Lamps). LEDs are often recommended due to their energy efficiency and long lifespan. They emit less heat compared to incandescent and halogen bulbs, making them a more eco-friendly choice. On the other hand, CFLs provide a brightness similar to incandescent bulbs but with increased energy savings, although they may take longer to reach their full brightness.
Understanding Bulb Wattage for Recessed Lighting
When replacing a bulb in recessed lighting, it’s important to choose one that matches the wattage of the old bulb to avoid potential issues such as overtightening and damaging the socket. You’ll want to keep in mind that different sized recessed cans are typically compatible with specific bulb sizes. For example, a 4-inch diameter recessed can usually pairs well with BR30 bulbs, while a 6-inch can typically accommodates BR40 sizes.
By taking the time to understand the various types of bulbs and their corresponding wattage requirements, you’ll be well-equipped to make an informed decision on the best option for your recessed lighting fixtures. This knowledge will help ensure that your recessed lighting bulb change goes smoothly and results in a well-functioning, efficient, and beautiful lighting solution for your home.
Installing the New Bulb: A Step-by-Step Guide
Once the old bulb is removed, it’s time for the installation of the new bulb. Depending on the design of your recessed lighting fixture, the installation process will vary slightly. To make the process simpler, I have provided a step-by-step guide on changing bulbs in recessed lighting.
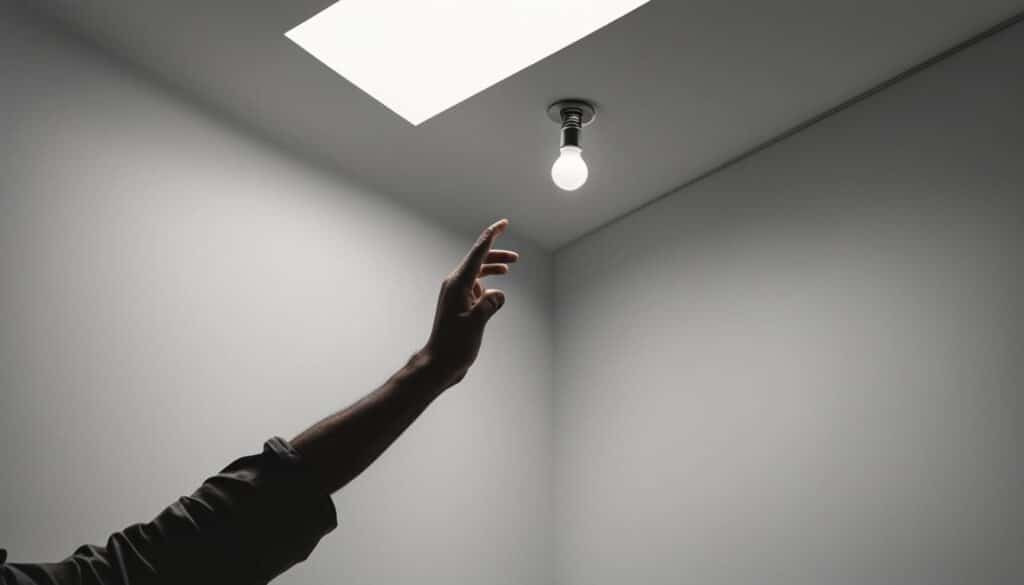
- First, ensure you have the correct replacement bulb that matches the wattage and type of the old bulb. If you’re unsure, refer back to the recessed light bulb changing instructions specific to your fixture.
- If dealing with a twist-lock design, insert the bulb and turn clockwise until it feels securely locked in place.
- For other designs, push the bulb into the socket until secure.
- Ensure the bulb is snugly but not excessively tightened to avoid potential damage.
At this point, it is important to understand the specific design of your recessed light – whether it involves spring clips for removal or insertion, or a different connection system. Learning this information will facilitate a smooth bulb installation process. Remember, if you wonder, “can I change the bulb in recessed lighting?”, the answer is always yes, as long as you follow the instructions.
Before restoring power and testing your newly installed bulb, make sure the fixture housing and trim are securely reattached.
Ensuring Correct Bulb Placement and Fit
As you approach the end of the bulb replacement process, it is crucial to double-check the placement and fit of the new bulb. Whether your recessed light fixture employs a twist-lock system or a clip-in mechanism, ensuring that the bulb is securely seated in the socket is of utmost importance. In the case of LED lights, which may have a push-in connection, it is equally vital to confirm that the wire is clipped into the connector correctly.
Locking Bulbs in Position: Twist-Lock and Clip-In Systems
For those with recessed cans employing spring clips, squeezing these clips while inserting the bulb aids in making it snug. A similar technique can be used for housings with prongs. Being aware of the specific design of your recessed light and the locking mechanism it uses will guide you towards a smooth and successful installation, ensuring a stable connection that extends the lifespan of your bulb.
Handling Recessed LED Lights: Push-In Connection
When working with LED recessed lights having push-in connections, it is essential not only to press the bulb carefully into the socket until it is secure but also to double-check that the wire is clipped to the connector properly. This extra attention to detail will guarantee the correct placement and fit of the LED bulb, maximizing its performance and lifespan.
Once the bulb is firmly in place, the trim can be reattached, and you are ready for the next step in the process. By following these guidelines and paying close attention to the specific designs of your recessed lighting fixtures, you can confidently replace bulbs in recessed light fixtures, maintaining the beauty and functionality of your home lighting.
Power Restoration and Testing Your Handiwork
With the new bulb installed, it’s time to restore power to the fixture and test your work. Returning power involves going back to the breaker box and reverting the switch to its original position. Ensuring that the correct circuit is activated is imperative for safety and proper functionality.

Flipping the Circuit Back On
Upon the successful re-engagement of power to your recessed lighting, you can proceed with testing the new bulb. Carefully switch on the light using the wall switch, and observe whether the new bulb illuminates properly.
Confirming Light Functionality
If the new bulb isn’t lighting up as expected, don’t worry. Double-check the tightness of the bulb and ensure a secure connection in the socket. In most cases, this simple troubleshooting step can fix the issue. With your recessed lighting now operational, you can appreciate the achievement of successfully changing a light bulb in a recessed fixture and confidently tackle similar tasks in the future!
Maintaining Your Recessed Lighting for Longevity
Proper maintenance of your recessed lighting goes beyond just changing bulbs in recessed lighting. Ensuring the continuous and efficient operation of these fixtures involves regular upkeep. One crucial aspect of maintaining your recessed lighting includes keeping them free from dust and debris. This helps in preserving optimal lighting performance and longevity of fixtures.
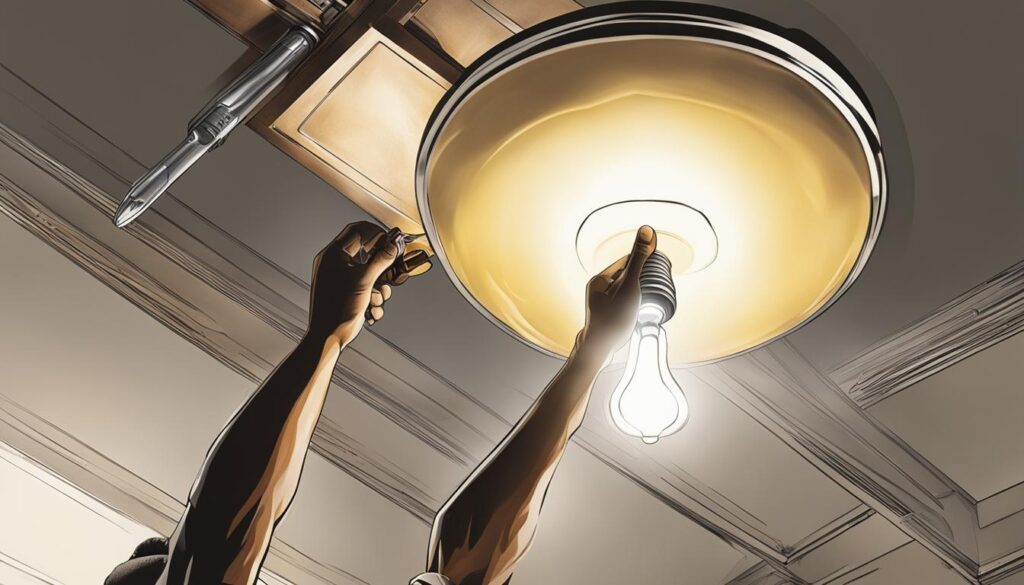
As homeowners strive for energy conservation and reduced utility costs, transitioning to LED bulbs can be a valuable upgrade. LEDs not only offer high **energy efficiency** but also boast a longer lifespan than traditional incandescent or halogen bulbs. Upgrading to LED bulbs positively impacts the look of a room and contributes to overall reduced maintenance requirements.
Remember, by choosing energy-efficient bulbs like LEDs, you’ll not only save on maintenance costs but also significantly reduce overall electricity expenditure.
Adequate **recessed lighting bulb change** practices involve the following steps:
- Regularly check your recessed lighting fixtures for burnt out or flickering bulbs, and replace them promptly.
- Clean the fixtures on a routine basis to remove any accumulated dust and debris, ensuring optimal lighting performance.
- Consider upgrading to energy-efficient bulbs such as LEDs, which have longer lifespans and consume less electricity.
Maintaining your recessed lighting is not just about changing bulbs, but also about keeping them in optimal condition, free from dust and debris. Upgrading to energy-efficient bulbs is not only a smart choice for your wallet but also for the environment. With proper upkeep practice, you can contribute to the extended lifespan and efficient performance of your lighting fixtures, saving both time and money in the long run.
Embracing DIY: Empowerment Through Simple Home Maintenance
When it comes to tasks like changing a bulb in recessed lighting, taking a DIY approach can lead to many benefits both practical and psychological. Embracing such projects empowers homeowners by dispelling the myth that certain home maintenance endeavors are inaccessible to the average person. With a little guidance and some key safety precautions, you’ll soon find that recessed lighting bulb replacement is well within your reach.
As you tackle these DIY projects, you not only ensure that your living space remains functional and well-lit, but you also derive a sense of accomplishment and self-reliance from your efforts. Successfully learning how to change a bulb in recessed lighting can boost your confidence in taking on even more complex home improvement tasks in the future. Before long, you may find yourself eagerly searching for your next DIY endeavor.
In summary, adopting a hands-on approach to home maintenance can be both fulfilling and empowering. By mastering tasks like changing bulbs in recessed lighting, you gain invaluable experience, bolster self-confidence, and contribute to the overall well-being of your home. So why not roll up your sleeves and start exploring the world of DIY – a small step like changing a light bulb could turn into a giant leap forward in your home improvement journey.
FAQ
Can I change the bulb in recessed lighting myself?
Absolutely! With the right tools and guidance, anyone can change a bulb in recessed lighting. Just follow safety precautions and make sure to choose the appropriate replacement bulb for your fixture.
What are the different types of bulbs used in recessed lighting?
Recessed lighting fixtures can accommodate various bulb types, including LED, incandescent, halogen, and CFL (Compact Fluorescent Lamps). Each type has its own advantages and disadvantages, but LEDs have become the preferred choice due to their energy efficiency and long lifespan.
What tools do I need to change a bulb in recessed lighting?
To change a bulb in recessed lighting, you’ll need a compatible replacement bulb, a stable ladder or step stool, and optionally gloves, safety glasses, a voltage tester, and a screwdriver (if necessary for adjusting the trim or housing).
How do I ensure my safety when changing a bulb in recessed lighting?
Start by turning off the power to the fixture from the circuit breaker box or fuse panel. Allow the old bulb to cool before attempting to remove it. If uncertain about the power being off, use a voltage tester to confirm that the socket is not live.
What should I consider when selecting a replacement bulb for my recessed lighting?
Choose a bulb that matches the wattage and type (LED, incandescent, halogen, or CFL) of the existing bulb to ensure proper fit and function. Consider the size of your recessed can, as this might affect bulb compatibility (e.g., 4-inch cans usually work well with BR30 bulbs, while 6-inch cans typically accommodate BR40 bulbs).
How can I maintain my recessed lighting for longevity?
Regularly change spent bulbs and keep the fixtures free from dust and debris. Consider transitioning to LED bulbs for energy conservation, reduced utility costs, and increased lifespan compared to traditional incandescents or halogens.


