At the heart of every energy-conscious household is the desire to combine efficiency with aesthetics, a need well met by LED ceiling lights. They blend seamlessly into our homes, providing bright, cost-effective lighting solutions. But even these stalwart fixtures occasionally need replacing. Whether due to a flicker that won’t fix or a brightness dimming into the shadows, the time comes when a DIY led ceiling light replacement becomes necessary. Here at our magazine, we’ve put together a comprehensive guide on how to change led ceiling light fixtures. With our intel, you’ll arm yourself with the knowledge for a smooth and safe led ceiling light installation, elevating the ambience of your personal space while staying true to the energy efficiency we all strive for.
From selecting the right tools to understanding the nitty-gritty of electrical connections, we’ll walk you through the process. Follow us closely, and let’s illuminate the path to self-reliance in home maintenance.
Key Takeaways
- Understand the signs indicating the need for LED ceiling light replacement
- Prepare the necessary tools and safety equipment before beginning
- Familiarize yourself with the parts and components of your LED lighting fixture
- Learn the correct steps to safely remove your old LED ceiling light
- Follow our step-by-step guide to properly wire and install your new LED ceiling light
- Ensure the final setup is secure and conduct safety checks before restoring power
Understanding LED Ceiling Light Components
When we embark on the task of replacing a LED ceiling light, it’s crucial to have a clear understanding of the various parts of a LED ceiling light that we will come across. The expertise in identifying and knowing the function of each component not only simplifies the replacement process but can also empower us to make targeted repairs in the future. Below, we present a detailed overview of the core components that form the anatomy of a typical LED ceiling light.
- The LED panel or bulbs, which are the primary source of light.
- Magnetic screws, which secure the LED panel to the housing.
- A cable connector that seamlessly connects the light cable to your power supply.
- A driver box, often referred to as an LED driver, that regulates the power to the LED lights to offer consistent illumination.
It’s worth noting that these parts might be available for individual purchase, providing a cost-effective option for repairing rather than fully replacing the LED ceiling light. The table below will guide you to recognize and understand the function of each of these components.
| Component | Description | Significance |
|---|---|---|
| LED Panel/Bulbs | The visible part of the fixture that emits light when powered. | Responsible for the quality of light and overall efficiency of the fixture. |
| Magnetic Screws | Screws that utilize a magnet to attach the LED light to the fixture’s housing. | Allows for easy assembly and maintenance of the lighting fixture. |
| Cable Connector | A small device that joins the LED light cable to the power supply. | Ensures a secure and stable electrical connection to power the LED light. |
| Driver Box | An electronic device that regulates the power going to the LED fixture. | Crucial for preventing power surges and ensuring the longevity of the LED lights. |
Armed with the knowledge of these components, we are now better prepared to tackle the task of replacing led ceiling lights. Whether we choose to replace a faulty part or install a completely new fixture, being familiar with the light’s inner workings will make the process smoother and more efficient.
When Is the Right Time to Replace Your LED Ceiling Light?
As we navigate our homes, we rarely consider the impact of lighting until it fails us. Recognizing the signs of LED light failure is crucial to maintaining the ambiance and functionality of our indoor spaces. It’s not just about a bulb going dark; it’s about seizing the opportunity to improve our living environment. Whether upgrading LED ceiling lights for better energy efficiency or improving room aesthetics with contemporary fixtures, knowing when to make a change is key.

Identifying Signs of LED Light Failure
Detecting the first signs of LED light failure can save us from the inconvenience of sudden darkness and the potential hazards that come with poor lighting. Look for symptoms such as dimming, flickering, or uneven light output as indicators that it’s time to consider a replacement.
Upgrading for Enhanced Energy Efficiency
Embracing advancements in technology can lead to both cost savings and environmental benefits. Upgrading LED ceiling lights isn’t just about fixing what’s broken—it’s about embracing more efficient models that use less energy, last longer, and feature improved design.
Improving Room Aesthetics with New Models
Lighting plays a pivotal role in the look and feel of a room. If your current setup feels outdated, consider improving room aesthetics with sleek and modern LED ceiling lights. These upgrades can effortlessly transform a space, injecting new life and style.
| Concern | Signs to Look For | Action to Take |
|---|---|---|
| Light Failure | Dimming, flickering, uneven light | Identify issue, plan for replacement |
| Energy Inefficiency | High electricity bills, old models | Upgrade to high-efficiency LED lights |
| Aesthetic Enhancement | Outdated fixtures, unappealing light | Install modern, stylish LED ceiling lights |
We encourage homeowners to take note of these considerations and prepare for action. Being proactive rather than reactive can make a world of difference in maintaining a pleasant, well-lit home that reflects its inhabitants’ tastes while ensuring functionality and efficiency.
How to Change LED Ceiling Light: Initial Preparations
When it comes time to illuminate your space with a new LED ceiling light, the first strides towards a successful replacement are all in the preparation. Our steps to replace LED ceiling light begin long before the actual installation. We’re here to guide you through these initial stages with an easy-to-follow blueprint, ensuring that you have all the information necessary for a seamless transition.
Identification of the Current Lighting System: It’s imperative to know your terrain before the journey. We suggest starting by identifying the type of lighting currently installed. Is it LED or fluorescent? This initial step will impact how you proceed since the replacement procedures can differ between systems.
Note the Power Wattage: Your light’s wattage is important — it’s the gauge of its power consumption and light output. Taking note of this will help you choose a replacement LED that maintains the luminosity you’re accustomed to or improve upon it, if that’s your goal.
Measure the Installation Space: It’s more than just wattage and type; size matters too. Measure the existing space occupied by your current ceiling light to ensure your new purchase will fit like a glove. A mismatch here could lead to unnecessary complications during installation.
Choosing the Correct Replacement: With all these details in hand, it’s now time to select your new LED ceiling light. Source a model that complements your décor aesthetic while catering to the functional aspect of illumination. The fusion of practicality and style will not only brighten your room but elevate it.
We understand it may seem daunting to embark on this DIY project, but with this easy guide for changing LED ceiling light, you’re already well on your way. Now that we’ve laid the groundwork, you’re ready to take the next steps with assurance. Let’s continue to the subsequent phase of tools and safety equipment collection.
Tools and Equipment Needed for LED Ceiling Light Replacement
Embarking on the task of replacing your home’s LED ceiling lights? We’ve compiled a list of essential tools and safety gear that will help you carry out the replacement process effectively and without putting yourself at risk. Ensuring you have the right equipment at hand not only secures a smoother workflow but also underscores the importance of safety in DIY electrical projects.
Gathering the Necessary Tools
To efficiently handle the replacement of LED ceiling lights, a specific set of tools is required. A reliable screwdriver, for instance, is indispensable for securing the components, while a voltage tester is pivotal in ensuring the area is safe to work on. At times, the project may call for a new cable connector to match your latest fixture.
Safety Gear for Electrical Work
When engaging in any form of electrical work, one cannot downplay the pivotal role of safety gear. To shield oneself from potential electrical mishaps, donning insulating gloves and protective eyewear is a must. Safety gears are not just accessories; they are fundamental to ensure your protection as you navigate through the intricacies of electrical fixtures.
Magnetic Screws and their Role in Installation
Magnetic screws present an innovative solution that simplifies the process of securing the LED light and driver box to the housing. With their help, the installation becomes not only easier but also sturdier, mitigating the risk of components getting loose over time, which could lead to safety concerns.
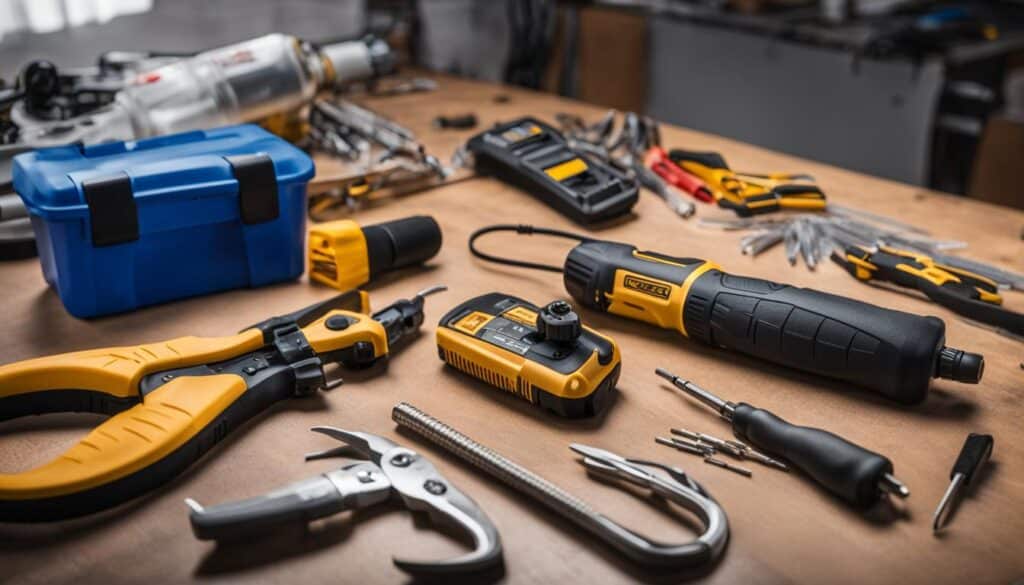
| Tool | Use | Safety Feature |
|---|---|---|
| Ladder | To reach ceiling fixtures | Ensures stability during work |
| Screwdriver | To open fixture, secure components | Insulated handle to prevent shocks |
| Voltage Tester | To check for active electrical currents | Allows safe handling of wires |
| Insulating gloves | For protection against electric shock | High dielectric strength |
| Protective Eyewear | To shield eyes from debris and sparks | Impact-resistant lenses |
| Cable Connector | For connecting new LED light | Prevents wiring hazards |
| Magnetic Screws | For secure component attachment | Keeps components firmly in place |
Securing all the necessary tools before beginning your LED ceiling light replacement can facilitate a seamless process. Likewise, having the correct safety gear for electrical work ensures that you are prepared to perform the task with the utmost care and protection. Keep in mind that a proper understanding of using these tools and gear is as essential as possessing them, paving the way for a successful and hazard-free DIY project.
Disconnecting Your Old LED Ceiling Light
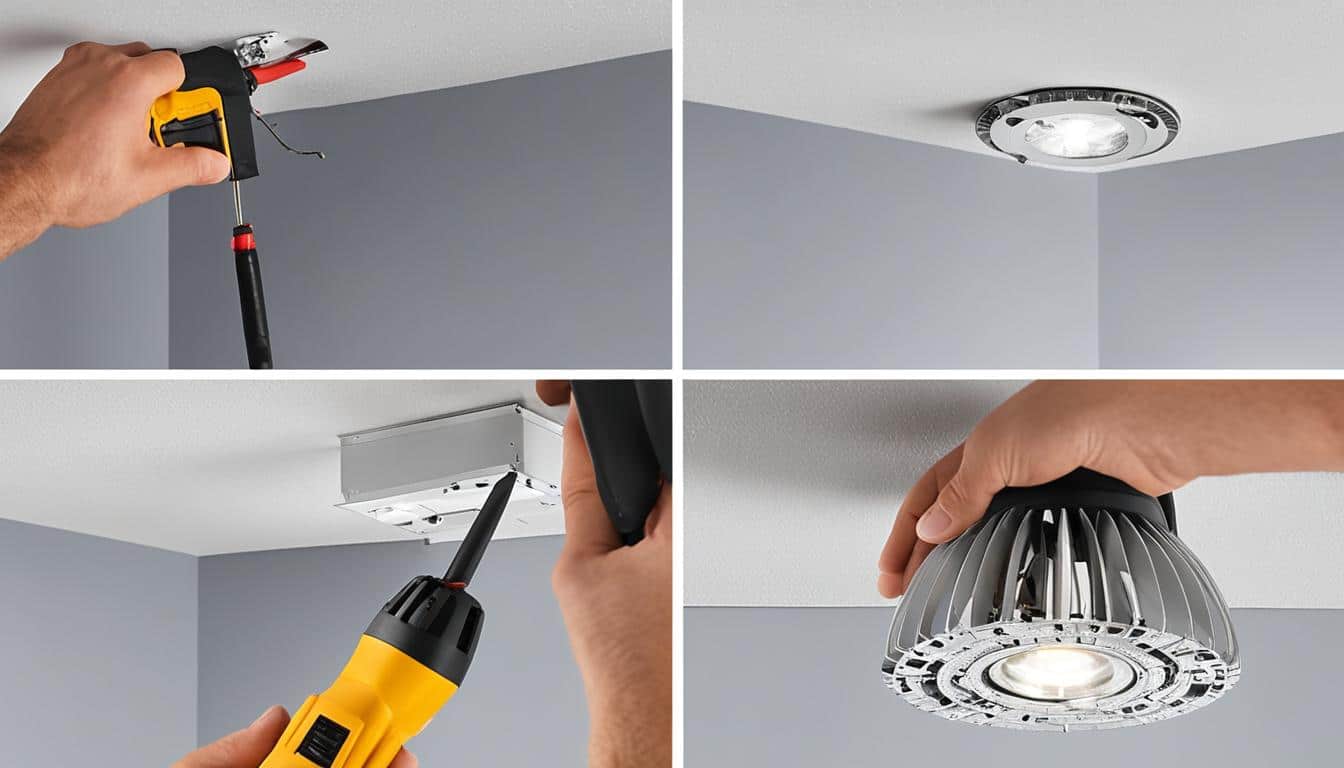
When it comes to removing and installing led ceiling light fixtures, the first and foremost step is the safe disconnection of your current model. This process begins with the careful removal of the light trim or fixture by releasing any holding clips or undoing screws. It’s a delicate task that sets the stage for a seamless installation of the new lighting unit.
Once the fixture is loosened, lower it down with utmost care to avoid any damage or injury. At this point, we encounter the crucial aspect of detaching the electric wiring. That includes loosening wire nuts and gently separating the wires that were connected to your old LED ceiling light. These steps are pivotal for preparing the space for your new light and should be approached with precision and alertness to electrical safety.
- Turn off power at circuit breaker
- Remove fixture trim or housing
- Unscrew wire nuts, separate wires
- Ensure area is clear for new light installation
Remember, handling electrical components requires a degree of respect for the systems and an understanding of the task at hand. We aim for a balance between thoroughness in removing the outdated fixture and an efficient step towards installing the upgraded LED ceiling light, enhancing both the luminosity and ambiance of your space.
Step by Step LED Ceiling Light Swap: Wiring and Installation
Embarking on a step-by-step led ceiling light swap is not as daunting as it might seem. It’s a structured process that requires attention to detail to ensure safety and a smooth transition from your old fixture to the bright new LED ceiling light. We’ll guide you through each step so you can confidently and effectively complete the installation.
Once you have successfully removed your old LED ceiling light, it’s time to focus on the wiring and installation of your new unit. Typically, your new LED ceiling light will be equipped with a mounting bracket that is pivotal for a secure installation. Aligning this mounting bracket properly is the foundation of a successful setup.
- Start by fastening the mounting bracket to the ceiling. This will be your base to which the new fixture will be attached.
- Next, prepare the wiring for connection. Ensure the power is off, and proceed to match the wire colors from your light fixture to the corresponding wires in the ceiling – typically, black to black (hot), white to white (neutral), and green to green or bare copper (ground).
- Once the wires are aligned according to color, use wire nuts to secure the connections.
- With the wires connected and wire nuts tightly in place, tuck them carefully into the ceiling box to avoid any pinching or damage to the wire insulation.
- Now, position your new LED light fixture onto the mounting bracket and secure it according to the manufacturer’s instructions. This often involves aligning screws or engaging clips that hold the fixture in place.
- Lastly, double-check that the fixture is securely fastened to the bracket and that there is no movement to ensure safety and stability.
Aligning the new fixture seamlessly against the ceiling surface and ensuring that no wiring is strained or left exposed is critical to the integrity of your LED ceiling light swap. Through a methodical approach, you can achieve not just the functional benefits of LED lighting, but also the aesthetic enhancement it provides to your space.
Remember, if at any point you feel unsure about the wiring process, it is recommended to consult with or hire a professional electrician to ensure that everything is up to code. Safety should always be your priority when dealing with electrical installations.

In conclusion, by following these steps, we are confident that your new LED ceiling light will be installed securely and will brighten up your space efficiently. Remember to take your time and follow each step carefully for a successful and safe LED ceiling light swap.
Ensuring Correct Wiring for Your LED Ceiling Light
Securing the right connections is at the heart of installing your LED ceiling light accurately and safely. A reliable live and neutral wires guide is indispensable, as it not only prevents your house from potential electrical mishaps but also ensures everything operates smoothly. Let’s dive into the simple yet crucial aspects of securing electrical connections.

Live and Neutral Wires: A Simple Guide
In our experience, the most common questions revolve around the live and neutral wires. It’s crucial to understand that, although in LED lighting the live and neutral wires are often interchangeable due to lack of polarity, proper connection is key.
- Identify the live (typically red or black) and neutral (usually white) wires.
- Ensure the power is off before handling any wires to avoid electric shock.
- Use a voltage tester to confirm there’s no current running through the wires.
Once identified, connecting them properly to your new LED ceiling light will follow.
Securing Connections for Long-term Safety
After identifying your wires, the focus shifts to securing each connection. Loose or improperly connected wires can lead to short circuits or even fires. Here’s our step-by-step process:
| Step | Action | Purpose |
|---|---|---|
| 1 | Twist wire ends | Ensure stability before securing the connector |
| 2 | Use wire nuts | Secure wires and prevent them from coming loose |
| 3 | Tug gently on wires | Confirm they are secure within the nuts |
| 4 | Insulate with electrical tape (optional) | Extra precaution to avoid exposure and wear |
With thorough care, these steps can be the difference between a successful installation and one that could jeopardize electrical safety.
What to Do with the Earth Cable
If your LED ceiling light features an earth cable, it’s typically green and yellow-striped. This is where you make a crucial decision based on your home’s existing electrical setup:
- If grounding is part of the setup, connect the earth cable to the appropriate terminal.
- If there’s no grounding in your setup, the earth cable may not be used. Secure it safely away from live and neutral wires.
Remember, consulting local code requirements and having a professional assess your home’s wiring can offer peace of mind and prevent hazardous consequences.
At the end of the day, the guide to live and neutral wires and the emphasis on securing electrical connections underlines the commitment to safety and efficiency. By following these guidelines, we’re setting ourselves up for light that not only shines bright but also endures safely over time.
Tips for Switching LED Ceiling Light Efficiently and Safely
As we delve into the intricacies of replacing your LED ceiling light, it’s paramount to heed the following advice to streamline the process while maintaining the utmost safety standards. Harnessing these tips for switching LED ceiling light will mitigate potential hazards and guarantee a seamless transition.
Choosing the Right Timing
Identifying the ideal LED light replacement timing is a critical component of the process. Opting for a period when disruptions are unlikely, such as during the day when the household is typically less active, provides you with the tranquility necessary to concentrate on the task at hand. This strategic planning facilitates efficiency, ensuring the project is completed without unnecessary interruptions.
What to Keep and What to Remove
Before you commence, it’s imperative to discern which elements of the existing fixture should be retained and which are slated for replacement. Outdated or malfunctioning components may compromise the integrity of your new LED ceiling light, hence meticulous appraisal is required to make informed decisions about each part’s future use.
Final Safety Checks Before Restoration of Power
Our commitment to safety is unwavering; thus, conducting final safety checks before the power is restored remains an indispensable step. Thoroughly assessing the stability of the fixture, the correctness of the wiring, and testing the light ensures your efforts culminate in a risk-free environment. Here’s where you take stock of the installation and address any uncertainties before the grand illumination.

| Checklist Item | Description | Status (Complete/Incomplete) |
|---|---|---|
| Power Off Verification | Confirming all electrical sources are deactivated. | Complete |
| Wiring Inspection | Ensuring wires are correctly and securely connected. | Complete |
| Fixture Stability Test | Checking the LED light fixture is firmly affixed to the ceiling. | Complete |
| Functionality Test | Temporarily restoring power to test the light operates as expected. | Complete |
Mastering LED Ceiling Light Replacement
As we conclude this comprehensive guide, we celebrate the journey you’ve embarked on to learn how to change an LED ceiling light with the finesse of a skilled DIY enthusiast. Our aim has always been to demystify the process and arm you with LED ceiling light installation tips that transform what might appear daunting into an achievable weekend project.
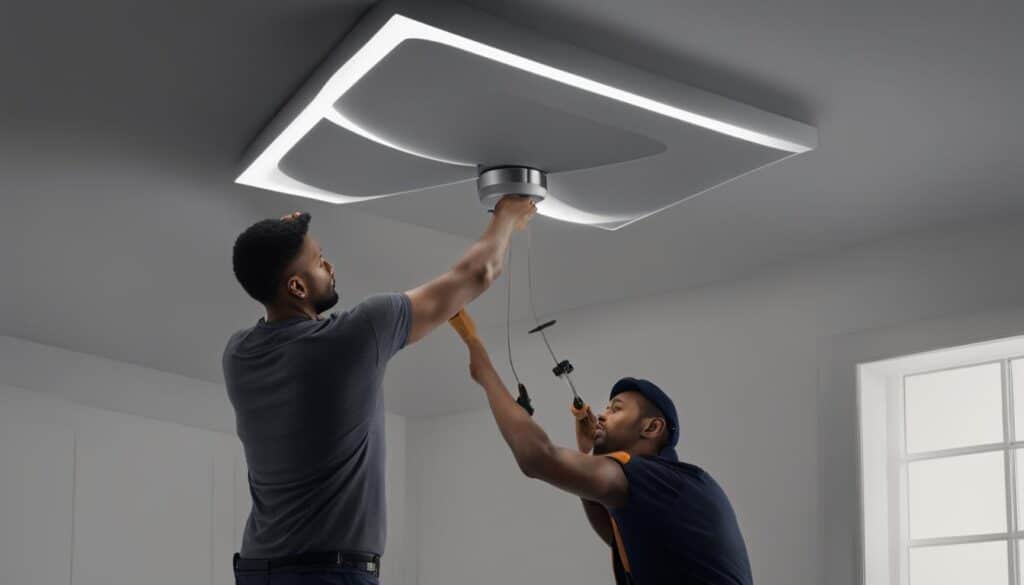
Drawing from the rich experiences of countless homeowners, success in replacing an LED ceiling light is not just about following instructions but also understanding the intricacies of your home’s lighting fixtures. We’re profoundly encouraged by the feedback from our readers, who have illuminated their homes with confidence and a newfound appreciation for the subtleties of LED technology.
Reflecting on the process, here are key tips to ensure that your LED ceiling light shines bright:
- Always turn off the power at the circuit breaker before beginning your project.
- Ensure that your new LED light is compatible with your existing fitting.
- Verify all electrical connections are secure to avoid any potential hazards.
- Choose the right LED fixture that complements your space’s design and lighting needs.
By arming yourself with the knowledge from each carefully curated section of this guide, deploying the right tools, and following safety protocols, replacing an LED ceiling light becomes not just a task but a fulfilling quest for a well-lit, energy-efficient home. We hope this guide serves as a beacon, leading you to successfully add brilliance to your living spaces, for when you choose to take on the task, you are not alone—we are with you, every step of the way.
Additional Resources and Help for LED Ceiling Light Replacement
If you’re diving into the task of a DIY led ceiling light replacement, know that we’re here to support your journey. As questions arise, you may find an easy guide for changing led ceiling light invaluable. Thanks to the plethora of resources available today, including informative blogs, step-by-step instructional videos, and interactive community forums, you’re never alone in the process. Tapping into these resources can offer the guidance and reassurance needed to tackle the project with confidence.
For many, the goal is to achieve professional results without the cost of hiring a professional. This is why searching for led ceiling light installation support can lead you to comprehensive guides that explain the nuts and bolts of the replacement process in detail. From unwiring the old fixture to securely attaching the new one, there’s an easy-to-follow resource tailored to every aspect of installation.
We understand too that sometimes, you might prefer an LED light with user-friendly features that cater to a smoother, simplified installation. These products are specifically designed to help customers like you successfully complete DIY projects with minimal hassle. Keep in mind as you embark on this project that with the right information and a little patience, upgrading your home lighting can be a hassle-free experience that offers both immediate satisfaction and long-term benefits.
FAQ
What components will I encounter when opening my LED ceiling light fixture?
When you open your LED ceiling light fixture, you will typically find the LED light panel itself, which may be attached with magnetic screws, a cable connector for joining the light cable to the power supply, and a driver box that regulates the power to the LEDs. Sometimes, these parts can be separately replaced if needed.
How do I know when it’s time to replace my LED ceiling light?
It’s time to consider replacing your LED ceiling light if you notice signs of failure such as flickering, a reduction in brightness, or if it stops working altogether. It’s also an opportunity to upgrade for improved energy efficiency or to update your room with a modern LED model for enhanced aesthetics.
What are the first steps I should take before changing my LED ceiling light?
Before changing your LED ceiling light, start by identifying the type of lighting currently in use (LED or fluorescent) and the power wattage of the existing unit. Then, measure the existing space to ensure that you choose a replacement light of the appropriate size that meets your functional and aesthetic needs.
What tools and equipment will I need to replace an LED ceiling light?
To replace an LED ceiling light, you’ll need a ladder, screwdriver, voltage tester, and possibly a new cable connector. It’s also important to have safety gear, such as gloves and eye protection. If your LED light is secured with magnetic screws, make sure you understand how to properly attach or detach them during the installation process.
How do I disconnect my old LED ceiling light?
To disconnect your old LED ceiling light, you should first turn off the power to the fixture. Then, you can pull down the trim or light fixture, often by releasing clips or screws. Carefully lower the fixture and disconnect the electric wiring by removing the wire nuts and separating the connected wires.
What are the steps involved in wiring and installing a new LED ceiling light?
After removing the old LED ceiling light, start by attaching the new mounting bracket that comes with your new LED light. Then, connect the wiring by matching the wire colors (live and neutral) and secure them with wire nuts. Align the fixture with the ceiling, and secure it in place with screws or clips, as appropriate for your model.
How should I handle the live and neutral wires during LED light installation?
LED lights typically don’t require a specific polarity, so the orientation of the live and neutral wires is interchangeable. Despite this, it’s critical to ensure that all wire connections are tight. Use a reliable wire connector to prevent any electrical issues from arising.
What should I do with the earth cable when installing an LED ceiling light?
The earth cable should be connected to your home’s grounding system if your light fixture is designed with a grounding requirement. If the existing setup or new light fixture does not require an earth connection, simply secure it safely out of the way.
What tips can help me switch my LED ceiling light safely and efficiently?
Pick a time when you will not be interrupted, and ensure that all power is turned off to the light fixture before starting. Keep only the necessary parts and remove old components that are no longer needed. After installing the new light and making all connections, perform a series of safety checks, like testing voltage presence, before turning the power back on to ensure the installation is secure and correctly completed.
Where can I find more resources or help for replacing my LED ceiling light?
Additional support can be found through detailed blogs, instructional videos, and community forums that discuss LED light installation. Manufacturers often provide instructions or customer service for the lights they sell, or you can reach out to a local electrician for expert guidance.






Bruno Maynard
Wow, who knew replacing a ceiling light could be so complicated? I think Ill just stick with candles. 😂