
Are you ready for a DIY lighting wiring project at your home? Wiring a lighting circuit may seem daunting at first, but with the right knowledge, tools, and guidelines, you can learn to do so safely and efficiently. In this comprehensive guide, you’ll get step-by-step instructions on how to wire a lighting circuit while maintaining electrical safety and following lighting installation best practices.
Key Takeaways
- Ensure electrical safety by disconnecting power before starting the project.
- Identify different types of wires, including hot, neutral, and grounding wires.
- Use a circuit diagram to guide you through the wiring process.
- Assemble the necessary tools and equipment for the job, like wire strippers and a circuit tester.
- Follow proper wiring techniques when connecting and grounding wires.
- Mount the new lighting fixture securely to the mounting bracket.
- Stay informed about advanced wiring techniques, like handling three-way and four-way switches.
Understanding the Basics of Electrical Wiring
Before diving into the process of wiring a home lighting system, it’s important to familiarize yourself with some essential aspects of electrical wiring. Understanding the fundamentals of electrical safety, identifying different wire types, and interpreting circuit diagrams are crucial for successfully completing any wiring project.
Importance of Electrical Safety
One cannot stress enough the significance of electrical safety when working on any wiring project, be it the home lighting system or any other electrical circuitry. Always ensure that power is disconnected before beginning work on a lighting circuit. Turning off the power supply at the main switchboard or fuse box helps prevent the risk of electric shocks or short circuits.
Identifying Different Types of Wires
When dealing with electrical wiring, it’s essential to identify and differentiate between the different types of wires. Typically, there are three main wire types to be aware of:
- Hot wires – Usually black or red, these wires carry electric current from the power source to the load (such as lighting fixtures).
- Neutral wires – Generally white, neutral wires connect the load back to the power source, completing the electrical circuit.
- Grounding wires – Found in green, yellow, or bare copper, grounding wires provide a safety measure in case of electrical faults, offering a path for electric current to flow safely to the ground.
Interpreting the Circuit Diagram
A circuit diagram serves as a visual guide for understanding and setting up electrical wiring in a lighting system. It helps ensure that the right wires are connected to the appropriate components and that proper wiring instructions are followed. Familiarizing yourself with a circuit diagram can greatly reduce the chances of errors and contribute to a safe and functional lighting circuit.
Initial Preparations Before Wiring a Light Circuit
When it comes to how to wire a lighting circuit, the most critical aspect is following proper electrical safety measures and preparing your workspace. Before you dive into the wiring instructions, there are several steps you must follow to ensure a secure and smooth installation process.
- Before rewiring, make sure that power is completely switched off. You can do this either by running a voltage test with a circuit tester or by turning off the main power and checking that the light does not turn on when the light switch is flipped.
- Clean the installation area, including the space where your lighting fixture will be mounted. This can be on the ceiling or the wall space, depending on your fixture type. Keeping the area clean ensures a safer work environment and more accurate wiring.
- Secure your climbing equipment, such as a ladder or scaffold, and make sure the ground beneath is free of debris. Safety is paramount, so always prioritize a stable working platform.
- Prepare your tools and components ahead of time. A well-organized workspace can help prevent errors during the wiring process.
By following these preliminary steps, you will create a strong foundation for a successful lighting installation and reduce the risk of mistakes or accidents. Remember, electrical work can be dangerous, so always prioritize safety and pay attention to the recommended wiring instructions.
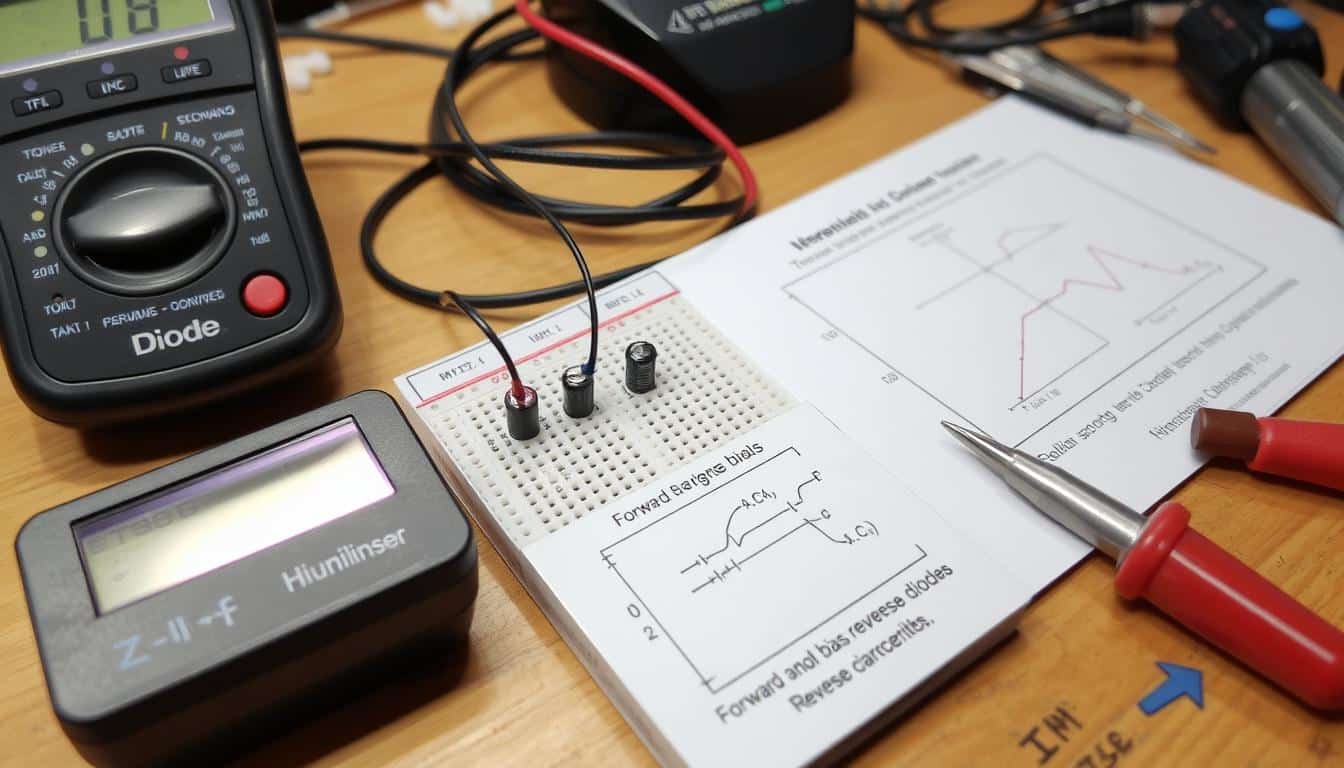
Choosing the Right Tools for the Job
When undertaking a DIY lighting wiring project, it is crucial to have the appropriate tools and equipment on hand to ensure an efficient and safe installation process. In this section, we will explore the essential wiring tools and personal protective equipment necessary for a successful electrical wiring job.
Essential Wiring Tools and Equipment
A well-prepared toolbox will enable you to complete your electrical wiring project with ease. Some necessary tools include:
- Phillips-head screwdriver
- Wire stripper
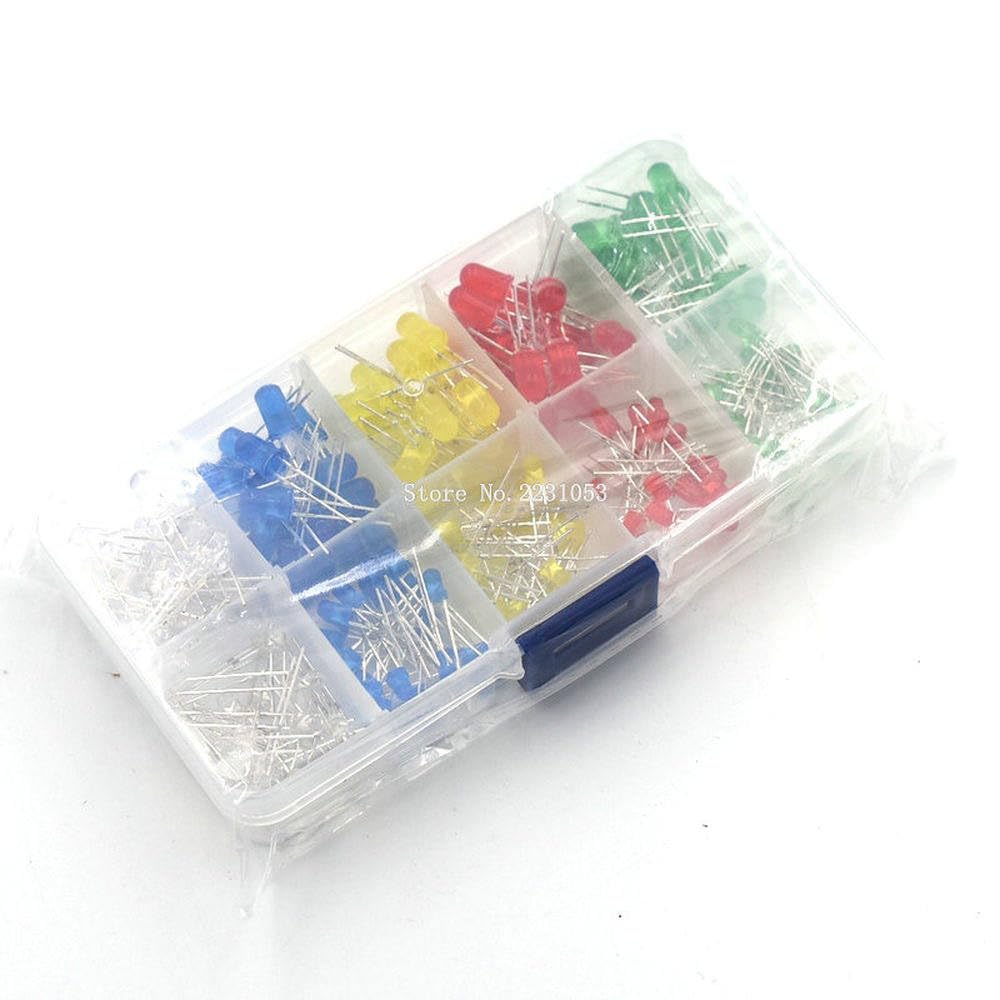
- Circuit tester
- Wiring caps
These tools will not only help to make your lighting wiring project go smoothly, but they will also contribute to proper electrical connections and improved electrical safety.

Personal Protective Equipment for Electrical Work
Beyond having the right tools for the job, it is essential to prioritize your personal safety by wearing proper protective gear. The following protective equipment is highly recommended for any electrical work:
- Gloves: Both insulated and non-insulated gloves can help protect your hands from injury during the wiring process.
- Safety glasses: These will shield your eyes from debris and protect them from potential electrical hazards.
Remember, when working on electrical wiring projects, safety should always be your top priority. By using appropriate tools and wearing proper safety gear, you can be confident in your ability to tackle any DIY lighting wiring project with ease and assurance.
How to Wire a Lighting Circuit
Wiring a lighting circuit may seem daunting, but by following the appropriate wiring instructions and prioritizing electrical safety, you can successfully install your new fixture. Start by evaluating the compatibility of your new lighting fixture with the existing mounting hardware. Some modern fixtures may require an updated bracket, particularly for homes built before 1985 with older wiring systems.
Once you have determined the compatibility of your new lighting fixture, it’s time to connect the wires. Abide by your country’s color code guide when joining like-colored wires. Typically, you will need to securely connect the hot, neutral, and grounding wires using wiring caps. This step is crucial for a safe and effective electrical connection:
- Hot wires: commonly black or red
- Neutral wires: typically white
- Grounding wires: usually green, yellow, or bare copper
Lastly, it’s essential to properly ground your fixture. Grounding is the process of connecting a grounding wire to the appropriate part of the mounting hardware. This helps divert excess electrical current away from the circuit and toward a neutral point, preventing potential electrical hazards.
By following these wiring instructions and prioritizing electrical safety, you can wire a lighting circuit with confidence, illuminating your space while ensuring a secure electrical connection.
Step-by-Step Guide to Removing the Old Fixture
When it comes to updating your home’s lighting, one of the first steps is removing the old fixture. This process requires a focus on electrical safety and careful handling of the components. Follow these simple steps to successfully and safely remove your old fixture and prepare for the new lighting circuit wiring installation.
Safely Disconnecting the Power Supply
Before you begin, it is crucial to ensure the power supply is disconnected to avoid any electrical hazards. Achieve this by switching off the circuit breaker connected to the light fixture and double-checking for electricity flow with a voltage tester. This step is crucial in maintaining electrical safety throughout the removal process.

Detaching and Handling the Old Fixture
Once you have confirmed the power is off, you can proceed with detaching the old lighting fixture. Start by carefully unscrewing it from its mount, making sure to support the fixture with a firm grip to prevent it from falling. As you lower the fixture, take note of the connected wires and untwist the wiring caps to disconnect them. Remember to handle the disengaged fixture and wires with care when setting them aside.
In conclusion, removing an old lighting fixture is a straightforward process as long as you prioritize electrical safety and handle the components with care. Once detached, you can move on to installing the new fixture and wiring the lighting circuit for an updated and efficient lighting system in your home.
Assessing Your Home’s Electrical Wiring Compatibility
When installing a new lighting fixture, it’s essential to ensure that your home’s electrical wiring is compatible with the new installation. This involves analyzing wiring for homes built before 1985 and determining the capacity of your current wiring system. By taking these factors into account, you can avoid potential electrical hazards and ensure a safe and successful lighting installation.
Analyzing Wiring for Homes Built Before 1985
If your home was built before 1985, it’s crucial to check your light fixture for labels warning against using with wiring rated below 90 degrees Celsius. Older wiring may have weaker insulation, which is prone to overheating, presenting a potential fire hazard. To ensure electrical safety, choose a fixture that is suitable for your home’s existing wiring, and consider updating your wiring if there’s any sign of damage or degradation.
Determining the Capacity of Your Current Wiring System
Another essential aspect of a successful lighting installation is making sure your home’s electrical system has the capacity to handle the new lighting fixture. Overloading your wiring can cause electrical hazards such as shorts and fires. Consult an electrical safety expert or refer to an lighting installation guide to determine the capacity of your electrical system and ensure it can handle the new light fixture without posing any safety risks.
In conclusion, taking the necessary precautions to assess your home’s electrical wiring compatibility is a vital step in ensuring a successful and safe lighting installation. Pay special attention to older homes and always adhere to electrical safety guidelines to protect your home and loved ones.
Conducting Electrical Wiring: Joining and Grounding Wires
To ensure a safe and properly functioning lighting circuit, it is essential to correctly connect and secure the wires. In this section, we will explore the best practices for joining and grounding wires in a lighting circuit.

Start by identifying the corresponding wires by color. Generally, the hot wires will be black or red, while the neutral wires will be white, and the grounding wires will be green, yellow, or bare copper.
- Using wiring caps, twist together the bare ends of the hot wires from both the electrical source and the lighting fixture.
- Repeat the process for the neutral wires.
It’s critical to ensure that the connections are secure and properly covered with wiring caps to prevent any potential short circuit or spark.
Electrical safety is of utmost importance, and grounding the lighting fixture is a crucial step to ensure this. Grounding creates an alternate path for electrical current to flow, directing surge electricity to neutral and minimizing the risk of electric shock, fire, or damage to the lighting fixture.
Tip: If your lighting fixture doesn’t have a designated grounding wire, ensure that it is properly grounded through the mounting hardware itself.
To ground the fixture:
- Identify the green, yellow, or bare copper grounding wire and connect it to the designated screw or attachment point on the mounting hardware.
- Secure the connection tightly, so it stays firmly in place.
By following these steps, you are ensuring a safe and functional lighting circuit, mitigating the risk of electrical hazards while enjoying your newly wired lighting system.
Mounting the New Lighting Fixture
Once you’ve taken care of the lighting circuit wiring and ensured electrical safety, it’s time to mount the new fixture. Follow these steps to securely attach and position your lighting fixture for an impressive DIY lighting wiring project.
Securing the Mounting Bracket
Start by attaching the mounting bracket that comes with your new fixture, or one that meets its specifications if not included. You’ll need to align it with the existing holes in your wall or ceiling junction box. Use the screws provided with the bracket to fix it securely in place, ensuring it’s tightly fastened before proceeding.
Attaching and Positioning the Fixture
With the mounting bracket in place, align your lighting fixture with the bracket, and fasten it using the screws or clips provided. Carefully position the fixture so it’s level and correctly oriented. This may include adjusting its height, angle, or direction, depending on the fixture type.
Once your fixture is securely attached and properly positioned, you can add any additional components, such as light covers, fan blades, or other decorative elements. This final step completes your DIY lighting wiring project, leaving you with a beautifully installed lighting fixture that complements your home’s décor.
Final Touches and Testing Your New Light Circuit
Now that your new lighting fixture is mounted and secure, it’s time for the final touches and testing to ensure everything is working as expected. Follow this lighting installation guide and make those last adjustments before admiring your finished project.

First, restore power at the fuse box and then test the new lighting fixture with a light bulb. This crucial step in electrical wiring is to ensure the fixture is correctly connected and operates as intended.
- Turn on the light switch and observe the fixture for proper function.
- Inspect the installation for any potential issues, such as unlevel mounting, incorrect orientation, or loose connections.
- Address any issues immediately to guarantee the safety and functionality of your light circuit.
Once you’ve confirmed the light is working correctly, you can proceed with the final aesthetic adjustments. These may include:
- Adding decorative elements, such as trim or shades.
- Ensuring the fixture is flush against the surface, with no gaps or irregularities.
- Tightening any screws or fasteners for a polished appearance.
By diligently following these steps in the lighting installation guide, you’ll know that your light circuit is not only functional but visually appealing as well.
Remember, practice makes perfect. With each completed project, your skills in electrical wiring and testing lighting circuits will improve, giving you the confidence to tackle more complex installations in the future. Happy lighting!
Advanced Lighting Circuit Techniques
While basic lighting circuits can accomplish most wiring tasks, some situations demand more advanced methods. In this section, we’ll delve into the intricacies of wiring for three-way and four-way light switches and explore the importance of box fill calculations in managing conductor space.

Wiring for Three-Way and Four-Way Light Switches
Spaces such as stairways or rooms with multiple access points may require the installation of three-way or four-way switches. These advanced lighting wiring techniques involve the use of a third conductor wire between switches, allowing control of the connected light from multiple locations. This setup ensures optimal functionality and convenience in accessing light switches throughout the space.
Box Fill Calculations for Conductor Space
Managing conductor space within electrical junction boxes is crucial for safety and compliance with code regulations. Box fill calculations help you confirm that junction boxes don’t get overcrowded, preserving the integrity of wires and connections. Accurate box fill calculations account for the number of wires, their sizes, and the presence of devices such as switches and receptacles inside the box.
By understanding and implementing advanced lighting wiring techniques like three-way and four-way switch installations, you’ll be equipped to tackle complex projects while maintaining safety standards. Always take the time to manage conductor space appropriately, ensuring that your lighting circuits function efficiently and securely.
Troubleshooting Common Wiring Issues
When working with electrical wiring, you may encounter various complications that can affect the performance and safety of your lighting circuit. In this section, we’ll explore some common wiring issues and learn how to resolve them. This way, you can avoid potential hazards and ensure proper lighting circuit functionality.

Dealing with Grounding Complications
One of the crucial aspects of wiring safety is correct grounding. An improper grounding system can lead to electric shocks and other dangerous situations. To ensure the integrity of your grounding, inspect your wiring for loose or corroded hot wires that could compromise the grounding system. Additionally, make sure that all connections are secure, and the grounding wires are properly fastened.
Identifying and Rectifying Incorrect Wiring
Incorrect wiring can not only cause malfunctioning lighting circuits but also pose significant safety risks. To prevent wiring-related issues, follow these tips:
- Always adhere to your country’s color-coding guidelines when connecting wires.
- Use tools like circuit testers to verify the correct identification of live wires before working with them.
- Ensure that all connections are secure and properly insulated with wiring caps or electrical tape.
By addressing grounding issues and rectifying incorrect wiring promptly, you can ensure your lighting circuits function safely and efficiently. Always prioritize safety and follow correct wiring techniques to achieve optimal results in your lighting installations.
Conclusion
Through this guide, you have gained the knowledge and skills to wire a lighting circuit with a focus on electrical safety and accuracy. It can’t be stressed enough how crucial it is to prioritize electrical safety, using the right tools, and ensuring all cables and fixtures are properly connected. Whether you’re diving into DIY lighting wiring for the first time, or you’re a seasoned pro, these steps will undoubtedly help you bring light into any space and provide a sense of accomplishment after a job well done.
Lighting circuit wiring may seem daunting, but with a solid understanding of the process, you can confidently tackle these projects. Keep in mind crucial aspects, such as disconnecting power sources beforehand and checking the compatibility of your fixtures with your home’s electrical system. Be prepared for unexpected situations and consult professional advice when necessary, ensuring the safety of yourself and your home.
In conclusion, a safely executed and effective lighting circuit can significantly enhance the ambiance, functionality, and overall appeal of your home. Armed with this information, you can take on lighting installation projects with confidence and create a more beautiful, comfortable, and well-lit space to enjoy. Keep shining!
FAQ
What should I do before beginning the wiring process?
Ensure electrical safety by cutting power to the circuit at the junction box, double-checking with a light switch or circuit tester. Clean the installation area, remove fixture coverings, and unmount the old fixture, carefully supporting it by hand.
What types of wires should I be aware of when wiring a lighting circuit?
Identify the hot (usually black or red), neutral (typically white), and grounding wires (green, yellow, or bare copper). Use a circuit diagram to visually guide you through the wiring process and ensure proper connections.
What are some essential tools and equipment for wiring a lighting circuit?
Gather a Phillips-head screwdriver, wire stripper, circuit tester, and wiring caps. Personal protective equipment such as gloves and safety glasses is also important for ensuring safety during the installation.
How do I assess my home’s electrical wiring compatibility?
Check if your new lighting fixture is compatible with your existing mounting hardware. If your home was built before 1985, the wiring may not be compatible with some modern fixtures. Use a fixture that’s suitable for your home’s electrical system capacity to prevent electrical hazards.
How do I properly ground a lighting fixture?
Connect the grounding wire (green, yellow, or bare copper) to the designated screw in the mounting hardware. This ensures that any surge electricity is directed to a neutral point, keeping your lighting circuit safe.
What are some advanced lighting circuit techniques?
For stairways or rooms with multiple access points, you may need to install three-way or four-way light switches, which involve using a third conductor wire between switches. Also, be aware of box fill calculations when managing conductor space to ensure that junction boxes aren’t overcrowded and remain within code regulations.
How do I troubleshoot common wiring issues?
Check for grounding complications, which could lead to potential electric shocks. Look for loose or corroded hot wires that can compromise grounding systems. Rectify incorrect wiring by adhering to color codings and using tools like circuit testers for verification.


Edward
Wow, who knew there was so much to learn about wiring a lighting circuit? Mind blown!