

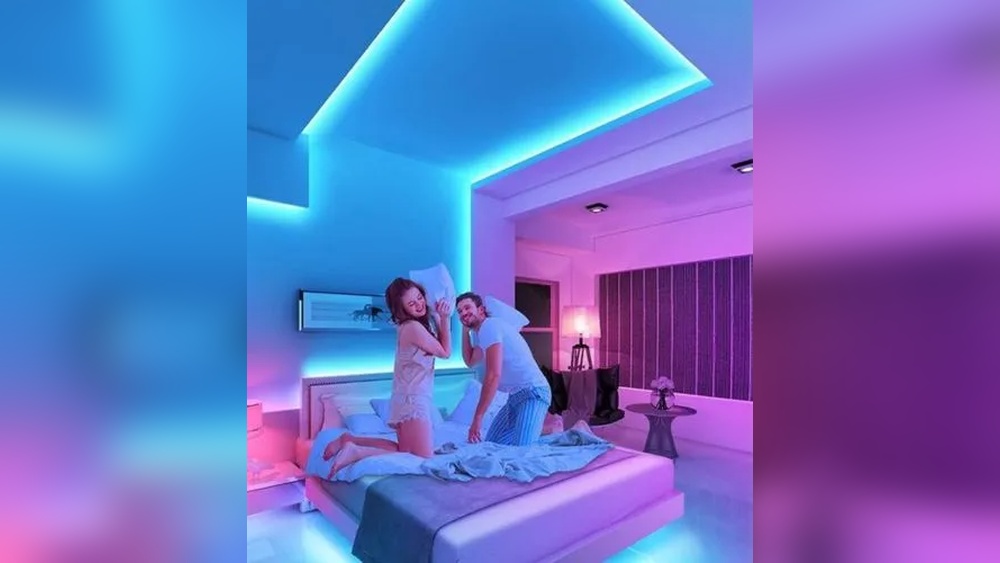
Hey there! Are you ready to take your home lighting to the next level? I’ve got you covered. In this blog post, I’ll walk you through the simple and hassle-free process of installing LED recessed lights in just 5 easy steps. So whether you’re a DIY enthusiast looking to upgrade your home or simply want to add a modern touch to your space, you’re in the right place. Let’s get started and transform your lighting game together!
Illuminate your space with our top-selling LED recessed lights
[content-egg-block modules=AmazonNoApi template=offers_grid cols=3 groups=”SectionIntro”]
Step 1: Planning and Preparation
Planning and preparation are crucial before you embark on the installation of recessed lights. By taking the time to carefully plan and prepare, you can ensure that the installation process goes smoothly and that your lights are positioned in the most ideal locations.
[content-egg-block modules=AmazonNoApi template=offers_grid cols=3 groups=”Section1″]
Determine the Number of Lights Needed
The first step in planning your recessed lighting installation is to determine the number of lights you’ll need for your space. This will depend on various factors, including the size of the room and the desired level of brightness.
To calculate the number of lights needed, you can use a simple formula. Divide the square footage of the room by the recommended wattage per square foot. For example, if you have a room that measures 200 square feet and the recommended wattage per square foot is 20, you would need a total of 10 lights (200 divided by 20).
Consider the Layout
Once you have determined the number of lights, it’s important to consider the layout that will work best for your space. The layout will depend on the specific needs and dimensions of the room.
One popular layout option is the grid layout, where the lights are evenly spaced in a grid pattern across the ceiling. This layout provides a clean and symmetrical look, making it suitable for various room sizes and styles.
Alternatively, you may prefer a more customized layout, such as a focal point layout. In this layout, the lights are positioned to highlight a specific area or object, such as a painting or a dining table. This can create a unique and visually appealing effect in your space.
Measure the Ceiling and Mark the Locations
Now that you have determined the number of lights and the layout, the next step is to measure the ceiling and mark the locations for the lights. This is an important step to ensure that the lights are evenly spaced and positioned correctly.
Using a measuring tape, carefully measure the dimensions of the ceiling. Take note of any obstacles or obstructions, such as ceiling beams or vents, that may affect the placement of the lights.
Next, mark the locations for the lights on the ceiling. You can use a pencil or masking tape to mark the spots where the lights will be installed. Ensure that the marks are accurate and aligned according to your chosen layout.
Step 2: Gather the Necessary Tools and Materials
Before you begin installing LED recessed lights, it’s essential to have all the right tools and materials on hand. This will ensure a smooth and efficient installation process. In this section, we will outline the items you’ll need and why they are important. Let’s get started!
[content-egg-block modules=AmazonNoApi template=offers_grid cols=3 groups=”Section2″]
Stud Finder
One of the first tools you’ll need is a stud finder. This device helps you locate the studs in your ceiling and ensures that you mount the recessed light housing securely. Without a stud finder, you risk installing the lights in weak areas of the ceiling that may not support the weight properly. A reliable brand to consider is the Franklin Sensors ProSensor 710, which provides accurate stud detection.
Wire Stripper
To connect the wiring, you’ll need a wire stripper. This tool is used to remove the insulation from the electrical wires, allowing for proper connections. An excellent option to consider is the Klein Tools 11063W, which is designed for precise stripping without damaging the wires.
Wire Connectors
Wire connectors are essential for joining the wires together securely and ensuring a reliable electrical connection. It’s crucial to choose connectors that are compatible with the size and type of wires you’ll be working with. A reliable brand to consider is the Ideal Wing-Nut Wire Connectors, known for their strong and durable connections.
Recessed Light Housing
The recessed light housing is where the LED bulbs will be installed. It serves as a protective enclosure and helps guide the light downward. The housing you choose will depend on various factors such as ceiling type, insulation, and personal preference. One option to consider is the Sunco Lighting 10-Pack, which includes both new construction and remodel housings.
LED Bulbs
LED bulbs are the heart of your recessed lighting system. They provide energy-efficient illumination with a long lifespan. When choosing LED bulbs, consider factors such as the color temperature, brightness, and wattage equivalent. The Philips LED Dimmable Retrofit Kit is a popular choice, offering warm white light and compatibility with dimmer switches.
Screwdriver
Lastly, you’ll need a screwdriver to secure the recessed light housing in place. A Phillips head screwdriver is the most common type used for this task. If you prefer a more versatile option, an interchangeable screwdriver set like the Craftsman Ratcheting Screwdriver offers convenience and ease of use.
Step 3: Turn Off the Power and Install the Wiring
When it comes to electrical installations, safety should always be your top priority. In this step, we will guide you through the process of turning off the power and installing the wiring for your recessed lights. By following these instructions carefully, you’ll ensure a smooth and hazard-free installation.
[content-egg-block modules=AmazonNoApi template=offers_list groups=”Section3″]
1. Safety First
Before you begin working on any electrical project, take necessary precautions to protect yourself and avoid any potential accidents. Make sure to:
- Wear safety goggles to protect your eyes from any debris or sparks.
- Use insulated tools to minimize the risk of electric shocks.
- Work in a well-lit area to have a clear view of what you’re doing.
- Keep flammable materials away from your work area.
2. Turn Off the Power
To avoid electrical shock or damage to your home’s electrical system, it’s crucial to turn off the power to the area where you’ll be installing the recessed lights. Follow these steps to do so:
- Locate your electrical panel or circuit breaker box.
- Identify the breaker that controls the power supply to the area where you’ll be working.
- Flip the switch of the identified breaker to the “off” position. Some breakers may have a clear “off” and “on” indication, while others might have a lever that needs to be moved.
Double-check to ensure the power is truly off by using a voltage tester or a reliable plug-in device. Remember, safety is key, and it’s better to be safe than sorry.
3. Install the Wiring
Now that the power is safely turned off, let’s move on to installing the wiring for your recessed lights. Follow these steps:
- Carefully read and follow the manufacturer’s instructions that came with your recessed lights. Different models or brands may have specific requirements, and it’s essential to adhere to them.
- Decide on the wiring method you’ll be using. There are generally two options:
- Wiring in parallel: This method involves connecting each light fixture to the main electrical circuit individually, ensuring that if one light fails, the others still work.
- Wiring in series: This method connects all light fixtures in a chain, so if one light fails, the entire circuit is affected.
Consider which method suits your needs and the layout of your space, but be aware that wiring in parallel is generally the recommended approach for most installations due to its reliability.
- Start by running the wiring along your planned path, making sure to keep it organized and neatly secured using approved cable clips or conduit.
- Carefully connect the wiring to the recessed lights according to the manufacturer’s instructions. This usually involves stripping the wires, connecting them using wire nuts or other suitable connectors, and securing everything in place.
- Once the wiring is properly connected, gently tuck it into the ceiling or wall, ensuring that no bare wires are exposed and that the cables are not pinched or strained.
Step 4: Install the Recessed Light Housing and Trim
Now that the wiring is securely in place, it’s time to move on to the next step of installing your recessed lighting: installing the housing and trim. This step is crucial to ensure your lights not only function properly but also look aesthetically pleasing. In this section, we’ll guide you through the process, providing helpful tips and highlighting essential details.
[content-egg-block modules=AmazonNoApi template=offers_grid cols=3 groups=”Section4″]
1. Follow the Manufacturer’s Instructions
Before diving into the installation, take a moment to carefully read and understand the manufacturer’s instructions for the housing and trim you’ve chosen. Different brands and models may have specific installation requirements, so it’s important to follow the manufacturer’s guidelines to ensure a successful installation.
2. Secure the Housing to the Ceiling
Start by securing the housing to the ceiling. Most recessed light housings are designed to be easily attached using adjustable brackets or clips. Here’s a step-by-step guide to help you along the way:
- Ensure the housing is centered in the desired location and align it with the cutout in the ceiling.
- Extend the brackets or clips and insert them into the cutout, making sure they firmly grip onto the ceiling material.
- Use a screwdriver or the provided hardware to secure the brackets or clips in place, ensuring the housing is tightly held against the ceiling.
Remember to double-check the alignment and stability of the housing before proceeding to the next step.
3. Attach the Trim
Once the housing is securely in place, it’s time to attach the trim. The trim of a recessed light not only adds a finishing touch but also plays a crucial role in directing and controlling the light output. Follow these steps to attach the trim:
- Carefully position the trim over the housing, aligning it with the opening.
- Depending on the trim design, you may need to twist, snap, or push the trim into place. Be sure to apply gentle and even pressure to avoid damaging the housing or trim.
- Refer to the manufacturer’s instructions to determine if any additional steps, such as using screws or clips, are necessary to secure the trim in place.
4. Final Checks
Once both the housing and trim are installed, take a moment to perform final checks to ensure everything is in proper working order:
- Ensure the junction box inside the housing is tightly closed and properly sealed to protect against moisture.
- Double-check all connections to ensure they are tightly secured and no loose wires are present.
- Look for any gaps or unevenness between the trim and ceiling and make the necessary adjustments for a seamless appearance.
In Summary
Installing the recessed light housing and trim may initially seem complex, but by following the manufacturer’s instructions and these steps, you can complete the process with confidence. Remember to pay attention to details and take your time to ensure a safe and visually appealing result.
Remember, always prioritize safety and consult a professional if you are uncomfortable or unsure about any part of the installation process.
Happy installing!
Wrapping it up: Achieve a seamless lighting upgrade with these simple installation steps
In conclusion, by following the 5 easy steps outlined in this blog post, you can successfully install LED recessed lights and enjoy the benefits of stylish and energy-efficient lighting. Remember to plan ahead, gather the necessary tools, turn off the power, install the wiring, and secure the housing and trim. Additionally, consider the size of your space and desired brightness level when determining the number and placement of your lights. With LED recessed lights, you can transform your space and create a more inviting and efficient environment. Enjoy your new lighting upgrade!


Frankie
I found it helpful to use a wire fish tape when installing the wiring for recessed lights. It makes it easier to navigate through walls and ceilings.