
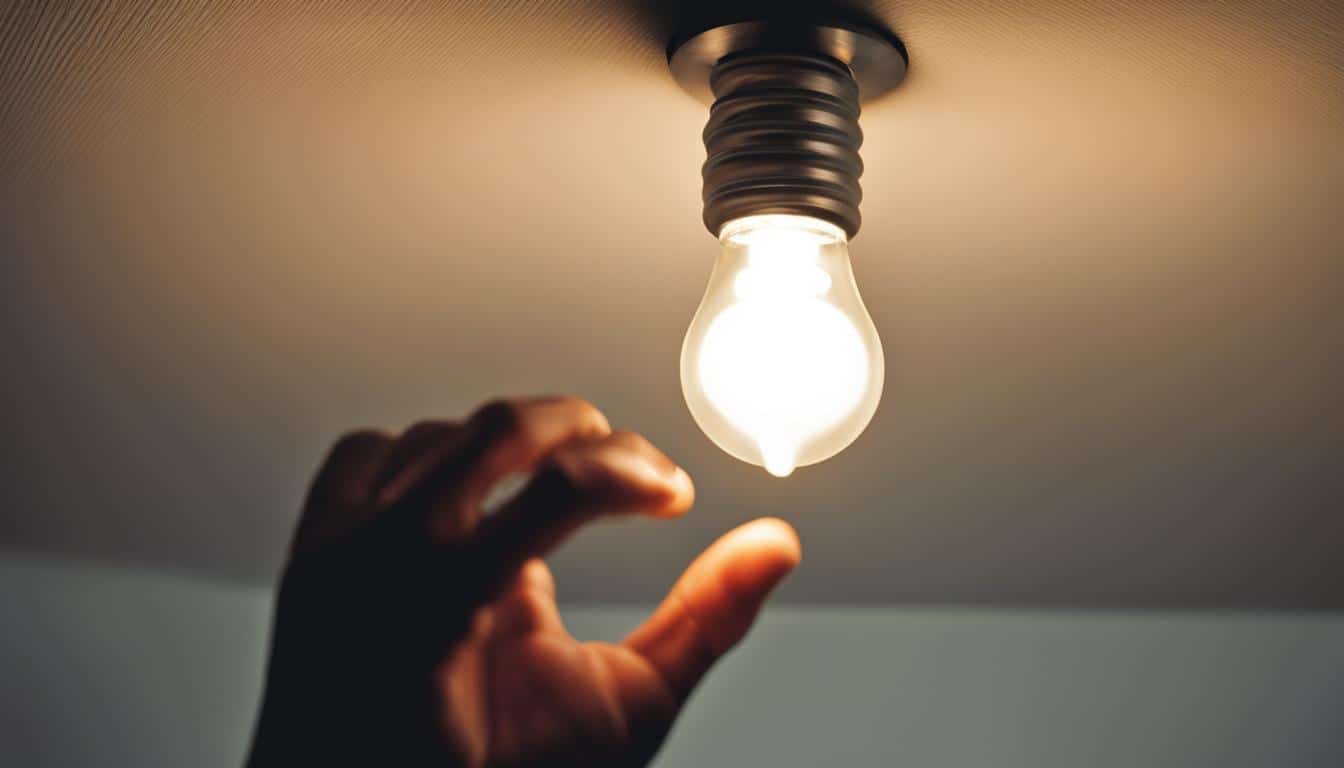
Recessed lighting, commonly known as canned lighting, is a popular choice for homeowners due to its sleek appearance and seamless integration with various décor styles. Changing a light bulb in recessed lighting might seem daunting, but with a little understanding and the right tools, it’s a cinch! From releasing clips or twist-locks to using specialized tools like a bulb changing pole or a loop of duct tape, this guide will teach you how to remove light bulb from recessed lighting like a pro. So, let’s dive in!
Key Takeaways
- Recessed lighting, also known as canned lighting, is valued for its seamless integration with various décor styles.
- To remove a light bulb from recessed lighting, you may need to release clips or a twist-lock mechanism.
- Specialized tools like a bulb changing pole or a loop of duct tape can help with hard-to-reach bulbs.
- Safety should always be a priority – ensure the power is off and use a sturdy ladder or step stool when necessary.
- Choosing the right replacement bulb is crucial; consider LED vs traditional options depending on your fixture and preferences.
Understanding Recessed Lighting and Its Appeal
Recessed lighting, commonly referred to as canned lighting, has gained popularity in home décor due to its sleek and unobtrusive appearance. This type of lighting is installed directly into the ceiling or wall, providing a clean finish to any room. With its ability to blend seamlessly into various décor styles, recessed lighting appeals to both aesthetic and practical benefits.
One of the reasons homeowners choose canned lighting is the ease of removing bulb from recessed lighting. Recessed lighting fixtures are designed for quick and simple bulb replacement, making it a convenient option for homeowners looking to maintain their lighting systems with minimal hassle. Let’s explore the different types of recessed lighting fixtures and their respective removal methods.
- Fixed Recessed Lighting: The most common type of canned lighting, these fixtures consist of a stationary housing and a bulb that can be replaced without detaching any additional components.
- Gimbal Recessed Lighting: These fixtures feature a pivoting mechanism that allows the light to be directed in various angles. To change the bulb, homeowners may need to adjust the angle of the light before carefully removing the bulb.
- Recessed Downlights: These fixtures utilize a reflector trim to direct the light downward. To replace the bulb, the trim may need to be removed or rotated to access the bulb.
- Surface-mounted Lighting: Integrated with the surface of the ceiling or wall, these fixtures typically have an outer casing that must be detached to access the light bulb.
Now that we’ve covered the types of fixtures, let’s compare the benefits of recessed lighting with other lighting options.
Recessed lighting offers a sleek, unobtrusive look that integrates seamlessly into any décor style.
| Lighting Option | Benefits | Drawbacks |
|---|---|---|
| Recessed Lighting |
|
|
| Pendant Lighting |
|
|
| Flush-mount Lighting |
|
|
In conclusion, the appeal of recessed lighting lies in its understated elegance and seamless integration into various styles of home décor. The fixtures are designed for easy bulb replacement, offering both aesthetic and practical benefits for homeowners.
Before You Begin: Tools and Materials You’ll Need
Replacing a light bulb in recessed lighting may seem daunting, but with the right tools and materials on hand, the process will be a breeze.

Always remember that safety comes first and equip yourself accordingly.
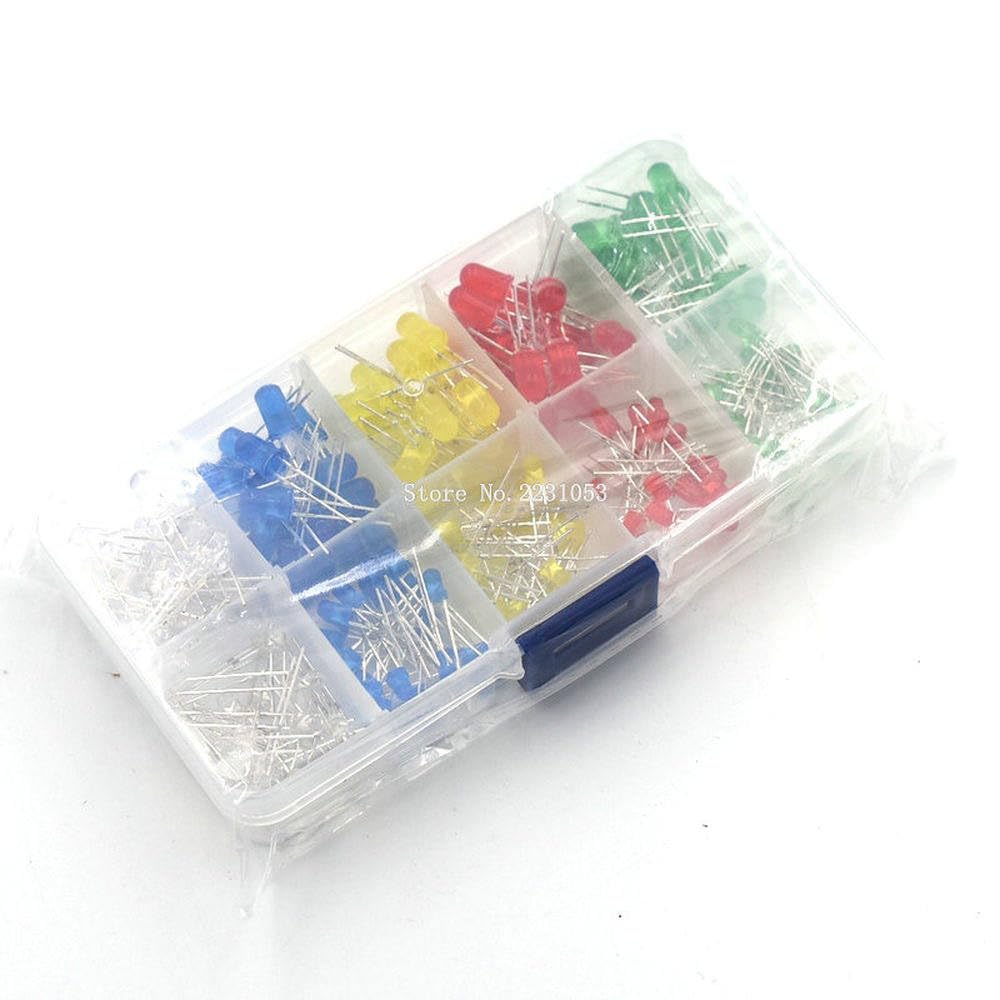
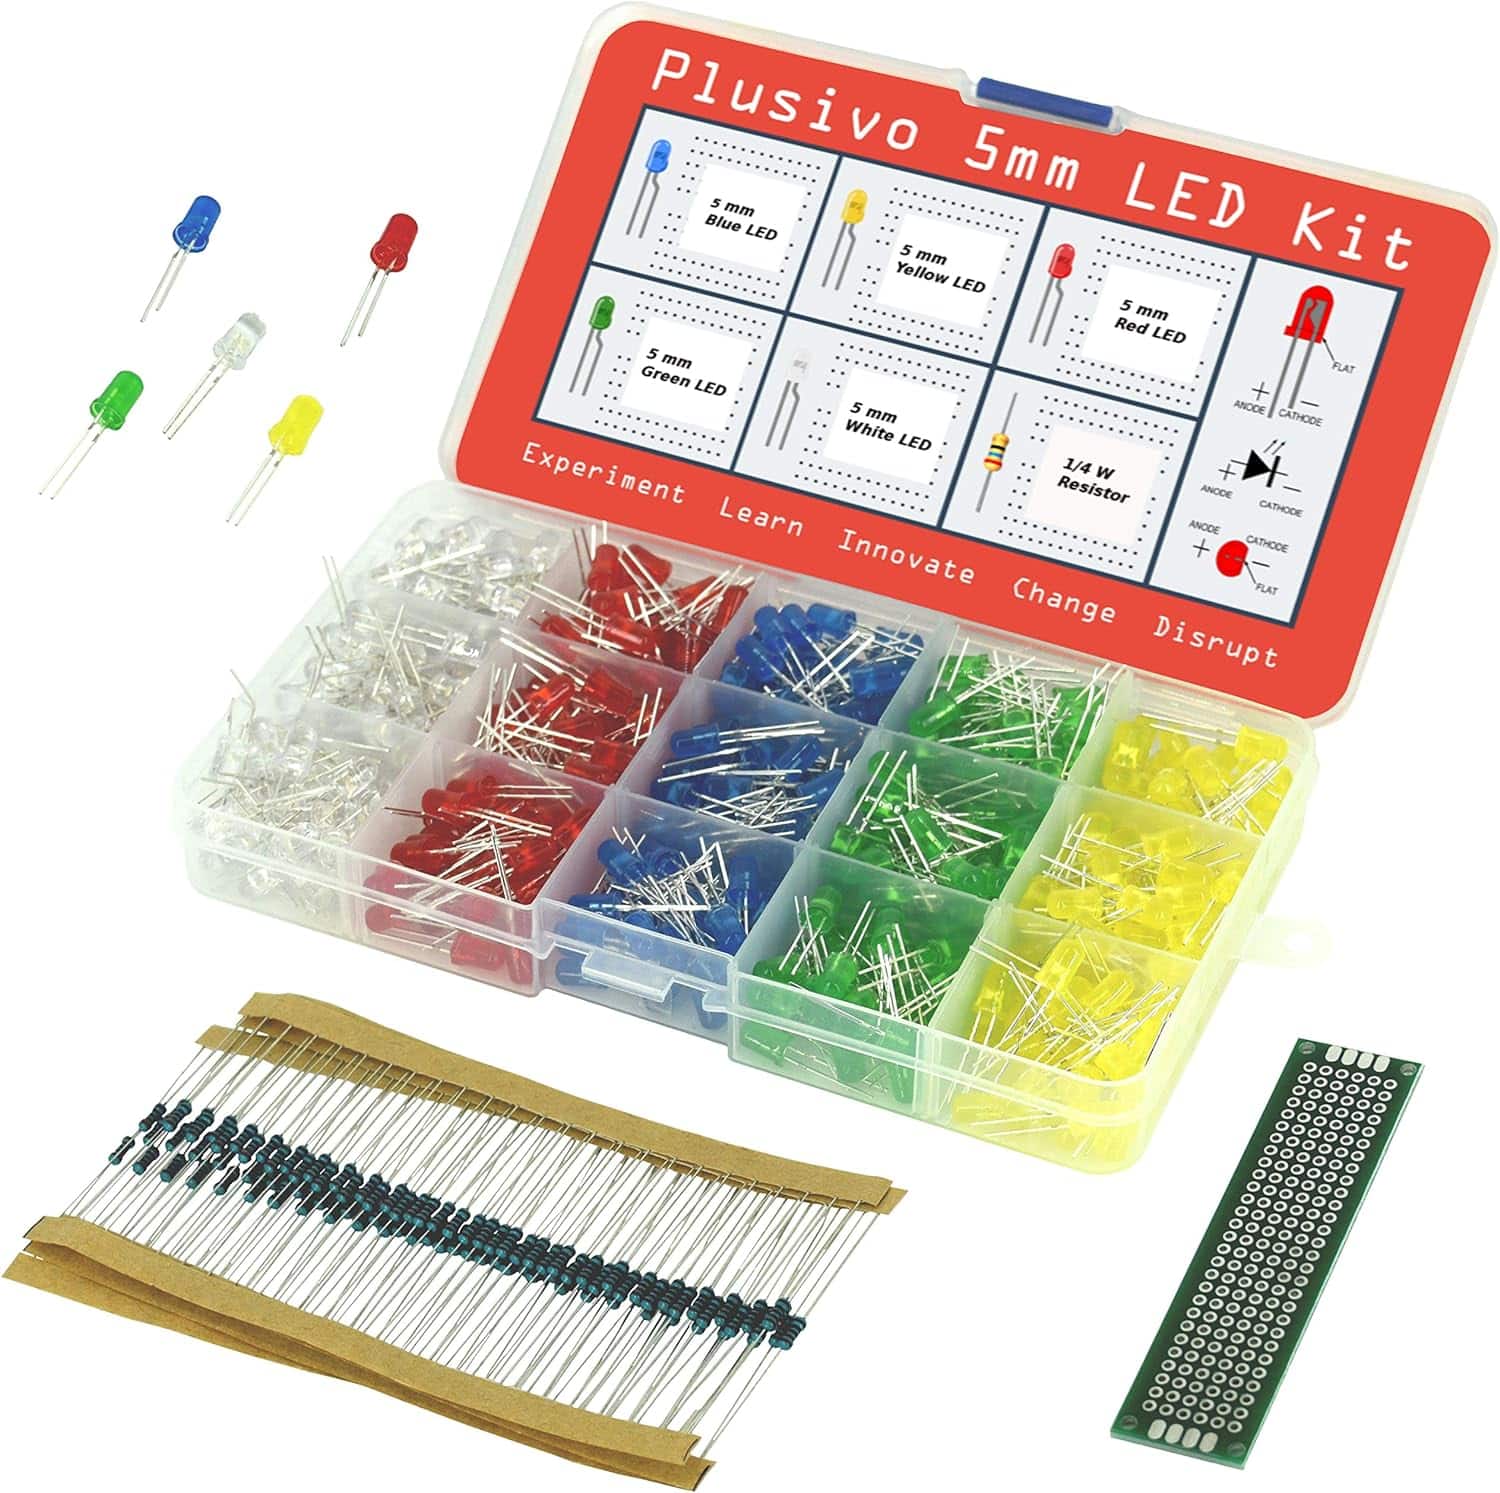
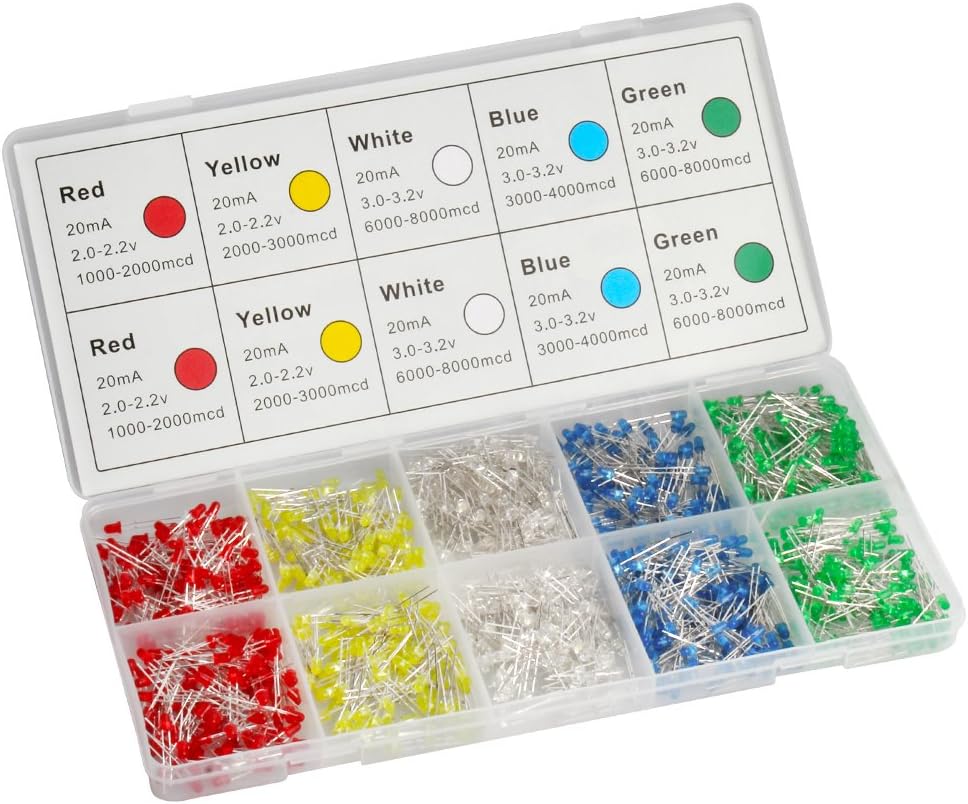
Identifying the Right Replacement Bulb
Before starting the light bulb replacement process, ensure that you have a replacement light bulb compatible with the wattage and specifications of the old bulb. Correctly identifying the replacement bulb is crucial, as different diameters require specific bulb sizes, such as BR30 for 4” diameters and BR40 for 6” diameters. Always refer to the manufacturer’s instructions for the correct type. Keep in mind that various factors may influence the type of replacement bulb you select, such as brightness, color temperature, and energy efficiency.
- Understand the wattage and specifications of the old bulb
- Choose the right replacement bulb based on diameter and brand requirements
- Consider additional factors such as brightness, color temperature, and energy efficiency
Setting Up a Safe Workspace with Ladder or Step Stool
To ensure a safe workspace setup, it is essential to position a sturdy ladder or step stool on a level surface to access the recessed lighting replacement area. Wearing proper safety gear, such as gloves and protective eyewear, can help prevent injuries from potential hot bulbs or sharp edges.
- Position a ladder or step stool on a level surface.
- Wear appropriate safety gear such as gloves and protective eyewear.
- Keep your workspace clean and clutter-free.
In addition to the ladder and safety gear, gather the essential tools for the replacement process, such as:
| Tool | Purpose |
|---|---|
| Replacement Light Bulb | Properly sized and compatible with your existing recessed lighting fixture |
| Non-Contact Voltage Tester (Optional) | Verify that the electrical supply is disconnected before proceeding |
| Bulb Changing Pole / Duct Tape (If needed) | Extra equipment for hard-to-reach bulbs or stubborn fixtures |
With these tools and materials in hand and a safe workspace set up, you are now ready to embark on your DIY light bulb replacement journey. Remember that preparation is key and familiarizing yourself with the steps, tools, and materials can provide a smooth and successful experience.
Ensuring Safety First: Preliminary Steps
It is always essential to prioritize safety when embarking on any DIY project, especially those involving electrical fixtures. To ensure safety during the process of changing a light bulb in recessed lighting, take the following preliminary safety steps.
- Switch off the power to the recessed lights by turning off the circuit breaker or fuse panel corresponding to the lighting.
- Allow bulbs that have recently been in use to cool down. This can help prevent burns from accidentally touching a hot bulb.
- For an added layer of protection, use a voltage tester to verify the absence of electrical current before attempting to replace the bulb. This simple device can detect live circuits, ensuring the power is indeed off.
Once these safety precautions have been taken, you can proceed with confidence, knowing you have minimized the risk of accidents and injuries during the light bulb replacement process.
‘It is crucial to always remember: Ensuring safety comes first. Employing preliminary safety steps is a fundamental prerequisite for any DIY project involving electrical fixtures.’
Step-by-Step Process: Removing the Old Bulb
Removing a light bulb from recessed lighting can seem challenging, but with the right approach and a step-by-step process, it becomes a simple task. Follow these steps to make your recessed light bulb removal experience a breeze.
- First, assess if you need to detach the trim or housing to access the bulb. If so, carefully remove it and set it aside.
- Next, identify the bulb’s attachment mechanism: clips, springs, or a twist-lock. For spring-clip fixtures, gently squeeze the clips to release the bulb. For twist-lock bulbs, rotate counterclockwise.
- In case the old bulb is difficult to reach or doesn’t budge easily, use alternative methods such as a loop of duct tape, a suction cup, or a light bulb changing pole. These tools can assist in the bulb removal process.

Note: Some recessed lighting fixtures might require a bit more finesse when removing the bulb. Always refer to the lighting manufacturer’s guidelines to avoid damaging the fixture.
By following these steps, you’ll have successfully removed the old light bulb from your recessed lighting. Now, you’re ready to install the new bulb and enjoy the improved lighting in your space.
Installing a New Light Bulb in Recessed Lighting
When it comes to replacing a light bulb in recessed lighting, the installation process varies depending on the type of bulb and the lighting fixture itself. The following guide outlines the basics of light bulb installation, whether you are dealing with twist-lock bulbs or other common types.
- Turn off the power supply to the lighting fixture as a safety measure. This step should always be taken before handling any electrical device.
- Identify the type of socket in your recessed lighting fixture. Most commonly, they come in one of the following forms: twist-lock, push-in, or spring-loaded mechanisms. Understand the mechanism specific to your fixture before proceeding.
- Align the new light bulb correctly with the socket. For twist-lock bulbs, insert the bulb into the socket and turn it clockwise until it is secure. For other types, such as push-in or spring-loaded, simply push the bulb into the socket until it is seated firmly. Be careful not to overtighten the bulb, as this can cause damage to the socket.
- Once the bulb is securely in place, reattach the trim or housing, if necessary, and ensure it is fitted correctly.
- Restore the power supply and test the newly installed light bulb to ensure it is operating correctly.
Pro tip: Consider upgrading from traditional bulbs to energy-efficient LED alternatives, which can offer longer lifespans, lower energy consumption, and reduced environmental impact.
In conclusion, installing a new light bulb in recessed lighting is a straightforward and efficient process when you follow the outlined steps. By understanding the specific mechanisms involved in your lighting fixture, ensuring safety precautions are taken, and properly securing the new bulb, you’ll be able to successfully replace your light bulbs and enjoy a well-lit living space.
Restoring Power and Testing Your Handy Work
After installing the new bulb in your recessed lighting fixture, it’s time to restore the power supply and test its functionality. Restoring power is as simple as flipping the corresponding circuit breaker back on and using the wall switch to activate the light fixture.

What to Look for When Testing the New Bulb
Once the power is restored, carefully observe the newly installed bulb to ensure it’s operating correctly. Consider the following aspects when testing your new bulb:
- Even illumination: Check that the bulb provides consistent and uniform lighting throughout the room.
- Proper fit within the fixture: Verify that the bulb fits securely within the fixture and doesn’t protrude or wobble.
- Stable operation: The bulb should not flicker or produce any unusual sounds when in use.
“A successful light bulb replacement should result in a stable, well-functioning fixture.”
If you encounter any issues during the testing phase, revisit the installation steps or consider recessed lighting troubleshooting for more assistance. As always, consult your lighting manufacturer’s guidelines for specific advice on proper installation and functionality.
In conclusion, restoring power and testing your new bulb installation is the final step in the light bulb replacement process. Follow these guidelines to ensure a successful and flawless installation.
Choosing the Right Bulb: LED vs Traditional Options
When deciding on a replacement bulb for your recessed lighting, it’s crucial to weigh the choices between LEDs and traditional bulbs. LEDs offer energy efficiency and longer lifespan, while traditional bulbs may be more suitable for certain ambiances or fixtures. To assist you in choosing the right bulb, let’s examine the advantages and disadvantages of both LED and traditional light bulb options.
- Energy-efficient: LED bulbs consume significantly less energy compared to incandescent and halogen bulbs. This results in lower electricity bills and reduced carbon footprint.
- Long-lasting: LEDs have a longer lifespan, with some models lasting up to 50,000 hours. This minimizes the need for frequent replacements and reduces maintenance costs.
- Eco-friendly: LED bulbs contain no harmful materials like mercury, making them a greener alternative.
- Versatility: Available in various colors, brightness levels, and shapes, allowing for customization and meeting diverse lighting needs.
Traditional Bulbs
- Lower initial cost: Incandescent and halogen bulbs are generally cheaper to purchase than LED bulbs.
- Warm ambiance: Traditional bulbs produce a warm, cozy light, making them suitable for spaces where a relaxing atmosphere is desired.
- Compatibility: Older light fixtures may not support modern LED bulbs, requiring adapters or rewiring.
Match the bulb to your fixture’s requirements and personal preferences to achieve the desired results for your recessed lighting.
| Bulb Type | Pros | Cons |
|---|---|---|
| LED | Energy-efficient, long-lasting, eco-friendly, versatile | Higher initial cost, may require fixture compatibility adjustments |
| Traditional (Incandescent, Halogen) | Lower initial cost, warm ambiance, compatibility with older fixtures | Less energy-efficient, shorter lifespan, may contain harmful materials |
In conclusion, consider your specific needs and preferences when choosing between LED and traditional light bulb options for your recessed lighting. By taking into account factors like energy efficiency, longevity, environmental impact, and compatibility, you can make an informed decision and create the perfect lighting environment for your space.
Additional Tips for a Smooth Replacement Process
Now that you have a better understanding of the basic steps involved in replacing recessed lighting, there are some additional replacement tips to ensure a smooth bulb replacement process. Keep the following DIY lighting tips in mind:
- Keep spare bulbs on hand. You never know when a bulb will suddenly require replacement.
- Familiarize yourself with different bulb types and housing mechanisms to make it easier to access and replace bulbs when necessary.
- Always refer back to the lighting manufacturer’s guidelines to ensure proper installation and compatibility.
- Perform periodic maintenance and inspections to preemptively address potential lighting issues.

It might seem intimidating at first, but with practice and patience, you’ll have a better understanding of how to replace light bulbs for varying recessed fixture types. Take the time to learn about the unique elements of your specific fixtures and consider investing in specialized tools for a seamless and hassle-free experience.
| Tip | Description |
|---|---|
| Have a bulb-changing pole | A bulb-changing pole is excellent for saving time and energy when dealing with hard-to-reach recessed lighting. Make sure to choose one that suits your fixture type and bulb size. |
| Use gloves and safety goggles | When dealing with hot bulbs or sharp edges, wearing gloves and safety goggles can prevent injuries. |
| Stay organized | Keep track of your bulbs and tools by storing them in a designated area. Staying organized will make it easier to find everything you need when it’s time to replace a bulb. |
| Don’t hesitate to ask for help | If you’re unsure about any aspect of the bulb replacement process, reach out to a professional or consult your lighting manufacturer’s guidelines for additional assistance. |
With these additional tips and the steps laid out in this guide, replacing recessed lighting bulbs should become smoother and easier with each subsequent attempt. Happy DIY-ing!
Conclusion
Replacing a light bulb in recessed lighting may seem like a daunting task, but with proper preparation and an understanding of the correct techniques, anyone can do it. I’ve provided a comprehensive light bulb change guide to make sure you’re well-equipped for this recessed lighting DIY project. Following the outlined steps, using appropriate tools, and adhering to safety protocols will ensure a successful light replacement experience.
When selecting a new bulb, consider the specific requirements of your fixture and personal preferences. LEDs offer energy efficiency and a longer lifespan, while traditional bulbs could be the right choice for certain ambiances and fixtures. Regardless of the type of bulb you choose, your recessed lighting should be up and running, effectively illuminating your space once more.
To ensure an even smoother bulb replacement process in the future, I recommend familiarizing yourself with different bulb types and housing mechanisms, always referring back to the lighting manufacturer’s guidelines, and keeping extra bulbs on hand. Conducting periodic maintenance and inspection can also help you address lighting issues before they become major problems. With these tips in mind, you’ll be well on your way to mastering the art of recessed lighting maintenance.
FAQ
How do I identify the right replacement bulb for my recessed lighting?
To find the right replacement bulb, you must match the wattage and specifications of the old bulb. Measure the diameter and refer to the manufacturer’s instructions for the correct bulb type, such as BR30 for 4″ diameters and BR40 for 6″ diameters.
What is the importance of setting up a safe workspace before replacing a light bulb in recessed lighting?
Safety is crucial when working with electrical fixtures. Position a sturdy ladder or step stool on a level surface to access the recessed lighting. Use safety gear like gloves and protective eyewear to prevent injuries from hot bulbs or sharp edges.
What should I do before starting the light bulb removal process?
Begin by switching off the power to the recessed lighting from the circuit breaker or fuse panel. Allow recently used bulbs to cool down before attempting to replace them. Optionally, use a voltage tester to ensure that the power is off before starting the bulb removal process.
How do I remove a light bulb secured with clips or a twist-lock mechanism in recessed lighting?
For spring clip fixtures, gently squeeze the clips. For twist-lock bulbs, rotate the bulb counterclockwise until the bulb releases. If the bulb is difficult to reach or is not budging, use alternative methods like duct tape or a light bulb changing pole.
How do I install a new light bulb in recessed lighting?
Align the new bulb correctly with the socket. For twist-lock bulbs, insert and turn clockwise until secure. For other types, push the bulb into the socket until seated. Do not overtighten to avoid socket damage. Replace the trim or housing as necessary.
How do I choose between LED and traditional light bulbs for recessed lighting?
LEDs offer energy efficiency and a longer lifespan, while traditional bulbs may suit certain ambiances or fixtures. Match the bulb to the fixture’s requirements and consider your personal preference when selecting the best option for your space.
What additional tips can ensure a smooth light bulb replacement process in recessed lighting?
Keep spare bulbs on hand, familiarize yourself with different bulb types and housing mechanisms, and refer to the lighting manufacturer’s guidelines. Additionally, perform periodic maintenance and inspection to preemptively address any issues with your recessed lighting.


Everleigh Cobb
I never knew removing a light bulb could be so complicated! Whos with me? 🤷♂️