LED LIGHTING

world's #1 led lighting review site

How to Install LED Strip Lights

Tenmiro Led Lights for Bedroom 100ft (2 Rolls of 50ft) Music Sync Color Changing Strip Lights with Remote and App Control RGB Strip, for Room Home Party Decoration

Welcome to the world of LED strip lights! In this step-by-step guide, I will walk you through the process of installing these fantastic light strips in your space.

LED strip lights have become increasingly popular for their versatility and ability to transform any room or area into a vibrant, illuminated wonderland. Whether you want to add ambiance to your living room, create a relaxing atmosphere in your bedroom, or even light up your kitchen cabinets, LED strip lights are the perfect solution.

Now, hold onto your seat because here’s a crazy fact: Did you know that LED strip lights are energy-efficient and can last up to 50,000 hours? That’s right, these little light strips can shine bright for years without needing replacement. Talk about cost-effective lighting!

So, if you’re ready to take your lighting game to the next level, follow this step-by-step guide and let’s get started on installing LED strip lights. Get ready to illuminate your space like never before!

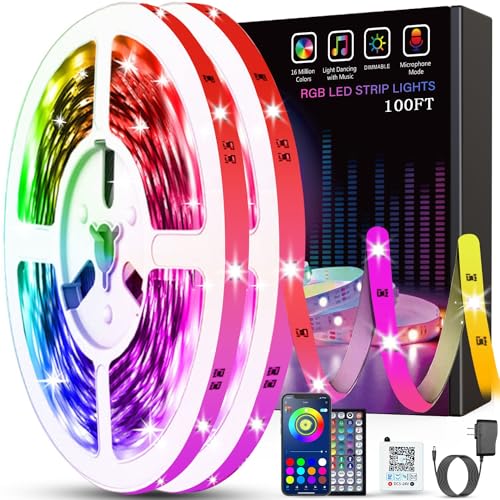
Top-Rated LED Strip Lights

[content-egg-block modules=AmazonNoApi template=offers_grid cols=3 groups=”SectionIntro”]

1

Gather the necessary materials

To start, create a comprehensive list of all the materials required for installing LED strip lights. This should include the LED strips themselves, a suitable power supply, connectors to join the strips together, and adhesive to secure them in place. By making a detailed list, you can ensure that you have everything you need before starting the installation process.

[content-egg-block modules=AmazonNoApi template=offers_list groups=”Step1″]

2

Measure and plan the installation area

To measure the length of the area where you want to install the LED strip lights, start by using a tape measure or ruler. Place one end of the tape measure at the starting point and extend it to the desired end point. Note down the length in either feet or meters, depending on what unit you prefer. Once you have the measurements, you can then plan the layout of the LED strip lights accordingly. For example, if your measurements indicate a length of 10 feet, you may want to consider dividing the area into two sections of 5 feet each and decide how many LED strip lights you will need for each section.

3

Prepare the installation surface

To ensure proper adhesion of the LED strip lights, it is crucial to clean the installation surface thoroughly. Here are a few steps you can follow:

  • Start by removing any dust, dirt, or debris from the surface using a dry cloth or a soft brush.
  • Next, dampen a cloth with a mild detergent solution and gently clean the surface to remove any grease or fingerprints.
  • Rinse the surface with clean water and wipe it dry with a clean cloth to remove any residue.
  • Finally, make sure the surface is completely dry before proceeding with the installation of the LED strip lights.

By taking these simple steps, you will create an optimal surface for the LED strip lights to adhere to, ensuring a secure and long-lasting installation.

4

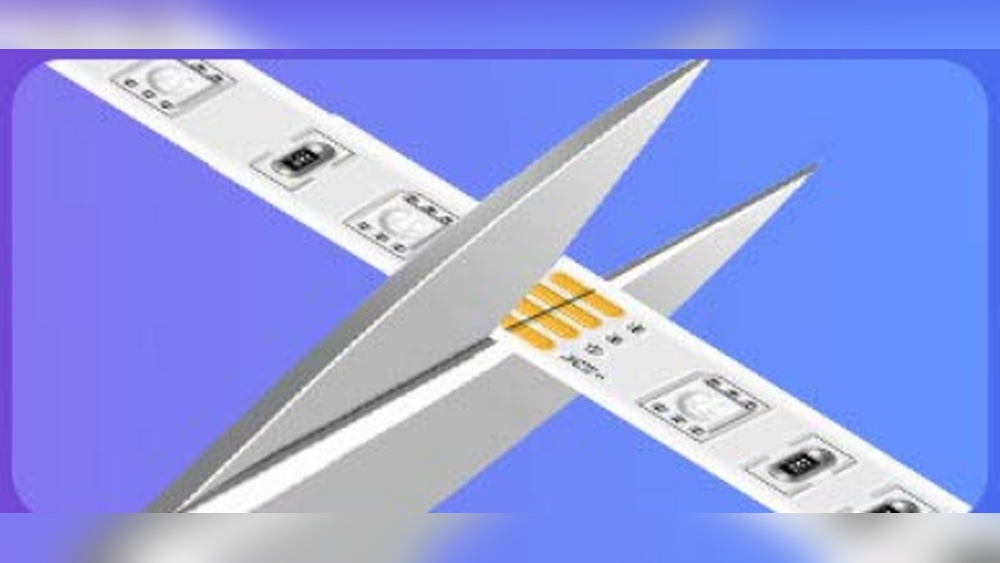
Cut the LED strip lights

To cut the LED strip lights, first, measure the desired length and mark it accordingly. Then, using a pair of scissors or a sharp knife, carefully cut along the marked line. Make sure to cut through the copper contacts at the designated cutting points.

Here are some examples to illustrate the process:

  • Measure and mark the LED strip at 12 inches.
  • Use a pair of scissors to cut along the marked line, ensuring a clean cut.
  • Make sure to cut through the copper contacts at the designated cutting points to avoid any damage to the remaining strip.

Remember to handle the scissors or knife with caution and to cut the strip lights within the designated cutting points indicated by the copper contacts for optimal functionality.

[content-egg-block modules=AmazonNoApi template=offers_list groups=”Step4″]

5

Connect the LED strips

To connect the LED strips, you will need connectors that allow for a secure connection. Here is a step-by-step guide to help you with the process:

  • Start by identifying the type of connectors you have: There are various types of connectors available for LED strips, such as 4-pin connectors, 5-pin connectors, or even solderless connectors. Make sure you understand the type of connectors you have before proceeding.
  • Prepare the LED strips: Carefully remove the protective covering from the end of the LED strips to expose the solder pads or pins.
  • Align the connectors: Take the connectors and align them with the solder pads or pins on the LED strip. Ensure that the polarity (+ and -) on the connectors matches the correct polarity on the LED strip.
  • Connect the connectors: Gently press the connectors onto the solder pads or pins, making sure they are firmly in place. Some connectors may have locking mechanisms that you need to secure to ensure a stable connection.
  • Test the connection: Once the connectors are in place, test the LEDs by plugging in the power source. If the LEDs light up correctly, it means the connection is secure. If not, double-check the alignment and connection between the connectors and LED strips.

Remember, each LED strip and connector may have different requirements, so always refer to the specific instructions provided by the manufacturer.

6

Attach the LED strips

To attach the LED strips, start by removing the adhesive backing from the strips. Make sure to carefully peel off the backing without damaging the LEDs. Once the adhesive is exposed, gently press the LED strips onto the prepared installation surface, ensuring they are aligned and securely attached.

7

Install the power supply

To connect the power supply to the LED strips and ensure proper electrical connections, follow these steps:

  1. Gather the materials: Make sure you have the power supply and the LED strips ready.
  2. Identify the connections: Locate the positive (+) and negative (-) terminals on both the power supply and the LED strips.
  3. Make the electrical connections: Connect the positive terminal of the LED strips to the positive terminal of the power supply using the provided cables. Similarly, connect the negative terminal of the LED strips to the negative terminal of the power supply.
  4. Secure the connections: Ensure that the connections are tight and secure, minimizing the risk of loose wires or potential electrical hazards.

By following these steps, you will successfully connect the power supply to the LED strips and establish the necessary electrical connections for proper functionality.

8

Test the installation

To test the installation, turn on the power supply and carefully observe the LED strip lights. Ensure that they are working correctly and emitting a bright, consistent light. Look for any flickering or uneven illumination along the strip. If you notice any issues, check the connections and power supply, making sure they are properly connected and secure.

9

Secure the installation

To secure the LED strip lights in place, you may need to use additional adhesive or mounting brackets. Here’s how you can do it:

  1. Option 1: Additional adhesive
    • Clean the surface where you want to stick the LED strip lights using isopropyl alcohol.
    • Apply a thin layer of adhesive to the backside of the lights.
    • Press the lights firmly onto the desired surface, making sure they are properly aligned.
    • Hold them in place for a few seconds to allow the adhesive to bond.
  2. Option 2: Mounting brackets
    • Measure the length of the LED strip lights and cut the mounting brackets to match that length.
    • Position the mounting brackets along the desired installation area, making sure they are evenly spaced.
    • Use screws or nails to attach the brackets securely to the surface.
    • Slide the LED strip lights into the mounting brackets, ensuring they are snugly fit.

Remember, additional adhesive or mounting brackets are only necessary if the adhesive backing on the LED strip lights is not strong enough to hold them in place. Adjust your method depending on the surface and the weight of the lights.

10

Clean up and enjoy

Clean up any mess from the installation process by removing any packaging materials, tools, and leftover wires. Wipe down the area where the LED strip lights were installed to ensure a clean and neat finish. Finally, step back, turn on the lights, and enjoy the beautiful ambiance created by your newly installed LED strip lights.

Wrap it Up

In conclusion, successfully installing LED strip lights requires following each step carefully. Throughout this guide, we have discussed the essential aspects to consider, from planning the installation to connecting the strips and powering them up. Remember to carefully measure and cut the strips, clean the surface, and ensure proper adhesive application. Additionally, take safety precautions and consult the manufacturer’s instructions for any specific requirements. By paying attention to these details, you will be able to create a stunning lighting setup and enjoy the ambiance that LED strip lights can bring to your space. Happy installation!
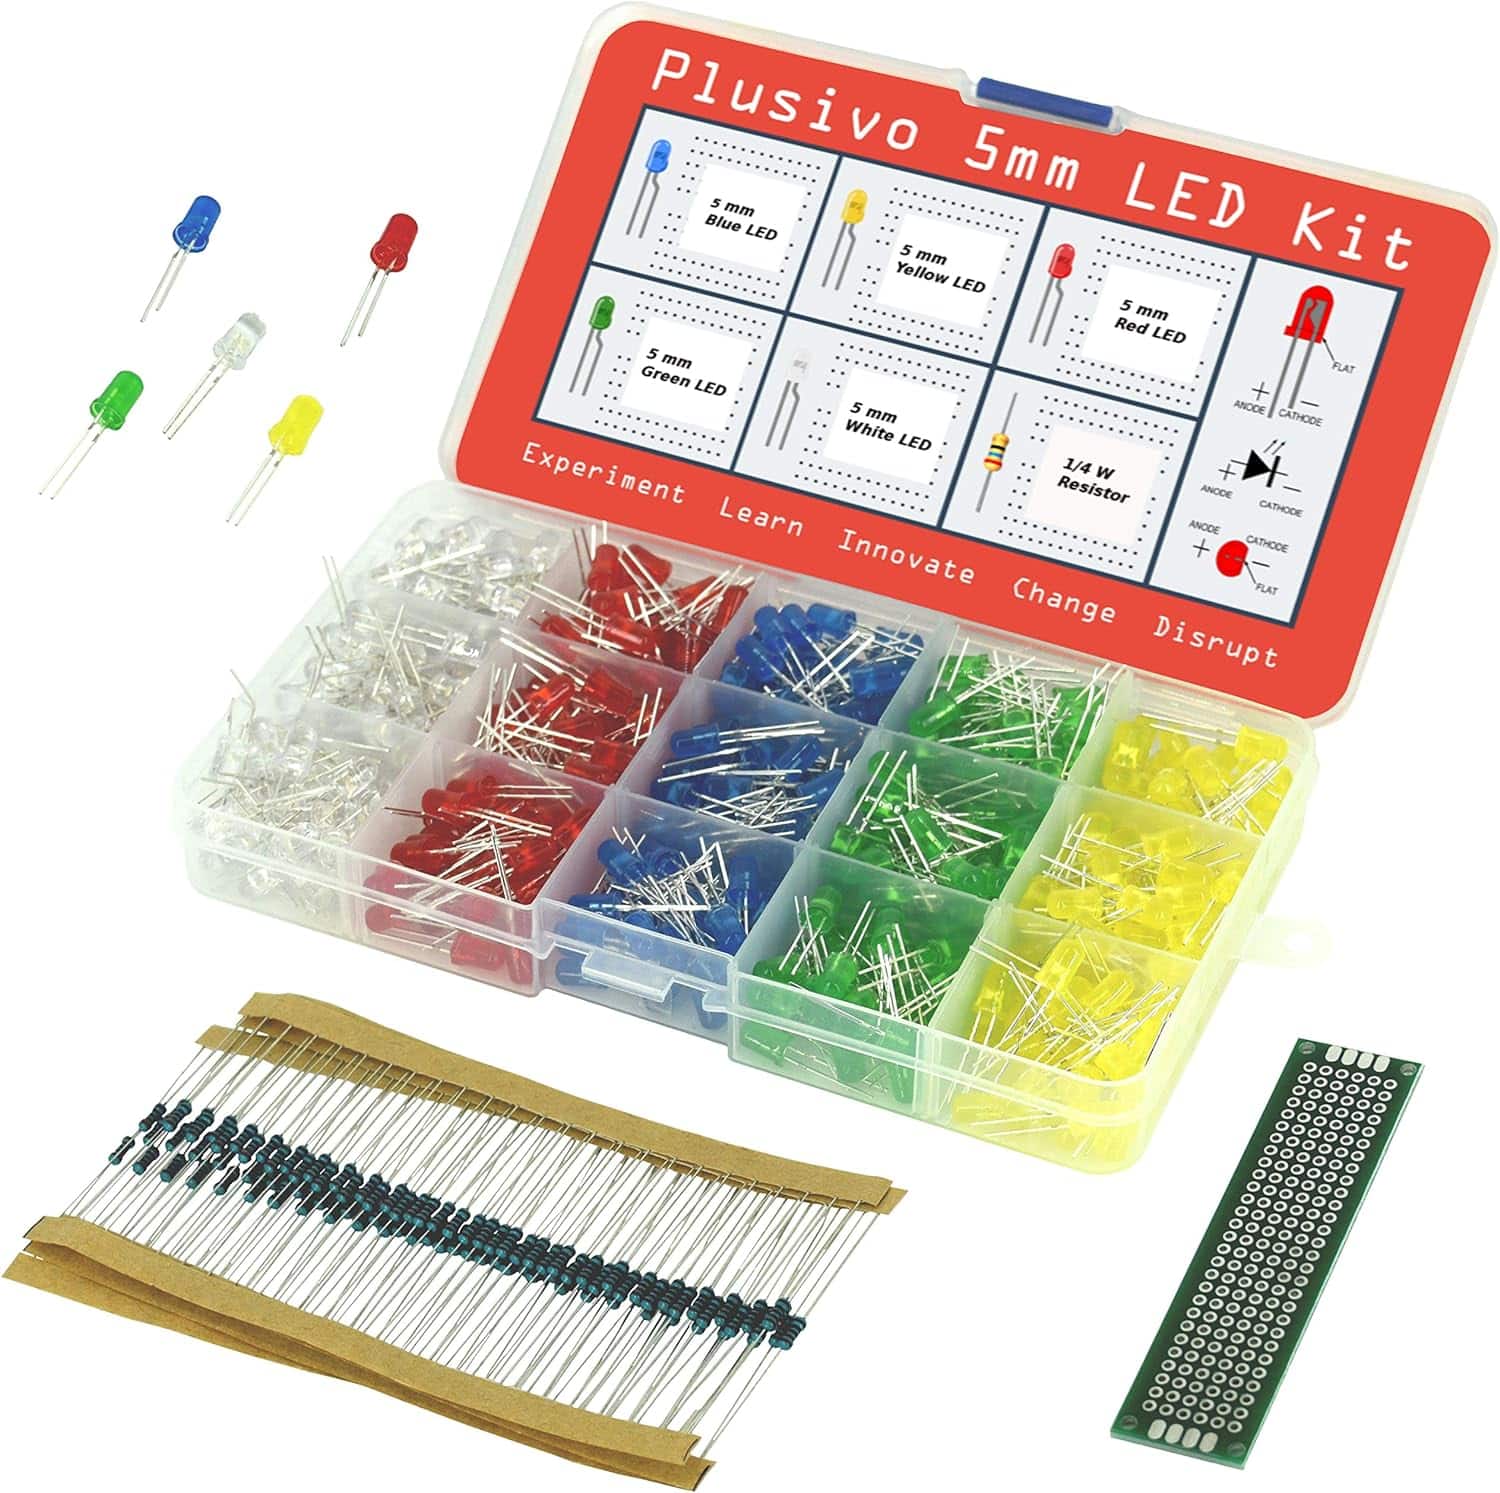
Essential Equipment

  • LED strip lights
  • Power supply or transformer
  • Connectors or soldering kit
  • Wire cutters
  • Wire strippers
  • Adhesive or mounting clips
  • Cutting tool (scissors or utility knife)
  • Measuring tape
  • Surface cleaner (if needed)
  • Power drill (if needed for mounting)
  • Screws (if needed for mounting)
  • Electrical tape
  • Extension cord (if needed)
  • Safety glasses or goggles
  • Ladder or step stool (if needed for high installation)
  • Cleaning cloth or sponge
  • Zip ties or cable management clips (optional for organizing wires)
  • Level or straight edge (optional for precise installation)
  • Painters tape or masking tape (optional for marking installation area)
  • Spirit level or bubble level (optional for ensuring level installation)

[content-egg-block modules=AmazonNoApi template=offers_list groups=”Materials”]

Bright Ideas

  • Determine the purpose and location: Before starting the installation, decide where you want to place your LED strip lights and why. This will help you choose the appropriate type and length of the strips
  • Measure and plan: Take accurate measurements of the area to be illuminated. Plan the placement of your LED strip lights accordingly, ensuring they will fit properly and achieve the desired lighting effect
  • Prepare the surface: Clean the surface where you will be installing the LED strip lights. Make sure it is free from dust, dirt, and any other debris that might hinder the adhesion of the adhesive backing on the strips
  • Connect the power supply: Ensure that the power supply is compatible with the LED strip lights and can provide the required voltage. Connect the power supply to the strips using the appropriate connectors or soldering
  • Attach the strips: Carefully remove the adhesive backing from the LED strip lights and stick them to the prepared surface. Apply even pressure along the entire length to ensure proper adhesion. For better results, you can also use additional adhesive or mounting clips
  • Secure the connections: If your LED strip lights come in separate sections, ensure that the electrical connections are secure. Use connectors or solder the wires together to create a reliable connection without any loose ends
  • Install the controller: If your LED strip lights have a controller for dimming or color changing functionality, install it in a convenient location within reach. Make sure to follow the manufacturer’s instructions for wiring and programming the controller
  • Test the lighting: Once the installation is complete, connect the power supply and test the LED strip lights. Check for any loose connections or malfunctioning lights. Adjust the positioning, add any necessary accessories, or fix any issues before finalizing the installation
  • Conceal or protect the wiring: To achieve a neat and professional look, consider concealing the wiring of the LED strip lights. You can use cable management systems, channels, or even hide them behind furniture or fixtures
  • Enjoy your LED strip lights: Sit back, relax, and enjoy your newly installed LED strip lights. Create different lighting effects, experiment with colors, and take full advantage of the ambiance they provide in your space
52 comments
Travis Cisneros

Who needs LED strip lights when you can just use fairy lights? ✨

    giveitlegs@live.com

    LED strip lights offer a more versatile and customizable lighting solution compared to fairy lights. With adjustable brightness, colors, and programmable features, they are perfect for creating ambiance and highlighting specific areas. While fairy lights have their charm, LED strip lights offer a practical and modern alternative.

Londyn Larson

Who needs LED strip lights when you can just use glow-in-the-dark stickers? #nostripneeded

    giveitlegs@live.com

    LED strip lights offer a range of colors, brightness control, and versatility that glow-in-the-dark stickers simply cannot match. While stickers may be a fun option for some, they lack the practicality and functionality of LED strip lights. #LEDsfortheWin

Kimber

Who needs LED strip lights when you can just use regular old lamps? #nostalgia

Dutton

Who needs LED strip lights when you can just use regular ones? #oldfashioned

    giveitlegs@live.com

    LED strip lights offer numerous advantages over regular ones, such as energy efficiency, flexibility, and customizable colors. Embracing new technology doesnt mean neglecting tradition; it means enhancing it. #modernupgrade

Lovebug

I adapted the steps in the guide to install LED strip lights in my backyard gazebo. Instead of using the power supply included with the lights, I connected them to a solar panel for a more eco-friendly and cost-effective solution. Worked like a charm!

    leds.to

    That’s a brilliant adaptation! Connecting the LED strip lights to a solar panel is a fantastic way to make them more eco-friendly and cost-effective. I’m glad it worked well for your backyard gazebo. Thanks for sharing your experience!

Enchantress

I would suggest using adhesive clips or brackets to attach the LED strips. This provides a more secure and long-lasting installation compared to just relying on the adhesive backing of the strips.

    leds.to

    That’s an excellent suggestion! Using adhesive clips or brackets can indeed provide a more secure installation for the LED strips. It’s a great way to ensure they stay in place for a long time. Thank you for sharing!

Zachary Ho

Who needs a fancy LED strip light installation? Just use fairy lights and call it a day!

    giveitlegs@live.com

    Seriously? Fairy lights are cute for a dorm room, not for proper lighting. LED strip lights offer versatility, energy efficiency, and a modern aesthetic. Dont settle for half-baked solutions. Invest in quality and enhance your space.

Honeybun

I found it helpful to use a ruler or measuring tape to mark where I wanted to cut the LED strip lights. This ensured that I had precise measurements and the strips fit perfectly in the installation area.

Dream catcher

That’s a great tip! Using a ruler or measuring tape can definitely help to ensure accurate measurements and a precise fit. Thanks for sharing!

Mccoy

Who needs fancy LED strip lights when you can just stick glow-in-the-dark tape everywhere?

India

Who knew installing LED strip lights could be so complicated? I just want some beautiful ambient lighting!

Callan Penas

Comment: I never knew installing LED strip lights required so much planning and measuring! Seems like a lot of effort for some fancy lights.

Emilio

I never thought installing LED strip lights could be so complicated, but this article breaks it down nicely!

Moonbeam

I recently installed LED strip lights in my kitchen and they have been a game-changer. Not only do they provide excellent lighting for cooking and meal prep, but they also add a stylish and modern touch to the space. Highly recommend!

    leds.to

    That’s fantastic to hear! LED strip lights can indeed transform the look and functionality of a space. I’m glad they have been a game-changer for your kitchen. Thank you for sharing your positive experience!

Sean

Who needs fancy LED lights? Ill stick to my good old-fashioned light bulbs any day!

Langston

I totally disagree with the article! LED strip lights are just a waste of money.

Starburst

It would be helpful if the guide included information on how to waterproof the LED strip lights for outdoor installations. That way, readers can confidently use them in outdoor spaces without worrying about damage from rain or humidity.

    leds.to

    That’s a great suggestion! I’ll definitely consider adding a section on waterproofing LED strip lights for outdoor installations in future articles. Thank you for your input!

Jett Tate

Comment: LED strip lights are overrated. I prefer the good old-fashioned Edison bulbs!

Zariah Medrano

LED strip lights are a waste of money. Just use candles for ambiance! 🕯️

Raina Rojas

I cant believe they didnt mention the importance of wearing a unicorn onesie while installing LED strip lights! 🦄

Kohen Coleman

LED lights are overrated, natural light is the way to go!

Lakelynn Pittman

I think LED strip lights are overrated. Lets bring back good old-fashioned lamps!

Sloan

I think LED strip lights are overrated. Natural light is better!

Chloe Vincent

LED strip lights are overrated. Natural light is the way to go!

Simone

LED strip lights are overrated. Lets bring back the good old traditional light bulbs!

Ignacio

I think LED lights are overrated. Who needs fancy lights anyway?

Mekhi George

LED strip lights are overrated. Natural light is way better for ambiance.

Bonnie Ray

LED strip lights are overrated, natural lighting is always better for ambiance.

Kashton

LED strip lights are overrated. Natural lighting is better for ambiance.

Callen

LED strip lights are overrated, natural lighting is best for ambiance!

Gordon Salinas

Interesting guide on LED strip light installations. But dont you think itd be helpful if the author suggested a few troubleshooting tips for common LED strip light issues? Oh, and maybe a handy guide on how to handle corners and odd angles? Just saying.

Titan

Interesting read! However, Im curious why we need to prepare the installation surface. Isnt it enough to just stick the LED strips directly to the surface? Also, is there a certain way to measure the area that ensures better light distribution? Would be great if anyone has tips!

Layne

I think the article missed out on mentioning the importance of testing the LED strip lights before installation. Its crucial to make sure they work properly to avoid any disappointments later on. Just my two cents!

Ximena Casey

I never realized installing LED strip lights could be so complicated! Do you think its really necessary to measure and plan the installation area, or is it just extra work? Im all for simplifying things!

Giana Cardenas

Im not convinced that measuring and planning the installation area is necessary. I usually just eyeball it and hope for the best. Who has time for all that precision? Lets keep it simple!

Lochlan

Just read the LED strip light installation guide, great stuff! Curious though, does the surface preparation differ for painted vs non-painted surfaces? Also, are the top-rated brands really worth the extra bucks?

Gregory Dodson

Great guide on LED strip lights installation! Just wondering if the surface preparation changes with different materials, like wood vs concrete? Also, does weather impact LED strip lights performance?

Valentin

Solid guide, but who else thinks LED strips are overused nowadays? Cant we stick with good old-fashioned ambient light?

Lionel

Ive installed LED strips but why bother prepping the surface? Mine stick fine on dusty walls. Anybody else skipped this step?

Miller

Interesting article, but dont you think LED strip lights are overrated? A bit of old school bulb charm never hurt anyone, right?

Benedict Burgess

Interesting article, but whats the best way to hide the wiring for a cleaner look with these LED strip lights?

Laurel King

Interesting read, but wouldnt a video tutorial be more useful for such a hands-on task as installing LED strip lights?