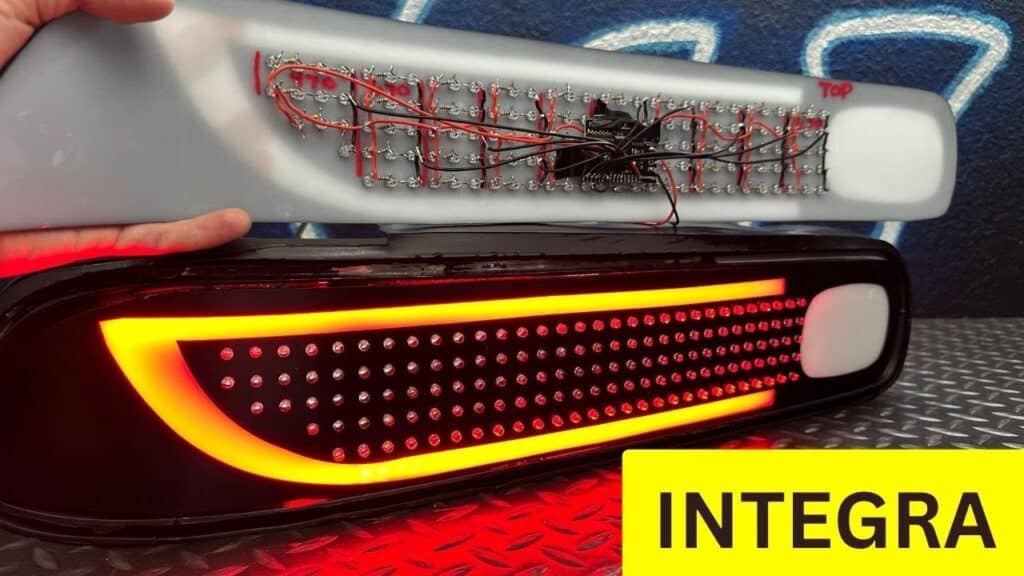
In this article, I will be sharing the step-by-step process of how to build custom sequential tail lights for a 2000s Acura Integra Coupe. Zac Cook, along with Garrett, will guide us through the entire process, from building custom boards to installing the LEDs into the tail light housings. They will explain how to solder the LEDs together, trim excess wire for a clean installation, wire the LEDs together for sequential turn signal functionality, and modify the tail light housing to fit the LEDs. They will also provide valuable tips and tricks along the way to ensure a successful and professional-looking installation. So, if you’re looking to save some money and DIY your own LED tail lights, this article will provide you with all the information you need to get started.
Materials and Tools
Required Materials
To build custom tail lights for a 2000s Acura Integra coupe, you will need the following materials:
- Custom boards
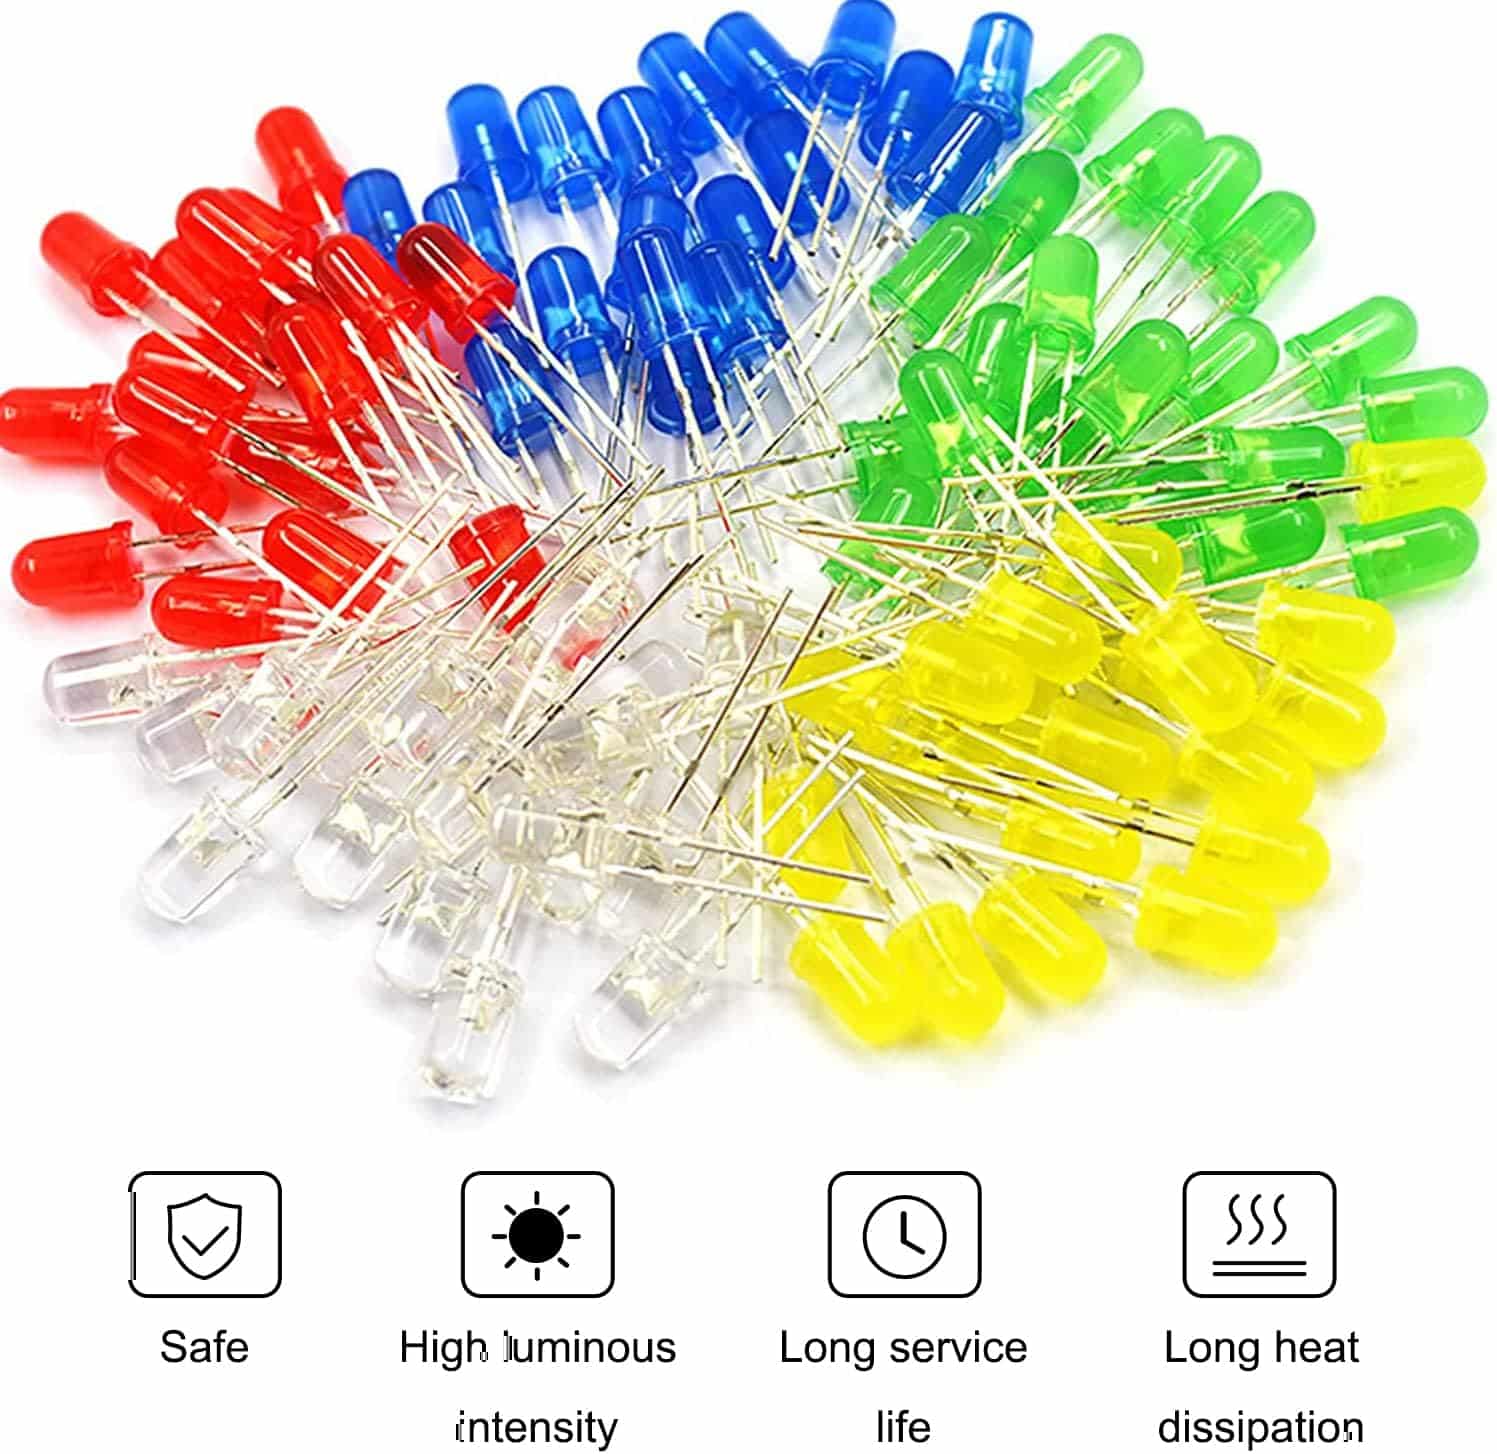
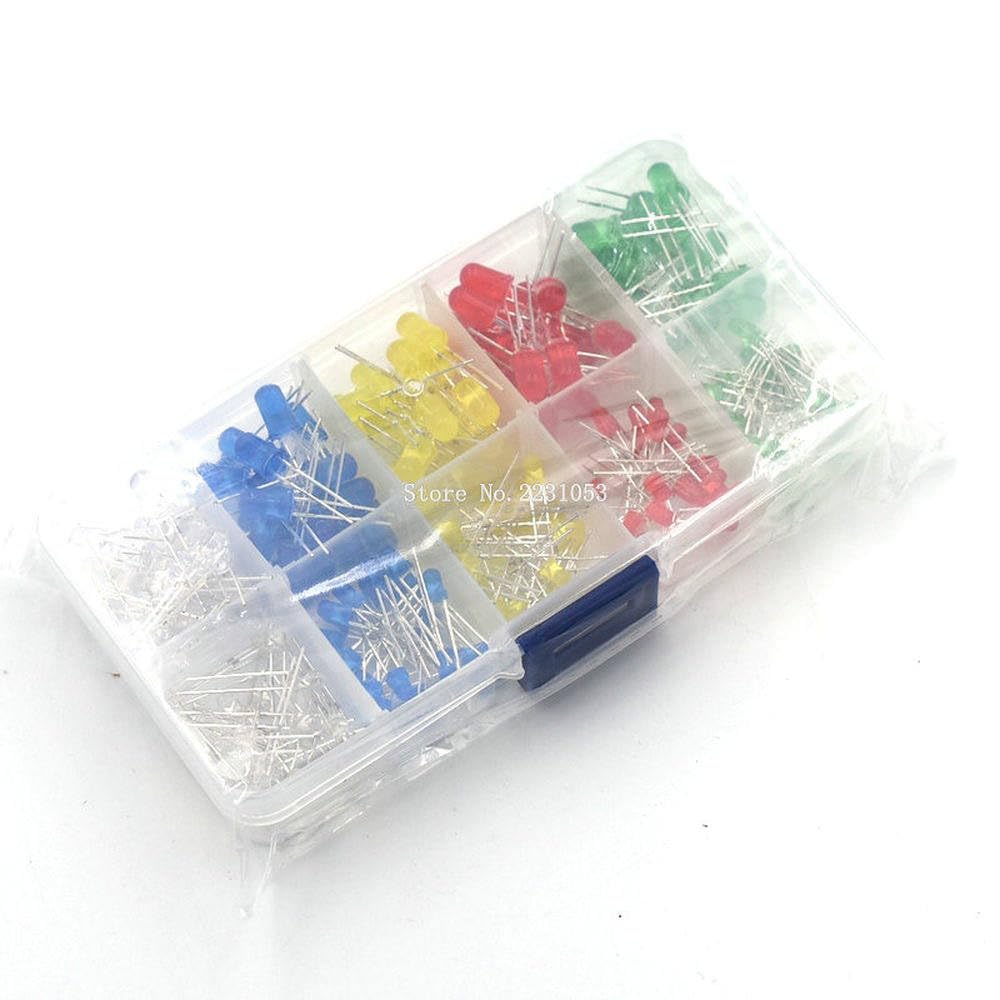
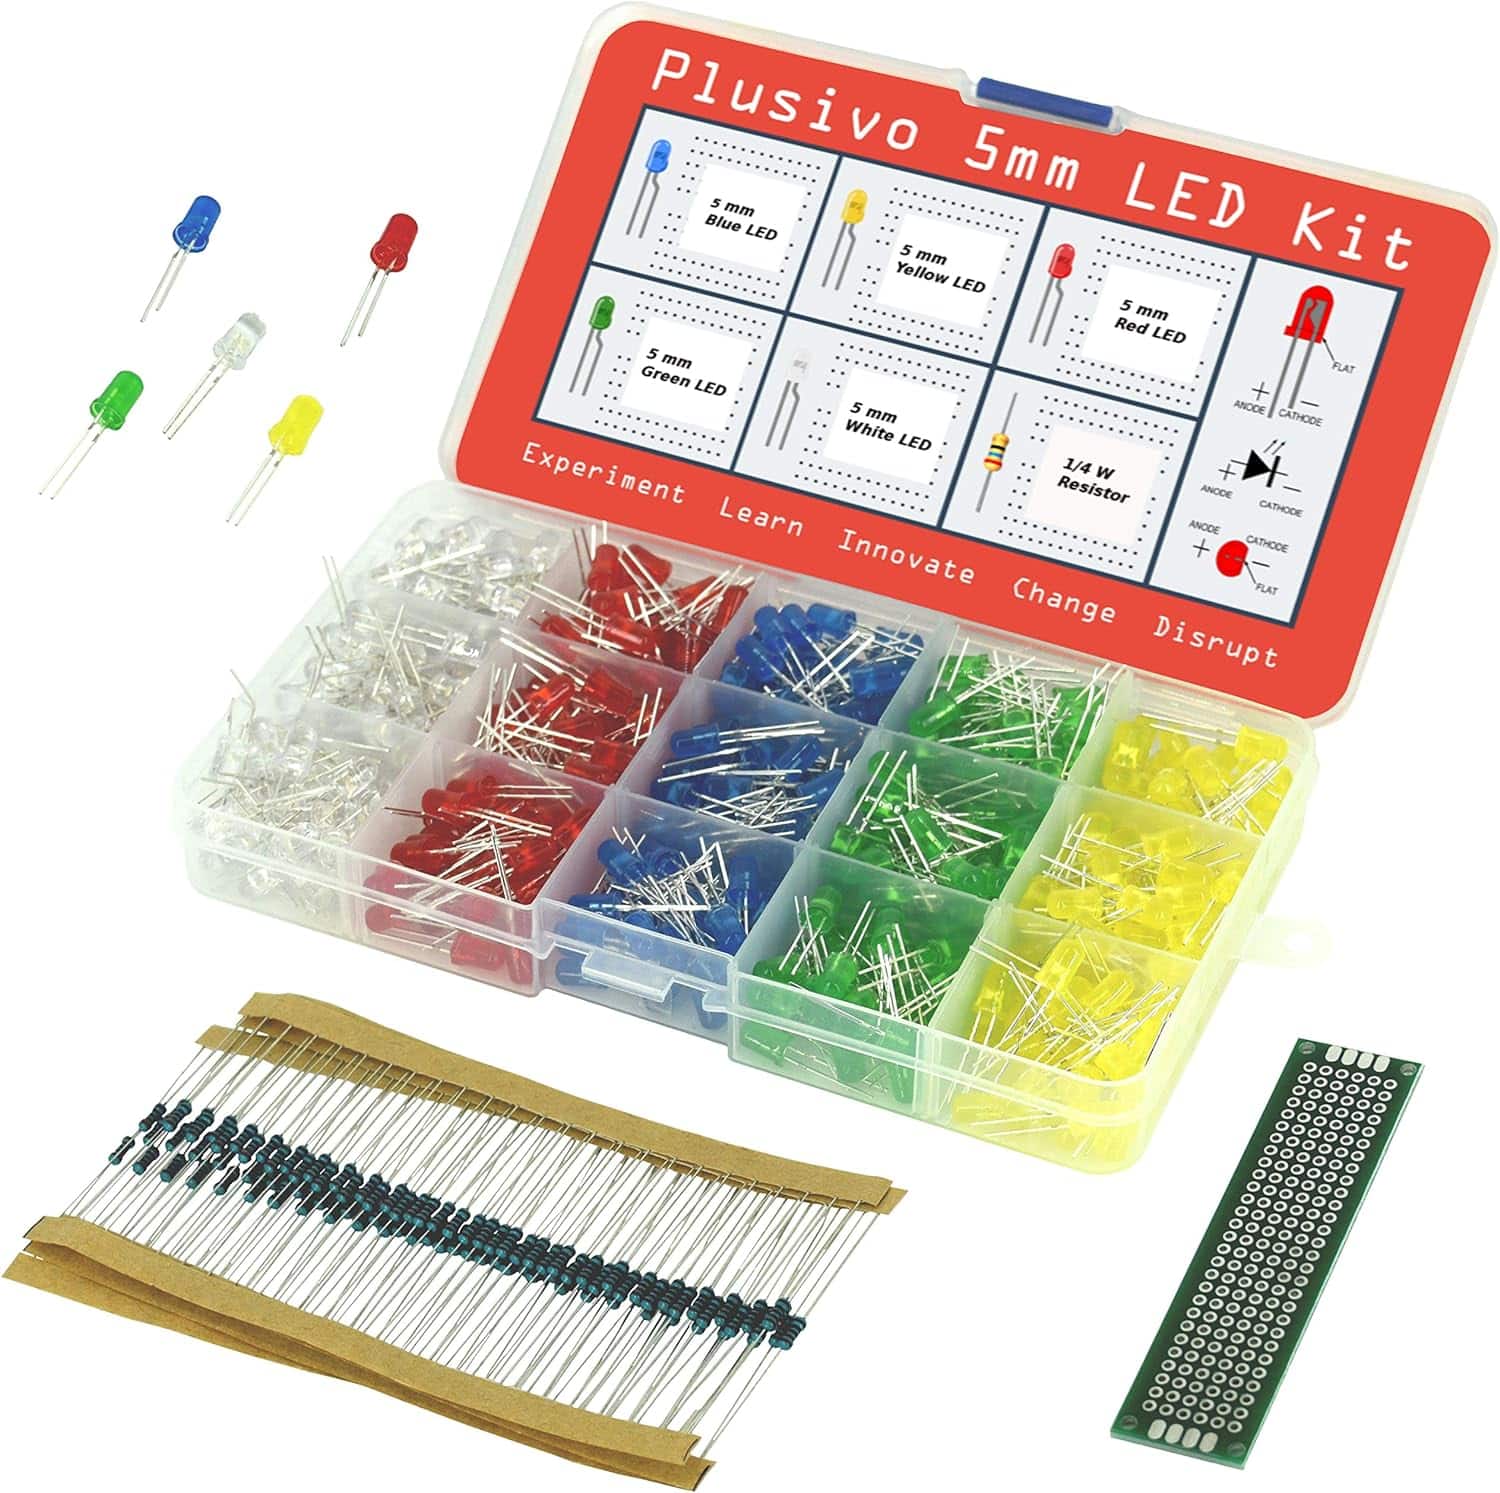
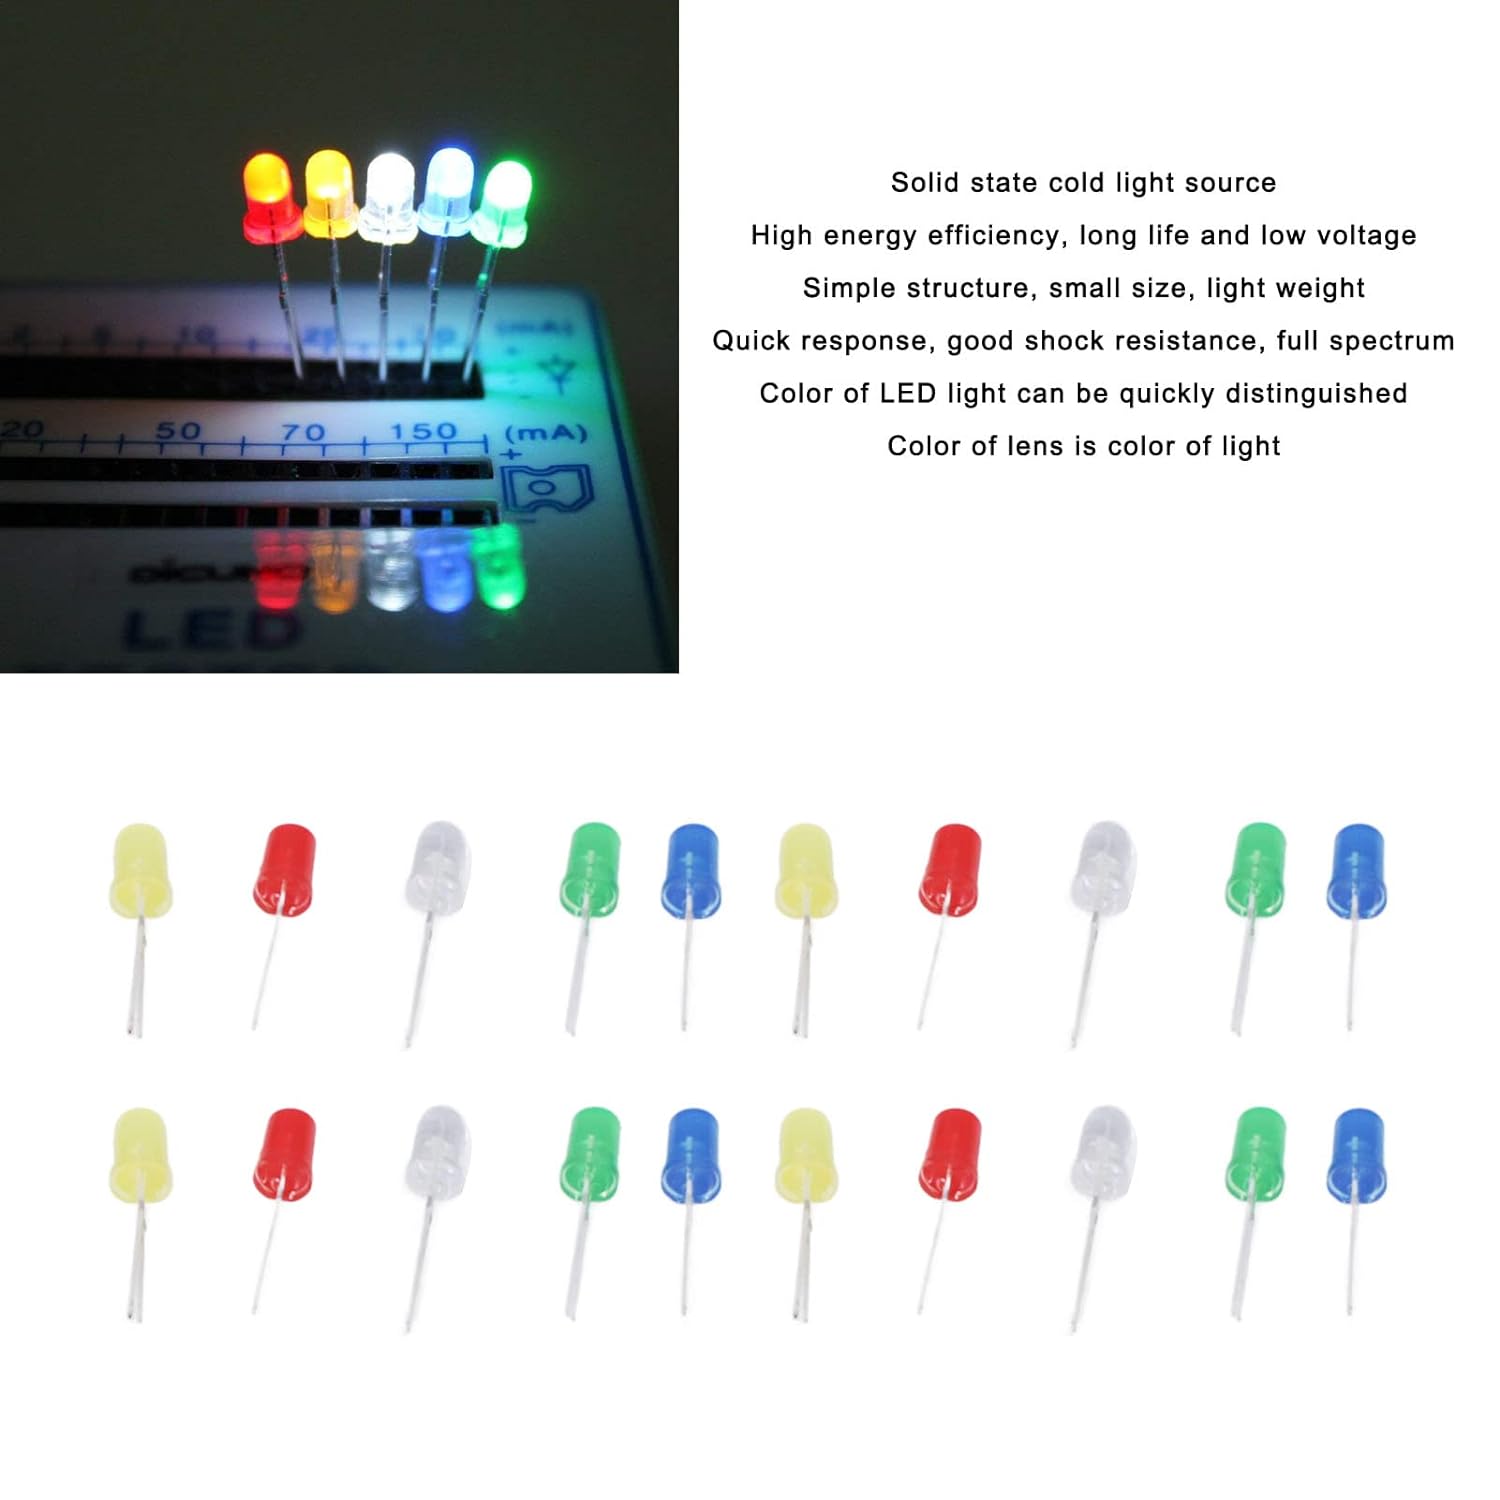
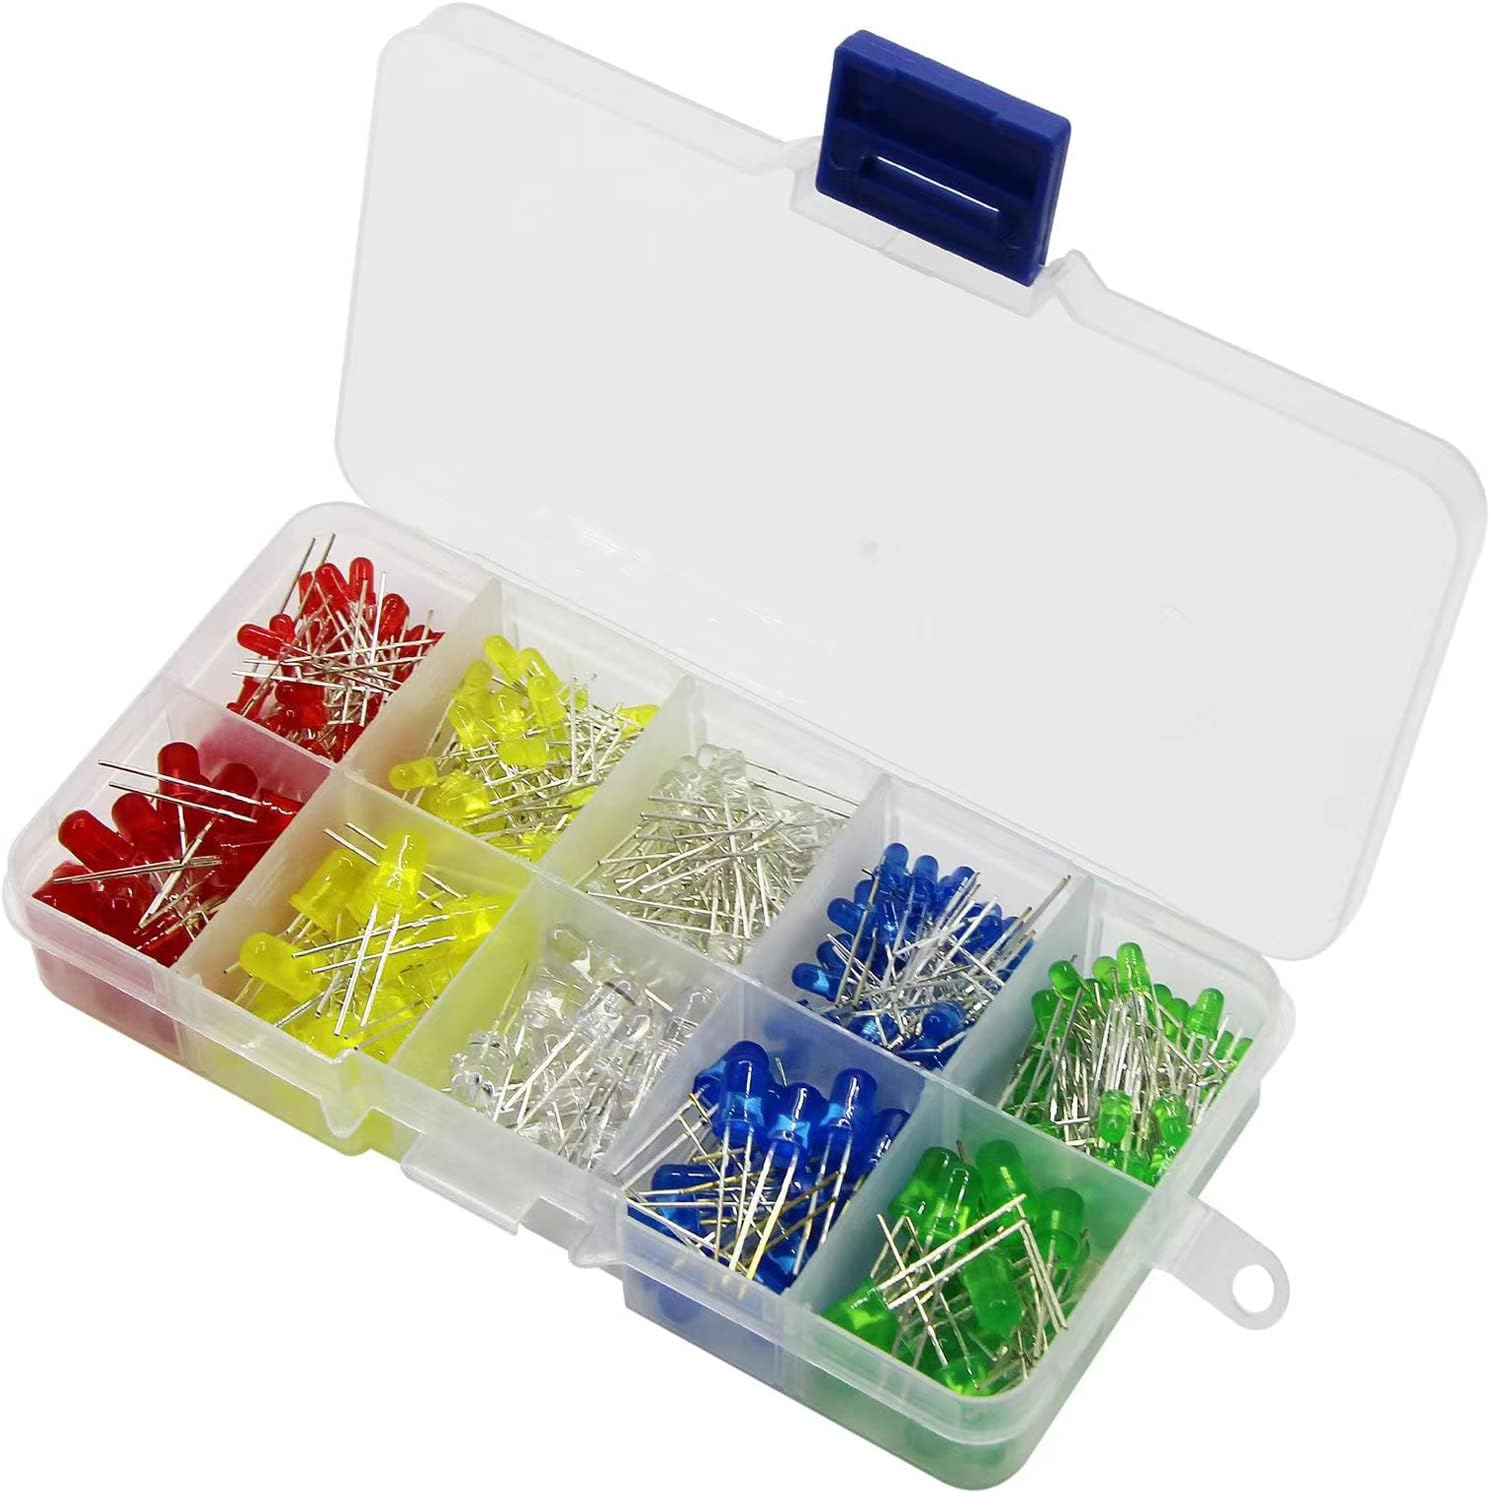
- LEDs
- Wiring
- Solder
- 670 Ohm resistor
- Glue
- Foam
- Adhesive
- Gasket
- Paint (optional)
Required Tools
For the installation process, you will need the following tools:
- Screwdriver
- Wire cutters
- Soldering iron
- Oven (for opening tail light housing)
- Tape
- Goop or adhesive
- Clamps
Planning and Preparation
This image is property of i.ytimg.com.
Research and Design
Before starting the installation process, it is important to do some research and design the layout for the custom tail lights. In this case, Zac Cook is building a sequential turn signal and brake light setup. By separating the different sections and wiring them accordingly, Zac will be able to achieve the desired effect.
Create a Wiring Diagram
To ensure a smooth installation process, it is recommended to create a wiring diagram. This will serve as a guide and help in connecting the LEDs correctly. It is important to group the LEDs together and connect the powers and grounds accordingly.
Installation Process

This image is property of images.pexels.com.
Remove the Tail Light Housing
To begin the installation process, the tail light housing needs to be removed from the vehicle. This can usually be done by using a screwdriver to remove the screws or clips holding the housing in place. Care should be taken not to damage the housing during this step.
Prepare the Custom Boards
The custom boards need to be prepared before they can be installed into the tail light housings. Zac Cook has received the custom boards from Illumaesthetic, which were designed to fit the 2000s Acura Integra coupe tail lights. The boards need to be cut to size and glued onto the white board provided by Illumaesthetic.

This image is property of images.pexels.com.
Connect the LEDs
Once the boards are prepared, the LEDs can be connected. Zac uses multiple LEDs to create the desired effect for the sequential turn signal and brake light. The LEDs are inserted into the holes on the board and pushed into place.
Trim Excess Wire
After connecting the LEDs, it is important to trim the excess wire. This not only makes the installation look neater, but also helps in diagnosing any issues that may arise later on.

This image is property of images.pexels.com.
Solder the LEDs
To ensure a strong connection, Zac soldered the LEDs together. He first connected two LEDs and then added a 670 Ohm resistor for the next two LEDs. By soldering the LEDs and resistors together, Zac ensures that they are securely connected.
Modify the Tail Light Housing
In order to fit the custom boards and LEDs, the tail light housing needs to be modified. Zac opens the housing by using an oven to heat the permaseal and loosen it. He then carefully removes the lens without breaking it.

Glue the LEDs onto the Modified Board
With the tail light housing modified, Zac glues the LEDs onto the modified board. He uses goop or adhesive to secure the LEDs in place. This step ensures that the LEDs are firmly attached and will not come loose.
Test the LEDs
Before proceeding further, it is important to test the LEDs to ensure that they are working properly. Zac tests the brake function and the turn signal to make sure everything is functioning as expected.
Wire and Install Parking Lights
Next, Zac wires and installs the parking lights. This involves connecting the LED strips to the board and making sure they are properly diffused. He uses foam tape to prevent light leakage and give the board a secure resting place.
Wire and Install Reverse Lights
After the parking lights are installed, Zac moves on to wiring and installing the reverse lights. This process is similar to the installation of the parking lights, with the LEDs being connected and diffused properly.
Connect LEDs to Motion Module
To achieve the desired sequential turn signal functionality, Zac connects the LEDs to a motion module. This module controls the sequencing of the turn signal and ensures that it is synchronized properly.
Secure the Custom Board
Once all the lights are installed and connected, Zac secures the custom board inside the housing using foam and adhesive. This helps in keeping the board in place and prevents any movement or vibration.
Test the Lights
Before completing the project, it is important to thoroughly test the lights to ensure that they are working properly. Zac tests the parking lights, reverse lights, brake lights, and turn signals to make sure everything is functioning as expected.
Completing the Project
Finishing the Other Side
While one side of the tail lights has been completed, there is still work to be done on the other side. Zac will need to repeat the installation process on the remaining tail light housing to achieve a uniform look.
Final Testing and Adjustments
Once both sides of the tail lights are completed, it is important to do a final round of testing and make any necessary adjustments. This allows for any issues or inconsistencies to be addressed before the project is considered complete.
Conclusion
Building custom tail lights for a 2000s Acura Integra coupe can be a fun and rewarding DIY project. By using custom boards and LEDs, as demonstrated by Zac Cook in his video, it is possible to create a unique and eye-catching sequential turn signal and brake light setup. With proper planning, research, and preparation, along with the right materials and tools, anyone can successfully complete this project and enhance the look of their vehicle.


