

In this step-by-step guide, I’ll show you how to upgrade the wiring for LED headlights so you can enjoy the full potential of these energy-efficient and long-lasting lights. By following the steps outlined in this guide, you’ll be able to improve the performance of your LED headlights and make the most out of your investment. Let’s get started!
Top-rated LED headlights for superior visibility
[content-egg-block modules=AmazonNoApi template=offers_grid cols=3 groups=”SectionIntro”]
A Step-by-Step Guide on Installing H4 or 9003 LED Headlight Bulbs – My Tips and Tricks from Headlight Revolution!
[content-egg module=Youtube template=responsive_embed hide=title,description limit=1]
Gather the necessary tools and materials
Before you begin, gather all the necessary tools and materials:
- Wire cutters: These are essential for cutting wires to the required lengths. For example, you may need to trim the existing headlight wires to connect them to the new LED headlights.
- Wire strippers: These tools help you remove insulation from the wire ends, exposing the conductive metal underneath. This is necessary for creating clean and secure connections.
- Electrical tape: You’ll need tape to insulate and protect the connections you make. It acts as a barrier against moisture and prevents wires from touching each other, reducing the risk of short circuits.
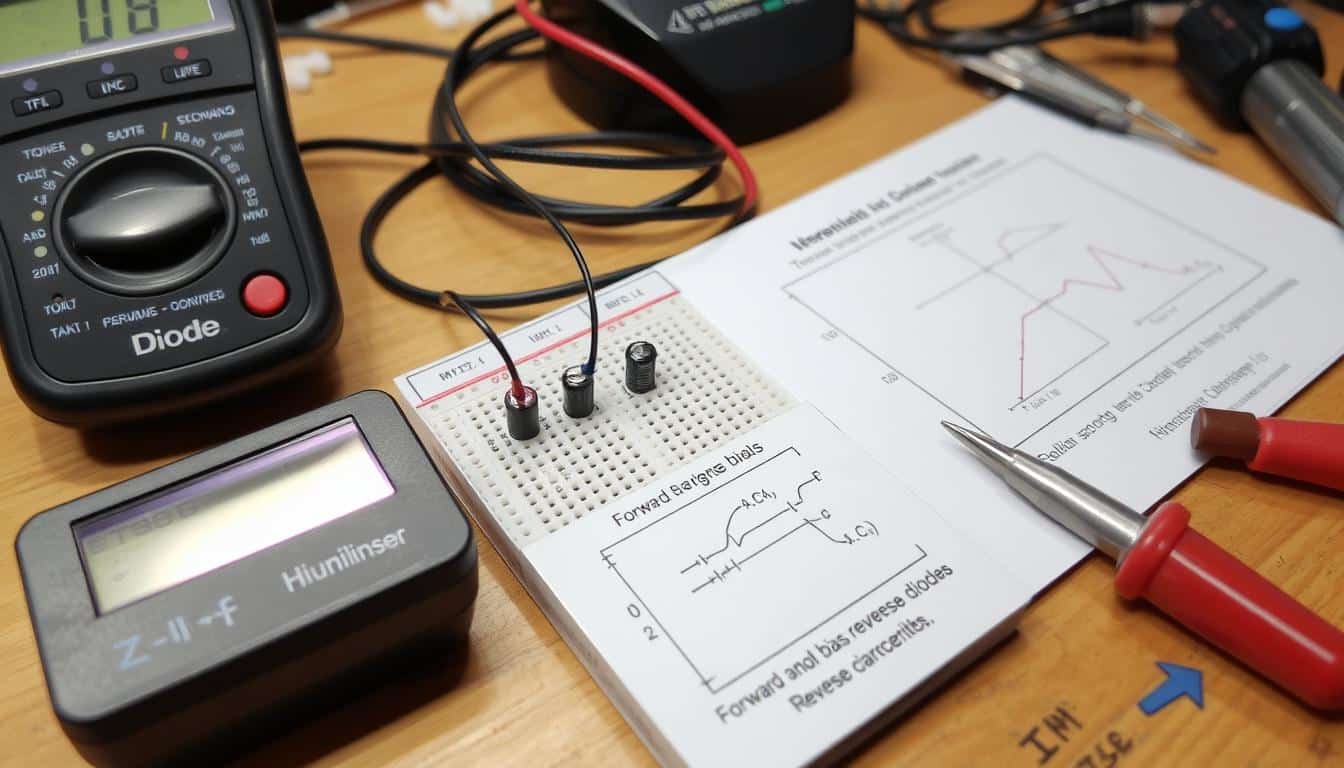
- Soldering iron and solder: Soldering is often needed to form secure connections between wires. A soldering iron heats up the solder, which melts onto the wires, creating a strong bond.
- Heat shrink tubing: After soldering, heat shrink tubing is used to cover the soldered connection. When heated, it shrinks down and provides further insulation, ensuring the connection remains protected.
Additionally, make sure you have a wiring diagram specific to your vehicle and the LED headlights you’ll be installing. The wiring diagram acts as a guide, showing you how the connections should be made and where each wire should go. The LED headlights, of course, are what you’re installing, so having them ready is essential.
By gathering all these tools and materials before starting the project, you’ll be well-prepared to tackle the task at hand. Having everything readily available will save you time and prevent frustration during the installation process. So, take a few moments to check that you have everything you need, and then you’ll be set to begin with confidence!
[content-egg-block modules=AmazonNoApi template=offers_grid cols=3 groups=”Step1″]
Disconnect the battery
Safety first! Begin by disconnecting the negative terminal of your vehicle’s battery. This simple step will ensure that you avoid any potential electrical shocks or shorts while you work with the wiring. You can easily identify the negative terminal by the minus symbol (-) near it. To disconnect it, you’ll need a wrench or a socket that fits the terminal nut. Here’s what you need to do:
- Locate the battery: Open the hood of your car and look for the battery. It is usually situated towards the front of the engine compartment.
- Identify the negative terminal: Look for the battery terminal with the minus symbol (-) next to it. It is often marked with the letters “NEG” or “–”.
- Prepare your tools: Grab a wrench or a socket that matches the size of the terminal nut. This will allow you to loosen and remove it.
- Loosen the nut: Place the wrench or socket onto the nut and turn it counterclockwise. Loosen it enough so that you can easily remove the cable connected to the terminal.
- Disconnect the negative cable: Once the nut is sufficiently loosened, carefully lift the cable away from the terminal. Make sure it doesn’t come into contact with any other metal part of the car to prevent accidental short-circuits.
By following these steps, you’ll disconnect the negative terminal of your vehicle’s battery safely and effectively, ensuring a smooth and worry-free wiring process.
[content-egg-block modules=AmazonNoApi template=offers_grid cols=3 groups=”Step2″]
Remove the existing wiring
To remove the existing wiring that connects your headlights to the vehicle’s electrical system, follow these step-by-step instructions:
- Start by locating the connectors that are attached to the wiring of the headlights. These connectors are usually located behind the headlights or near the front grille of the vehicle.
- Carefully unplug the connectors by pressing down on the tabs or levers that hold them in place. Ensure the connectors are completely detached before moving on to the next step.
- Next, if there are any mounting brackets holding the wiring in place, use a screwdriver to unscrew them. Be mindful of the location of these brackets as they may vary depending on your vehicle’s make and model.
- If the wiring is secured with zip ties or other fasteners, cut them using wire cutters or scissors. Take caution not to damage the wires while doing so.
- Once the wiring is free from any connectors, mounting brackets, or fasteners, check the wiring diagram specific to your vehicle’s model to identify the correct wires to disconnect.
- For wires that need to be disconnected, use wire strippers to strip the insulation off the ends. This will expose the bare wire for further removal or replacement.
Remember to take your time and double-check the wiring diagram to ensure you are disconnecting the correct wires. By following these instructions, you’ll be able to remove the existing wiring that connects your headlights to the vehicle’s electrical system safely and effectively.
[content-egg-block modules=AmazonNoApi template=offers_grid cols=3 groups=”Step3″]
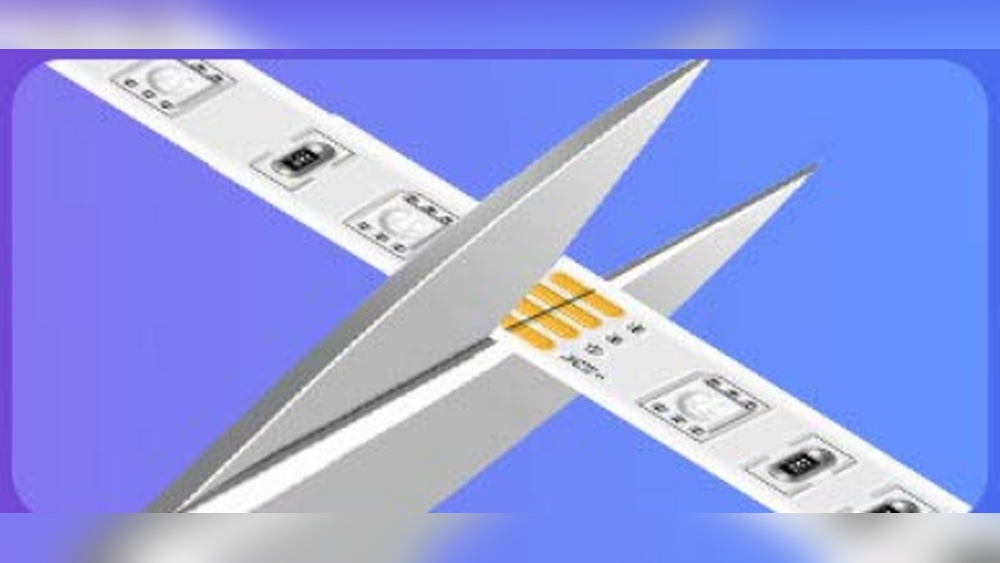
Prepare the new wiring
To prepare the new wiring, start by cutting it to the appropriate length to ensure it reaches the desired connection points. Measure the distance from one point to another and carefully snip the wire with a sharp pair of wire cutters. Make sure to leave a little extra length for any necessary slack.
Next, it’s time to strip the insulation from the ends of the wires. Grab a pair of wire strippers and locate the appropriate gauge on the tool. Place the wire inside the designated hole, making sure it is snug but not too tight. Apply gentle pressure and rotate the strippers around the wire a couple of times. This will score the insulation. Now, pull firmly on the strippers, sliding them along the wire to remove the insulation. Repeat this process for each wire end, ensuring you remove about half an inch of insulation. By doing so, you’ll create a clean and secure connection for the new wiring.
[content-egg-block modules=AmazonNoApi template=offers_grid cols=3 groups=”Step4″]
Connect the new wiring
Now let’s move on to connecting the new wiring. Begin by referring to the wiring diagram provided to accurately identify the correct wires and connectors for the task at hand. Once you have identified the appropriate components, it’s time to create secure and reliable connections.
Start by using solder and a soldering iron to join the wires together. Apply the hot tip of the soldering iron to the connection, allowing the solder to melt and flow evenly onto the wires. Be sure to hold the wires steady during this process to ensure a solid connection. After soldering, take the extra step of protecting and insulating the connection by covering it with heat shrink tubing. Slide the tubing over the soldered connection and ensure that it covers the entire joint. Lastly, employ a heat gun to apply heat to the tubing, causing it to shrink tightly around the wires and providing an added layer of protection.
Following these steps will not only ensure a secure connection but also safeguard against potential damage or electrical issues.
Wrapping it up
In conclusion, upgrading the wiring for your LED headlights is a manageable task that can greatly enhance your driving experience. By following the step-by-step instructions provided in this blog post and prioritizing safety, you can successfully complete the upgrade. Be sure to consult the wiring diagram specific to your vehicle model and enjoy the improved performance and longevity of your LED headlights.
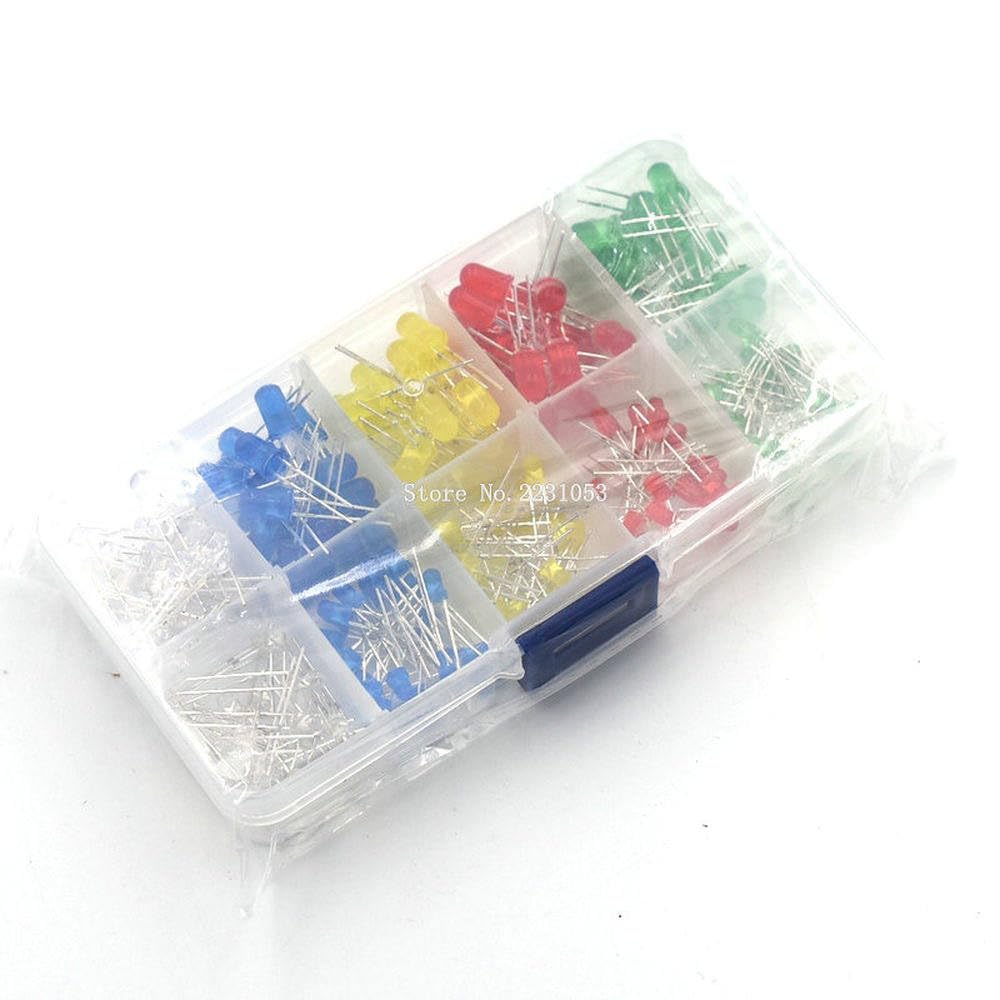
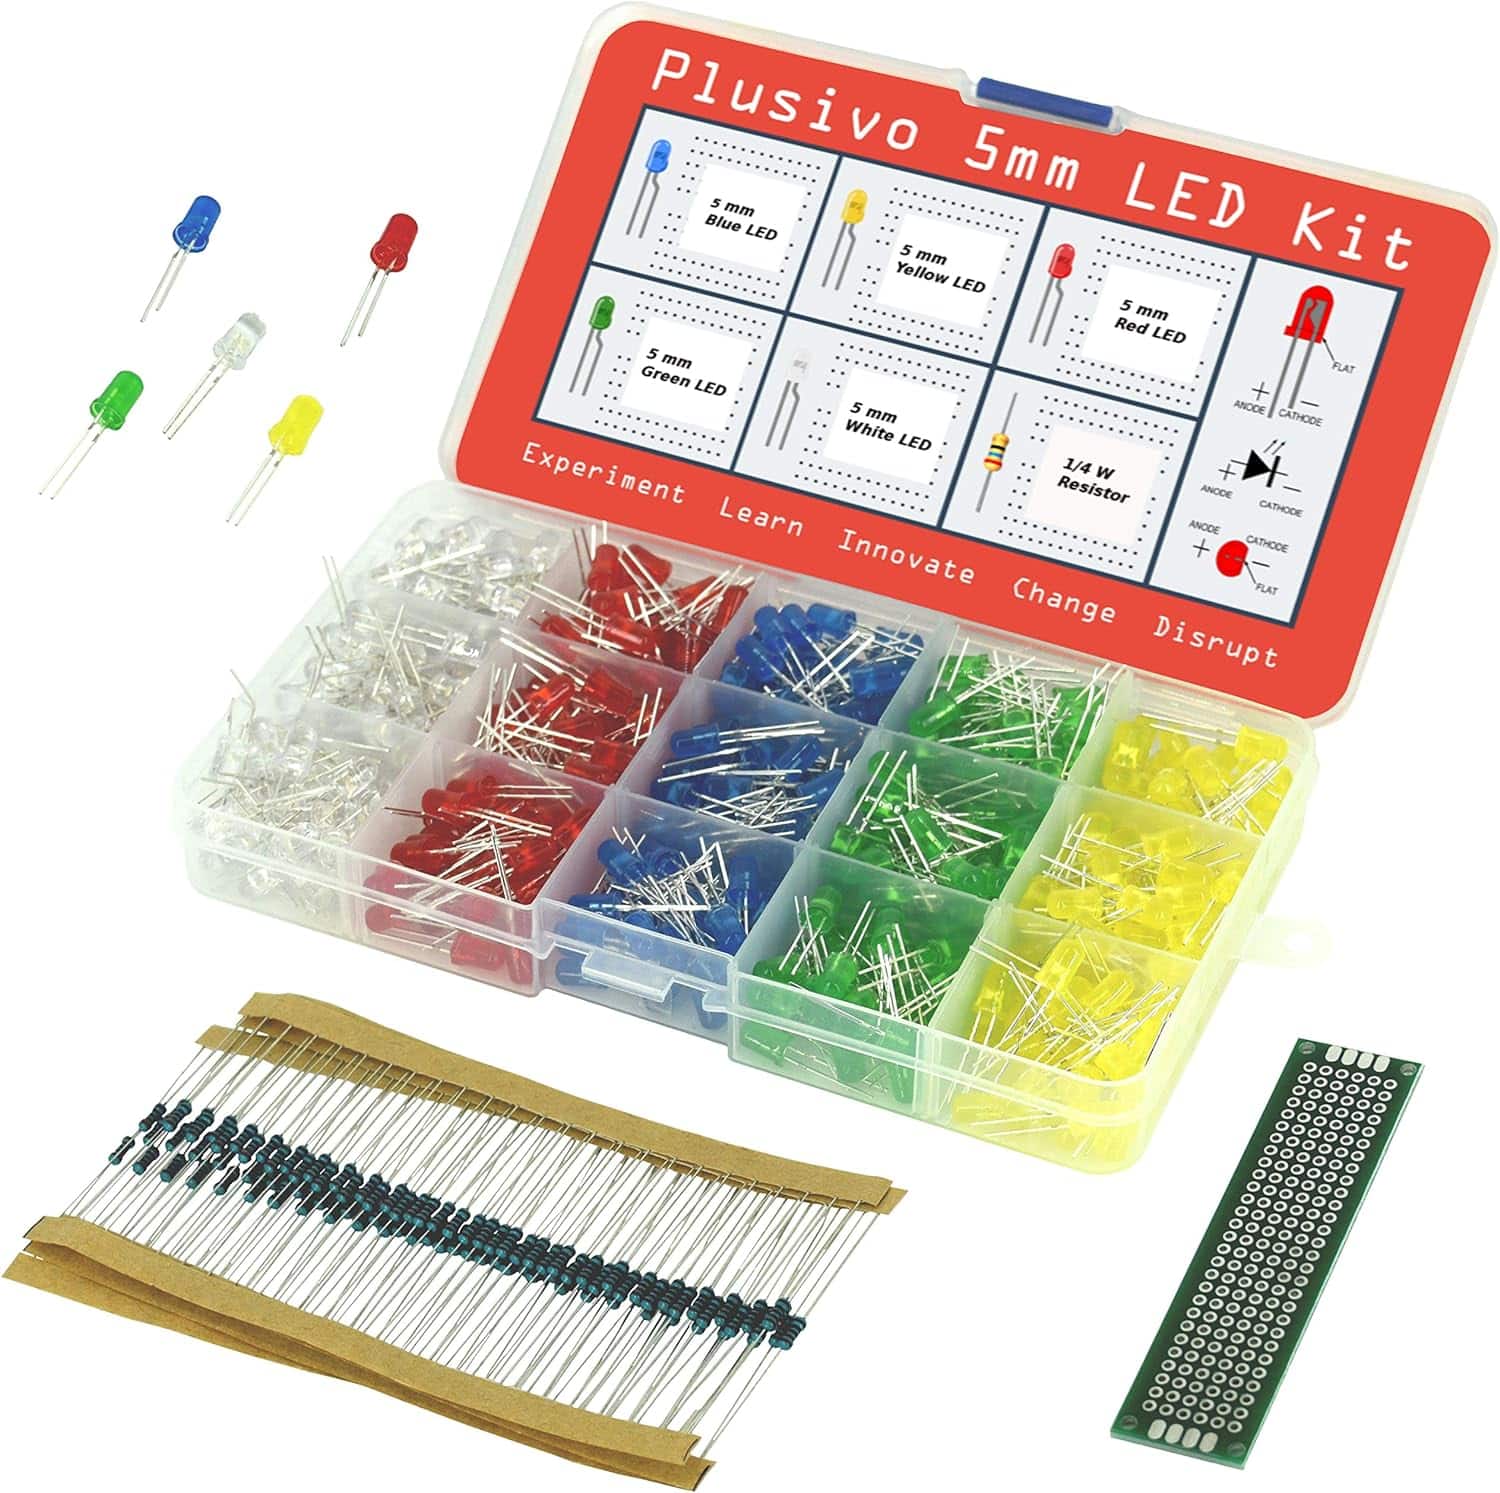
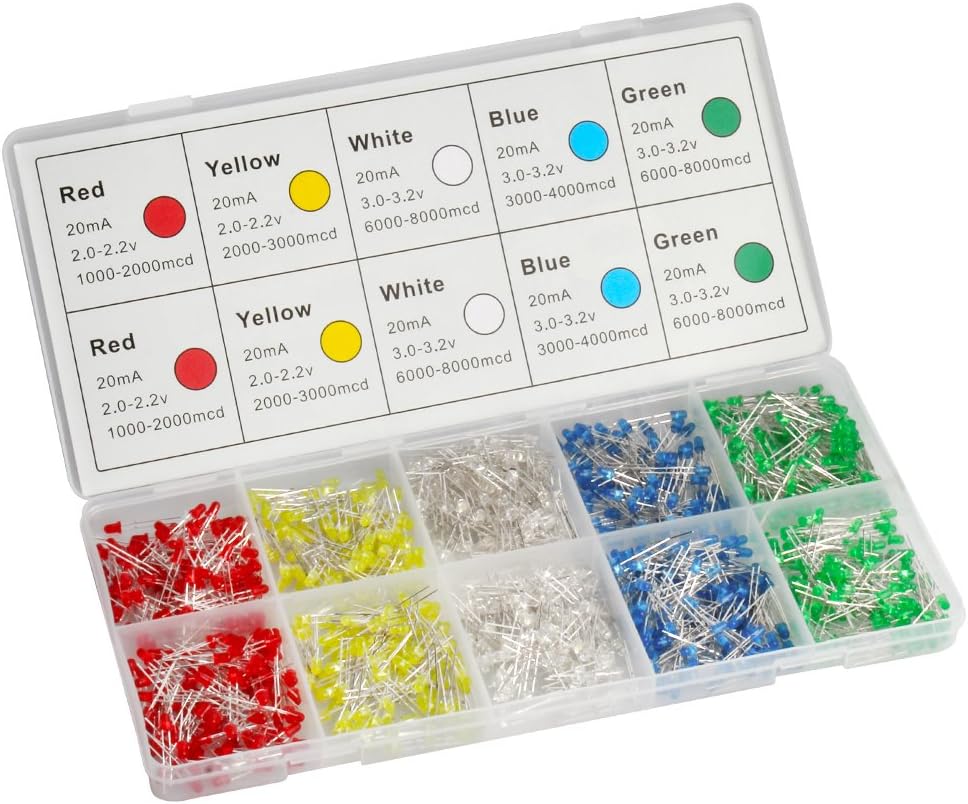
Essential Tools and Materials
[content-egg-block modules=AmazonNoApi template=offers_list groups=”Materials”]
Quick Fixes and Hacks
Step-by-Step Guide to Maximizing the Benefits of LED Headlights
- Install the LED headlights: Begin by removing the old headlight bulbs and replacing them with the LED headlights. Make sure to follow the instructions provided by the manufacturer for a proper installation
- Adjust the aim of the headlights: Most LED headlights come with an adjustable beam angle. It’s important to position the headlights correctly to ensure optimal visibility. Use the adjustment screws or levers on the headlights to align the beams properly. This will prevent blinding oncoming drivers and maximize your own visibility
- Ensure compatibility with your vehicle: Before purchasing LED headlights, double-check whether they are compatible with your specific vehicle model and year. LED headlights come in various sizes and shapes, so it’s essential to choose the right ones that fit your vehicle’s requirements
- Regularly clean and maintain the LED headlights: Over time, dirt, debris, and condensation can accumulate on the headlights, reducing their effectiveness. Clean the headlights regularly using a mild solution of soap and water, and avoid using abrasive cleaners or harsh chemicals. Additionally, inspect the headlights for any signs of damage or malfunction and replace them if necessary
- Understand the different lighting modes: Some LED headlights offer additional lighting modes such as low beam, high beam, or fog light modes. Familiarize yourself with these modes and learn how to switch between them based on different driving conditions. This can improve safety and visibility while on the road. Make sure to consult your vehicle’s manual or the LED headlight manufacturer’s instructions for detailed information on lighting modes and their usage
- These tips should help beginners effectively use LED headlights to enhance visibility and improve driving experiences. Remember, always prioritize safety while operating any vehicle lighting equipment


Journey Tran
Upgrading wiring for LED headlights? Nah, Id rather stick to the good ol halogens. #TeamTraditional