
Setting up an LED floor lamp is a straightforward process that anyone can do. Start by unpacking the lamp and all its components. Then, assemble the lamp base by following the manufacturer’s instructions. Next, attach the lamp pole to the base, making sure it is securely in place. After that, connect the lampshade to the pole, again following the provided instructions. Finally, plug the lamp into a power source and switch it on. Enjoy the beautiful, energy-efficient lighting of your new LED floor lamp!
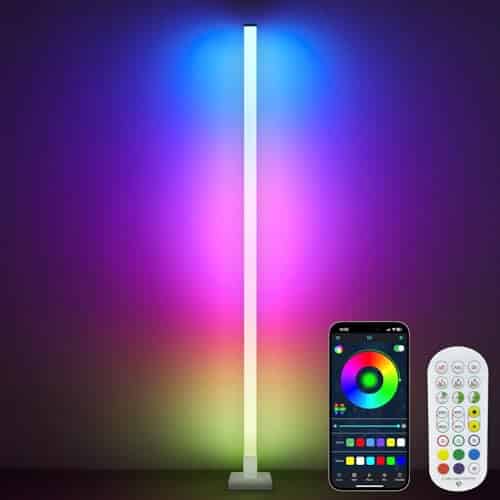
Top-rated LED floor lamps for every room
[content-egg-block modules=AmazonNoApi template=offers_grid cols=3 groups=”SectionIntro”]
Expert Tips: Installing Your Floor Lamp with Ease
[content-egg module=Youtube template=responsive_embed hide=title,description limit=1]
Gather the Tools and Materials
Before you get started on assembling your LED floor lamp, make sure you have all the tools and materials you need. Here are some examples of what you’ll need:
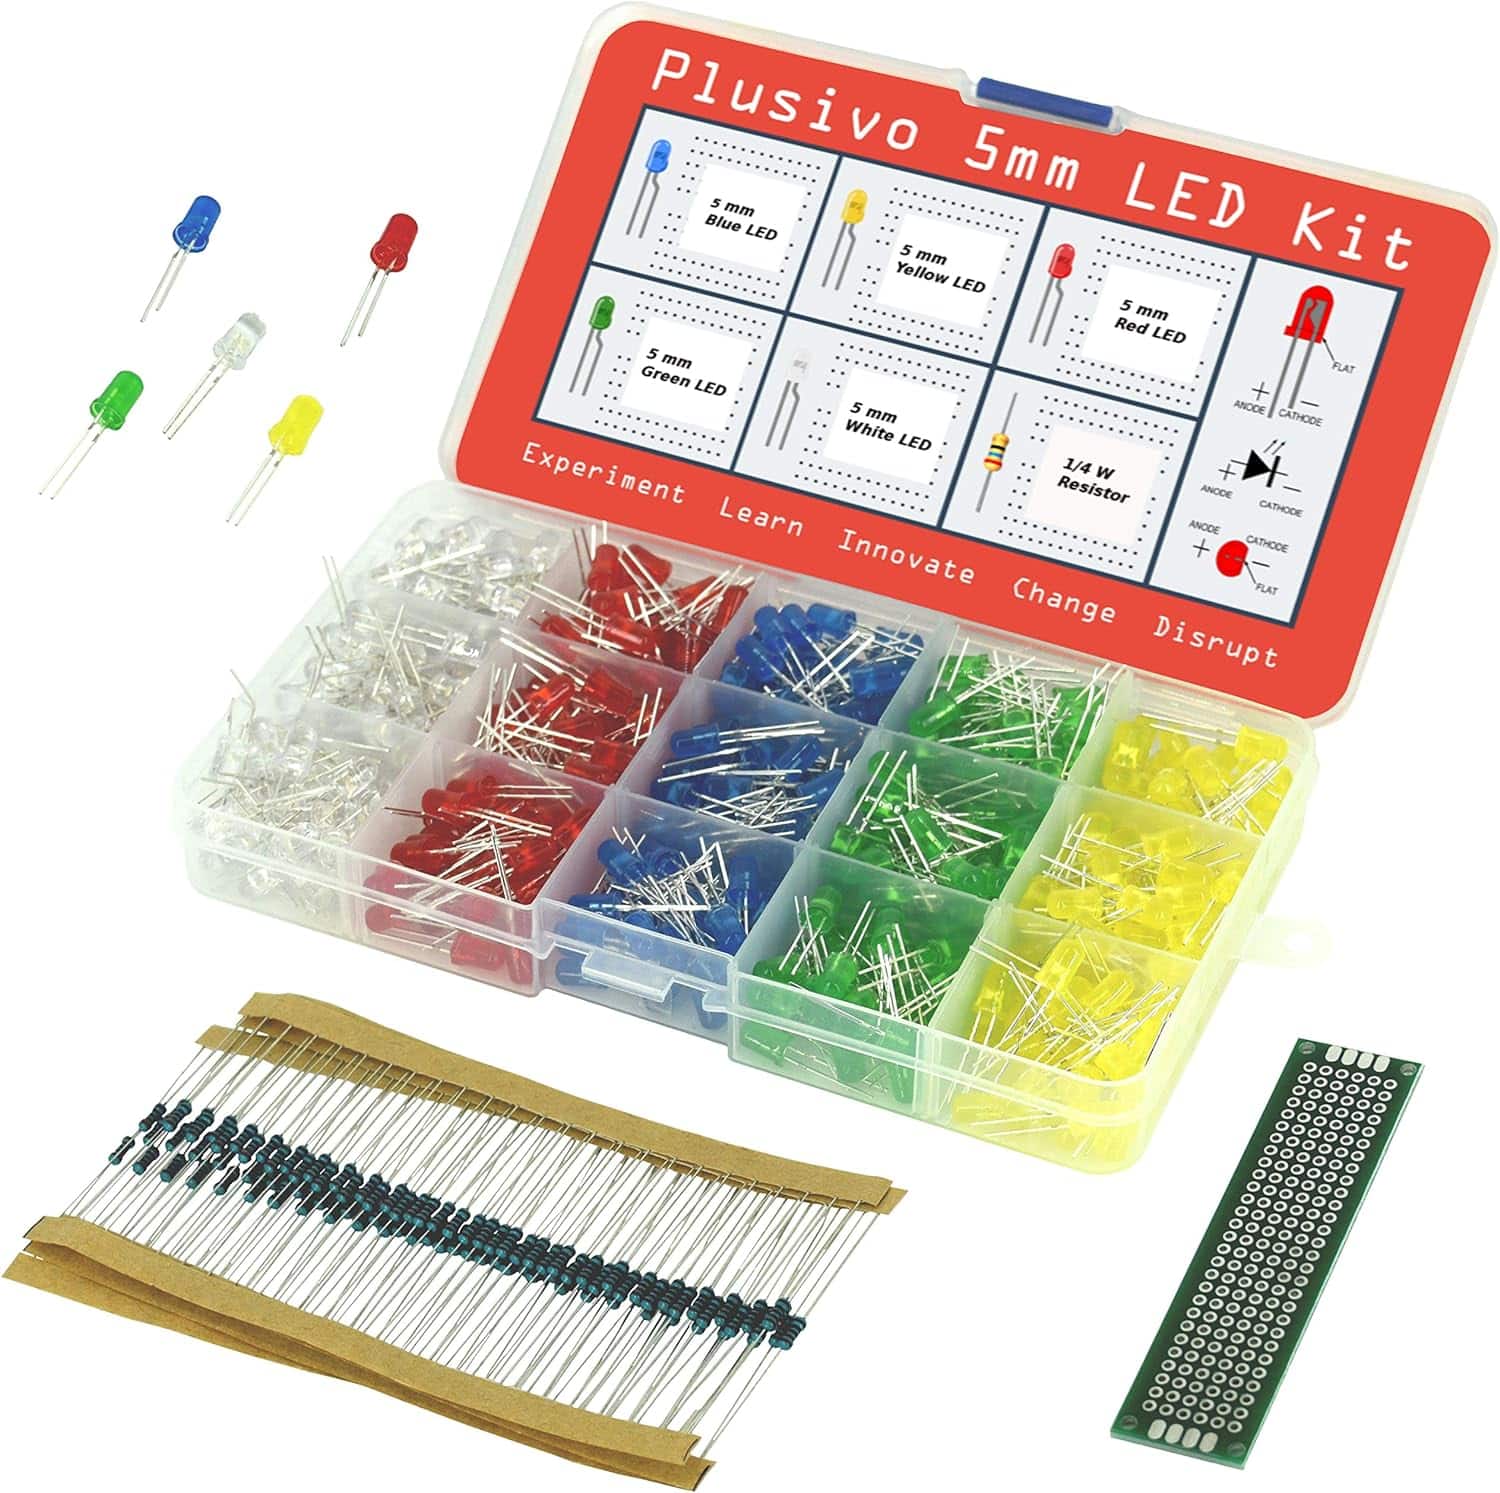
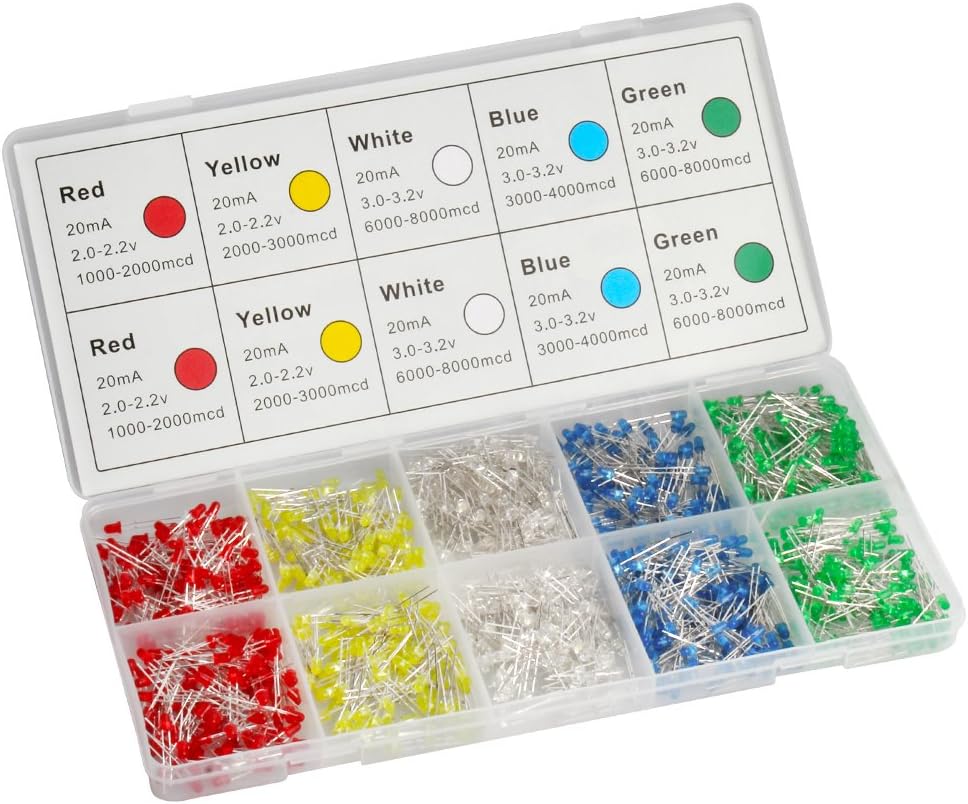
- LED floor lamp kit: This is the main component of your project. It should come with the necessary parts to build your lamp, including the LED bulbs, lampshade, and base.
- Allen wrench or screwdriver: Depending on the specific lamp kit you have, you may need either an Allen wrench or a screwdriver to tighten the screws and secure the different parts together. Check the instructions or the packaging of your kit to determine which tool you’ll need.
- Electrical tape: This is an essential item for any electrical project. It helps insulate and secure the electrical connections, ensuring safety and preventing any potential hazards.
- Power source: You’ll need a power source to plug in your LED floor lamp and make it work. This could be a standard electrical outlet or, if you prefer a cordless option, a rechargeable battery pack.
By gathering these tools and materials beforehand, you’ll ensure a smooth and hassle-free assembly process. Double-check each item on the list and make sure you have everything in place before proceeding with the next steps.
[content-egg-block modules=AmazonNoApi template=offers_list groups=”Step1″]
Assemble the Lamp Base
To begin assembling the lamp base, start by unpacking the contents of the package and laying them out in front of you. Take a moment to familiarize yourself with the different components – the base itself, the rod or stem, and any additional pieces such as screws or washers.
Once you’ve identified all the parts, refer to the manufacturer’s instructions for the specific assembly process. These instructions will guide you step by step, ensuring that you assemble the lamp base correctly. It is important to follow these instructions to ensure that the lamp is safely and securely put together.
To put the lamp base together, begin by connecting the rod or stem to the base. Depending on the design and type of lamp base, this may involve screwing the rod into the base or inserting it into a pre-drilled hole. Make sure to align everything properly and tighten any screws or fasteners securely.
If there are any additional components included, such as washers or tiny screws, carefully attach them according to the instructions. These additional pieces are often crucial for stability or aesthetic purposes. For example, you may need to attach a washer between the rod and the base to provide extra stability.
Remember, the key is to follow the manufacturer’s instructions and ensure that all the parts are connected securely and aligned correctly. By doing so, you’ll be one step closer to assembling your lamp base and enjoying the warm glow it will bring to your space.
Attach the Lamp Neck and Shade
To attach the lamp neck and shade, follow these simple steps:
- Take the lamp neck and align it with the top of the lamp base.
- Slide the lamp neck onto the base, making sure it fits securely.
- Tighten any screws or fasteners that are provided to secure the lamp neck in place.
- Next, carefully place the lamp shade onto the lamp neck.
- Ensure that the shade is properly aligned with the neck and sits evenly.
- If your lamp shade has a harp, attach it to the lamp neck by sliding the arms of the harp into the slots on the neck.
- Gently tighten any screws or fasteners on the harp to secure the shade in place.
- Double-check that the lamp shade is secure and doesn’t wobble.
- Finally, plug in your lamp and enjoy the warm glow!
Remember, it’s important to handle the lamp and shade with care to avoid any breakage during the attachment process.
[content-egg-block modules=AmazonNoApi template=offers_grid cols=3 groups=”Step3″]
Connect the Wiring
To connect the wiring for your lamp, you’ll first need to locate the wiring connections on both the lamp base and the lamp neck. These connections are usually located at the bottom of the lamp base and at the top of the lamp neck. Once you’ve found them, make sure to follow the instructions provided with your lamp kit to connect the wiring.
To do this, start by identifying the positive and negative terminals on both the lamp base and the lamp neck. These terminals are usually labeled or color-coded for easy identification. Once you’ve identified them, match the positive terminal on the lamp base with the positive terminal on the lamp neck, and do the same for the negative terminals.
To connect the wiring, you’ll typically find small screws or connectors that need to be tightened or twisted to secure the wiring in place. Make sure to tighten them securely but avoid overtightening to prevent any damage.
By following these simple steps and ensuring that the positive and negative terminals are correctly matched, you’ll be able to connect the wiring for your lamp effectively.
Secure the Wiring
To secure the wiring and ensure the safety of the lamp, follow these simple steps:
- After connecting the wiring, take electrical tape and wrap it around the wire connections. Start a few inches away from the connections and continue wrapping until you cover the entire area where the wires meet.
- Make sure to apply firm pressure as you wrap, so the tape adheres tightly to the wires. This will help prevent any accidental contact and keep the connections secure.
- Use multiple layers of electrical tape to provide additional insulation. Wrap the tape overlapping each layer by about half its width. By doing this, you create a strong and sturdy barrier that will protect the wires and prevent any potential hazards.
- Ensure that all exposed metal parts of the wire are covered by the tape. This includes any exposed strands or copper wiring that may be visible.
By meticulously applying electrical tape to the wire connections, you will create a solid and insulated structure, reducing the risk of electrical accidents and ensuring the safety of your lamp.
Plug in the Lamp
Once you have ensured that the wiring is securely connected, it’s time to plug in the lamp. Follow these simple steps to properly connect your lamp to a power source:
- Locate a suitable power outlet near the lamp’s intended location.
- Check the voltage requirements of your lamp, usually specified on a label or in the user manual.
- Verify that the power source voltage matches the lamp’s requirements. If they match, proceed to the next step. If not, continue to step 4.
- If necessary, obtain an adapter or voltage converter that matches the power source voltage to the lamp’s requirements.
- Connect the plug of the lamp’s power cord into the power outlet. Ensure a secure connection is made.
- Switch on the power source or flip the associated circuit breaker to supply electricity to the lamp.
- Finally, test the lamp to ensure it is functioning correctly by flipping the lamp’s switch or pressing a button, depending on the model.
By following these instructions, you’ll be able to safely and properly plug in your lamp, illuminating your space with ease.
Test and Adjust
To test and adjust the lamp, follow these simple steps:
- Turn on the lamp: Start by switching on the lamp using the power button or switch.
- Check LED lights: Inspect the LED lights on the lamp and make sure they are functioning properly. If any lights are not turning on, proceed to the next step.
- Double-check wiring connections: Carefully examine the wiring connections of the lamp. Ensure that all wires are securely connected and in the right place. Adjust any loose or disconnected wires.
- Make necessary adjustments: If the LED lights are still not working after double-checking the wiring connections, make any necessary adjustments. This may include repositioning the wires, tightening screws, or replacing faulty components.
- Check stability: Verify that the lamp is stable and doesn’t wobble when touched or bumped. If it wobbles, adjust the base or any other parts that contribute to the lamp’s stability.
By following these steps, you can test and adjust the lamp effectively to ensure proper functioning and stability.
Final tips and takeaways
In conclusion, you’ve taken the necessary steps to set up your LED floor lamp, and I want to congratulate you on a job well done! Now, you can start enjoying the benefits of its ambient lighting and energy efficiency. However, if you still have any lingering questions or need some additional assistance, don’t hesitate to refer back to the manufacturer’s instructions or reach out to their knowledgeable customer support team. They’ll be more than happy to help you out. Happy lighting!
What You’ll Need
[content-egg-block modules=AmazonNoApi template=offers_list groups=”Materials”]


Leon
I never knew setting up an LED floor lamp could be so complicated! Whos with me?