LED LIGHTING

world's #1 led lighting review site

How to Program and Control LED Outdoor Lights

Kimdelee 100ft 66ft 33ft Waterproof Led Light Strips, 12v RGB Outdoor Strip Rope Lights, Color Changing with App Bluetooth Music Sync, Christmas Lights Decor (100ft)

In this step-by-step guide, I’ll show you how to program and control LED outdoor lights. We’ll cover everything from setting up the lights to creating different lighting effects. By the end, you’ll have the knowledge and skills to create a beautiful and customized lighting display that will enhance your outdoor space.

Top Picks for LED Outdoor Lights

[content-egg-block modules=AmazonNoApi template=offers_grid cols=3 groups=”SectionIntro”]

1

Gather the necessary materials

Before you start, it is important to gather all the materials you will need for your project. Make sure you have the following items ready:

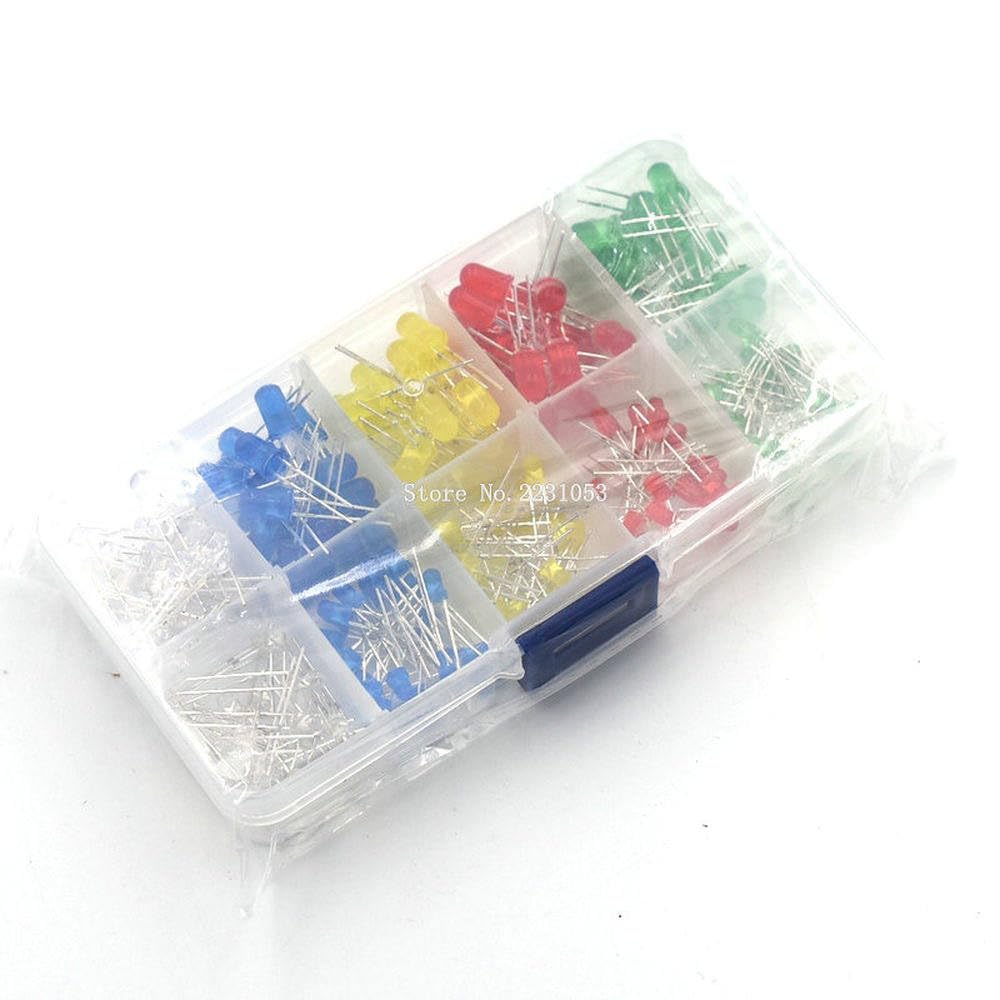
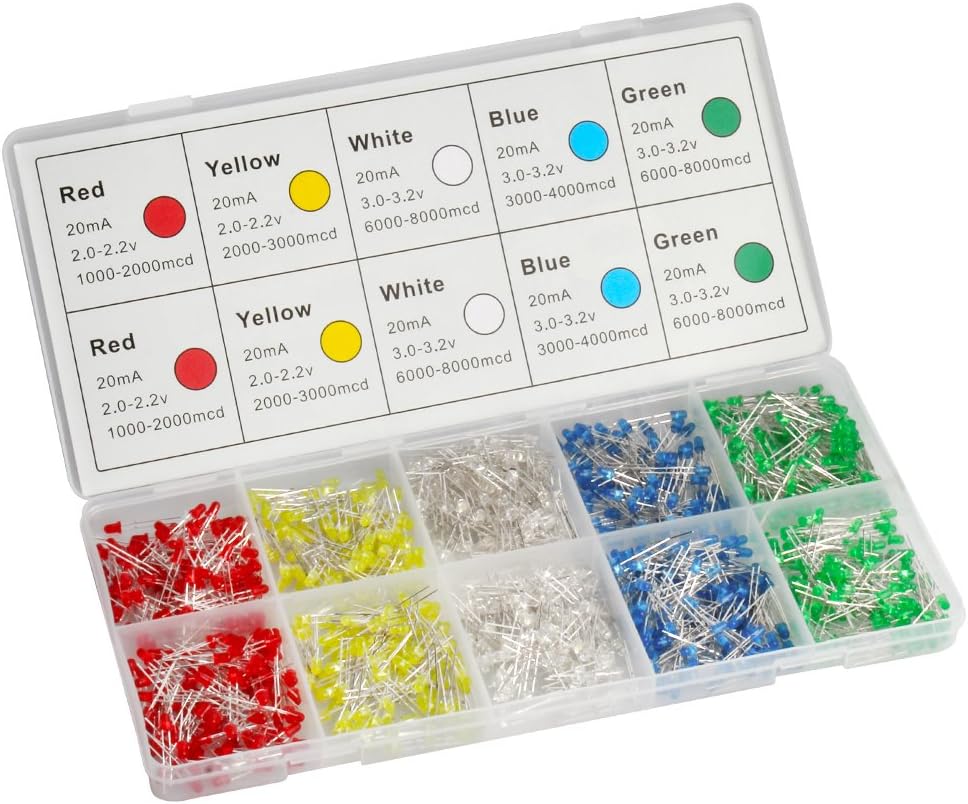
  1. LED outdoor lights: These lights will serve as the main source of illumination for your outdoor area. Choose the appropriate color and design that suits your preference and purpose.
  2. Power supply: You will need a reliable power source to ensure your LED lights are powered up and functioning properly. Consider using a power supply that is compatible with your LED lights and provides the necessary voltage and wattage.
  3. Microcontroller or controller board: This is a crucial component that allows you to control and manage the behavior of your LED lights. Choose a microcontroller or controller board that is compatible with your LED lights and offers the necessary features you desire.
  4. Connecting wires: These wires enable you to establish the necessary connections between your LED lights, power supply, and microcontroller. Ensure you have the appropriate length and type of wires for your specific setup.
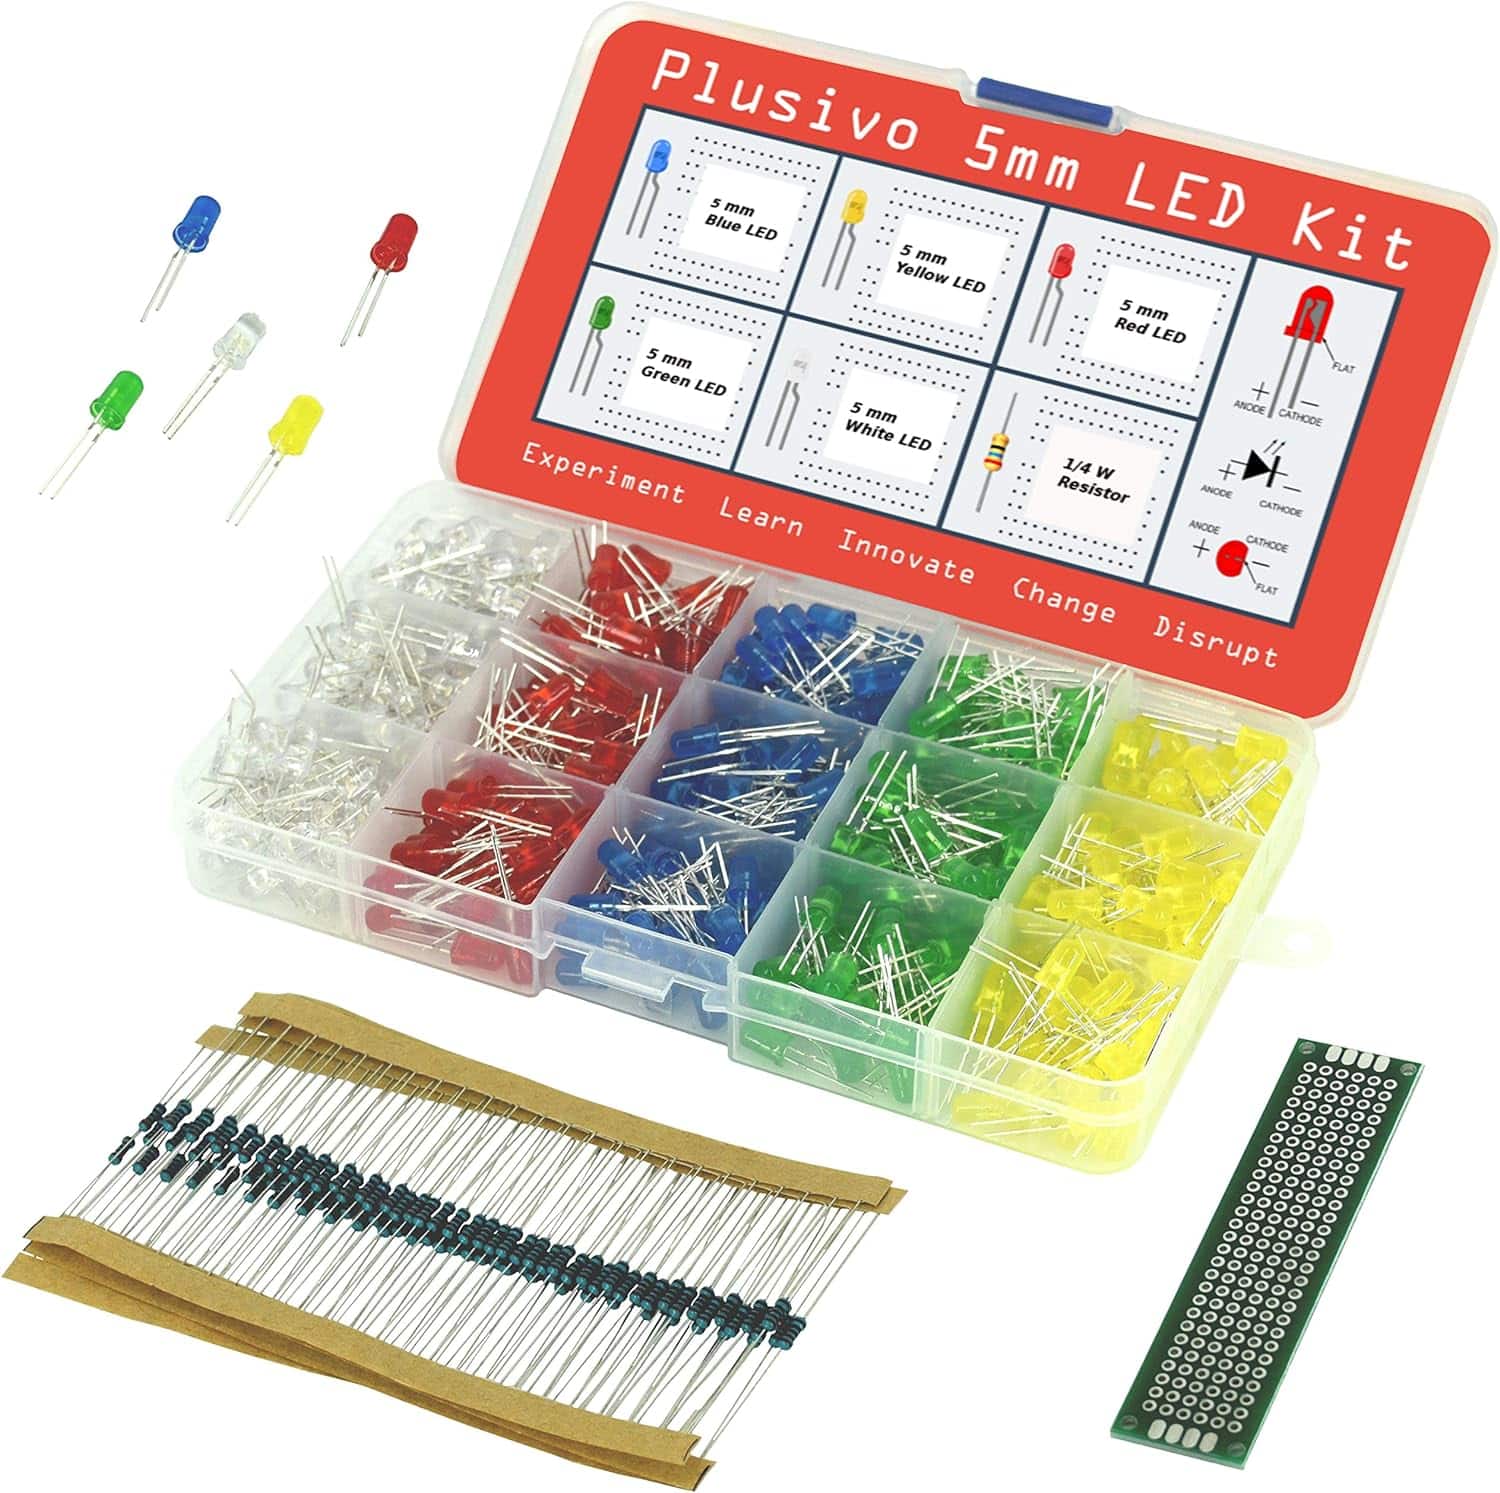
  5. Necessary accessories: Depending on your project requirements, you might need additional accessories such as connectors, resistors, capacitors, or a soldering kit. Be sure to check the specifications of your LED lights and microcontroller to determine if any of these accessories are necessary.

By having all these materials prepared beforehand, you can avoid unnecessary interruptions during the project and ensure a smooth and successful installation of your LED outdoor lights.

[content-egg-block modules=AmazonNoApi template=offers_list groups=”Step1″]

2

Familiarize yourself with the programming language

Familiarize Yourself with the Programming Language

To get started with controlling your LED outdoor lights, it’s important to familiarize yourself with the programming language you’ll be using. Here are some steps you can take to become acquainted with the language:

  1. Choose a Programming Language: Decide which programming language you’d like to use to control your LED lights. Popular options include Arduino, Python, and JavaScript. Consider factors such as your familiarity with the language and its suitability for your specific project.
  2. Acquire Learning Resources: Find reliable resources to learn the basics of your chosen programming language. Look for online tutorials, video courses, or books that cater to beginners. Some popular platforms like Codecademy, Udemy, and Coursera offer programming courses for various languages.
  3. Understand Syntax and Structure: Start by learning the syntax and structure of the programming language. Syntax refers to the rules and conventions for writing code in a particular language. Understanding the structure helps you organize your code effectively.
  4. Practice, Practice, Practice: The best way to become proficient in a programming language is through hands-on practice. Start with simple exercises or mini-projects to reinforce your understanding of the language. As you gain confidence, gradually tackle more complex coding challenges.
  5. Join Online Communities: Engage with online communities dedicated to the programming language you’re learning. Platforms like GitHub, Stack Overflow, and Reddit have active communities where you can ask questions, seek guidance, and learn from experienced programmers.

Remember, programming is a skill that develops over time. Take it step by step, don’t get discouraged by challenges, and stay consistent with your learning efforts. Soon enough, you’ll be writing code to control your LED outdoor lights like a pro!

3

Connect the LED lights to the microcontroller

To connect the LED lights to the microcontroller or controller board, start by following the manufacturer’s instructions for your specific LEDs. This will ensure that you make the proper connections and avoid any potential errors. Depending on the type of LED lights you have, you may need to solder or use connectors to establish the connections.

First, gather all the necessary materials, including the LED lights, microcontroller or controller board, soldering iron (if needed), solder, and connectors (if needed). Make sure you have a clear workspace with good lighting and secure the necessary safety precautions, such as wearing safety goggles and avoiding flammable materials.

Next, carefully examine the manufacturer’s instructions to identify the location of the LED connection points on both the LEDs and the microcontroller. These connection points are usually denoted by labels like “+”, “-“, or “IN” (input) and “OUT” (output).

If soldering is required, heat up the soldering iron and prepare the solder. Hold the soldering iron tip against the connection point of the LED and gently touch the solder to the heated point. Allow the solder to melt and create a secure bond. Repeat this process for all necessary LED connections.

Alternatively, if connectors are needed, match the appropriate connectors to the LED and microcontroller connection points. Insert each connector according to the manufacturer’s instructions, ensuring a secure fit.

Once all the connections are made, double-check that everything is properly attached and secure. Avoid applying excessive force or bending any components.

That’s it! You have successfully connected the LED lights to the microcontroller or controller board. Now you can proceed with any additional programming or testing, following the specific instructions for your project.

[content-egg-block modules=AmazonNoApi template=offers_grid cols=3 groups=”Step3″]

4

Upload the programming code

To upload the programming code to the microcontroller, follow these steps:

  1. Connect the microcontroller to your computer: Use a USB cable to connect the microcontroller to your computer. Ensure that the microcontroller is properly hooked up and powered on.
  2. Open the programming software: Launch the programming software that is compatible with your microcontroller. If you haven’t installed the software yet, please refer to the user manual or the manufacturer’s website for instructions.
  3. Select the correct board: Within the programming software, select the appropriate board from the list of available options. This ensures that the code is compiled for the specific microcontroller model you are using.
  4. Copy and paste the code: Open the programming code file that you want to upload. Copy the entire code and paste it into the programming software’s editor. Make sure there are no formatting errors or missing lines.
  5. Compile the code: Click on the “Compile” button or similar option within the programming software to check for any syntax errors. If there are any errors, review the code and fix them accordingly.
  6. Upload the code: Once the code has been successfully compiled without errors, click on the “Upload” button or similar option to transfer the code to the microcontroller. Allow the software some time to complete the uploading process.
  7. Test the code: After uploading the code, disconnect the microcontroller from the computer. Connect the LED lights to the microcontroller as per the hardware setup instructions. Power on the microcontroller, and observe the lighting effects generated by the uploaded code. Make any necessary adjustments to the code to achieve your desired lighting effects.

Remember, it’s important to test the code before proceeding to the next step to ensure that everything is working as expected.

5

Control the LED lights

Now it’s time to take control of the LED lights. To start, determine the programming language and platform you’re using. Once you have that information, you will have a variety of options for controlling the lights.

If you prefer a smartphone app, search for LED control apps in your app store. Download and install one that suits your needs. Open the app and follow the on-screen instructions to connect it to your LED lights. Once connected, you can use the app to turn the lights on and off, change colors, and adjust brightness levels.

Alternatively, if you have a remote control, locate the LED button or look for a setting related to lights. Press the button or navigate to the appropriate submenu to control the LED lights. Depending on your remote, you may be able to adjust colors, brightness, and even set up custom lighting patterns.

Lastly, if you prefer a web-based interface, open your preferred web browser and search for “LED light control.” Look for websites that offer this functionality and visit one that suits your preferences. Follow the instructions provided on the website to connect your LED lights to the interface. Once connected, you can use the website to access various controls and settings to customize your LED lights.

Remember, the method you choose for controlling LED lights depends on your programming language and platform. So, explore the options available to you and find the one that best fits your needs and preferences. Enjoy taking control of your LED lights and creating the perfect ambience for any occasion.

6

Experiment and customize

Now that you have mastered the basics, it’s time to unleash your creativity and make your project truly unique. Start by experimenting with different programming techniques to see what effects you can achieve. Try out various color combinations and lighting patterns to find the perfect look for your project. Don’t be afraid to think outside the box and test new ideas.

To customize your code, you can make changes that suit your preferences and make your lighting displays exceptional. Take control of the code and modify it to create your desired effects. You can adjust the speed, intensity, and even add your own customized animations. Feel free to explore different possibilities and make your project truly one-of-a-kind.

Remember, this is your chance to let your imagination run wild. Be bold and take risks. Try out new things, and if they don’t work out as expected, don’t be discouraged. Sometimes the best results come from unexpected experiments. Enjoy the process of exploring and customizing, and have fun creating your own unique lighting displays.

Wrapping Up

In conclusion, learning how to program and control LED outdoor lights opens up a world of possibilities for creating captivating lighting displays in your outdoor space. By following the steps outlined in this guide, you can easily bring your creative ideas to life and transform your surroundings. Embrace the process, have fun, and let your imagination soar with stunning lighting effects!

Essential Equipment

  • LED outdoor lights
  • Microcontroller
  • Jumper wires
  • Breadboard or soldering equipment (if necessary)
  • USB cable for microcontroller programming
  • Power supply for microcontroller
  • Computer with programming software for microcontroller
  • Programming language documentation or tutorial resources

[content-egg-block modules=AmazonNoApi template=offers_list groups=”Materials”]

Illuminating Outdoor Spaces

  • Start by choosing the right LED outdoor lights for your needs. Look for lights that are specifically designed for outdoor use and have the features you require, such as brightness levels and color options
  • Familiarize yourself with the instructions and specifications provided by the manufacturer. Each brand and model may have specific programming and control methods, so it’s important to understand them before getting started
  • Ensure that you have a reliable power source for your LED outdoor lights. Depending on the type of lights you have, this may involve connecting them to an electrical outlet or using batteries. Make sure you have the necessary equipment and power supply to properly operate your lights
  • Determine the desired placement of your LED outdoor lights. Think about the areas you want to illuminate and consider factors such as aesthetics, functionality, and safety. Pay attention to any wiring or installation requirements to ensure a secure and efficient setup
  • Install any necessary mounting brackets or hardware according to the manufacturer’s instructions. Proper installation is crucial to ensure the longevity and stability of your LED outdoor lights
  • Program your LED outdoor lights according to your preferences. Most lights come with different modes or settings, such as timer functions, motion sensors, or dimming options. Take the time to explore and adjust these features to achieve your desired lighting effects
  • Use a remote control or mobile app, if applicable, to control and adjust your LED outdoor lights. Some lights may offer wireless connectivity options that allow you to conveniently change the lighting settings without physically accessing the lights themselves
  • Regularly inspect and maintain your LED outdoor lights to ensure optimal performance. Check for any signs of damage or wear, and clean the lights as necessary. Replace any faulty bulbs or parts to ensure consistent and efficient lighting
  • Consider using a programmable lighting controller or automation system for more advanced control of your LED outdoor lights. These systems can provide more options for customization and scheduling and allow for integration with other smart home devices
  • Experiment with different lighting techniques and color combinations to create the desired ambiance for your outdoor space. LED lights offer a wide range of colors and effects, so have fun exploring different possibilities to enhance your outdoor lighting experience
51 comments
Dallas Pratt

I dont get why anyone would waste time programming outdoor lights when you can just buy regular ones.

Legacy

I think programming LED lights is a waste of time. Just enjoy the darkness! 🌚

Finn

I had a lot of fun experimenting with different colors and patterns using LED outdoor lights. It really adds a unique touch to my outdoor space. I highly recommend trying different combinations to create stunning lighting displays!

    leds.to

    That sounds like a great experience! Experimenting with different colors and patterns is a fantastic way to personalize and enhance your outdoor space. Thank you for sharing your recommendation!

Caleb

I’m a bit confused about step 3. Could you please explain in more detail how to connect the LED lights to the microcontroller?

    leds.to

    I apologize for the confusion. To connect the LED lights to the microcontroller, you will typically use jumper wires. Connect the positive terminal (anode) of the LED to a digital pin on the microcontroller and the negative terminal (cathode) to the ground pin. Make sure to refer to the datasheet or pinout diagram of your specific microcontroller for accurate wiring instructions.

Leo

This guide is great! In future articles, it would be helpful if you could cover topics like creating dynamic lighting effects or integrating the LED lights with sensors for automation.

    leds.to

    Thank you for your feedback! I appreciate your suggestion for future articles. I will definitely consider covering topics like dynamic lighting effects and sensor integration in my upcoming articles.

Ava

This guide is very helpful for beginners like me. However, do you have any advanced tips for those who already have some experience with programming and controlling LED lights?

    leds.to

    I’m glad you found the guide helpful! For those with more experience, an advanced tip would be to explore using PWM (Pulse Width Modulation) to control the brightness of the LED lights. This technique allows for smoother and more precise dimming effects.

Brielle

I dont get the fuss with LED outdoor lights. Cant we just stick to candles? 🕯️

    giveitlegs@live.com

    LED outdoor lights provide numerous benefits over candles, such as energy efficiency, durability, and longer lifespan. Embracing LED lights allows us to reduce our carbon footprint and enjoy better illumination. Its time to move forward and embrace technology instead of clinging to outdated practices.

Eileen Dickson

LED lights? Meh, Id rather stick to candles. More romantic, less programming hassle.

Zaniyah Patterson

I think programming outdoor lights is unnecessary, just stick with traditional switches.

Noelle Flores

Why bother programming LED lights when you can just enjoy the darkness?

Dior

LED lights are overrated. Stick to traditional outdoor lights for a cozy vibe.

Itzayana

I dont get the hype around programming outdoor lights. Just switch them on!

Evan Becker

LED lights are overrated, natural moonlight is better for ambiance. Lets save energy!

Emma

I’ve had some experience with LED outdoor lights, and I found that using waterproof connectors for the wiring connections can help prevent any water damage or corrosion. It’s worth considering!

    leds.to

    Thank you for sharing your experience and tip! Using waterproof connectors is indeed a great way to ensure the longevity and reliability of the wiring connections. It’s definitely worth considering for anyone working with LED outdoor lights.

Alex

Thank you for your comment! That’s an excellent tip. Choosing outdoor-specific LED lights is indeed important to ensure their durability and longevity.

Isabela

Why bother with programming? Just stick with basic on/off switches!

    Calliope

    Programming allows for complex automation and problem-solving beyond simple on/off switches. It enables customization, efficiency, and innovation in technology. Embracing programming opens up a world of possibilities beyond basic binary choices. Dont limit yourself – embrace the power of coding.

Sage

Why bother with programming when you can just enjoy the lights?

    Gage

    Programming allows you to create those mesmerizing lights you enjoy. Its the magic behind the scenes that brings them to life. Embrace the power of technology and creativity, dont just settle for being a spectator. Dive into programming and unlock endless possibilities beyond just admiring the lights.

Ethan

Great guide! One additional tip I would suggest is to make sure you choose LED lights that are specifically designed for outdoor use. This will ensure they are weatherproof and can withstand the elements.

Leo Zamora

Isnt it easier to just buy pre-programmed LED lights? Why the hassle?

Avery

Are LED outdoor lights worth the effort of programming? Lets discuss!

Nehemiah

LED lights are overrated – stick to traditional outdoor lighting for a cozy vibe.

Maxwell Hughes

I think programming outdoor lights is unnecessary, just stick to regular switches.

Baylor Montes

LED lights are overrated! Stick with traditional outdoor lighting for a cozy vibe.

    Blaze

    LED lights offer energy efficiency, longevity, and versatility that traditional outdoor lighting cant match. Embrace the future of lighting technology for a more sustainable and aesthetically pleasing outdoor space. Dont be afraid to step out of your comfort zone for a brighter and more vibrant ambiance.

Liam Nelson

LED lights are overrated. Stick to good old-fashioned outdoor lighting for a cozy vibe.

Nayeli Ayers

LED lights are overrated, natural lighting is the way to go! 🌞

Diana Benson

I think programming outdoor lights is unnecessary. Just stick with basic controls!

    giveitlegs@live.com

    Outdoor lights can enhance security, aesthetics, and convenience. Programming them allows for customization, energy efficiency, and automation. Basic controls limit the potential of outdoor lighting. Embrace technology for a smarter, more efficient home.

Osiris

I find it interesting how the article mentions the importance of getting familiar with the programming language twice. Is this a mere redundancy or a subtle stress on its significance? Also, no mention of safety precautions while handling these LEDs? A little strange, dont you think?

Zachary

I agree that understanding the programming language is crucial for controlling LED outdoor lights. But, Im curious about why theres no mention of safety precautions? Isnt it risky for beginners to handle electrical equipment without proper guidance? I believe a section on safety measures would make this article more comprehensive.

Bentley

Interesting article! But Im left wondering why theres no mention of the longevity of these LED lights? Its a key point when considering the cost-effectiveness of investing in this type of outdoor lighting. Also, a bit more clarity on the specific programming languages to use wouldnt hurt either.

Rebecca

Well, I think its important to touch on the aspect of energy efficiency in LED outdoor lights. I mean, are we considering the savings on electricity bills and the environmental impact here?

Ryatt

Interesting article, but isnt it more energy-efficient to use solar-powered LEDs for outdoor lighting? Plus, you wouldnt have to worry about programming them. Thoughts?

Andy Valdez

Interesting read, but isnt it true that cheap LED lights can cause more harm than good? They may save money initially, but can they lead to higher replacement costs? Thoughts?

Noemi

Interesting read! But wouldnt it be beneficial to include a section on troubleshooting common programming issues with LED outdoor lights? Its just as important as knowing how to set them up.

Layne

Just read the How to Program LED Outdoor Lights article. Wondering, wouldnt it be smarter to integrate smart home tech into these setups? Could be a game-changer for energy consumption and automation, right?

Dante

Interesting read, but isnt it easier to just hire a pro than learn programming language for LED lights? Just a thought!

Laurel Stafford

Interesting article, but isnt it easier and cheaper to just hire a pro? Not everyone is a tech guru, mate.

Lylah Benton

Interesting article, but why not consider solar LED lights? More sustainable and no need to get tangled with programming. Food for thought!

Maximilian

Interesting article, but why bother programming your own LED lights? Isnt it more practical to buy pre-programmed ones? Plus, not everyone has the time or skill to learn programming languages. Just a thought!

Penelope Hayden

Honestly, I think its a bit excessive to require programming knowledge just to operate outdoor lighting. Arent there user-friendly options out there? Seems like were overcomplicating a simple need.

Kolton Pollard

Sure, the article gives great tips on LED lighting. But honestly, who has the time to learn a programming language just to control outdoor lights? Isnt technology supposed to make life easier?