
The step-by-step guide “How to connect Super Bright LED Strip Light” will help you easily connect and set up a Super Bright LED Strip Light. By following the instructions in this guide, you will be able to create a vibrant and customized lighting effect for your home or any space.
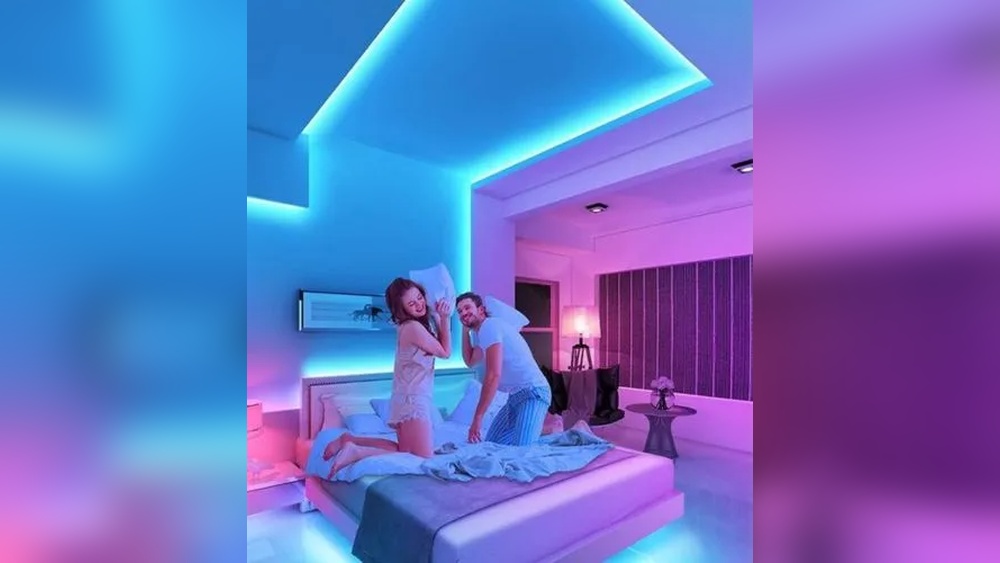
Popular Lighting Choice for Any Space
[content-egg-block modules=AmazonNoApi template=offers_grid cols=3 groups=”SectionIntro”]
Gather the necessary materials
Before you start your project, it’s essential to gather all the necessary materials. This way, you won’t have to interrupt your progress midway due to missing items. Here’s a checklist of what you’ll need:
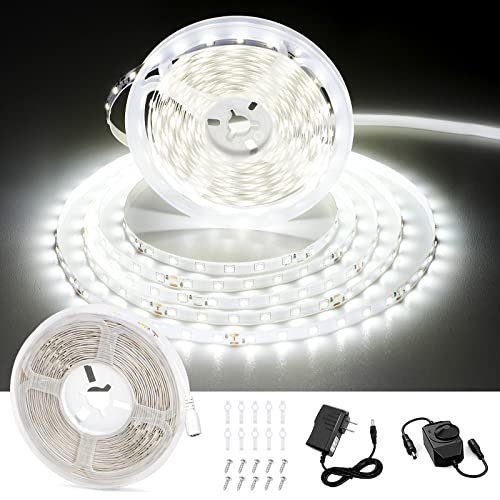
- LED strip lights: These are the main component of your lighting setup. LED strips come in a variety of lengths, colors, and brightness levels. Choose the one that suits your needs best. For example, if you want to illuminate a room, you might opt for longer strips, while shorter ones may be sufficient for accent lighting.
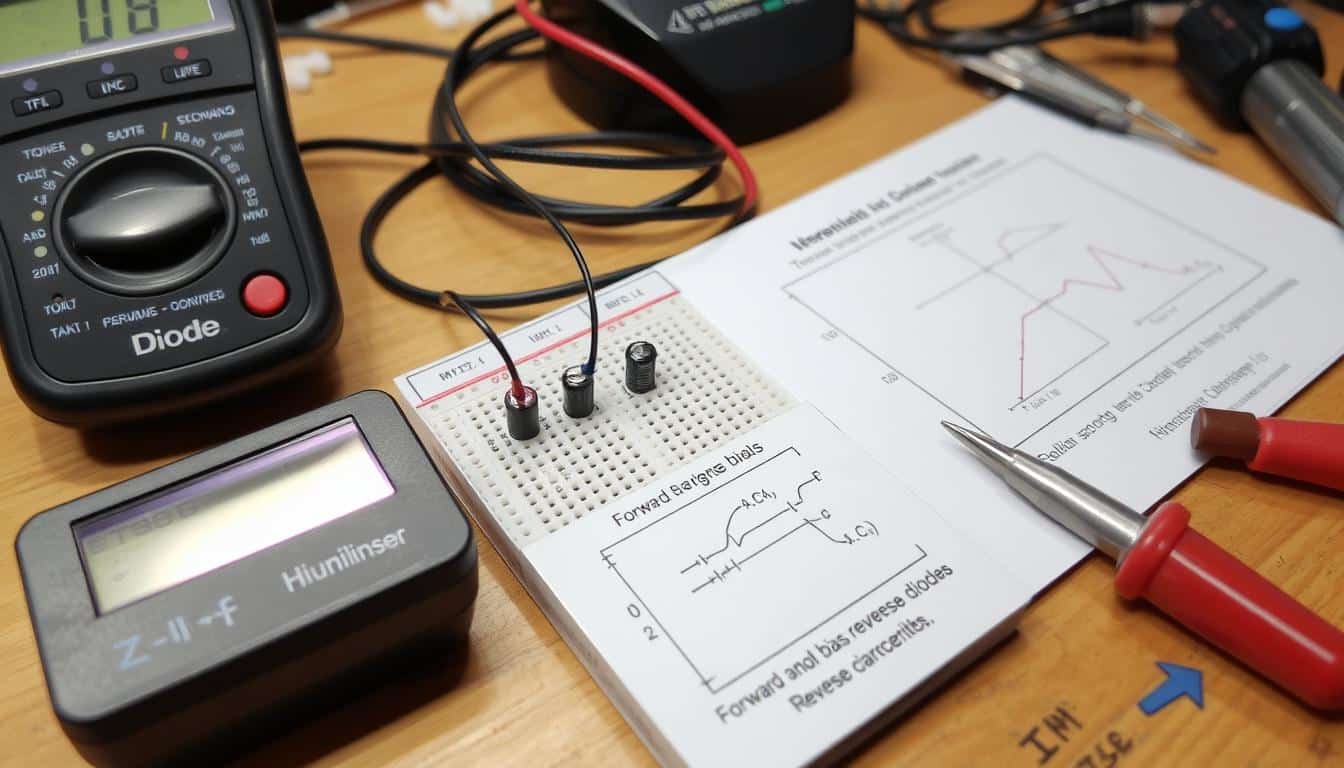
- Power supply: LED strips require a power supply to function. You’ll need to connect the power supply to the LED strip lights using an appropriate adapter. Ensure that the power supply matches the requirements of your LED strip, as using an incompatible one may result in damage or poor performance.
- Connectors: Connectors are used to join different sections of LED strip lights together or to make turns in your installation. There are various types of connectors available, such as solderless connectors or cable connectors. Make sure to choose connectors that are compatible with your LED strips and follow the manufacturer’s instructions for a secure connection.
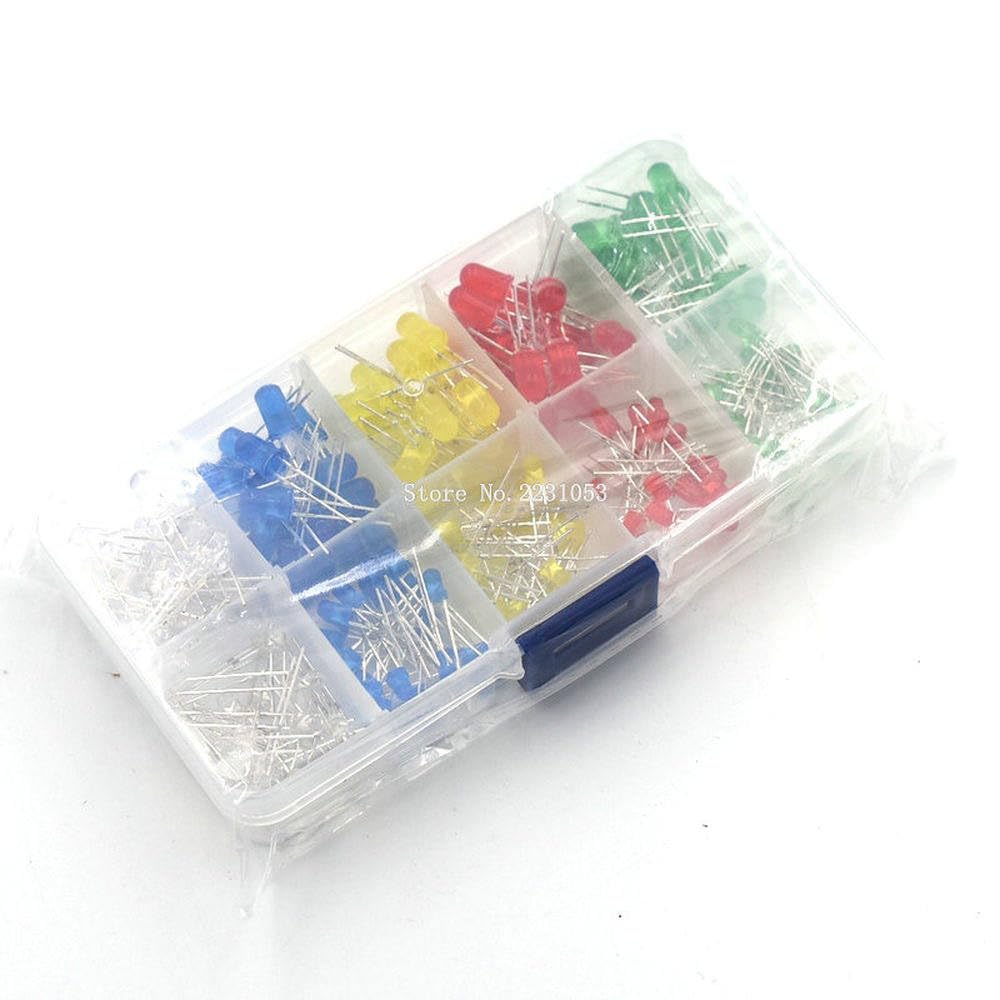
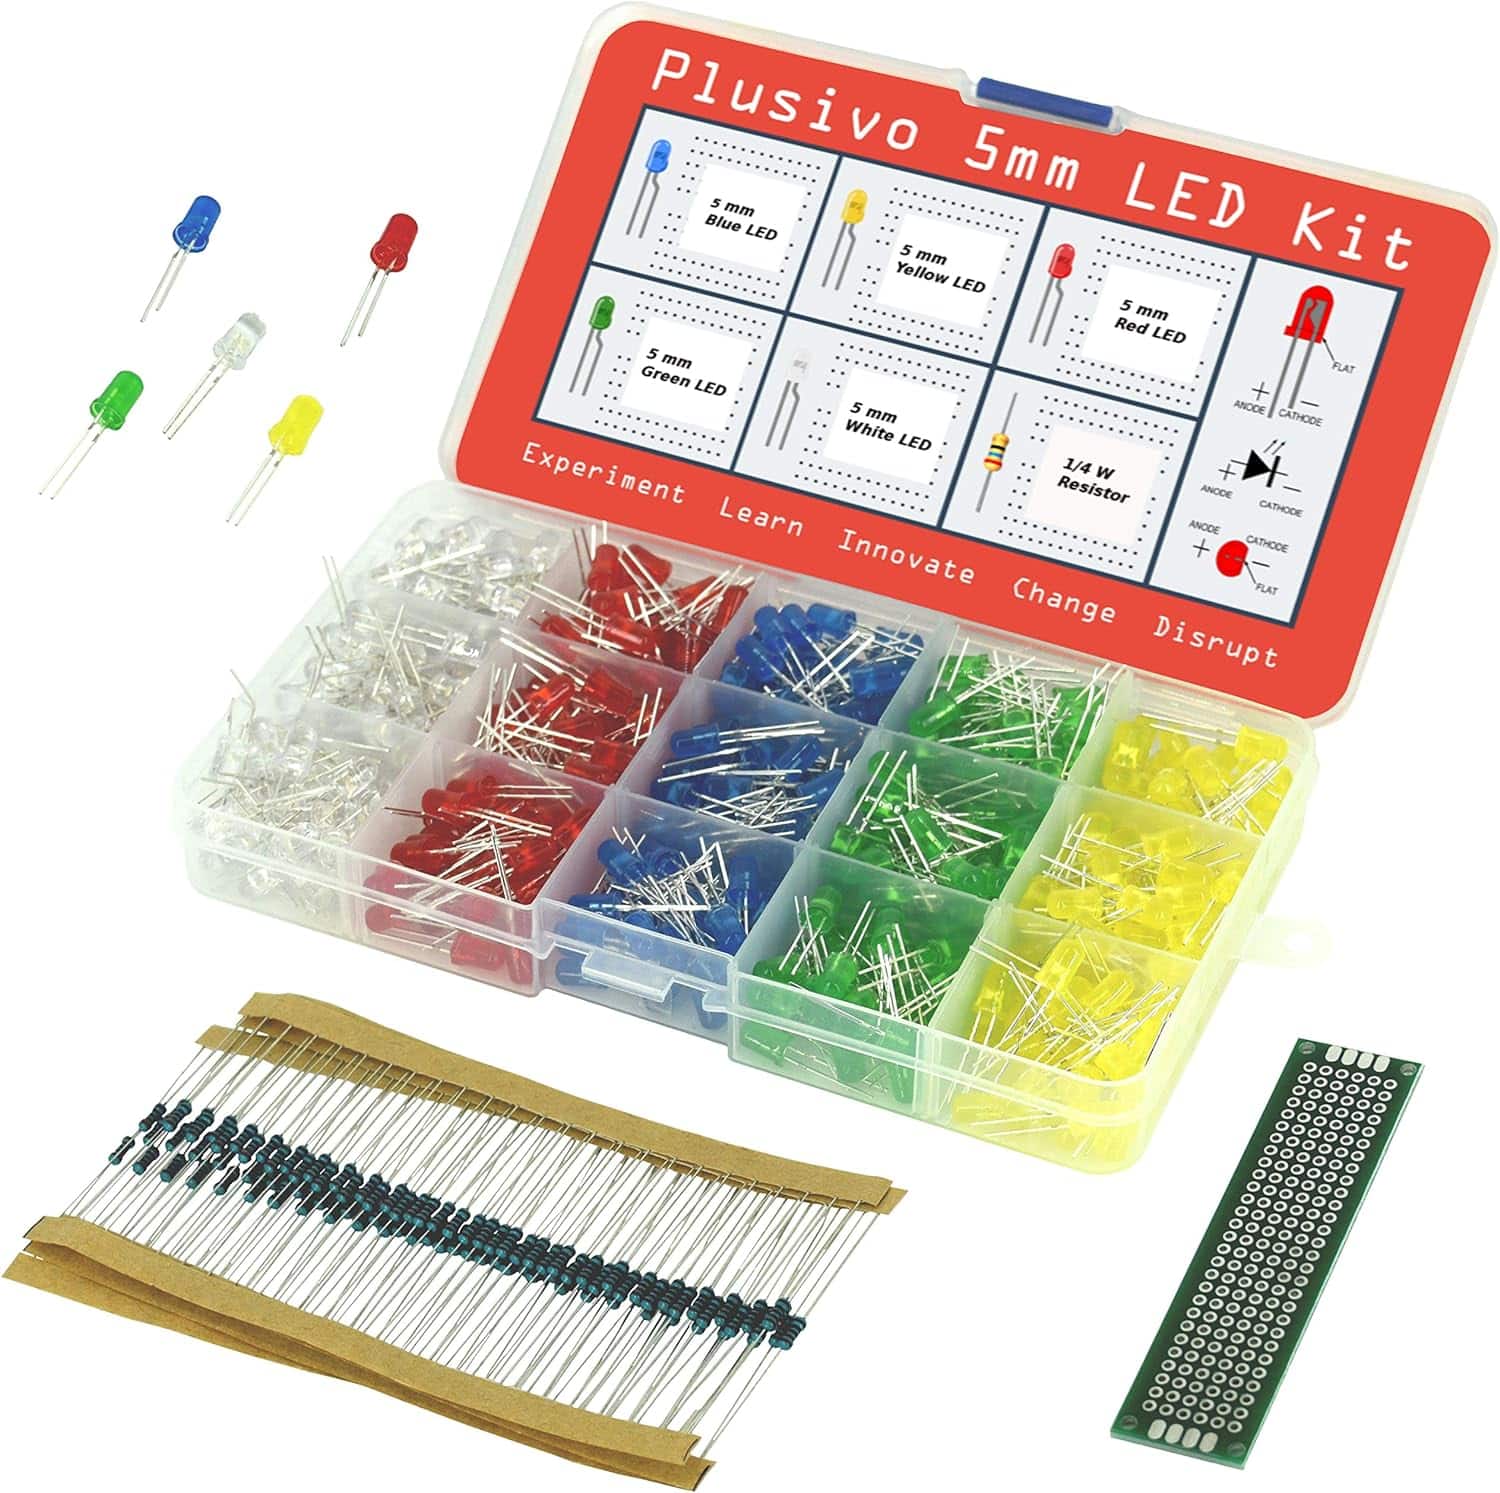
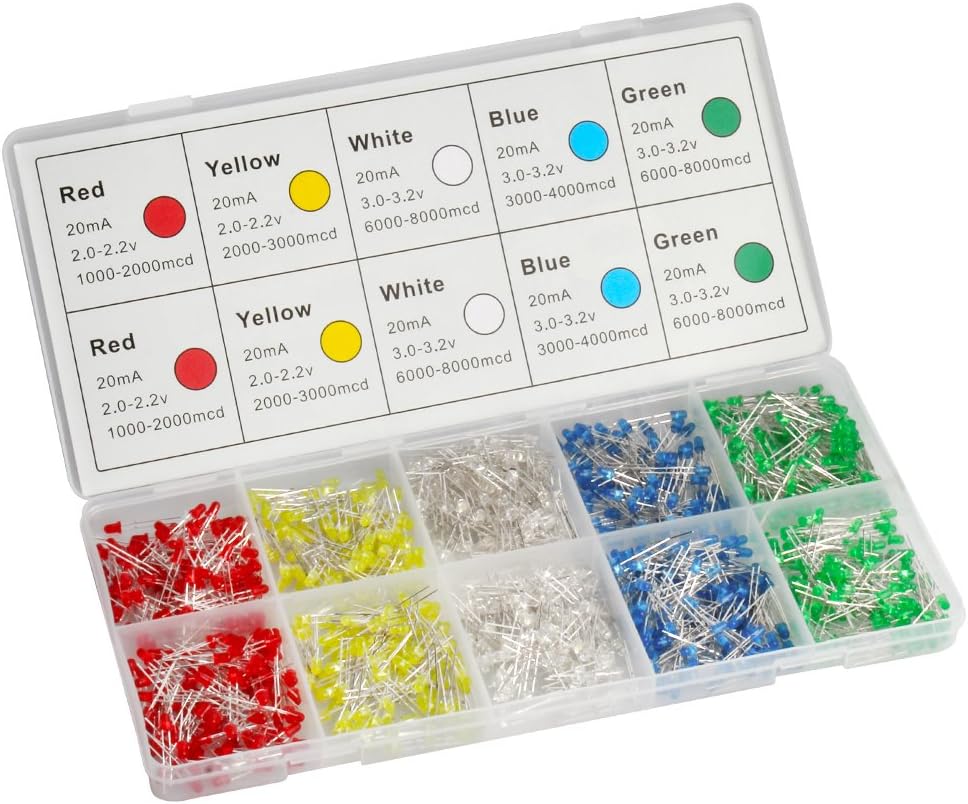
- Additional accessories: Depending on your project, you might require additional accessories such as mounting brackets, clips, or adhesive tape to secure the LED strips in place. These accessories can provide stability and ensure that your installation stays in position.
By gathering and double-checking these materials before you begin, you can avoid frustration and interruptions during the installation process. Having everything readily available will make the project smoother and more efficient. So take a moment to confirm that you have all the necessary items, and you’ll be ready to proceed to the next steps with confidence.
[content-egg-block modules=AmazonNoApi template=offers_grid cols=3 groups=”Step1″]
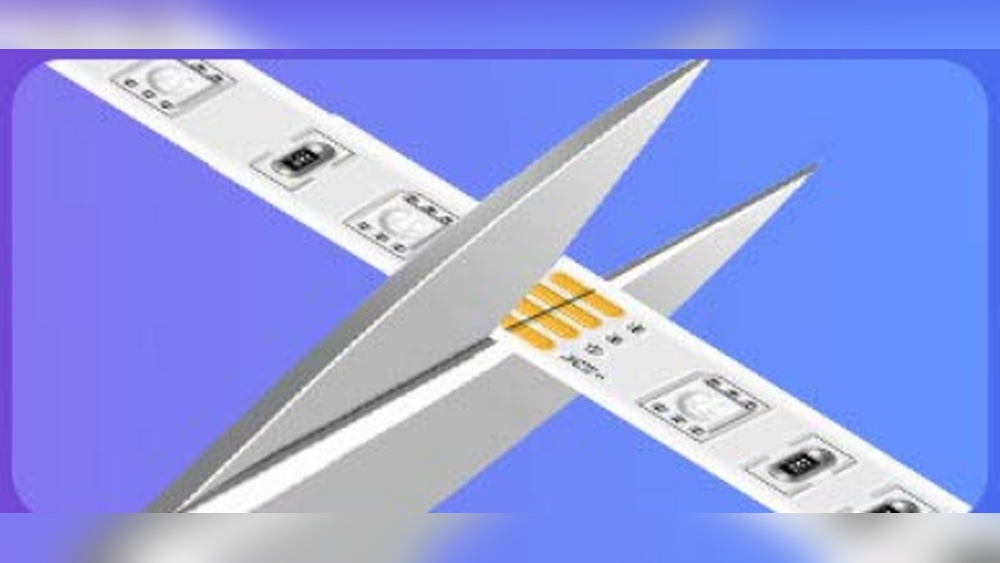
Measure and cut the strip
Measure and cut the strip: To ensure a perfect fit for your LED strip lights, it is crucial to carefully measure the length of the area where you intend to install them. Start by taking a tape measure and accurately measuring the distance you want to cover. Make sure to account for any corners or bends in the area.
Once you have obtained the correct measurements, it is time to cut the strip to the desired length. Grab a pair of scissors or a sharp knife, ensuring that you have a steady hand. Lay the strip on a flat surface and carefully cut through the designated cutting points. These cutting points are typically indicated by scissor icons or marked sections on the strip itself.
Remember, it is essential to exercise caution while cutting to avoid any accidental damage or injury. Take your time, use smooth continuous motions, and double-check your measurements before making any cuts. By following these simple steps, you’ll be able to achieve the perfect fit for your LED strip lights and ensure a visually pleasing installation. Happy measuring and cutting!
Prepare the strip
To prepare the strip, start by removing the adhesive backing. Gently peel off the protective sheet covering the sticky side of the strip. Make sure you do this slowly to prevent any damage to the strip. Once the backing is removed, you’re ready to attach it to the desired surface.
Before applying the strip, it’s crucial to ensure that the surface is clean and dry. Any dirt, dust, or moisture can affect the adhesive’s ability to stick properly. Here’s what you need to do:
- Clean the surface: Use a mild detergent or a suitable cleaner to eliminate any dust, grease, or dirt from the area where you want to attach the strip. You can use a soft cloth or a sponge to gently wipe the surface clean. For stubborn stains, you may need to use a mild scrub brush or a damp cloth.
- Dry the surface: Once the surface is clean, allow it to dry completely before proceeding. You can use a lint-free towel or give it some time to air dry naturally. It’s crucial to ensure that there’s no moisture remaining on the surface as it can affect the strip’s adhesive.
- Position the strip: Now that the surface is clean and dry, carefully position the strip on the desired area. Press down firmly along the entire length of the strip to ensure good contact with the surface. Avoid bending or twisting the strip while applying it.
Here’s an example to help you better understand: Let’s say you want to attach the strip to the wall above your desk. Before applying the strip, wipe off any dust or fingerprints on the wall using a clean cloth. Once the wall is clean, make sure it’s completely dry before peeling off the adhesive backing. Position the strip where you want it and firmly press it against the wall, ensuring it sticks securely.
Following these steps will help ensure the strip adheres well to the desired surface. Now you’re all set to move on to the next step in your project!
[content-egg-block modules=AmazonNoApi template=offers_grid cols=3 groups=”Step3″]
Connect the power supply
To connect the power supply, start by taking one end of the strip and carefully align the positive and negative terminals with the corresponding terminals on the power supply. It is important to ensure a proper alignment to avoid any electrical issues or damage.
For a clear understanding of the correct connection, consult the manufacturer’s instructions. These instructions will provide specific details on how to connect the power supply in the safest and most effective manner.
To illustrate this, let’s consider an example: Imagine you have a power supply with clearly labeled positive and negative terminals. Take the positive end of the strip and connect it to the positive terminal on the power supply. Then, take the negative end of the strip and connect it to the negative terminal. By following these step-by-step instructions and aligning the terminals correctly, you can safely connect the power supply.
Remember, always refer to the manufacturer’s instructions to ensure proper connection and avoid any potential issues.
Connect the connectors
Connecting multiple sections of LED strip lights is a straightforward process if you use connectors. Here’s a step-by-step guide to help you join them together seamlessly:
- Start by familiarizing yourself with the manufacturer’s instructions. Different LED strip lights may have specific connector types or connection methods, so it’s essential to follow their guidelines.
- Ensure that both the sections of LED strip lights you want to connect and the connectors are compatible. Check if they have the same voltage ratings and connector styles. This information is usually mentioned in the manufacturer’s documentation.
- Carefully position the LED strip lights you wish to connect. Make sure they are aligned correctly and that the copper pads or soldering points on each end are exposed and clean.
- Take the appropriate connector and insert the corresponding end of each LED strip light. Double-check that the polarity is correct, typically indicated by “+” and “-” symbols.
- Apply gentle pressure to the connector while pushing the LED strip lights together. Ensure a secure and snug fit between the strip and the connector.
- Test the connection by plugging in the power supply. If the LED strip lights illuminate and work correctly, then you have successfully connected the sections. If not, recheck the polarity and connector alignment.
- If you are connecting more than two sections, repeat the process using additional connectors until all sections are properly joined.
Remember, it’s crucial to follow the manufacturer’s instructions and take necessary safety precautions when working with electrical components. With a bit of care and attention, you’ll have your LED strip lights connected and brightening up your space in no time.
Test the connection
To test the connection before securing the strip in place, follow these steps:
- Plug in the power supply: Connect your power supply to a power outlet.
- Check the lights: Look at the LED lights on the strip. If everything is working properly, the lights should turn on. Observe if they light up in the desired color or pattern.
By performing this simple test, you can ensure that the connection between the power supply and the LED strip is functioning correctly. If the lights don’t turn on or there are any issues, double-check the connection, power supply, and any relevant settings.
Secure the strip
To secure the strip in place, follow these easy steps. First, make sure that you are satisfied with the connection by checking that all the lights are working and there are no loose connections. Once you’re confident about the setup, it’s time to secure the strip.
If you’re using adhesive, carefully peel off the backing and press the strip firmly onto the desired surface. Make sure to apply even pressure along the entire length of the strip to ensure a secure bond. If there are any areas with excess wiring, neatly tuck it away to avoid any potential hazards or visual clutter.
Alternatively, you can also use mounting brackets to secure the strip. Position the brackets along the strip at regular intervals, ensuring that they are evenly spaced and aligned. Once the brackets are in place, insert the strip into the brackets and gently push it until it is snugly held in position.
By following these instructions and taking the necessary steps to firmly attach the strip and tidy up any excess wiring, you’ll ensure a secure and visually pleasing installation. Enjoy the enhanced ambiance and lighting that your strip will provide!
Wrapping it all up
In conclusion, connecting a Super Bright LED Strip Light may seem like a daunting task at first, but with the right instructions, it can be easily accomplished. By following the steps outlined in this blog post, you have successfully connected your LED strip light and are now ready to enjoy its vibrant lighting and unleash your creativity with different color options and lighting effects. So go ahead, embrace the dazzling world of LED lighting and create the perfect ambiance for any space.
Essential Tools & Materials
[content-egg-block modules=AmazonNoApi template=offers_list groups=”Materials”]


Meadow
I’ve found that using a soldering iron and heat shrink tubing provides a more secure and professional-looking connection for the LED strip. It takes a bit more effort, but the result is worth it. Just wanted to share this advanced tip!