When it comes to enhancing the ambiance of our homes and personal spaces, LED light strips are a game-changer. They can be the perfect fit for any area, illuminating corners with a soft glow or breathing vibrant life along edges and contours. But to truly customize your space, knowing where to cut led light strips is key. That’s where our DIY guide for cutting led light strips comes into play. Tailoring the length of these glowing ribbons is not only about visual appeal; it’s about making them work for your unique environment safely and efficiently. Before we delve further, let’s equip ourselves with the right knowledge and tools to make every cut count.
Key Takeaways
- Identify the scissor logo on the strips to pinpoint where to cut LED light strips.
- Ensure the power is disconnected before cutting to maintain safety measures.
- Use proper tools for a clean cut, preserving the strip’s functionality.
- Measure the area precisely to achieve a perfect fit and customize your space effectively.
- Understand the importance of cutting at the right points to maintain the intended ambiance.
Understanding the Basics of LED Light Strips
Delving into the world of LED light strips, it becomes evident that these sleek sources of light are more than just decorative fixtures. Their functionality and versatility stem from their intricate components, which come together to cast that perfect glow in your chosen space. Explore with us as we uncover the essential roles that each part plays, and why the right tools are crucial in the proper way to cut LED light strips.
Components and Functionality of LED Light Strips
Every LED light strip is an orchestra of tiny, yet vital, elements. The LED chips are the stars of the show, emitting the light we see. These are mounted on a flexible circuit board that transmits power to each chip. The adhesive backing provides an easy installation experience, allowing the strips to adhere to a multitude of surfaces. Finally, a protective coating safeguards the electronics from environmental factors, ensuring a long-lasting lighting solution. Each component must be handled with care, especially when customizing the length to fit your unique space.
The Importance of Using the Right Tools
To ensure that your lighting project comes to fruition without a hitch, one must employ essential tools for cutting LED light strips. Sharp scissors or a box cutter are paramount for making precise and clean cuts, avoiding any unnecessary damage to the light strip’s inner workings. As you prepare to cut, pay special attention to the type of LED strip you’re working with—standard or RGBIC—as each may require a slightly different approach.
Following the right guidelines and using the designated tools ensures that your LED strips retain their full functionality after being tailored to size. Remember, the end goal is to enhance the ambiance of your environment with lighting that is both functional and aesthetically pleasing, seamlessly integrating with the envisioned design of your space.
Where to Cut LED Light Strips for Optimal Use
When we think about enhancing our homes with LED light strips, understanding where to cut led light strips is crucial for both aesthetics and functionality. It’s not merely about cutting; it’s about cutting at the right places. Best practices for cutting led light strips dictate that each incision must be precision-targeted to maintain the strip’s integrity and keep every light shining bright.
So, where exactly do you make the cut? Look for the specific areas on the strip designed for this purpose — usually found at regular intervals and marked for your convenience. These designated cut points are clearly indicated by a pair of copper dots connected by a cuttable dotted line. They are your safe zones—the points at which LED strips can be severed without the risk of damage.
Finding the exact spot to cut is not just a suggestion, it’s the lifeline of LED strip customization. Ignoring these markers can result in portions of your LED strip being rendered non-functional.
To ensure you’re cutting correctly, here are some steps we can follow:
- Identify the copper dot markers along the strip.
- Align your cutting tool precisely over the dotted line between the copper dots.
- Make a firm, confident cut with a sharp tool specially designed for LED strips.
- Check the piece you cut for any signs of damage or improper operation.
Abiding by this guide will prevent us from common pitfalls, such as cutting in between the LEDs, which might leave us with an unusable strip. In instances where precision is pivotal, best practices for cutting led light strips become indispensable.
In conclusion, the secret to successfully customizing LED light strips lies in paying close attention to where you cut. With the right knowledge and tools, we can achieve the perfect fit for our unique space, ensuring our LED light strips not only fit seamlessly but also maintain their luminous efficacy for a delightful ambiance.
Preparing for the Cut: Tools and Techniques
As we delve into the task of cutting LED light strips, the emphasis on preparation cannot be overstated. Ensuring you have the appropriate tools at hand and understanding the techniques involved are the cornerstones for a successful outcome. Below, we share invaluable tips for cutting LED light strips accurately and safely.
Choosing the Correct Scissors or Cutting Tools
When it’s time to cut, selecting the right scissors or cutting tools is paramount. We recommend smooth-edged, sharp scissors for a clean cut that will not fray or damage the LED strips. For those who prefer a tool with more precision, a box cutter can offer that control, as long as it features a fresh, sharp blade. Here’s a quick look at some recommended options:
- Heavy-duty scissors that maintain sharpness over time.
- A high-quality box cutter with easily replaceable blades.
- Specialized wire cutters if you’re dealing with LED strips encased in thicker coatings.
Measuring and Marking Accurately
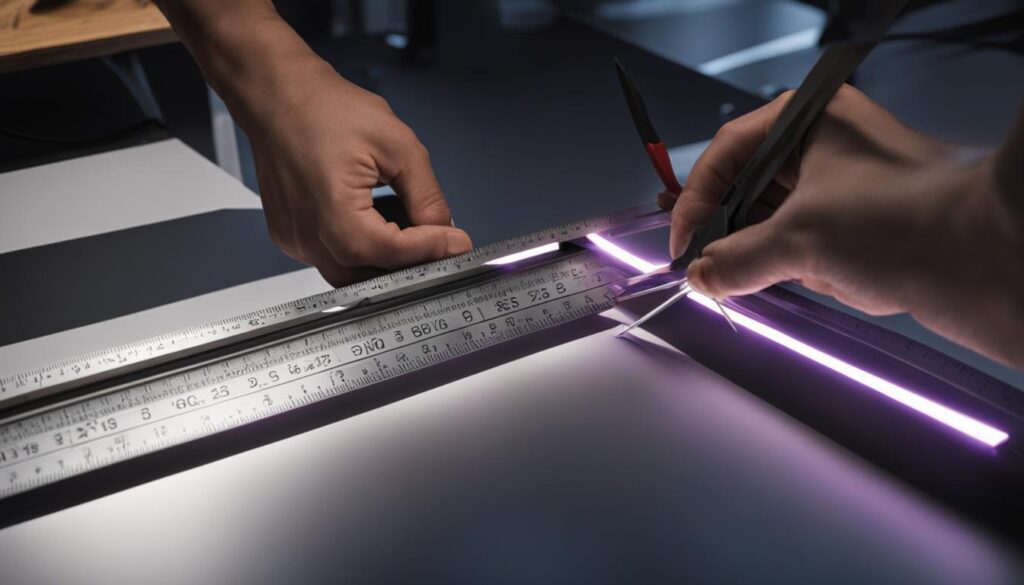
Accurate measurement is just as critical as the cutting tool you select. Before making any cuts, measure the length against the area you wish to illuminate to determine exactly where to cut the strip. We advise using a tape measure for precision and marking the spot with a non-permanent method, such as a piece of painter’s tape or a light pencil mark.
| Measurement Tool | Advantages | Tips |
|---|---|---|
| Tape Measure | Longer lengths, flexibility around corners | Extend fully to avoid kinks and ensure straight lines |
| Ruler | Ideal for shorter, straight cuts | Use a metal ruler for durability and precision |
| Painter’s Tape | Visible marking, easily repositionable | Apply firmly to avoid slipping during measurement |
Remember, an incorrect measurement could lead to an undesired outcome, such as the need to splice segments together. It’s best to measure twice and cut once to ensure you don’t come up short, adhering to the adage that has saved many from needless frustration.
By grasping these foundational techniques, we arm ourselves with the knowledge to perform precise cuts on LED light strips, ensuring they fit perfectly within our spaces. Keep these tips for cutting LED light strips in mind as we progress to the next phases of our project for a seamless, glowing finish that will both illuminate and captivate.
Identifying Cut Points on LED Strips
As we delve into the essentials of LED customization, it’s crucial to pinpoint exactly where to cut LED light strips. This is not merely about aesthetics but ensuring the prolonged functionality of your LEDs post-trimming. A step that’s often glanced over yet paramount is the identification of cut points. These are specially designed interruptions in the circuit that allow for custom lengths without damaging the entire strip. Cast your eyes along the strip, and you’ll find these points marked by a distinct scissors logo. This visualization provides a no-fail approach to adjusting your lighting to fit the desired space precisely.
Our step-by-step guide for cutting LED light strips makes DIY customization accessible to all. Let’s highlight the simplistic nature of identifying these points with an uncomplicated bullet list:
- Scan your LED strip for the cut-line indicators – these are the small scissor symbols.
- Ensure each indicator is noted; these denote safe zones for modifying the length.
- Remember that cutting elsewhere could disrupt the circuit and nullify the strip’s usefulness.
- Approach only within these designated points to tailor your LED illumination needs.
Now that you’ve been acquainted with these vital steps, the process of customizing becomes less intimidating. Always keep in mind that meticulous recognition of cut points is a cornerstone in LED strip modification. It grants the freedom to create a personalized lighting experience while maintaining the integrity of your setup, ensuring each section illuminates as intended. Let this knowledge guide your hands as you set out to shape a tailored luminescent environment.
Best Practices for Cutting LED Light Strips
Creating the perfect ambiance with LED light strips hinges on the precision of the cut. Understanding and adhering to best practices are essential to ensure the lights function correctly after modification. As with any DIY project, learning from common mistakes can help us avoid the same pitfalls.
Cutting Cleanly Without Damaging the Strips
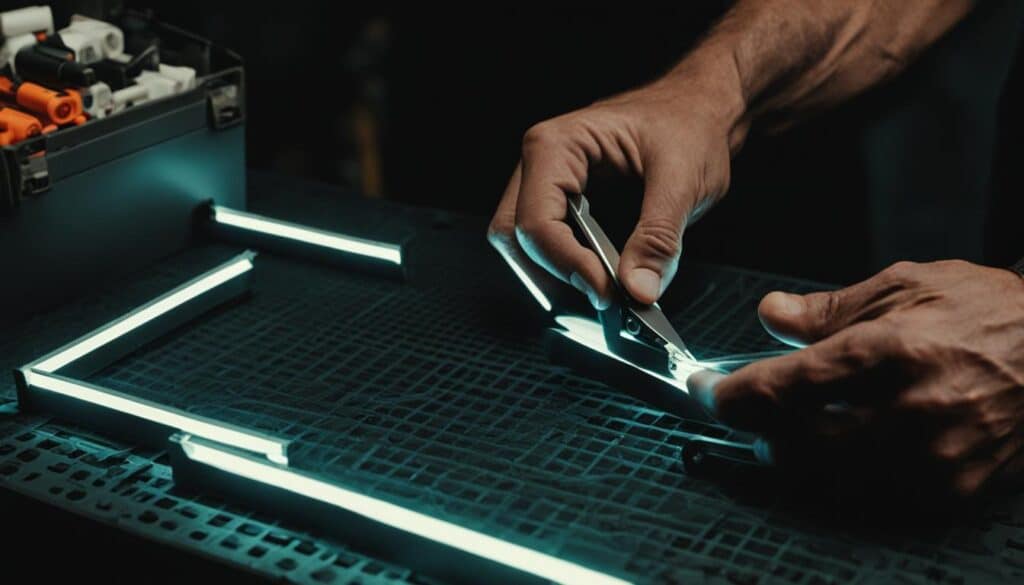
To cut LED light strips the right way, it’s essential to apply adequate pressure with a sharp cutting tool. Ensuring a smooth and clean cut on the designated line is critical. We know the importance of not damaging the copper pads, as they are necessary for conductivity and function of individual light units. LED strips are vulnerable to jagged edges, so let’s maintain a steady hand while slicing through.
Preventing Common Cutting Mistakes
It’s easy to overlook simple steps during the cutting process, which can lead to frustration and malfunctioning lights. Acknowledging and avoiding these errors is just as crucial as the cutting itself. Common mistakes when cutting LED light strips include not cutting on the correct line, cutting while the strip is powered, or using dull tools that tear rather than cut the material.
- Meticulously identify the scissor icon and copper dots that dictate where to cut LED light strips.
- Unplug and power down the LED strip before any cutting to avoid electrical hazards or damage.
- Invest in sharp and precise tools geared for electronics to make direct, flawless cuts.
Remember, safeguarding the integrity of LED light strips means less wastage and more creative freedom. By embracing these methods, we ensure a sleek, fully functional customization of our lighting design.
Step-By-Step Guide for Cutting LED Light Strips
Customizing LED light strips is a straightforward task that, when done correctly, can significantly enhance the aesthetics of your space. We’ve compiled this detailed step-by-step guide to help you cut LED light strips perfectly, ensuring you maintain their functionality while fitting them precisely to your design needs.
Here is what you need to do:
- Measure the length you need for your LED light strip, ensuring that it fits the area where you want to install it.
- Find the scissors logo on the strip, which typically indicates the designated cut points that are safe for customization.
- Carefully line up your cutting tool right along the cutting line – this will be a straight line right between the copper dots on your strip.
- With a firm grip and steady hand, make an orthogonal cut across the strip, ensuring you do not damage any surrounding components.
- Verify the functionality of your LED light strip by giving it a brief test to make sure all parts are still operational.
By following these steps, you avoid common pitfalls such as skewed cuts and accidental damage of the LED light strip. Proper measurement and identification of cut points are pivotal in this process, which is why we emphasize the need for attention to detail.
If you’re planning to cut your LED strips, remember to gather all necessary tools beforehand. A sharp pair of scissors or a box cutter will suffice for most LED strip types. However, more rigid strips might require a stronger cutting tool. Regardless, the key to a successful cut is precision and gentleness.
Always ensure safety when handling LED strips by disconnecting them from the power source before you begin cutting. Following these easy steps, we, as lighting enthusiasts, can successfully tailor our LED strips for that perfect fit, enhancing the ambiance and functionality of our living spaces.
How to Handle Detailed and Intricate Cuts
Working with LED light strips requires a delicate touch, especially when the project calls for intricate design work. The secret to achieving precise cuts for complex shapes is all in the preparation and the tools you choose. As we dive into the finer aspects of creating those custom lighting pieces, let’s focus on the tips for cutting LED light strips that will enable us to accomplish our design goals with finesse.
Using Precision Tools for Complex Shapes
To navigate the fine lines and intricate angles, it’s imperative that we employ precision tools designed for detailed work. Box cutters and specialized scissors are more than just tools; they are extensions of our craftsmanship that allow us to mold the LED strips into the envisioned shapes with accuracy. Remember, the right tool not only makes the job easier but it also influences the final product in terms of aesthetics and function.

Planning the Design Before Cutting
Before we make the first slice into our LED strips, we must plan. Sketching out the design or using a template is akin to drawing a map before setting sail. A well-considered layout that takes into account the placement of cutting points and the flow of the design helps to anticipate any challenges that may arise. This foresight is key, particularly when dealing with designs that go beyond the simple straight lines to which we’re accustomed.
We know by experience that our success is often dictated by the preparation we’ve made before a single LED strip has been altered. It’s with strategic planning and the use of precision tools that we manage to create lit masterpieces that perfectly fit both our creative vision and the spaces they are destined to illuminate.
Installing and Testing Your Cut LED Light Strips
Once we’ve mastered the tips for cutting LED light strips, it’s time to move on to the installation and testing phase. Ensuring the correct usage of LED strip lights after cutting is crucial for their optimal performance. A successful installation is not only about attaching the strips to a surface but also about confirming their functionality and addressing any potential issues that may arise.
Securing the Strips and Ensuring Connection
Proper securing of the LED strips is essential. We carefully align the strips with their adhesive backing to the desired surface, which should be clean and dry to facilitate a strong bond. It’s vital to press down firmly along the entire length of the strip to prevent any parts from peeling away. After mounting the strips, we always double-check the connections. This involves ensuring that the power supply and any connectors are properly attached and that the polarity is consistent throughout the setup.

Troubleshooting Common Post-Cut Issues
Even with careful cutting and installation, we occasionally encounter issues such as segments not lighting up. In such cases, troubleshooting is a key step. We inspect the cut ends for any frayed or exposed wires and check that all pin connections are secure. If we find damage, it often means revisiting the cutting process for a cleaner execution with a sharper tool. It’s through attention to these details that we ensure the longevity and efficient operation of our custom-cut LED light strips.
Preserving the Integrity of Your LED Strips Post-Cutting
After implementing our tips for cutting LED light strips with precision, it’s crucial to maintain their performance and longevity. Let’s explore how best to care for your LED strips once they are cut, ensuring they continue to illuminate your space beautifully for the long term.
Methods to Protect the Cut Ends
Post-cutting, the exposed ends of your LED light strips can be vulnerable to elements that compromise their functionality. To tackle this, we recommend using end caps specifically designed for LED strips. These caps can be filled with silicone to create a seal that shields the delicate circuitry from dust and moisture. Alternatively, for a DIY approach, applying a small amount of clear, electrically insulating adhesive can offer similar protection.
Maintenance Tips for Longevity
Consistent upkeep is vital for extending the life of your LED strips. We suggest a gentle routine of wiping the strips with a clean, dry cloth to remove any accumulating dust. Additionally, ensuring they remain free from moisture will prevent any electrical issues. Such simple, yet effective measures often overlook as part of the best practices for cutting led light strips, can significantly impact the durability and performance of your lighting setup.
| Care Method | Description | Benefits |
|---|---|---|
| End Caps | Plastic or rubber caps that cover the cut end of the LED strip. | Protects against physical damage and contamination. |
| Silicone Sealant | Waterproof sealant applied over the cut end to insulate the circuit. | Prevents short circuits and corrosion due to moisture. |
| Regular Cleaning | Gentle wiping with a dry cloth to remove dust particles. | Keeps the light output consistent and maintains adhesive strength. |
| Moisture Avoidance | Ensures the installation area stays dry. | Safeguards against electrical malfunctions and prolongs strip life. |
Reattaching LED Strips After Cutting
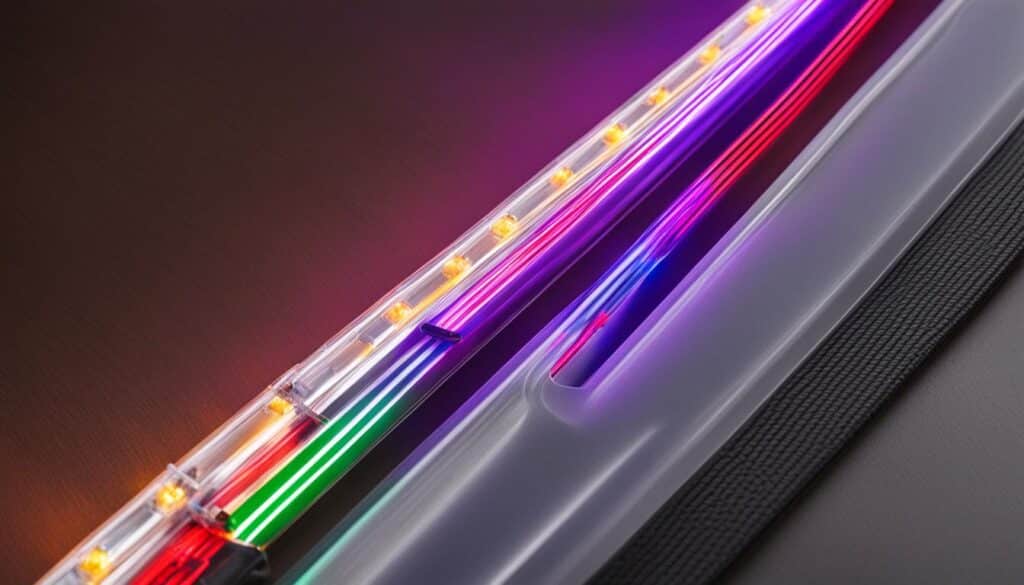
Once you’ve mastered the proper way to cut led light strips, our next step is to reestablish their functionality. Reattaching LED strips is a task that requires precision and understanding, especially when considering how to use LED strip lights after cutting. In our experience, ensuring a smooth reconnection involves adhering to certain protocols and utilizing the right tools.
The process begins with selecting the precise connector type. Knowing the strip width is critical because a mismatched connector can hinder the lights from functioning correctly. For a standard 10mm wide strip, only a compatible 10mm connector would suffice. Furthermore, maintaining the correct polarity as you connect the cables is not just a recommendation; it’s a requirement for the electrical current to flow correctly.
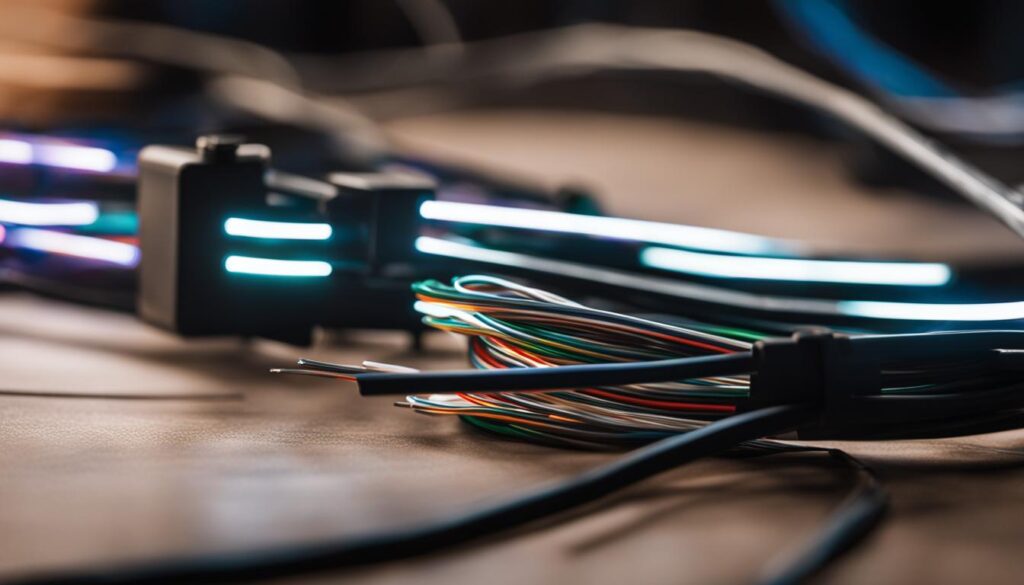
After securing the connector, a diligent inspection is mandatory to confirm everything is correctly aligned and firmly in place. This attention to detail ensures a secure closure of the connector cover, fostering a seamless union between the cut pieces of your LED strip lights. Let’s not overlook the importance of this stage—an improperly sealed connector cover can result in lighting failures or flickering, reducing the longevity of your installation.
- Measure the cut strip and the connector to confirm compatibility.
- Align the LED strip with the connector, matching the polarity (+ to +, – to -).
- Firmly close the connector cover, ensuring a tight fit without any exposed wires.
Involving these meticulous methods, our goal is to prevent malfunctions and extend the life of your LED light setup. By following these guidelines, we can guarantee that reattaching your LED strip lights will be successful, allowing you to enjoy the full spectrum of your lighting array without any interruptions.
DIY Guide for Customizing LED Light Strips
Embarking on a DIY project to customize LED light strips can seem daunting, but with the right guidance, it opens up a world of creative possibilities. We understand the importance of knowing where to cut LED light strips to maintain their functionality while discovering new ways to illuminate your space. Whether for aesthetic flair or practical illumination, cut LED strips offer a flexible solution for various lighting needs.
Creative Uses for Cut LED Strips
Once you’ve mastered the DIY guide for cutting led light strips, the creative uses for those offcuts are virtually endless. Some of our favorite applications include:
- Highlighting bookshelves to showcase your collections
- Creating custom-shaped backlights for televisions or computer monitors
- Adding ambient lighting under beds or sofas for a modern touch
- Illuminating glassware inside a bar or kitchen cabinet
- Designing unique wall art that doubles as a lighting feature
Inspirational Ideas for LED Strip Placement
The versatility of LED strip lights really shines when considering creative uses for cut LED strips. A simple cut can transform a mundane space into a vibrant area of interest. Here are some inspirational ideas for placement:
- Under kitchen cabinets for an inviting glow
- Along the risers of staircases, increasing safety and aesthetic
- Around door frames for an inviting entryway
- Inside drawers or closets for functional task lighting
Here’s a functional table to help visualize some of these applications:
| Location | Function | Recommended Strip Type |
|---|---|---|
| Kitchen Cabinets | Task Lighting | Warm White LED |
| Staircase Risers | Ambient/Safety Lighting | RGB (Color-Changing) |
| Door Frames | Decorative Highlight | Cool White LED |
| Closets | Organization Assistance | Battery-Powered LED |
Keep in mind, the DIY journey doesn’t stop after you’ve decided where to cut LED light strips; it’s about experimenting with light to craft the perfect ambiance in your home or workplace. We encourage you to be bold, and most importantly, enjoy the process of making your vision a reality.
Conclusion
Through this guide, we’ve armed ourselves with the know-how for precisely trimming LED light strips, ensuring each customized piece fits perfectly and enhances our space’s ambiance. We’ve learned the crucial points of where to cut led light strips and delved into the best practices for cutting led light strips, which when done correctly, extend the life and maintain the beauty of our installations.
Recap of Cutting Techniques and Best Practices
Our journey has taught us to look for the tell-tale signs on the strips – those helpful copper dots and lines that guide the scissors’ path. Picking the right tools for the job, we’ve found, makes a world of difference, leading to a neat, precise cut that keeps the light strip in top working condition. And when it comes to cutting, precision is key; we measure and plan thoroughly to avoid any missteps that could impact the lighting’s effectiveness.
Final Thoughts on Personalizing Your Space with LED Strips
Finally, we take pride in our ability to personalize our surroundings with LED strips, transforming the mundane into the extraordinary. It’s not simply about lighting a room; it’s about creating an experience, a particular mood that resonates. Indeed, it’s about making a space distinctly ours. Careful cutting and attention to detail mean our LED light strips not only fulfill their function but also reflect our unique style and preferences.
FAQ
Where should I cut my LED light strips to customize my space?
You should cut LED light strips at the designated cut-points marked with a scissor symbol or along the line with copper dots. These indicate where you can safely cut without damaging the strip’s functionality and customize the length for the perfect fit.
What are the essential tools for cutting LED light strips?
The essential tools for cutting LED light strips include sharp scissors or a box cutter. The right tool should correspond to the type of LED strip (standard or RGBIC) and be able to make precise cuts without damaging the components.
How can I determine the best place to cut LED light strips?
The best places to cut LED light strips are the designated cut points, often indicated with a scissor logo, copper dots, or a cut line. These points ensure that you can cut the strips without disrupting the circuitry or damaging any of the LEDs.
What are some tips for cutting LED light strips correctly?
Some tips for cutting LED light strips are:
1. Use the correct scissors or cutting tools that are sharp.
2. Measure the length you need accurately and mark it on the strip if necessary.
3. Apply gentle but firm pressure and make a straight cut on the designated cut line.
4. Ensure the strip is disconnected from any power source before cutting.
How do I identify cut points on LED strips?
To identify cut points on LED strips, look for the scissor logo or visually locate the copper dots and a cut line between them. These symbols represent sections between which the strip can be cut safely without damaging it.
What are the best practices for cleanly cutting LED light strips without damage?
Best practices for cutting LED light strips include using sharp and precise tools, cutting straight across the marked cut line, and applying consistent pressure to avoid jagged cuts or damage to the strip.
What common mistakes should I avoid when cutting LED light strips?
Common mistakes to avoid when cutting LED light strips are cutting in the wrong place, using dull tools that can damage the strip, not measuring accurately, and cutting while the power is connected which is hazardous.
Can you provide a step-by-step guide for cutting LED light strips?
Sure! Here are the basic steps for cutting LED light strips:
1. Measure the length you need and identify the nearest cut point.
2. Unplug the strip from any power source.
3. Using sharp scissors or a box cutter, make a straight cut along the designated cut line.
4. If needed, secure or insulate the cut ends.
How do I manage intricate cuts on LED light strips for complex designs?
For intricate cuts, use precision tools like box cutters and plan the design carefully before cutting. Break down the design into simpler shapes that can be cut from the LED strip and then piece them together in the final layout.
After cutting, how do I install and test the functionality of LED light strips?
After cutting LED light strips, use the adhesive backing to secure them where desired, and then reconnect any cut ends using the appropriate connectors. Test the entire strip to ensure all segments are lighting up properly and resolve any connectivity issues.
How do I preserve the integrity of my LED light strips after cutting?
To preserve the integrity of your LED light strips after cutting, you can use silicone-filled end caps or insulating materials to protect the cut ends. Make sure to keep the strips clean and dry as part of regular maintenance.
What’s the proper way to reattach LED strips after cutting?
When reattaching cut segments of LED strips, use compatible connectors that match the width of the strip. Ensure the correct polarity alignment, securely fasten the connectors, and test for correct operation post-connection.
What are some creative ways to use cut LED light strips?
Cut LED light strips can be used creatively for under-cabinet lighting, staircase illumination, or highlighting artwork. They can also be shaped to fit unconventional spaces or to create personalized signs and messages.
Where can I find inspirational ideas for placing my cut LED light strips?
You can find inspiration for placing cut LED light strips in DIY guides, home decor websites, and social media platforms like Pinterest. Consider your lighting needs and desired atmosphere when determining placement.

