
Are you struggling to take down LED lights from your wall without leaving marks or damaging the paint? Removing LED lights can be tricky, especially when you want to keep your walls looking perfect.
If you’ve tried peeling them off and ended up with sticky residue or chipped paint, you’re not alone. But don’t worry—there’s a simple, effective way to get those lights off cleanly and safely. Keep reading, and you’ll discover the best method to remove LED lights from your wall, saving you time, effort, and frustration.
Your walls will thank you!
Types Of Led Lights On Walls
LED lights on walls come in various types. Each type has its own style and way to attach. Knowing the kind of LED light helps in removing it safely. Some are easy to peel off, while others need tools.
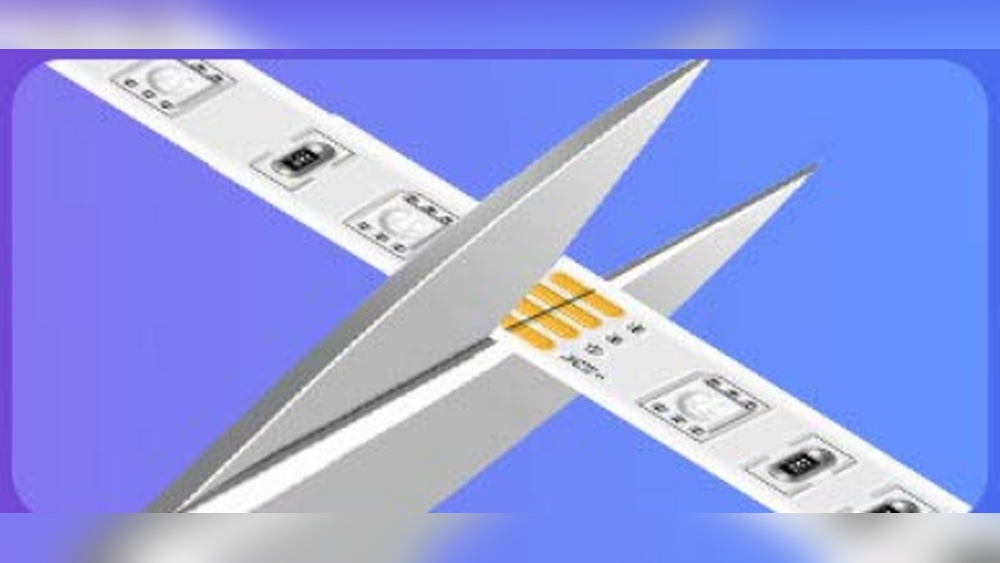
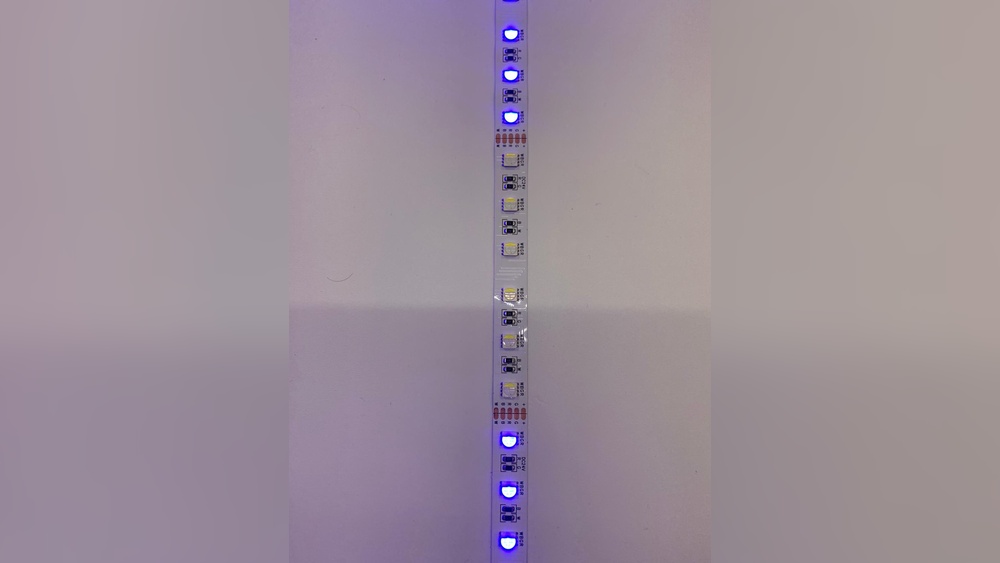
Strip Lights
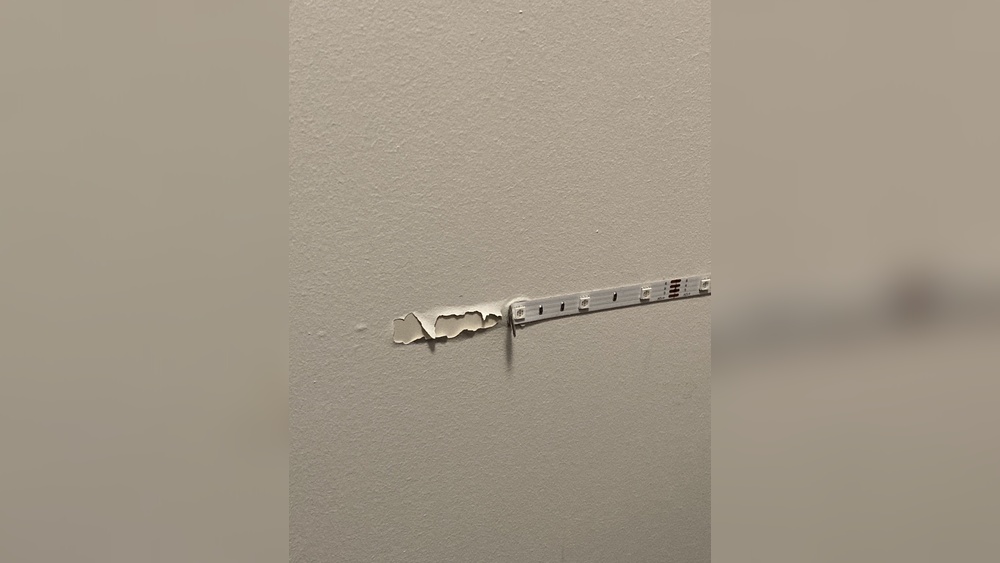
Strip lights are long and flexible. They stick directly to the wall with adhesive. Most strips have a sticky back that holds them firmly. Removing strip lights requires slow and steady peeling. Pulling too fast can damage the wall or the lights.
Fairy Lights
Fairy lights are small bulbs on thin wires. They often hang loosely or are taped to the wall. These lights are light and easy to move. Removing fairy lights means gently taking down the wires. Avoid tugging to prevent breaking the bulbs.
Mounted Fixtures
Mounted fixtures are solid LED lights fixed with screws or brackets. They stay in one place for a long time. Removing them needs tools like screwdrivers. Care is needed to avoid wall damage during removal.

Tools Needed For Removal
Removing LED lights from a wall needs the right tools. These tools help you avoid damage to the wall or the lights. Having the correct supplies makes the job faster and safer. Some tools are basic and needed by everyone. Others are optional but helpful for tricky spots.
Basic Supplies
- Plastic scraper or credit card – to gently lift the lights.
- Hairdryer – to warm the adhesive and soften it.
- Soft cloth – to clean residue after removal.
- Rubbing alcohol – for removing sticky glue left behind.
- Gloves – to protect your hands during the process.
Optional Helpers
- Fishing line or dental floss – to cut through adhesive under the lights.
- Adhesive remover – for stubborn glue spots.
- Step stool – to reach higher areas safely.
- Painter’s tape – to mark areas or protect the wall edges.
- Microfiber towel – for gentle cleaning without scratching.
Preparing The Area
Preparing the area is the first step to safely remove LED lights from your wall. It helps protect your home and makes the process easier. Taking time to prepare means fewer problems later. Follow these simple steps before you start pulling the lights off.
Clear The Space
Move furniture and objects away from the wall. Give yourself enough room to work freely. This prevents accidents and damage to your belongings. Cover the floor with a cloth or plastic sheet. It catches dust and small debris from the removal. A clean, open area helps you focus on the task safely.
Turn Off Power
Switch off the power to the LED lights at the circuit breaker. This stops any chance of electric shock. Double check by trying to turn on the lights. If they do not light up, it is safe to continue. Safety is the most important part of removing lights from the wall.

Removing Led Strip Lights
Removing LED strip lights from a wall can be tricky. These lights stick tightly with strong adhesive. Removing them carefully keeps your wall safe and the lights reusable. Follow simple steps to loosen the glue and peel the strips off smoothly. This method helps avoid damage and mess.
Loosening Adhesive
Start by softening the glue holding the LED strip. Use a hairdryer on low heat. Hold it a few inches from the strip. Warm air melts the adhesive gently. Move the dryer slowly along the strip for even heat.
A plastic card or spatula helps too. Slide it under the strip’s edge. Work slowly to lift the tape without tearing. Warmth plus gentle pressure loosens the bond well.
Peeling Off Slowly
Peel the LED strip carefully. Pull it back at a low angle, close to the wall. This reduces stress on the paint and lights. Take your time to prevent damage.
If the strip resists, stop and reapply heat. Avoid pulling hard or fast. Slow peeling keeps the strip intact and the wall clean.
Taking Down Mounted Led Fixtures
Taking down mounted LED fixtures from the wall needs care and the right tools. Doing it wrong can cause damage to the wall or the fixture. Follow clear steps to remove the lights safely.
Start with the screws holding the fixture in place. Then, handle the wiring carefully to avoid any electrical issues. Patience and attention keep the process smooth and safe.
Unscrewing Fixtures
Locate all screws securing the LED fixture to the wall. Use a screwdriver that fits well to avoid stripping the screws. Turn screws counterclockwise to remove them.
Keep the screws in a safe place for future use or recycling. If screws are hidden under covers, gently remove those first. Support the fixture with one hand while unscrewing.
Handling Wiring
Switch off the power to the LED fixture at the breaker box. Check the wires carefully to confirm no electricity flows. Use a voltage tester for safety.
Disconnect the wires by loosening wire nuts or terminal screws. Avoid pulling on wires directly to prevent damage. Wrap wire ends with electrical tape for protection.
Store the wiring safely or prepare it for new fixtures. Proper wire handling avoids shocks and keeps your wall neat.
Dealing With Fairy Lights
Removing fairy lights from walls requires care and patience. These delicate lights can get tangled or stuck. Taking the right steps helps protect the lights and the wall surface. It also keeps you safe from electrical hazards.
Unplugging Safely
First, unplug the fairy lights from the power outlet. Avoid pulling the cord directly. Hold the plug firmly while unplugging. Make sure your hands are dry to prevent shocks. Check that no bulbs are broken before handling. This step ensures your safety during removal.
Detangling And Removing
Start detangling from one end slowly. Use your fingers to gently loosen knots. Avoid yanking the wires to prevent damage. If stuck to the wall, peel the lights off carefully. Pull at a low angle to protect paint and wallpaper. Lay the lights flat once removed to avoid tangling again.
Preventing Wall Damage
Removing LED lights from a wall can be tricky. The goal is to keep the wall safe and undamaged. Scratches, paint peeling, or holes can happen without care. Taking the right steps protects your wall and keeps it looking good.
Using Heat For Adhesive
Heat softens the sticky glue behind LED lights. Use a hairdryer on low heat. Hold it close to the light strip for a few seconds. The warmth loosens the adhesive without harming the paint. Gently peel the light strip off the wall. Heat makes removal easier and safer.
Gentle Removal Techniques
Start peeling the LED strip slowly from one end. Pull at a low angle, not straight out. Use your fingers or a plastic card to lift the edges. Avoid sharp tools that can scratch the wall. Take breaks if the strip feels stuck. Patience helps keep the wall intact and smooth.
Cleaning Residue After Removal
After removing LED lights from the wall, sticky residue often remains. This leftover glue can attract dust and dirt, making your wall look messy. Cleaning the residue carefully prevents damage to paint or wallpaper. Using the right products and methods helps remove it quickly and safely.
Adhesive Removers
Adhesive removers work well on sticky residue. They dissolve glue without harming the wall. Choose removers made for painted surfaces. Apply a small amount on a cloth. Gently rub the sticky spots until the residue softens. Wipe away with a clean, damp cloth. Test the remover on a hidden area first. This avoids discoloration or damage.
Safe Cleaning Solutions
Simple household solutions can also clean residue. Warm soapy water often works on fresh glue. Use mild dish soap mixed with water. Dip a cloth in the solution and squeeze out excess. Rub the residue gently in circular motions. Rinse the area with a damp cloth to remove soap. Avoid harsh chemicals that can strip paint.
Repairing Minor Wall Damage
Removing LED lights from walls can leave small holes or marks behind. Fixing these minor damages keeps your walls looking neat and fresh. Quick repairs prevent bigger problems later.
Small holes or scratches are easy to fix with basic tools. A smooth wall surface looks clean and ready for painting or decorating. Let’s explore simple steps for repairing minor wall damage.
Filling Holes
Start by cleaning the holes or cracks on the wall. Use a putty knife to apply spackling paste or wall filler. Press the filler firmly into the holes to fill them completely. Let the filler dry according to the package instructions. Dry filler is ready for sanding and painting.
Sanding And Painting
Use fine-grit sandpaper to smooth the filled areas. Sand gently until the surface feels even with the wall. Wipe away dust with a clean cloth. Choose paint that matches your wall color. Apply paint with a small brush or roller in thin layers. Allow the paint to dry before applying more coats. Smooth, painted walls look new and damage-free.
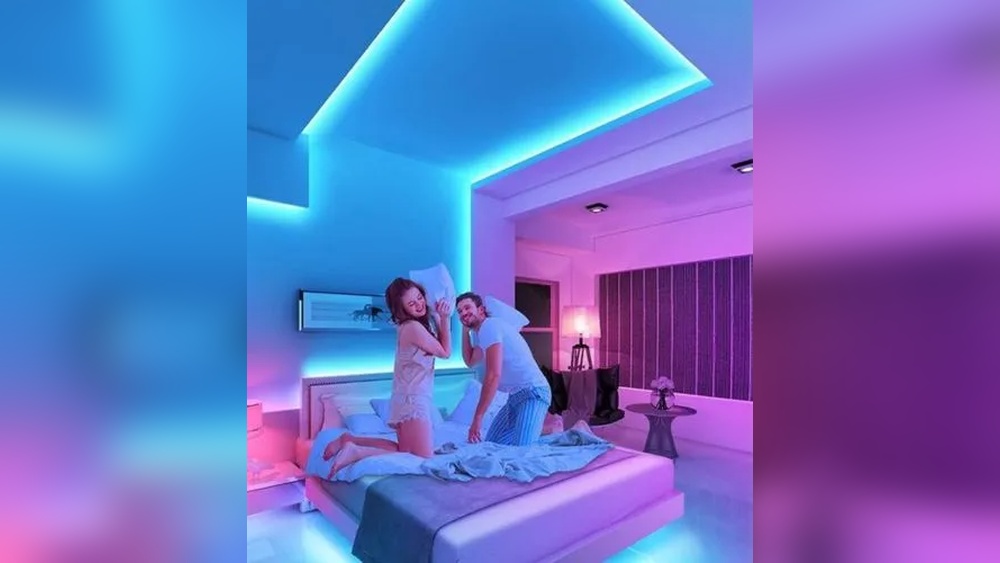
Tips For Future Led Installations
Planning future LED light installations carefully makes removal easier later. Using the right materials and placing lights wisely saves time and protects your walls. Follow simple tips to avoid damage and frustration when you want to change or remove your LED lights.
Choosing Removable Adhesives
Pick adhesives designed to peel off cleanly. Look for tape or strips labeled as removable or damage-free. These adhesives hold well but come off without leaving marks or sticky residue. Avoid permanent glues or tapes that can ruin paint and wall surfaces.
Test a small piece of adhesive on your wall first. Check if it sticks firmly and removes easily. This helps you avoid surprises later. Using removable adhesives means you can change LED lights without repainting or patching walls.
Planning Placement
Think about where you want your LED lights before sticking them. Avoid rough or textured surfaces like brick or wallpaper. Smooth, flat walls work best. Plan your design so you do not need to move the lights often.
Measure and mark spots with a pencil. This helps you place lights evenly and correctly the first time. Careful placement reduces the need for adjustments and damage from removing and reattaching lights.
Frequently Asked Questions
How Do I Safely Remove Led Lights From A Wall?
To remove LED lights safely, unplug them first. Gently peel off adhesive strips or use a hairdryer to soften glue. Avoid harsh pulling to prevent wall damage. Slowly detach the lights, ensuring all adhesive residue is cleaned afterward.
What Tools Help Remove Led Lights From Walls?
Use a hairdryer to soften adhesive and a plastic scraper to lift edges. Soft cloths help clean residue. Avoid metal tools that can damage paint or drywall. These tools make removal safer and preserve your wall’s finish.
Can Led Light Removal Damage My Wall?
Improper removal can peel paint or damage drywall. Use gentle heat and careful peeling to minimize risk. Clean leftover adhesive with mild solvents. Taking time and using the right technique reduces wall damage chances during LED light removal.
How To Remove Sticky Residue After Led Lights?
Apply rubbing alcohol or adhesive remover to residue. Let it sit for a few minutes. Gently rub with a soft cloth or sponge. Repeat if needed. This method effectively cleans sticky residue without harming your wall surface.
Conclusion
Removing LED lights from a wall can be simple and safe. Use gentle tools and take your time. Peel the lights slowly to protect your paint. Clean any leftover adhesive carefully. This way, your wall stays neat and undamaged. Remember, patience helps avoid mistakes.
Following these steps makes removal easy for anyone. Try these tips for your next LED light project. Your walls will thank you!


Leave a Reply